Television. Hate it or love it, you probably can’t do without it. In the old days, all you needed was an antenna and you were able to tune in to five or ten local channels for free. It was a luxury at first to have a basic cable subscription for ten dollars a month. But as time went on, you wanted more paid subscription channels such as HBO and your bill probably doubled because of it. Today, a cable television subscription is easily more than $100. My cable bill was over $300 with “landline phone” (totally useless), premium package TV (watched maybe three channels) and internet access (fast but quirky). I was already using Netflix and most of my viewing was using that service.
Easy Steps to Freedom!
Now with the expansion of high-speed internet services, it is easier than ever to replace cable TV. There are more options than ever once you find an internet provider.
Find a high speed internet provider, in Northern New Jersey options include FIOS, Verizon, T-mobile or even a cable internet only package.
Set up your TVs to be compatible with internet streaming. Most modern “Smart Tvs’ may be ready to use as streaming devices. Options for older TVs include Roku, FireTV or Chromecast streaming devices.
Test your internet TV setup.
Cancel your cable TV subscription and return all unnecessary equipment to your cable TV provider.
Enjoy your new TV system while enjoying cost savings.
My Journey
I couldn’t justify paying $300 per month for cable TV service to watch a few news programs and one or two entertainment channels. The high-speed internet service that came with it was unreliable, especially in bad weather. I decided to replace my cable service with a less expensive alternative.
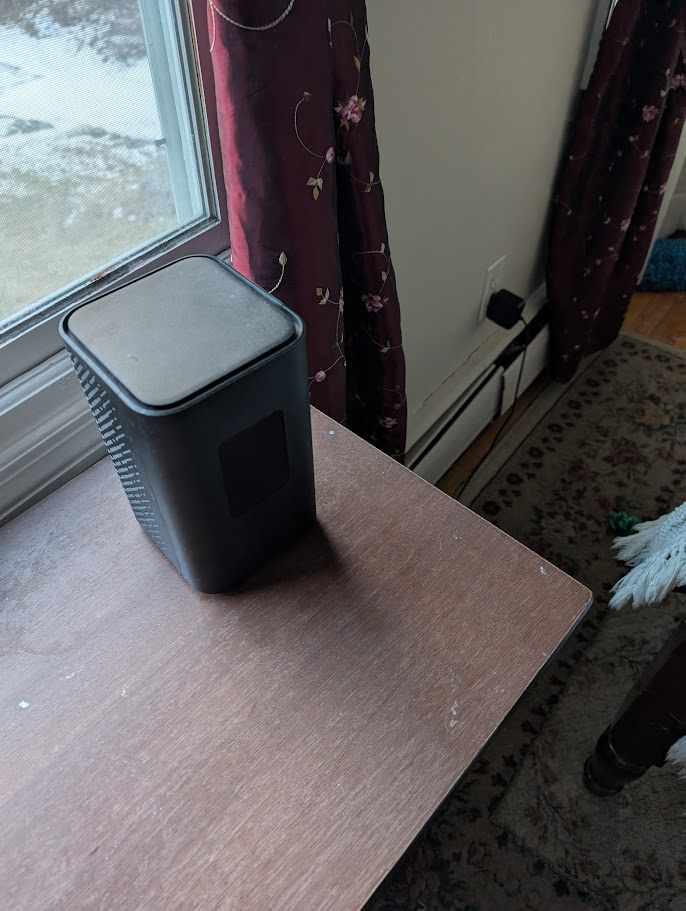
T-mobile Internet box
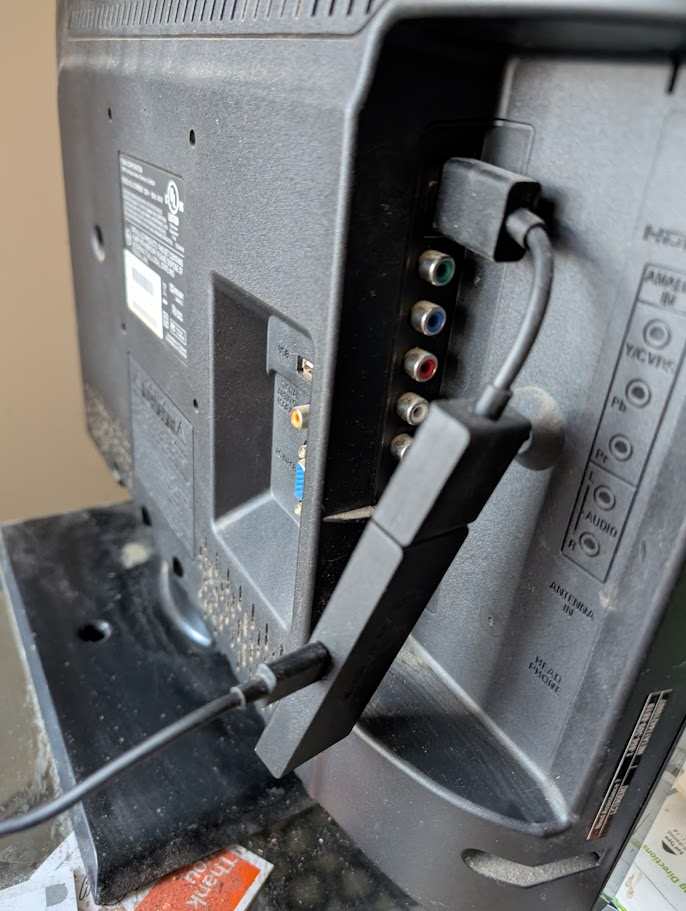
WIFI to ethernet adapter
Amazon Firestick converting older HD TV to a streaming TV
My home network was set up with a direct connection to my cable modem, which was located in the basement near the cable line that came into my home. From the cable modem, the signal went to a wifi router, and from there it was distributed throughout the house by CAT 5 ethernet cable. I used network hubs and switches to connect the cable to my computers. The wifi also powered the Ring doorbells and Alexa devices in my home.
I chose T-Mobile as my internet provider because it became available in my area and offered a reasonable price. T-Mobile provided a 5G modem/hub with both Wi-Fi and wired connections. I first put the modem in the basement because that is where my primary network hub is located. However, the signal was weak, so I moved the modem to an upstairs bedroom. But I couldn’t connect the wire directly to my old network because it was too far away. I solved this problem by purchasing a Wi-Fi to Ethernet adapter. This adapter saved me from having to reconfigure my existing devices.
I equipped all my TVs with Amazon Firesticks, with my Amazon Prime Membership I was provided with many streaming channels for free plus Prime Video content such as Movies and TV shows. I supplemented these offerings with Netflix, MAX and Paramount subscriptions. Total cost with the internet service, and subscriptions is around $100 per month, this is a savings of more than 50%!
Conclusion
At first I was very apprehensive about ditching the cable TV service. I was familiar with the channel selection and had my favorites. In addition to the large volume of channels that I already watched, there are so many more to explore. I can’t imagine going back to cable TV again. I’m able to watch movies, TV shows and live TV on many platforms and services. The streaming options are extensive and the quality is better than cable TV. Streaming is an inexpensive and reliable alternative to cable. It was easy to get started. There is an option to add channels if you miss some of your favorites. I’ve had minimal issues with streaming and can access my accounts from anywhere in the world. I’m very happy with the decision to cut the cord and have access to nearly endless entertainment options.
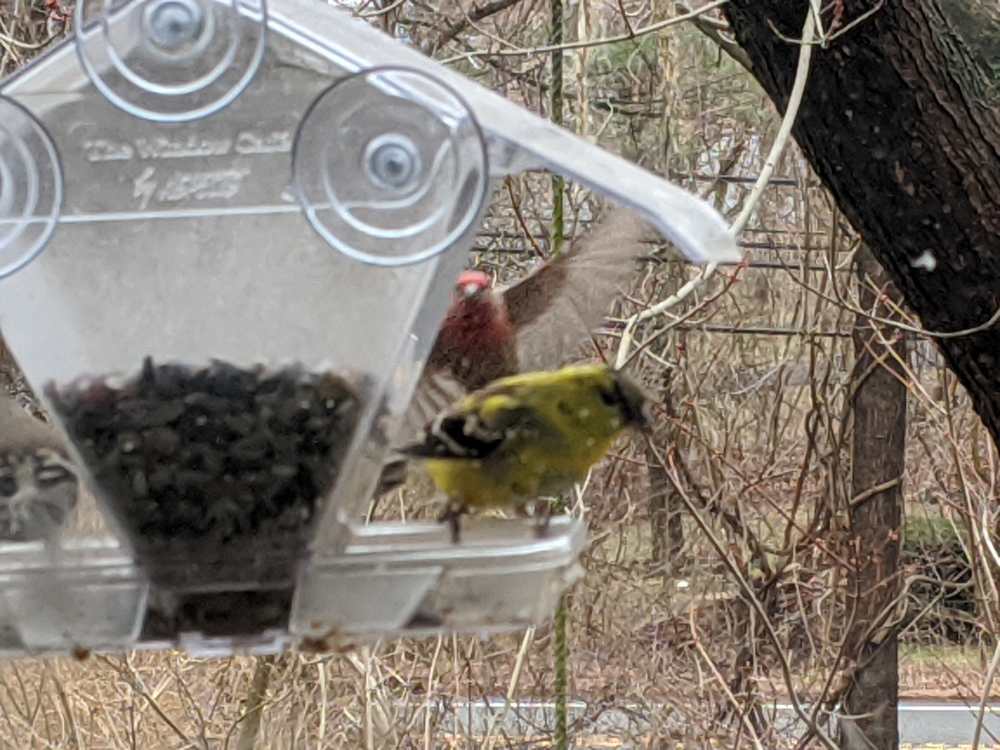
I like to feed birds during the winter but I wait until the weather changes from warm “Indian Summer” days and nights to cool autumn weather. That’s because bird feeders can attract bears and other animals, and I don’t want to attract them to my property. When the weather turns cold, bears become less active, and it’s safer to start feeding the birds. I start with my window feeder, which is filled with premium bird seed that attracts a wide variety of birds. Next I will hang a feeder from a tree branch with seed I buy in bulk (40 lb. bag) and another with a suet cage. I enjoy watching the birds come and go, and I feel good knowing that I’m helping them to survive the winter.
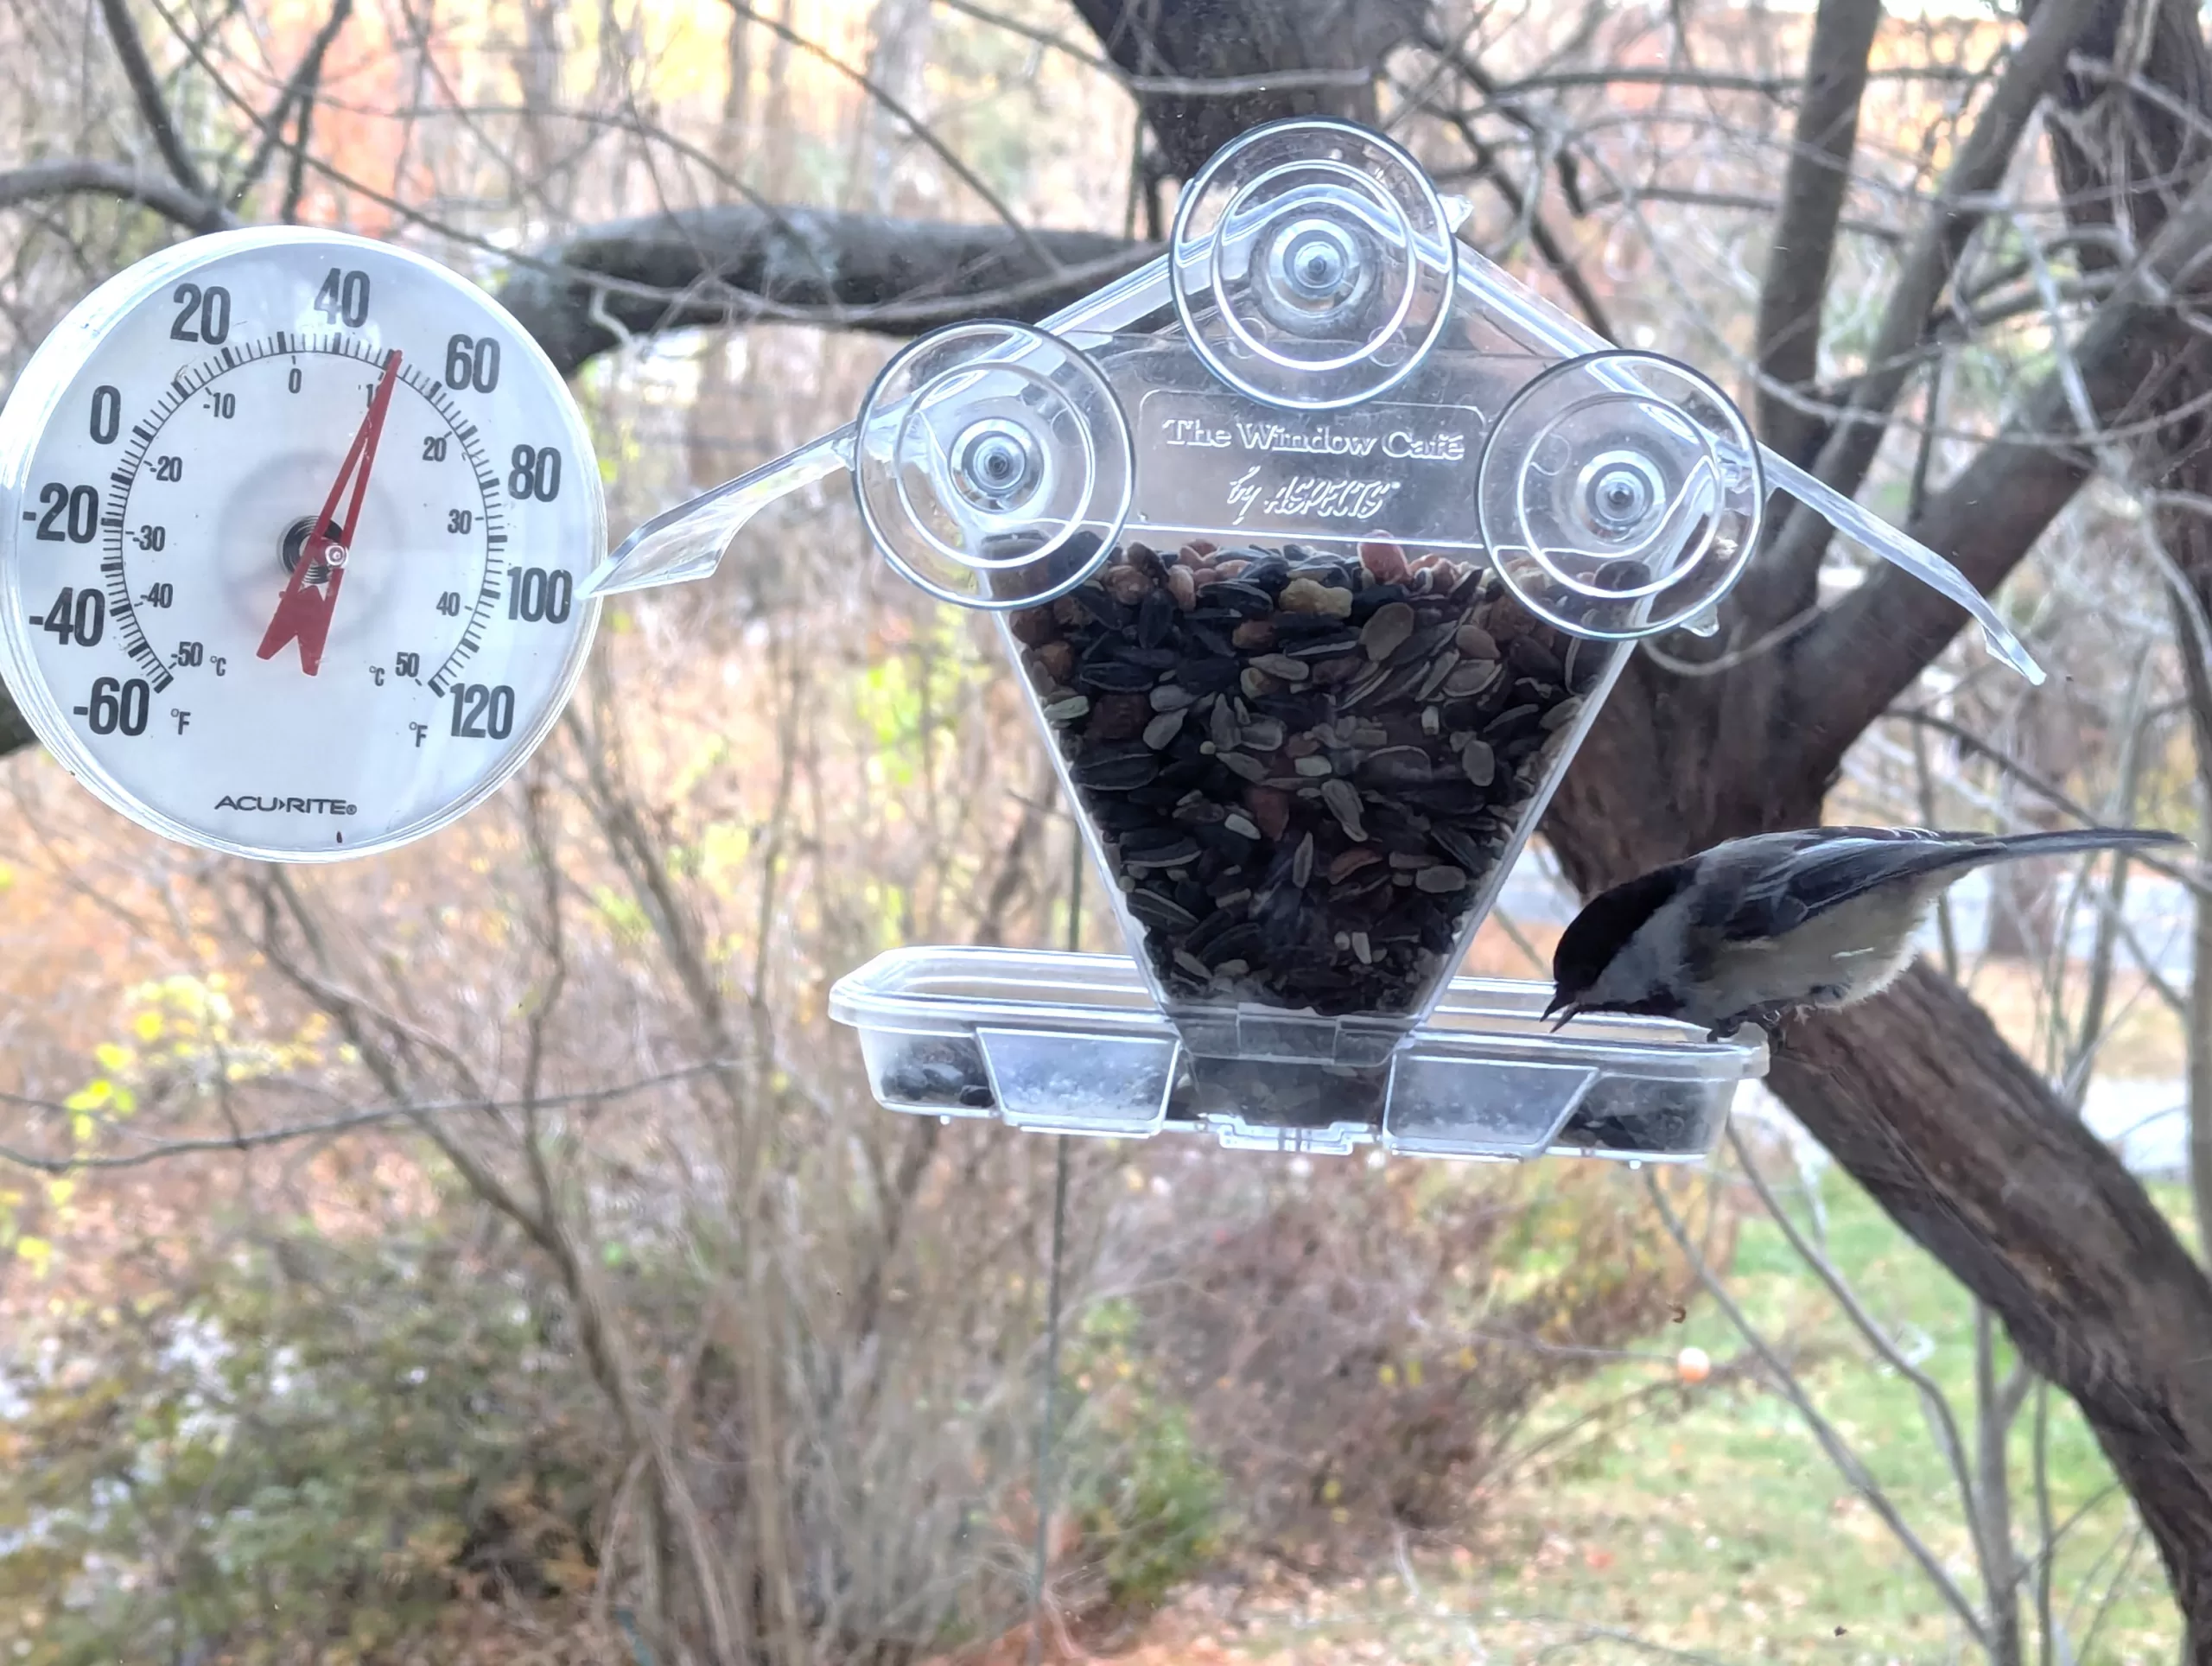
Within minutes of setting out my feeder, a black-capped chickadee was feasting on the seeds and fruit. Chickadees are one of my favorite birds to watch. They are so curious and enjoy eating the seeds from the feeder. I am so happy to provide food for them and other birds in the neighborhood.
“Feeding birds in North Jersey is a fulfilling hobby, but it’s also a serious commitment. Birds attracted to your feeder become dependent on the food you provide”
rt23 staff
Black-capped chickadees at window feeder with tube bird feeder in background
I enjoy feeding the birds during the winter months because it is a welcome change from the clouds and chill of winter. I attach my bird feeder to my office window, and I love seeing the birds come and go. It is almost like having pets! I find the birds’ antics to be very entertaining, and I am amazed by the different sizes and colors of the birds that visit my feeder providing a delightful background to my workday.
I have two cats that love to watch the birds at the feeder. At first, my cats would try to pounce on the birds whenever they landed on the window feeder. The birds would take off in a flurry of feathers, and my cat would leap at the window feeder, trying to catch them but be repulsed by the glass, they would soon give up and retreat. After a while, the birds realized that my cat was no threat to them, and they would land on the feeder and eat their fill. My cat also realized that he could not catch the birds, and he would sit and watch them eat. The birds and the cats learned to ignore each other, and my cat now enjoys watching the birds at the feeder, I call this “cat tv”.
Feeding birds in North Jersey is a fulfilling hobby, but it’s a serious commitment. Birds that are attracted to your feeders become dependent on the food you provide during the winter. They may starve if the feeder is not regularly filled with fresh seed. You should also keep your feeders clean and free of mold, and be sure to clean up any spilled seed. It’s a good idea to place your feeders in an area where you can easily observe the birds, but not too close to your house or other structures where they could be a nuisance.
I start out using a window feeder. It’s a plastic dish that attaches to the window with soft rubber suction cups. The trick is to heat the rubber cups in hot water, dry them thoroughly, and rub them a bit with your thumb before attaching them to a clean glass window. A few days after the window feeder, I hang a tube feeder from a nearby tree branch. And finally, I hang the suet feeder from the tree branch when high daytime temperatures dip to about 30°F. These two feeders I keep filled until April. The window feeder needs refilling about two to three times a week,
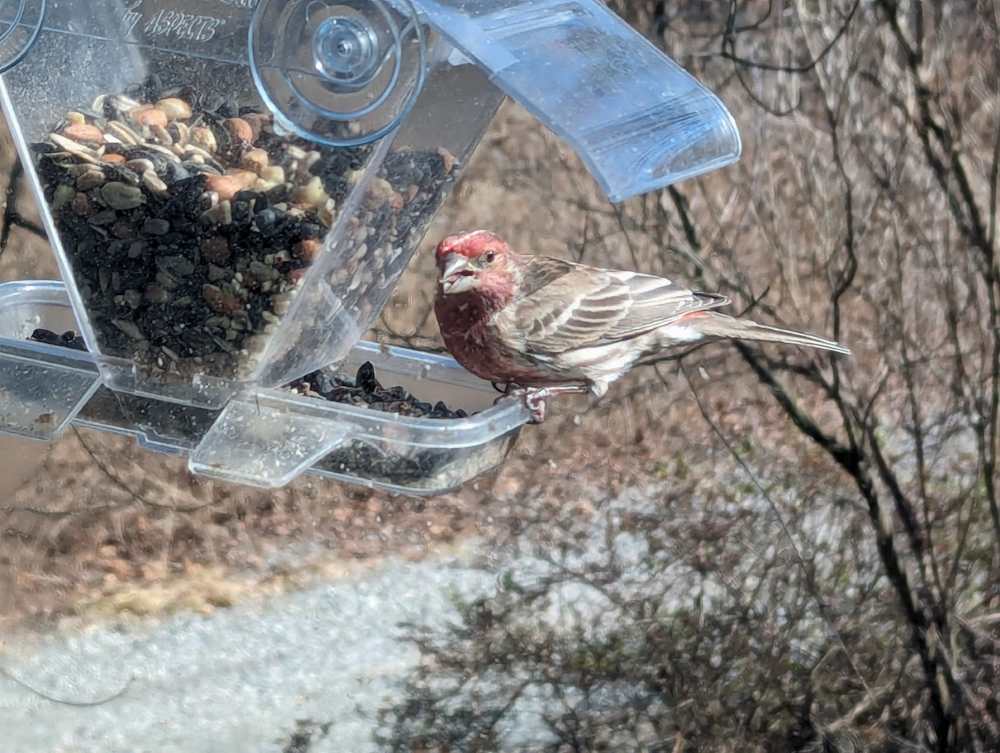
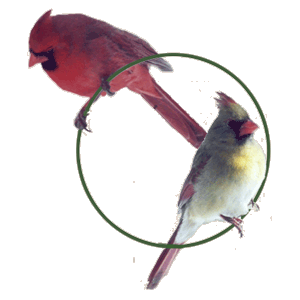
I have three types of feeders to attract a variety of birds: window mount, tube feeder, and suet cage. I enjoy feeding the birds during the winter months. It is a welcome change from the clouds and chill of winter days. I attach my bird feeder to my office window, and I love seeing the birds come and go. It is almost like having pets! I find the birds’ antics to be very entertaining, and I am amazed by the different sizes and colors of the birds that visit my feeder. The birds provide a delightful background to my workday. I especially enjoy watching the cardinals and blue jays. The cardinals are so beautiful with their bright red plumage, and the blue jays are so vocal and active. I find it very relaxing to watch the birds and listen to their songs.
When attached to a clean window, window feeders are strongly affixed to the surface, providing an up close and personal experience. I use a premium fruit and nut mix to attract more exotic birds. The feeder is easy to fill and clean, and the birds love it!
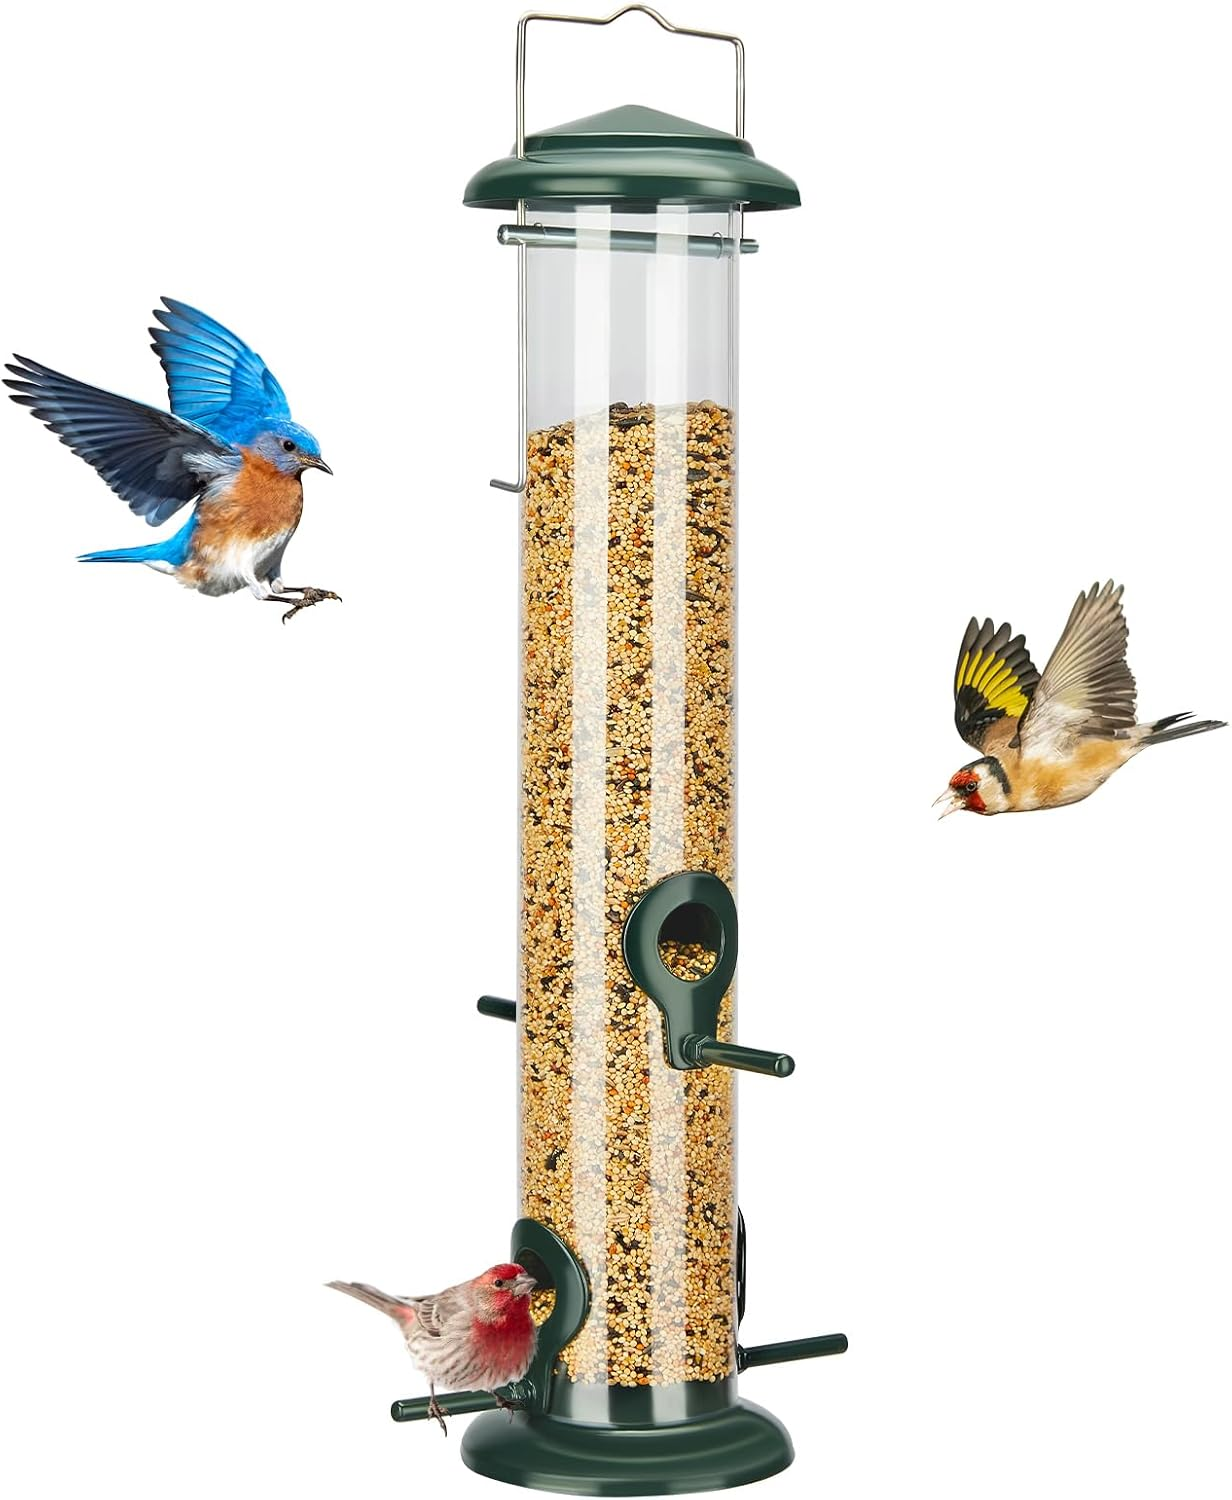
I use a few different types of feeders for my birds (“my birds” haha). I hang a Kingsyard Metal Bird Tube Bird Feeder from a tree branch near my window. Tuber feeders are very common with a wide variety and quality. The Kingsyard Metal Bird Tube Bird Feeder has metal caps and perches with a thick plastic tube. I have used this FOR a few years and am satisfied with the price/quality. For this feeder I buy a 40 pound bag of Royal Wing classic mix wild bird food from the local tractor supply. I look for a 40 pound bag with a good mix of oily seeds like sunflower seeds. A forty pound bag will last me four to five months.
“Multiple bird feeders can attract a variety of birds.”
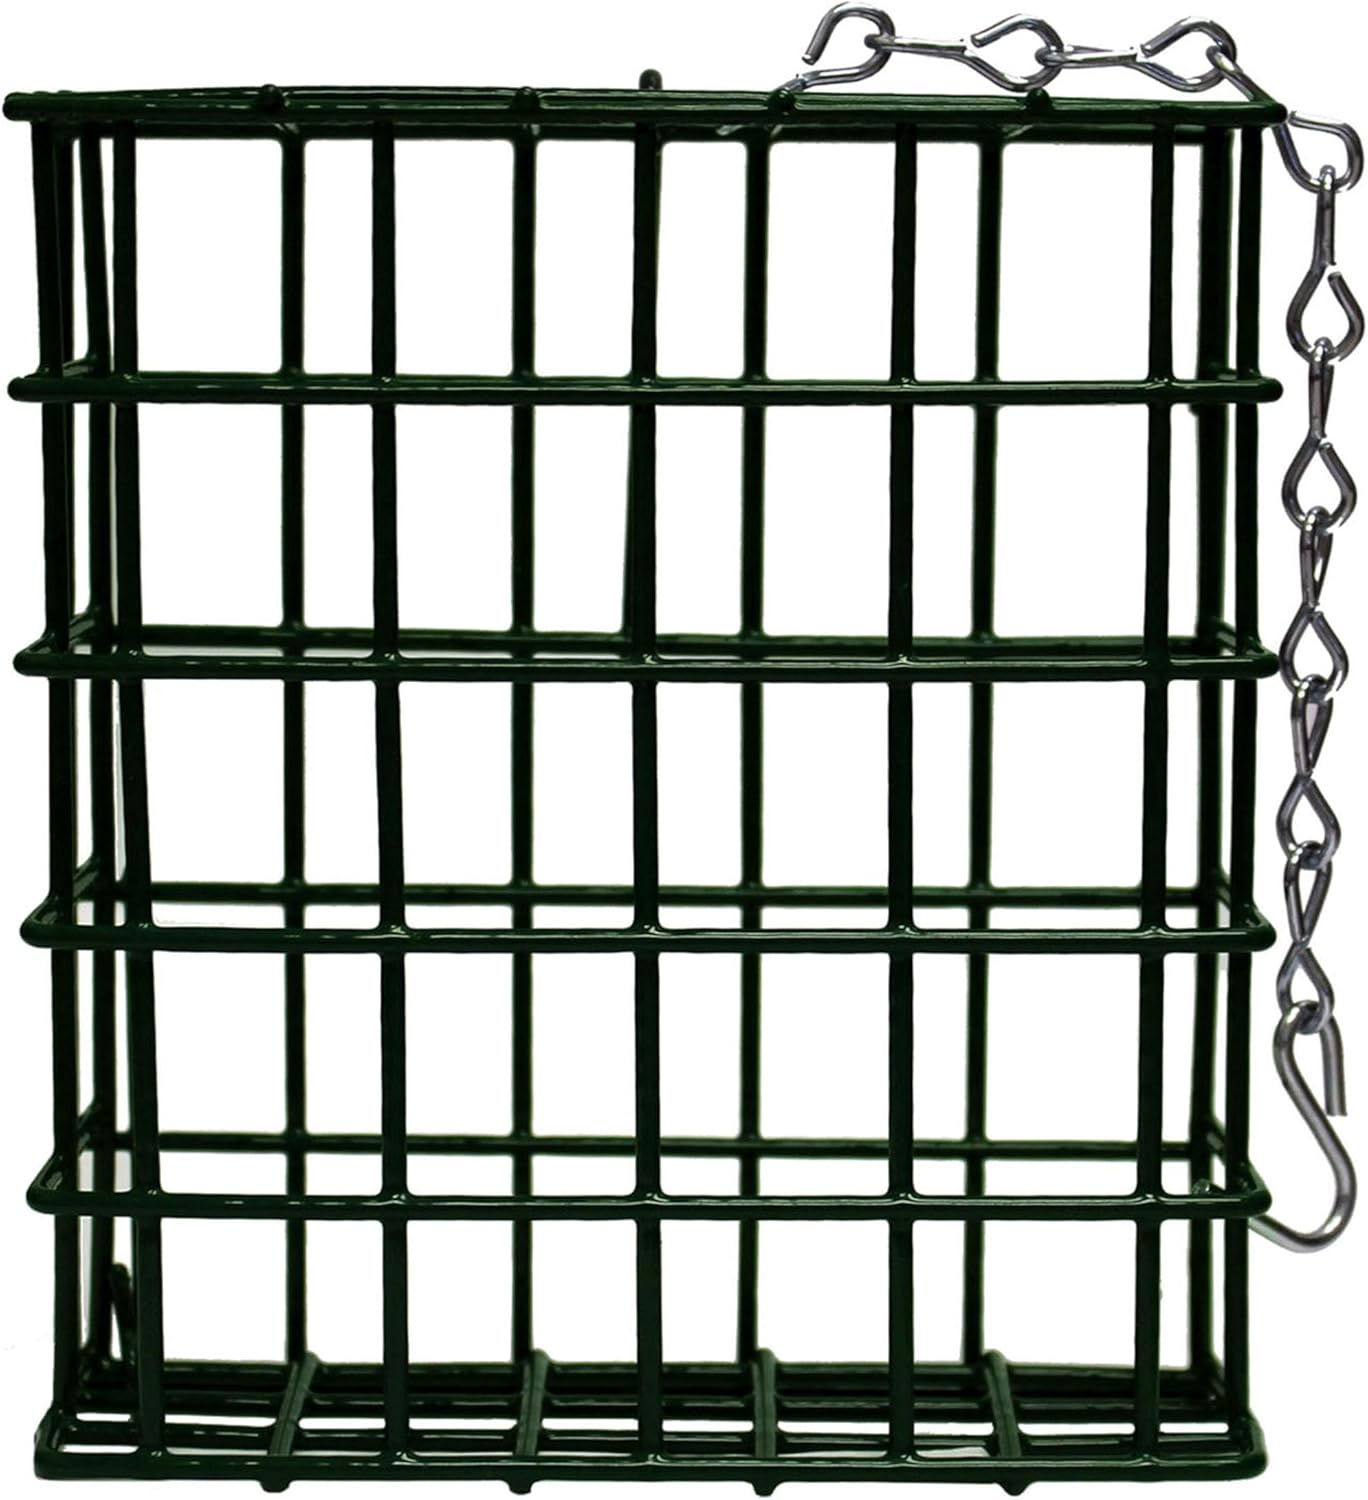
Another type of feeder that I use is a suet cage. Some bird’s diets require more than just seed. Suet fills this need attracting insectivores including woodpeckers. Bears also love suet, so it is the last birdfeeder I set out. I wait until the nights are cold and the daytime temperatures are below 50° F. The suet feeder attracts insectivores such as woodpeckers and wrens. I fill this with suet once a week. I buy several suet cakes and store them in the freezer until I need them. They are easier to handle when frozen because they are made from animal fat and are very greasy when warm. I find that frozen suet cakes are easier to handle than warm ones because they are more solid and less likely to crumble.
I found these tips on feeding birds from the NJDEP a bit overcautious. Although they are sensible, I don’t follow all of them. Living in the forest in northern Passaic County, we have many bears. Over the years, I have developed my own routines and procedures. I don’t wait until December 1st to start feeding the birds; I start after the first few frosts. In the spring, I wind down after my suet feeder disappears, which indicates bear activity. I don’t bring my feeders inside at night, but its true that is when they are raided. I also don’t use spill trays; there are a lot of shells, but the spilled seed is eaten by foraging morning doves and turkeys.
“Avoid feeding birds if you live in an area frequented by black bears. Birds will survive without the supplemental seed that attracts bears.”
NJDEP
NJ Department of Environmental Protection Division of Fish and Wildlife Guidelines
– Avoid feeding birds if you live in an area frequented by black bears. Birds will survive without the supplemental seed that attracts bears.
– If you choose to feed birds, do so during daylight hours only, between December 1 and April 1, when bears are least active.
– Use spill pans to prevent seeds from reaching the ground.
– Clean up spilled seeds and shells daily.
– Store birdfeed within a secure location where bears are unlikely to see or smell it.
– Suspend feeder from a free-hanging wire, making sure it is at least 10 feet off the ground and at least 10 feet away from the trunk of a tree.
– Do not suspend feeders off of the house or deck.
– Keep in mind that black bears are excellent climbers!
– Bring bird feeders indoors at night.
– Suspend feeder from a free-hanging wire, making sure it is at least 10 feet off the ground and at least 10 feet away from the trunk of a tree.
After you install and fill your bird feeder with food, it may take a few days for birds to find it. Be patient; they will eventually show up. Birds are amazing creatures. They are able to find food sources that they will return to year after year. Once they find your bird feeder, they will undoubtedly attract more birds. The same birds seem to appear year after year, remembering the location of food.
“A birdfeeder in your yard or at your window can provide hours of entertainment and enjoyment.”
rt 23 staff
When you have bird feeders, you can expect a mess around them. This is because birds are messy eaters, and they tend to drop seeds and other food items on the ground. They also leave behind droppings, which are a natural part of the digestive process. It’s not the end of the world, but it is to be expected.
Birds are almost crepuscular in their reactions to the changing of light. They are most active at dawn and dusk, and are attracted to bird feeders at those times. In any case expect early visitors at your birdfeeder beginning at first light.
Birds are attracted to feeders and will quickly empty them, so feeders should be regularly refilled. Birds can almost act as weather forecasters, flocking to the feeders before bad weather. It is not uncommon to see birds at the feeders in the middle of a downpour. In the winter, birds are especially vulnerable to starvation, so it is important to keep the feeders full.
A birdfeeder in your yard or at your window can provide hours of entertainment and enjoyment. You can watch the birds flutter and squabble over the seeds. You can learn to identify the different species that visit your feeder. And you can enjoy the beauty of the birds as they flit about in the sunlight. At the very least, a birdfeeder can help to brighten up the cold and dark winter days.
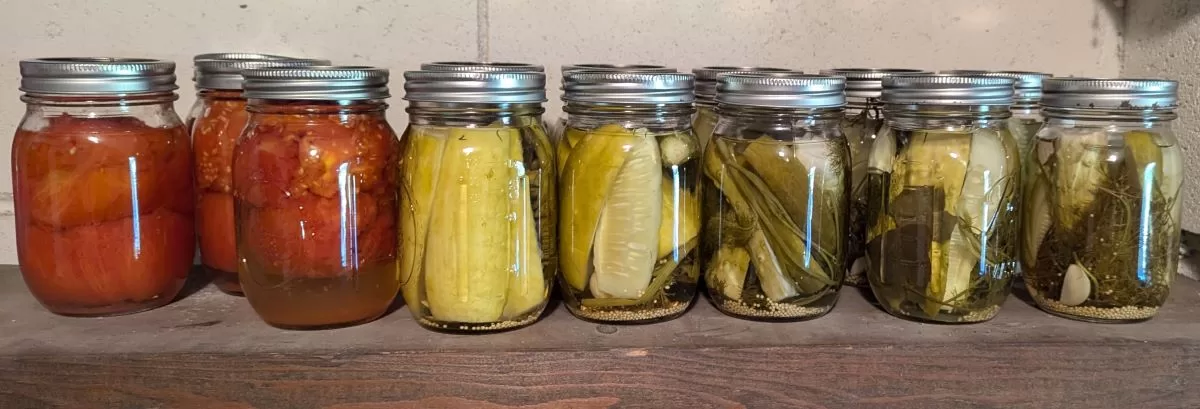
We started our garden in February with high hopes. We planted winter-sown sunflowers outdoors and started indoor germination trays. By the end of the season, we were rewarded with an abundance of tomatoes, garden beans, summer squash, cucamelons, and cucumbers. We enjoyed fresh produce all summer, mostly eaten fresh. We were also able to freeze some summer squash and can tomatoes and pickle cucumbers. We canned the tomatoes and pickled the cucumbers.
But it was not all good news and we had a few disappointments. Our radish and carrot crop never materialized. We did not harvest the eggplant we expected, only one small fruit which we made into a tiny eggplant parmesan ( which was delicious nonetheless!). We did not harvest any pumpkins, although we had a few small examples but they were eaten by animals or rotted on the ground.
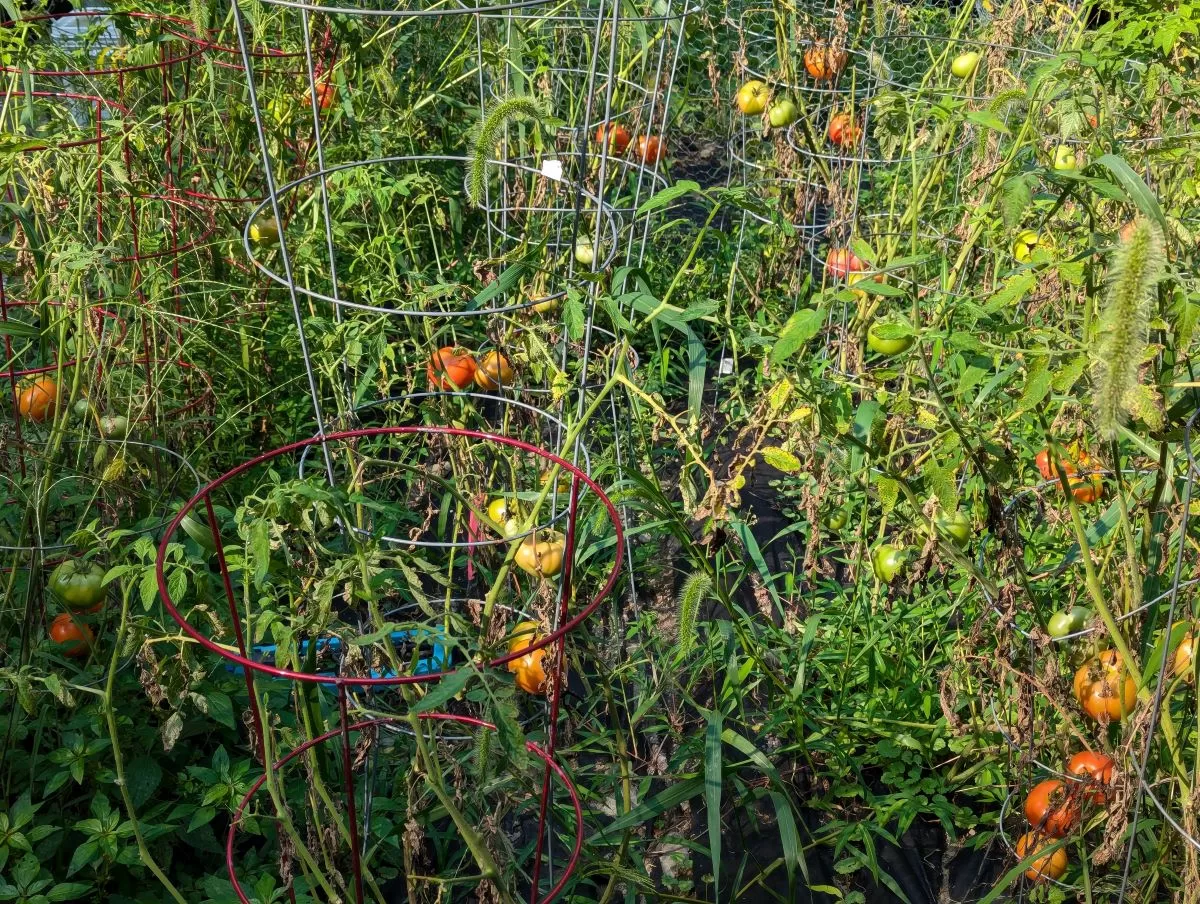
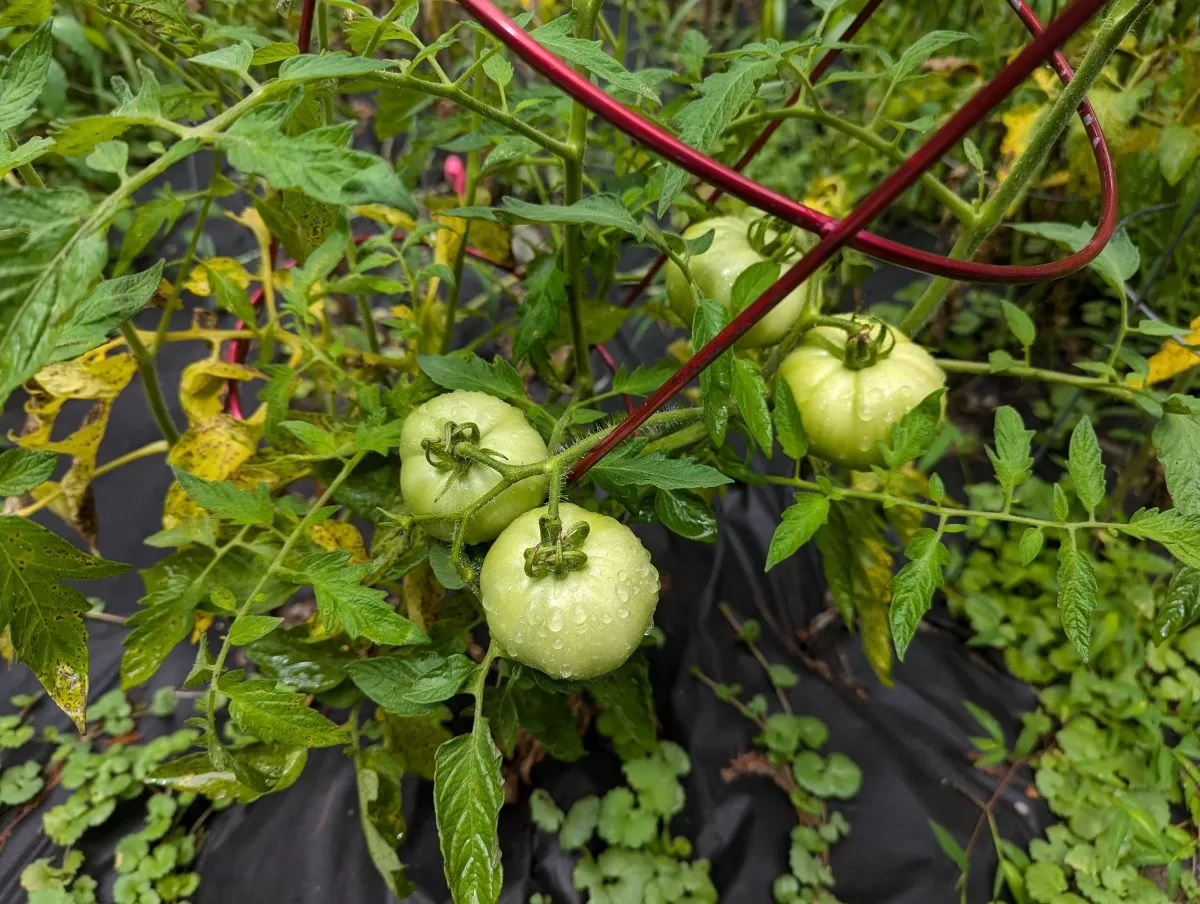
Our last harvest for 2024. watermelon and green tomato.
Aside from a few setbacks, we are pleased with our bounty of crops. We planted more summer squash in a new garden plot alongside our driveway. We picked squash as soon as it was matured to encourage more growth. At first we did not know what to do with so much sqaush until we found delicious recipes for sauteed squash and squash casserole which we froze. We also froze the fresh squash for a delicious winter soup. you can find these recipes and more at our rt23 NJ Garden Recipes page.
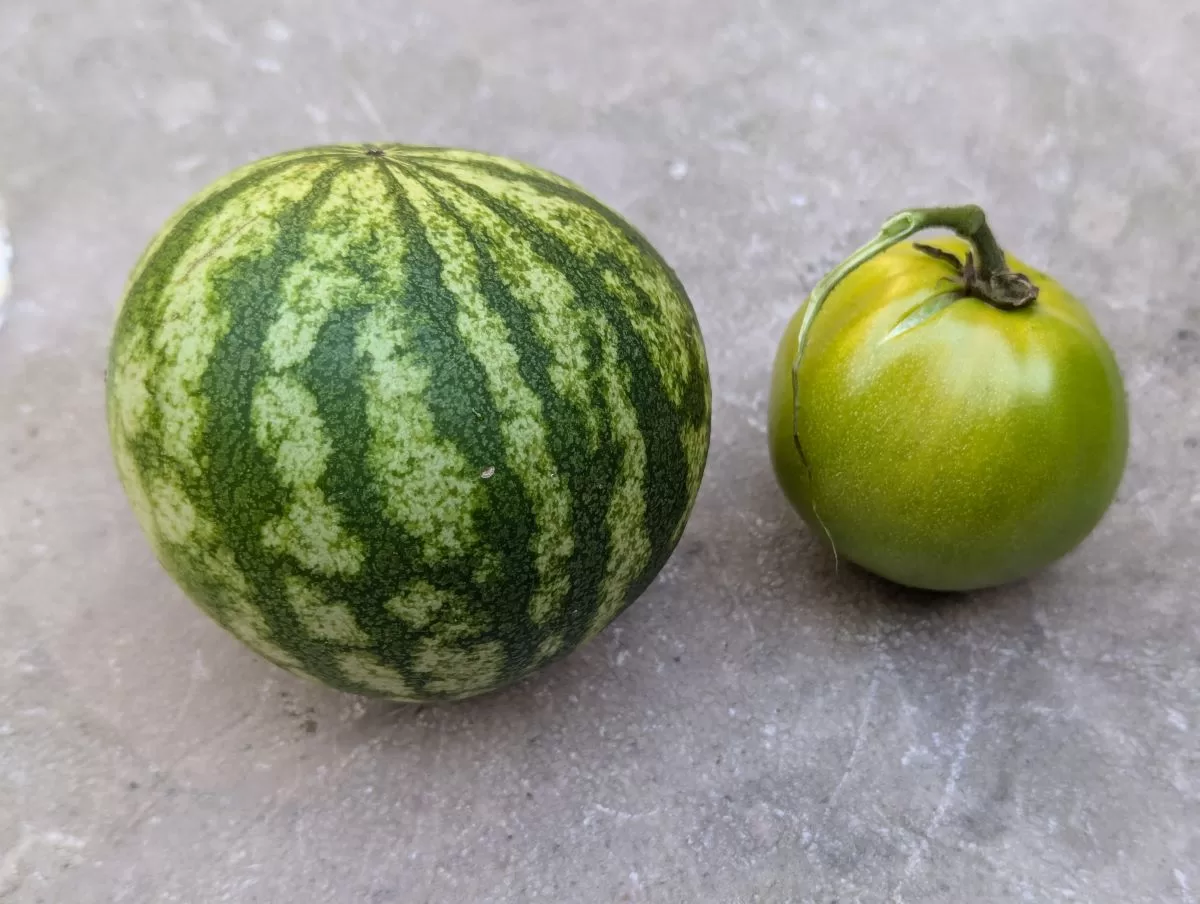
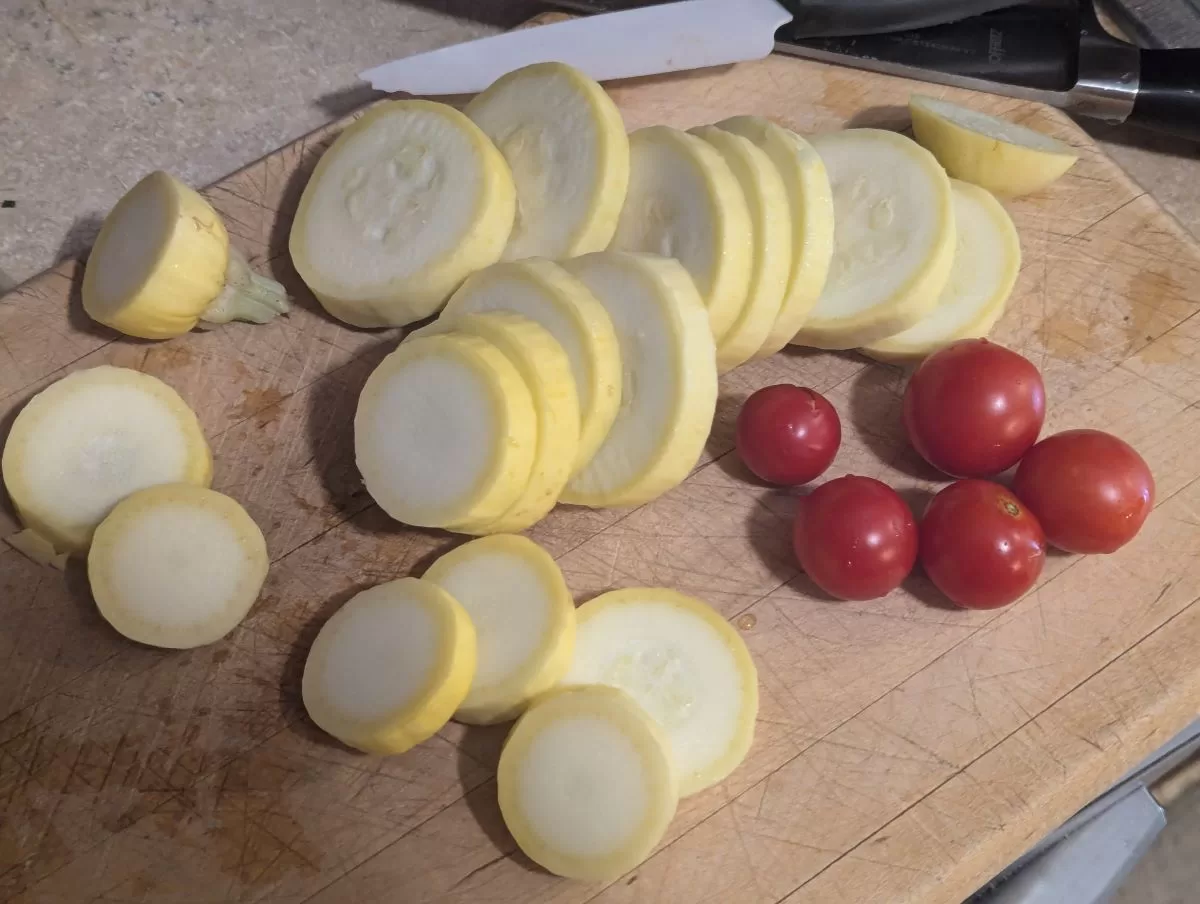
Summer squash, beefsteak tomatoes, cherry tomatoes and cucumbers; 2024 harvest.
2024 Flower Gardens
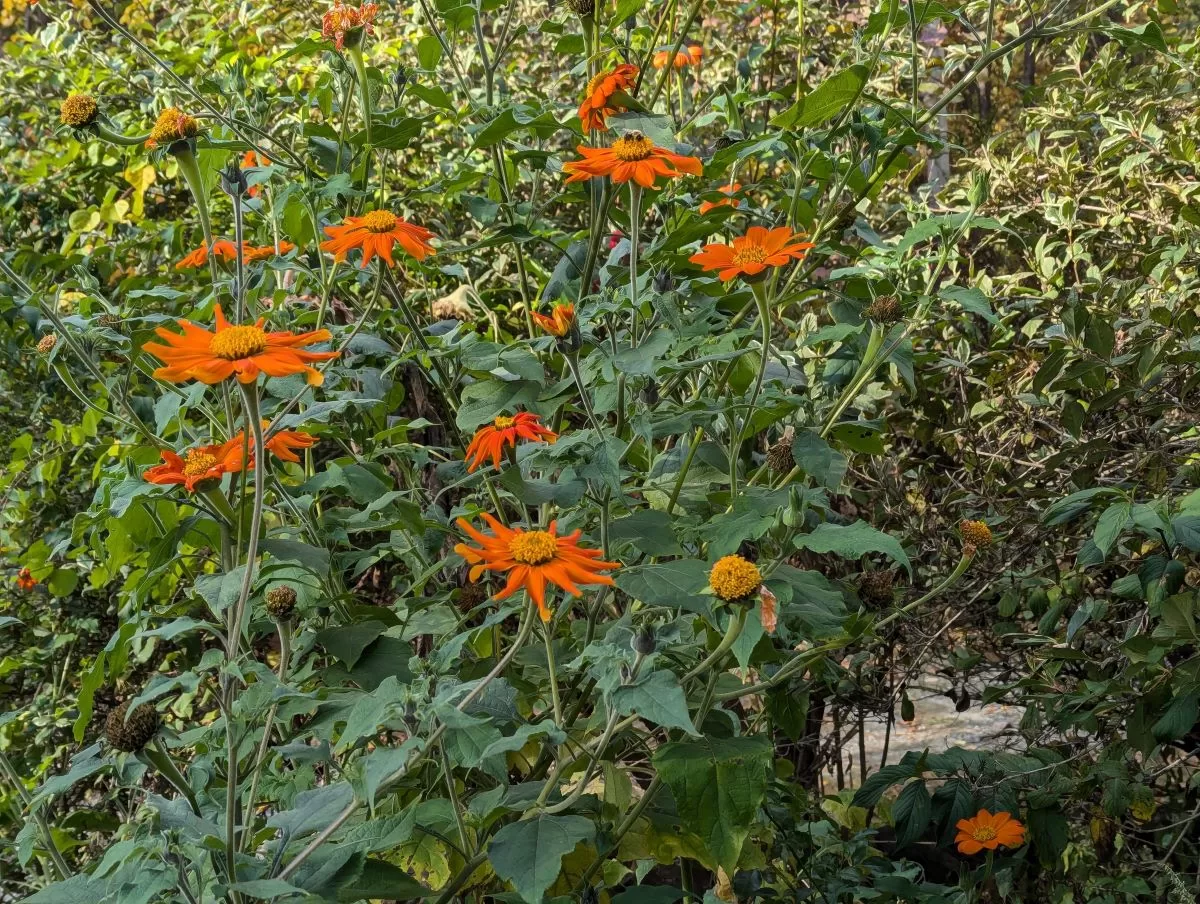
Mexican Sunflowers
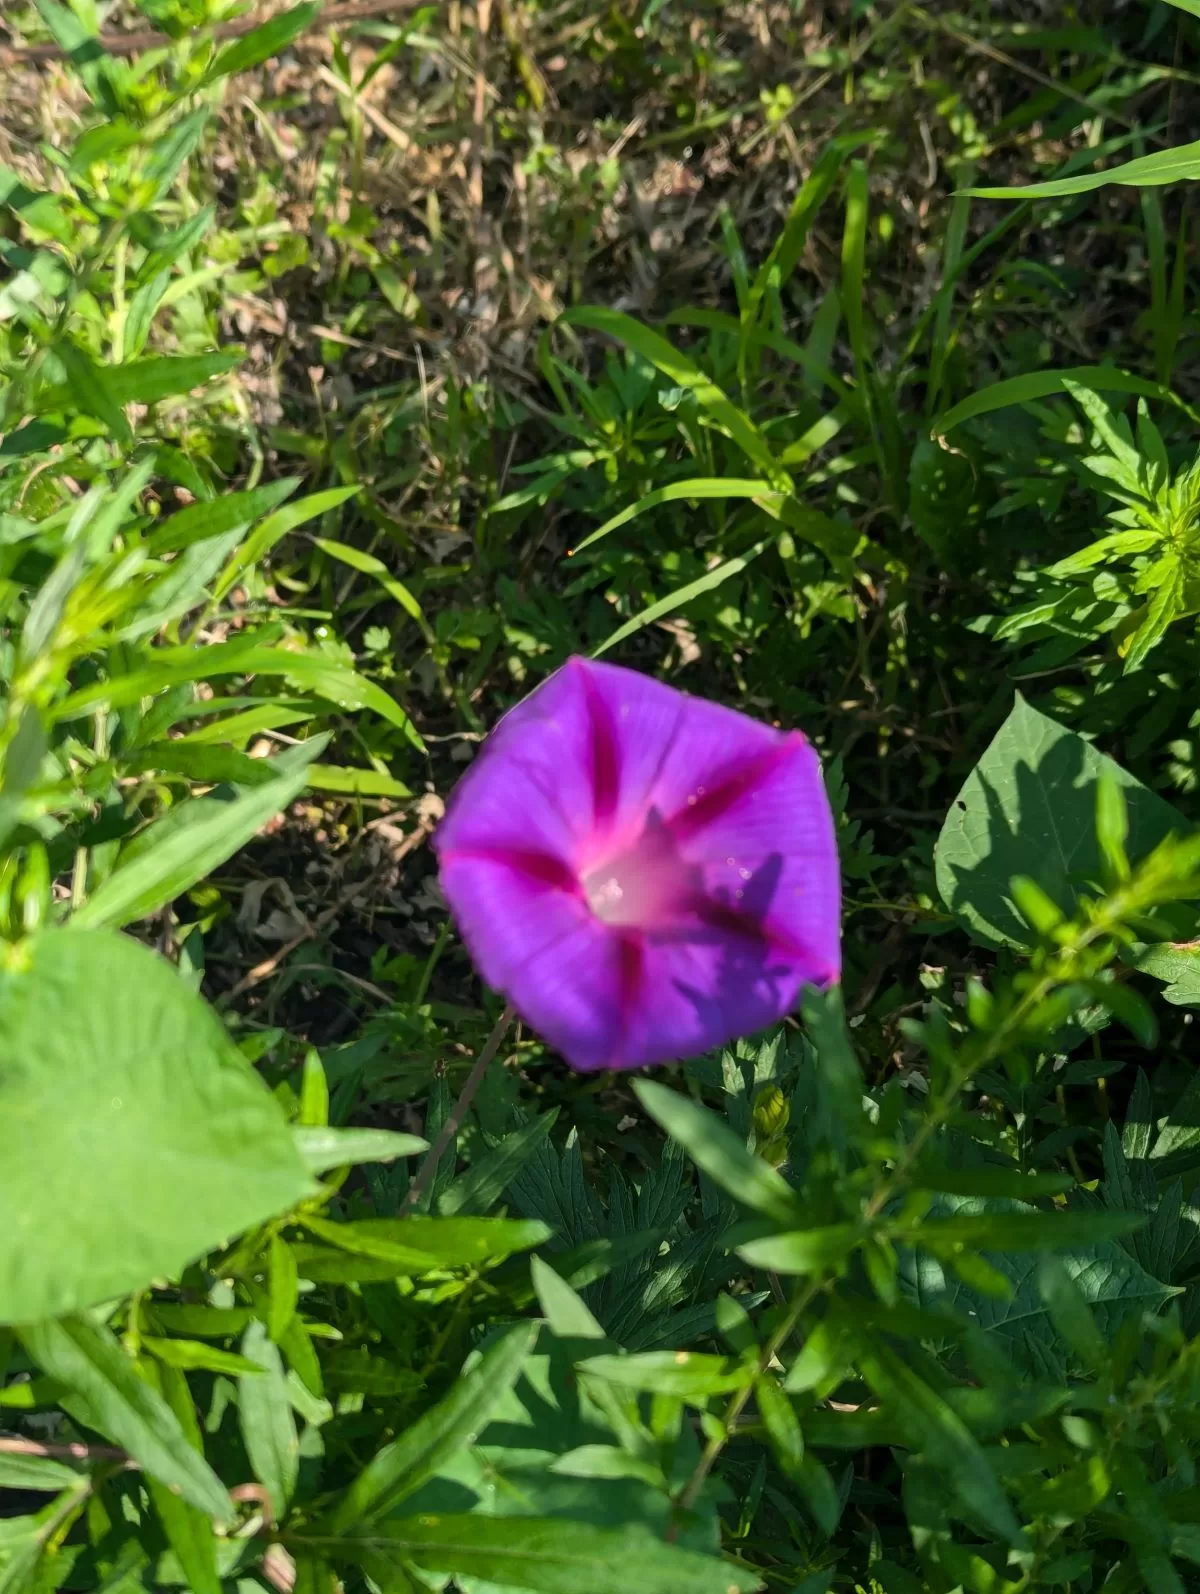
On a brighter note, our flower gardens were colorful and successful.
Its been a good season for the garden this year but not without a few disappointments. On the positive side we harvested many tomatoes, cucamelons, cucumbers and summer squash. The summer squash we were able to eat fresh while the abundance of cucumbers were either “fresh” pickled or hot water canned. The tomatoes were eaten fresh and we were able to can a few jars.
On the other hand, we did not harvest any radishes, carrots or eggplant. Root crops are difficult to grow in North Jersey rocky, clay soil.
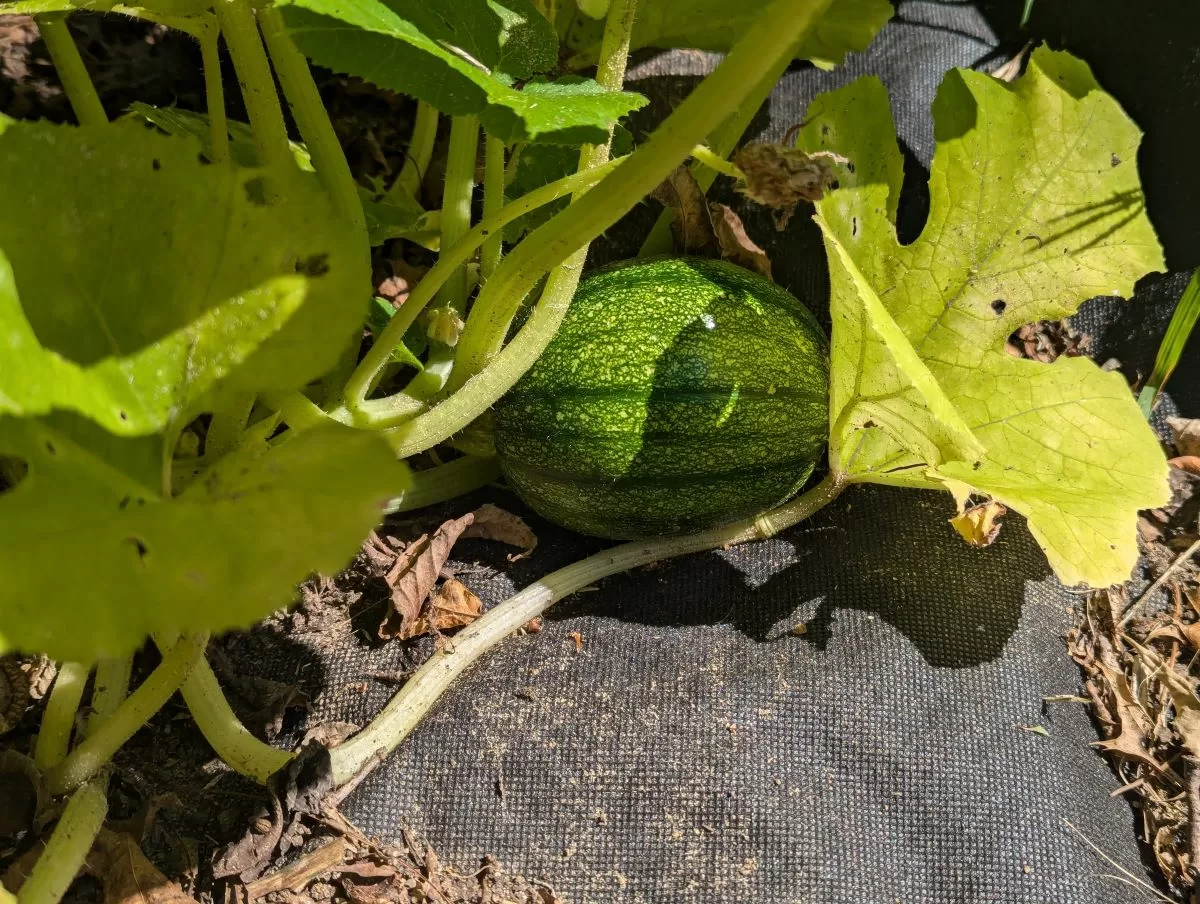
Pumpkin on the vine
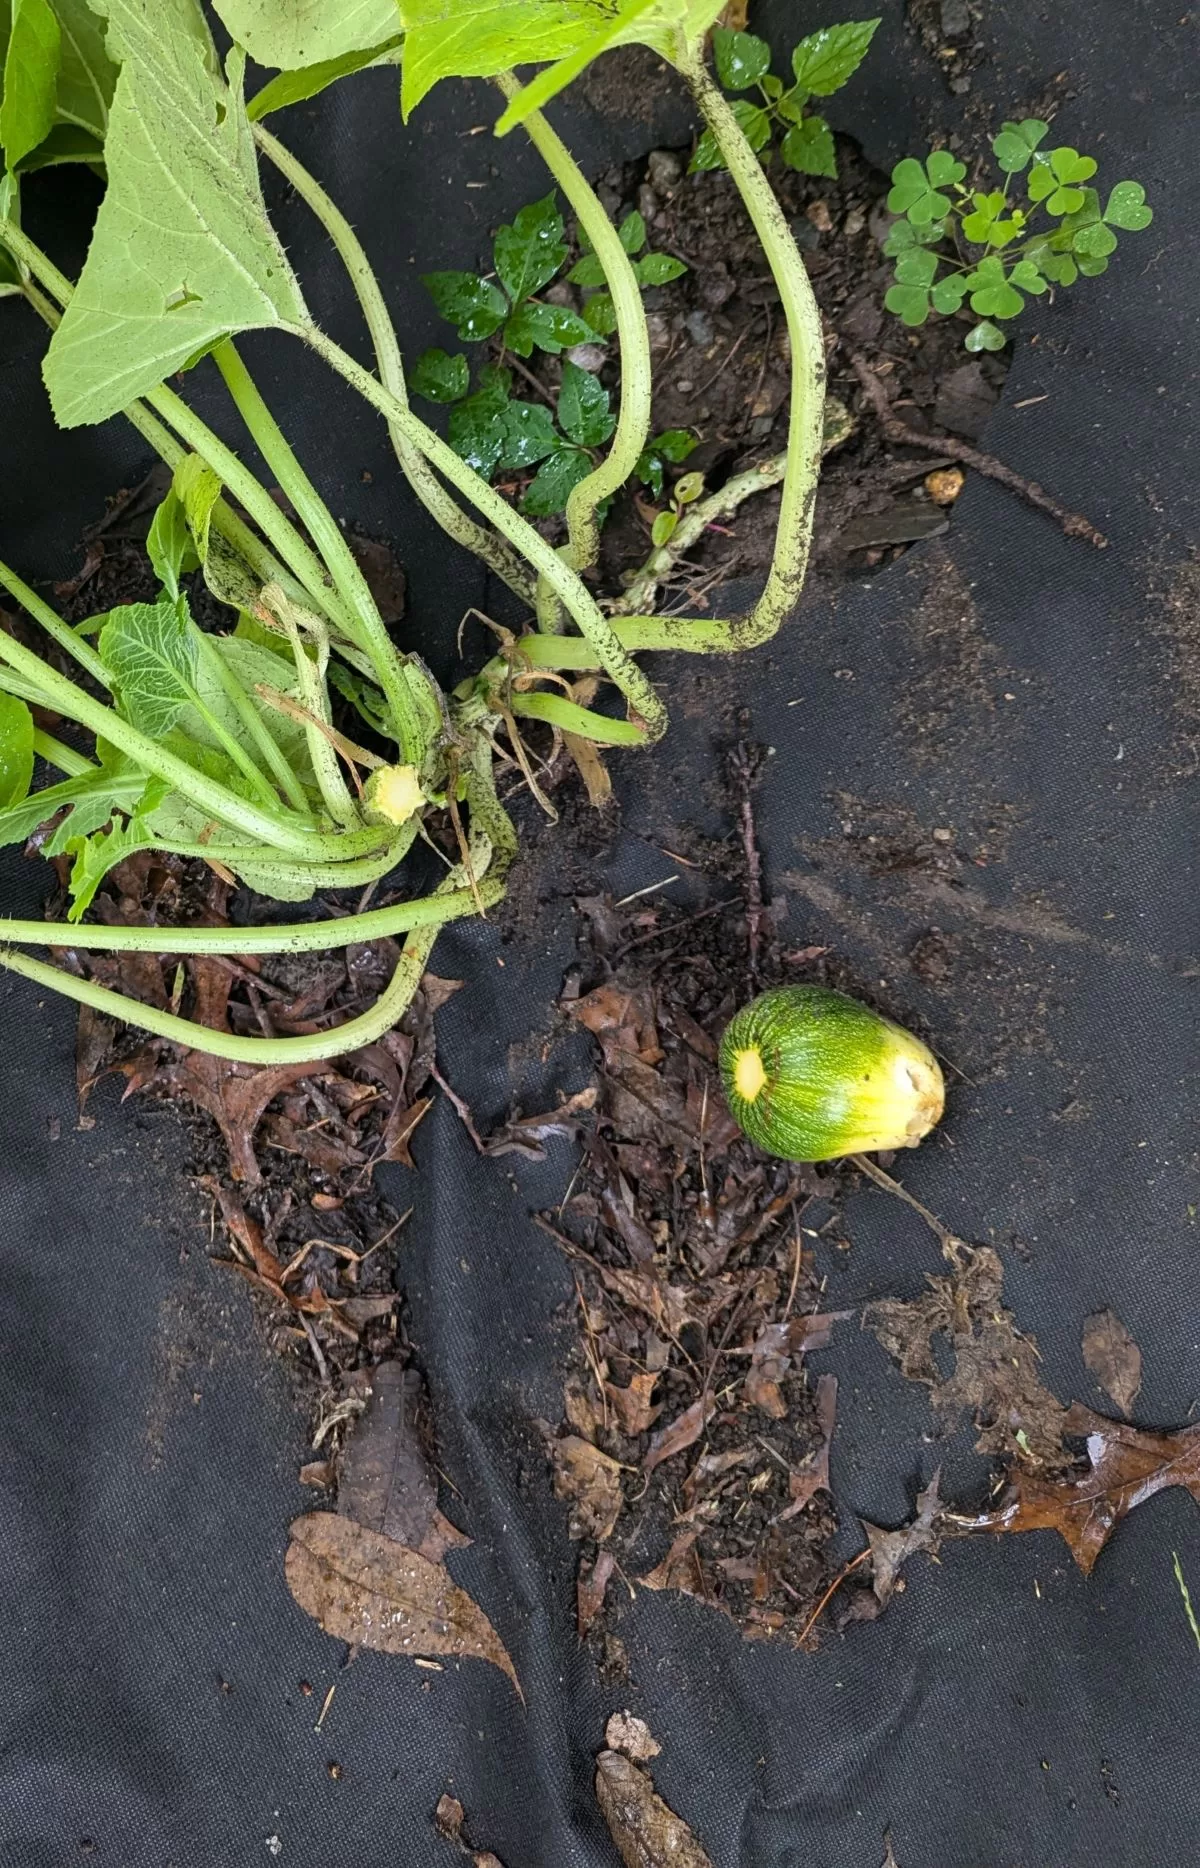
This is a picture of a pumpkin that was destroyed by an animal. The pumpkin was growing well, but the animal ate it.
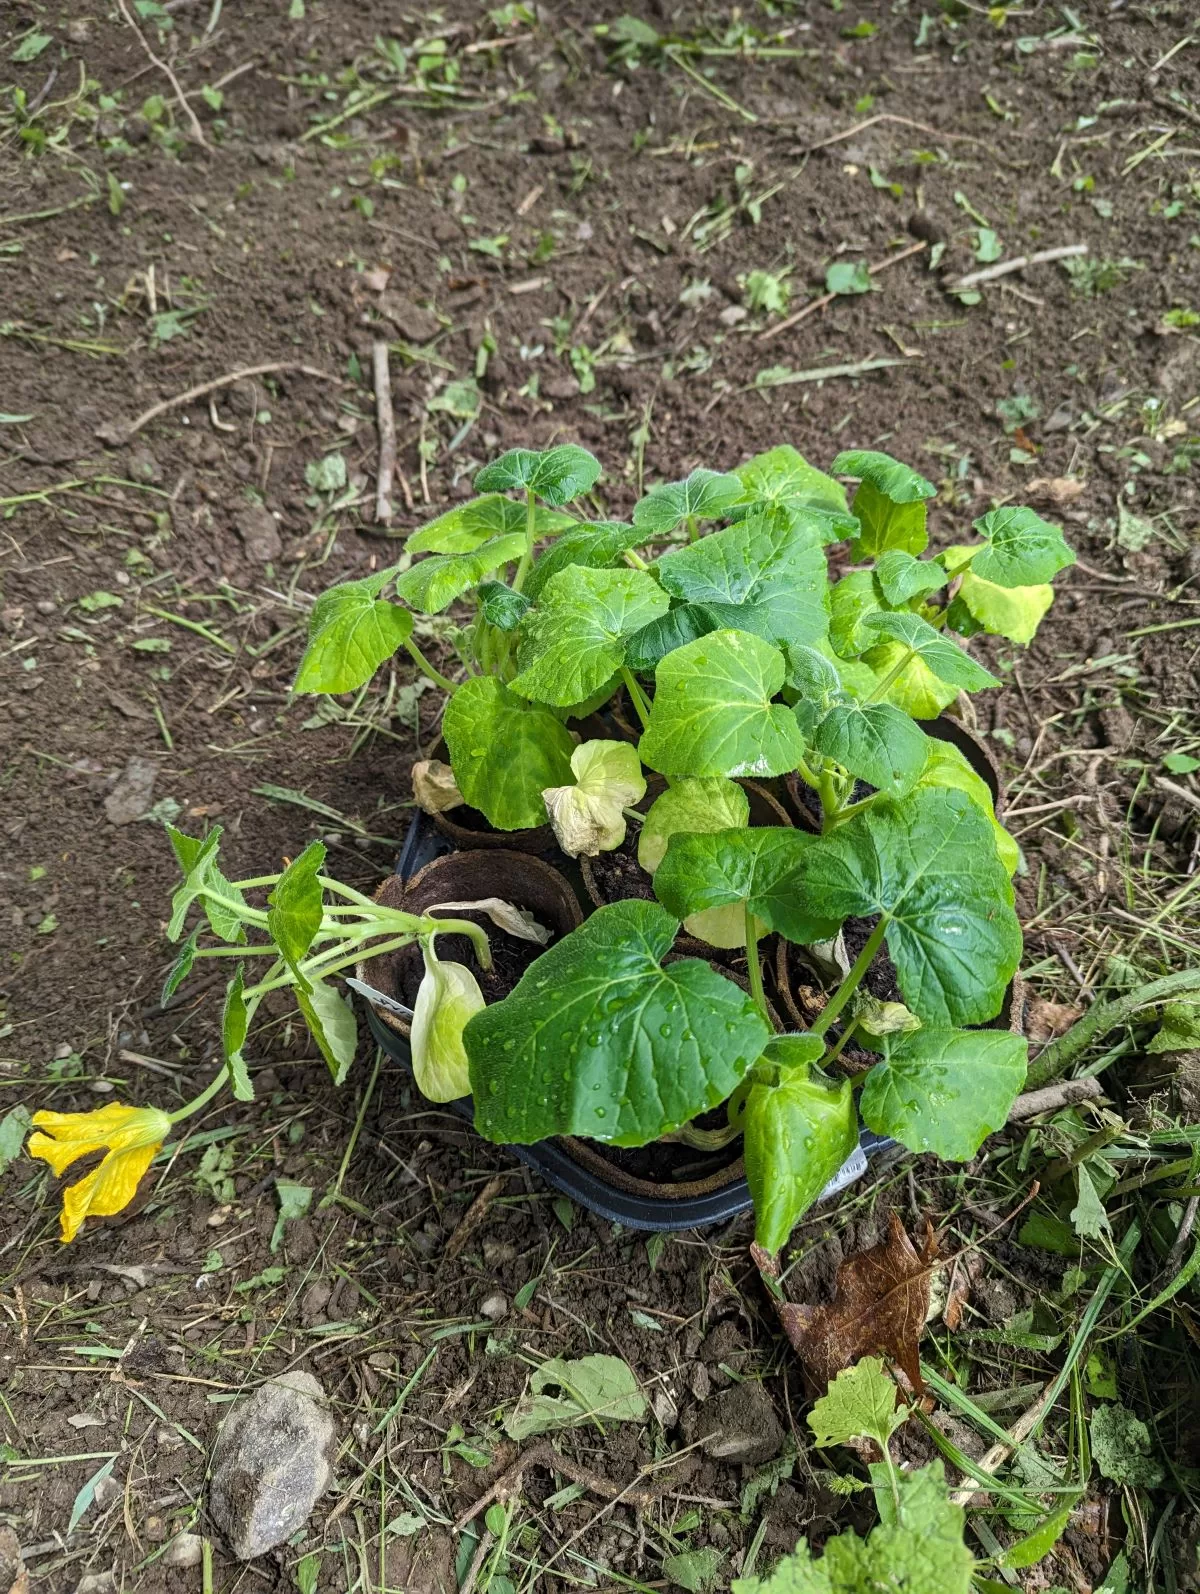
In early spring, we started pumpkin plants in the house, which was a good start. We transplanted them outdoors in May, and they grew well, producing numerous flowers. However, the plants produced little fruit. It appears that animals consumed one immature pumpkin, and another pumpkin rotted on the ground. We have one pumpkin remaining, and it appears healthy, so we may be able to harvest it in the fall.
September 5, 2024: Never Say Die
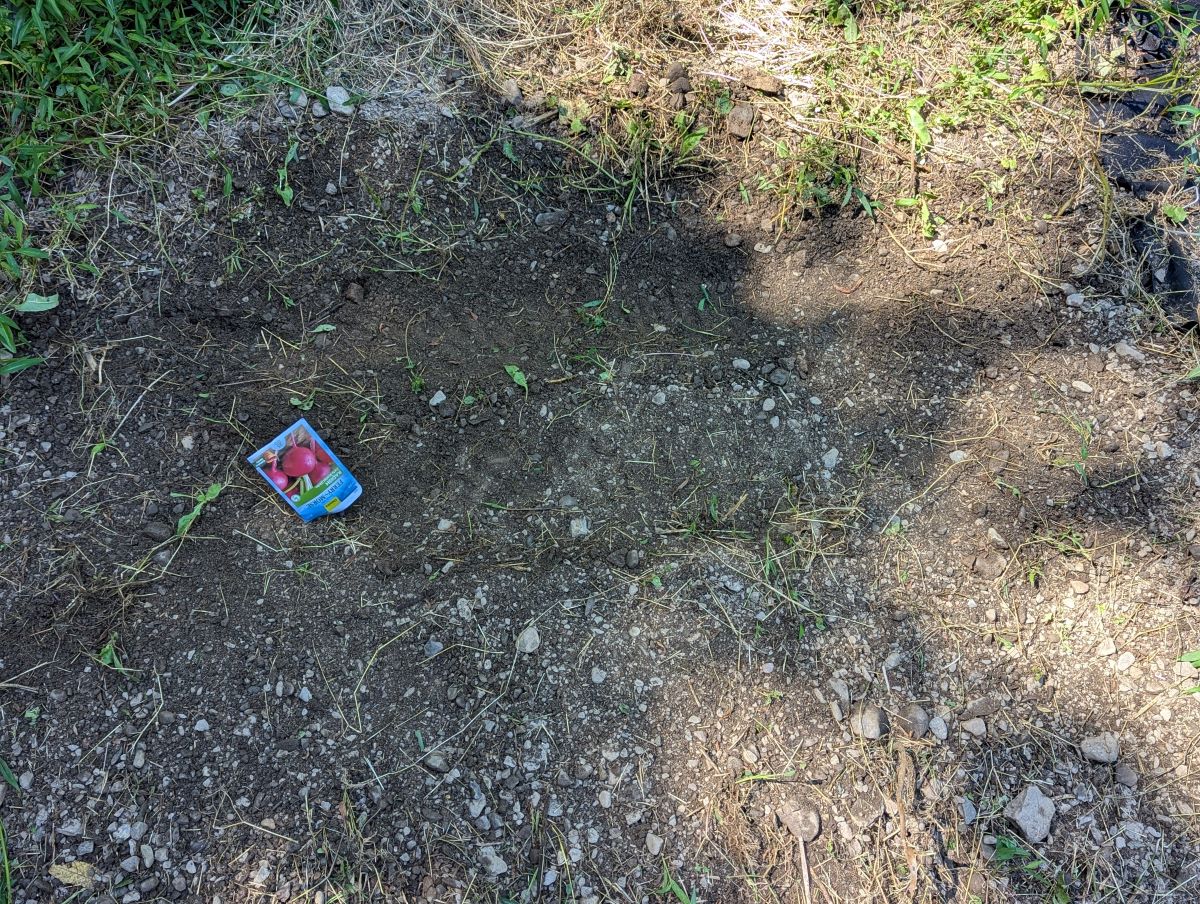
Autumnal radish patch
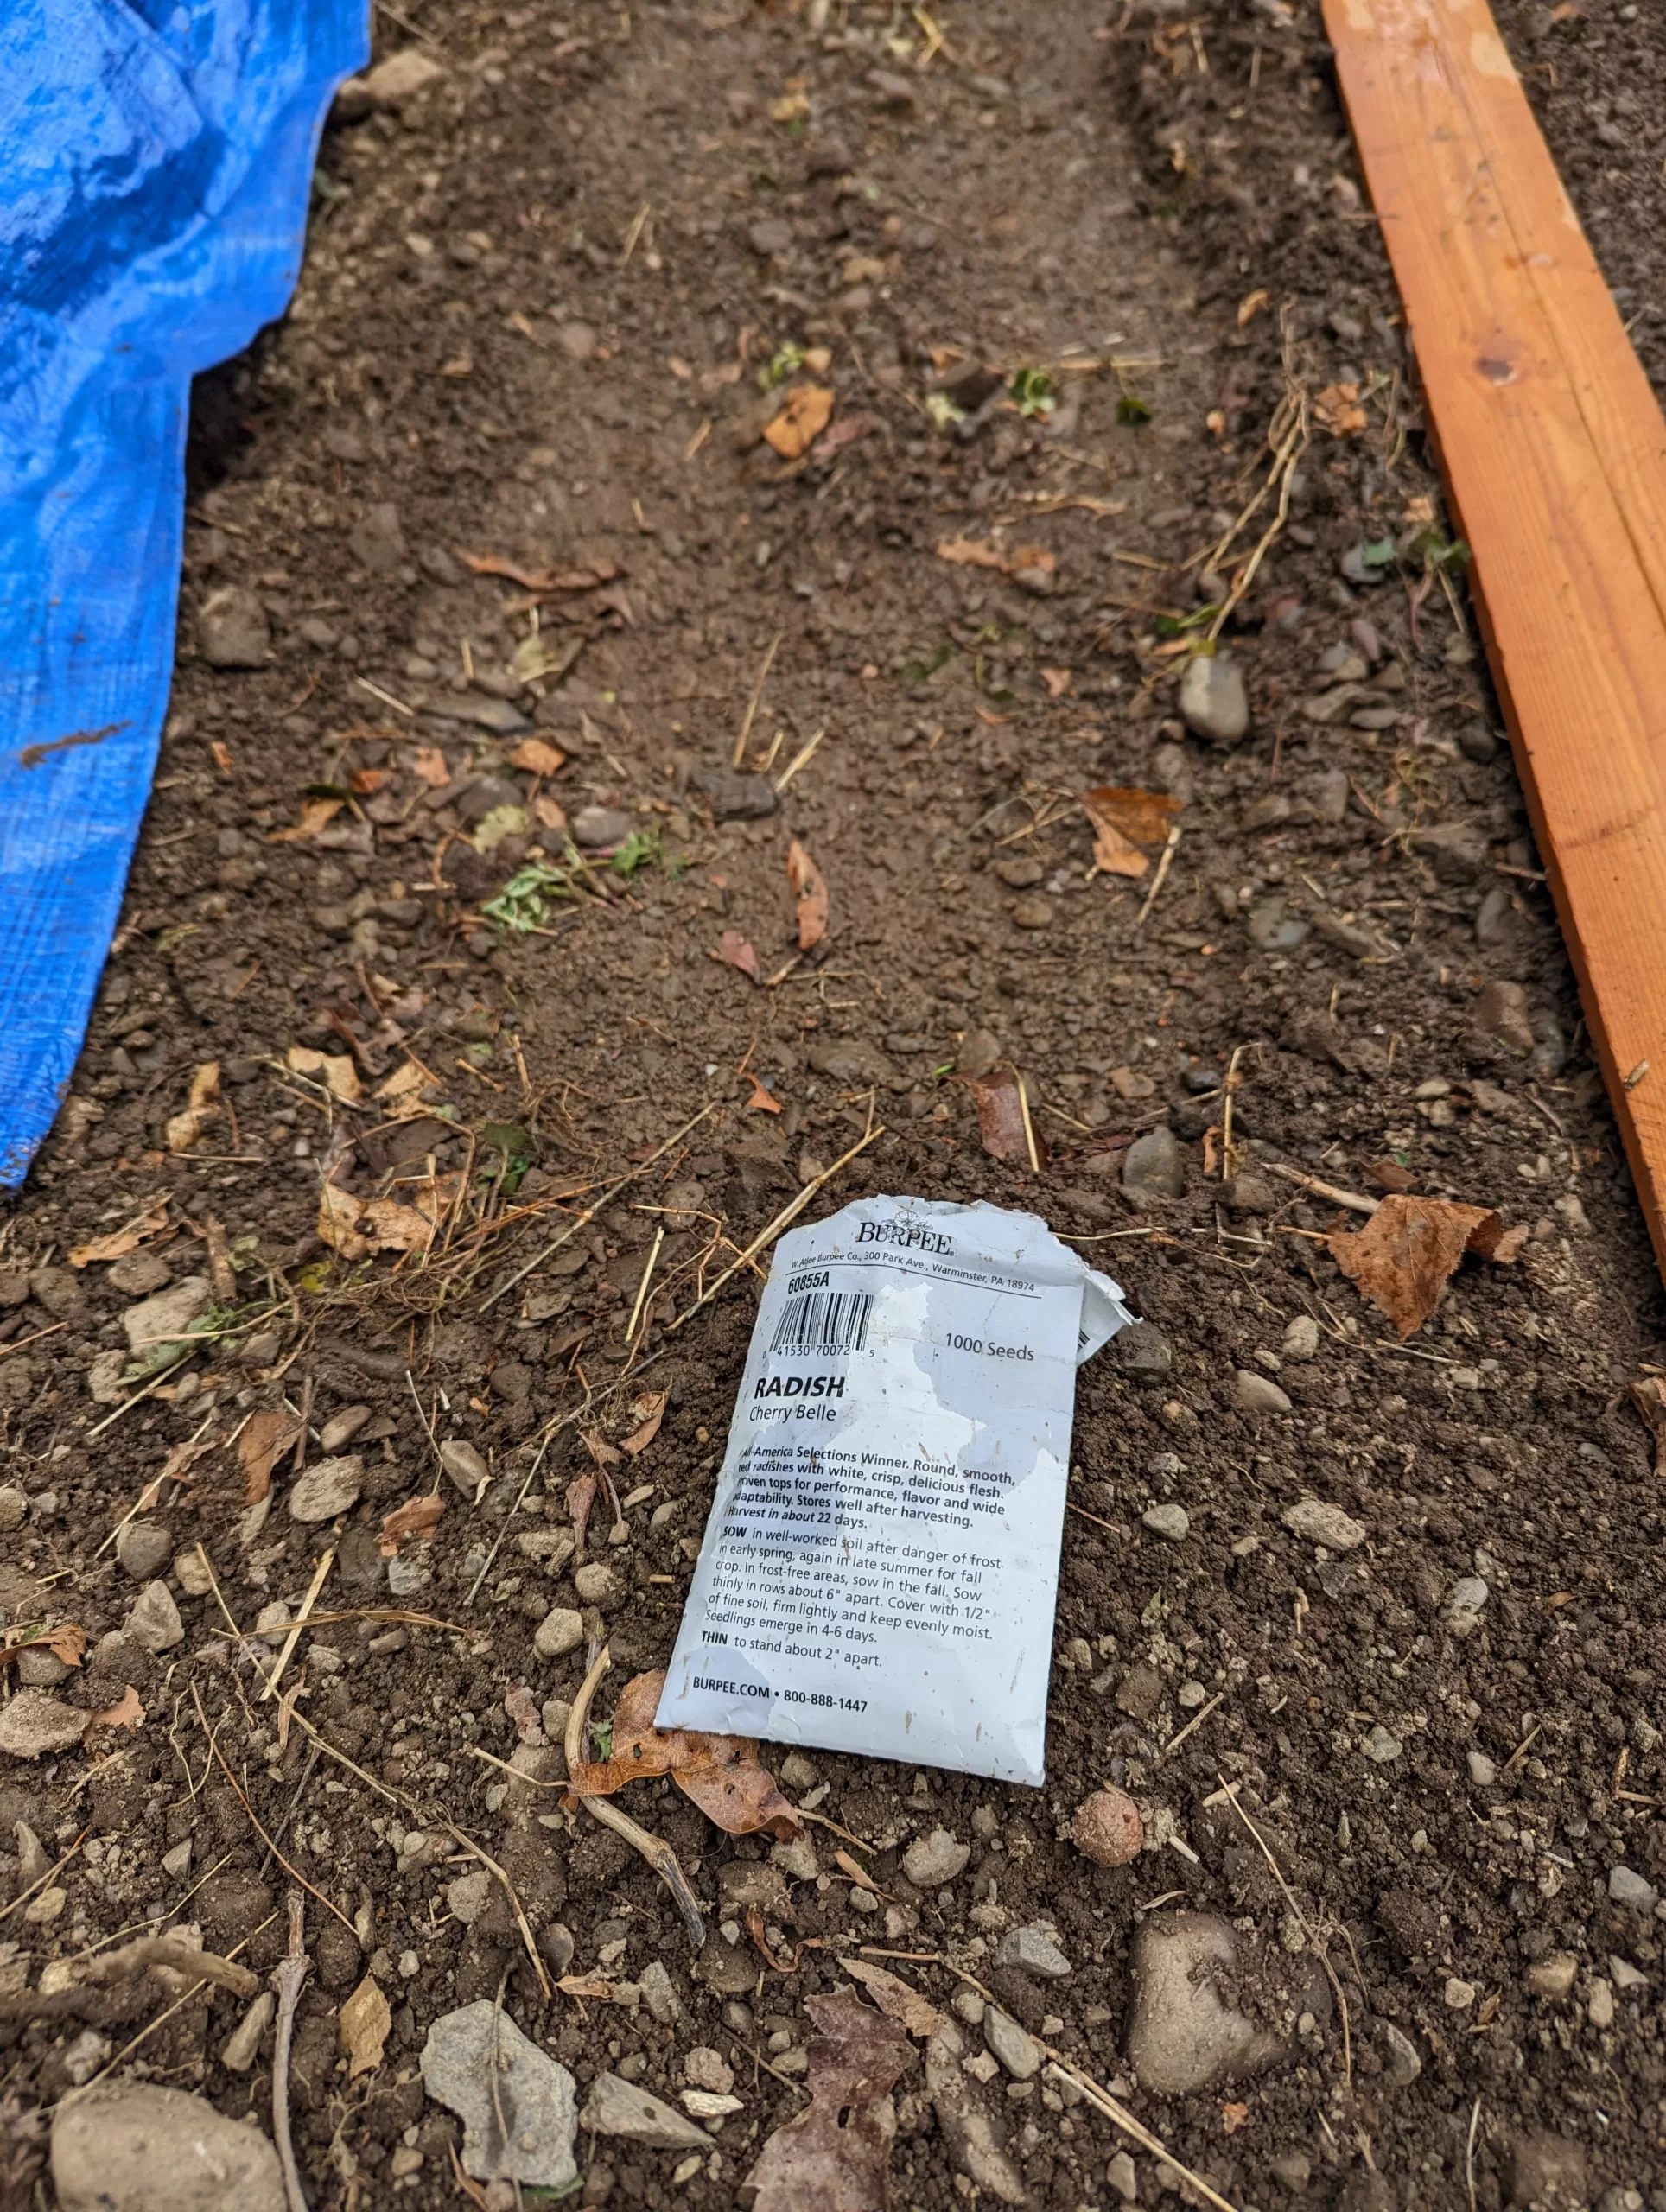
Every year I try to harvest radishes in the fall season, but without success. This year, I did some research and found that radishes prefer colder temperatures around 60 degrees F. I had tried planting in August, but the warm temperatures caused the radishes to bolt and not produce delicious bulbs. This year, I planted when the overnight temperatures reached 50 degrees F. I also added some lime pellets because radishes thrive in basic soil conditions.
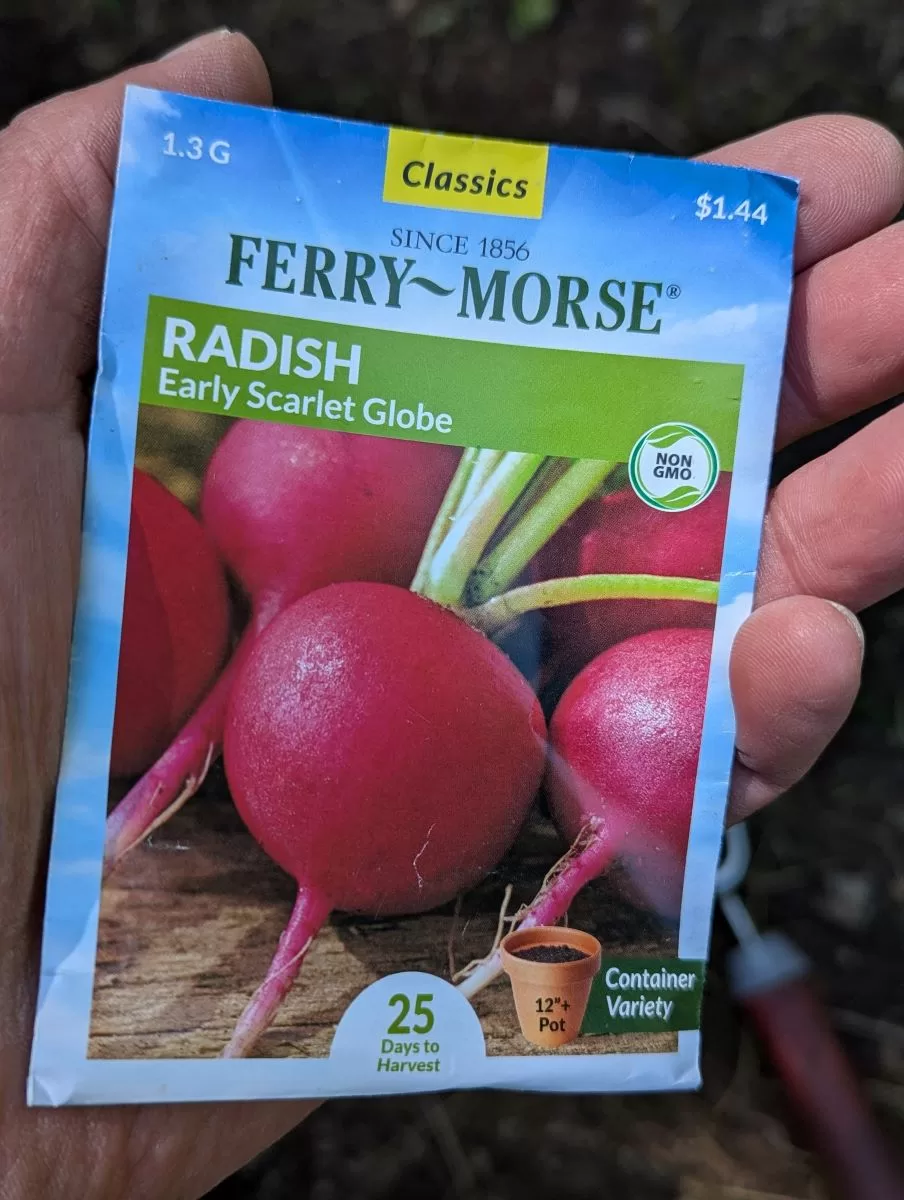
I am planting Ferry and Morse Early Scarlet Globe Radish seeds again this year. I have a small patch that I cleared with a garden fork, loosening the soil. I planted the entire seed pack in two rows and watered. Now we wait for an autumn harvest in October. The seed pack says it takes 25 days from sprouting to harvest.
September 30, 2024 UPDATE: All of the radishes sprouted but unfortunately they were eaten by chipmunks and such. i should have used cayenne pepper to deter the pests, Live and learn!
September 30, 2024: Clean-up
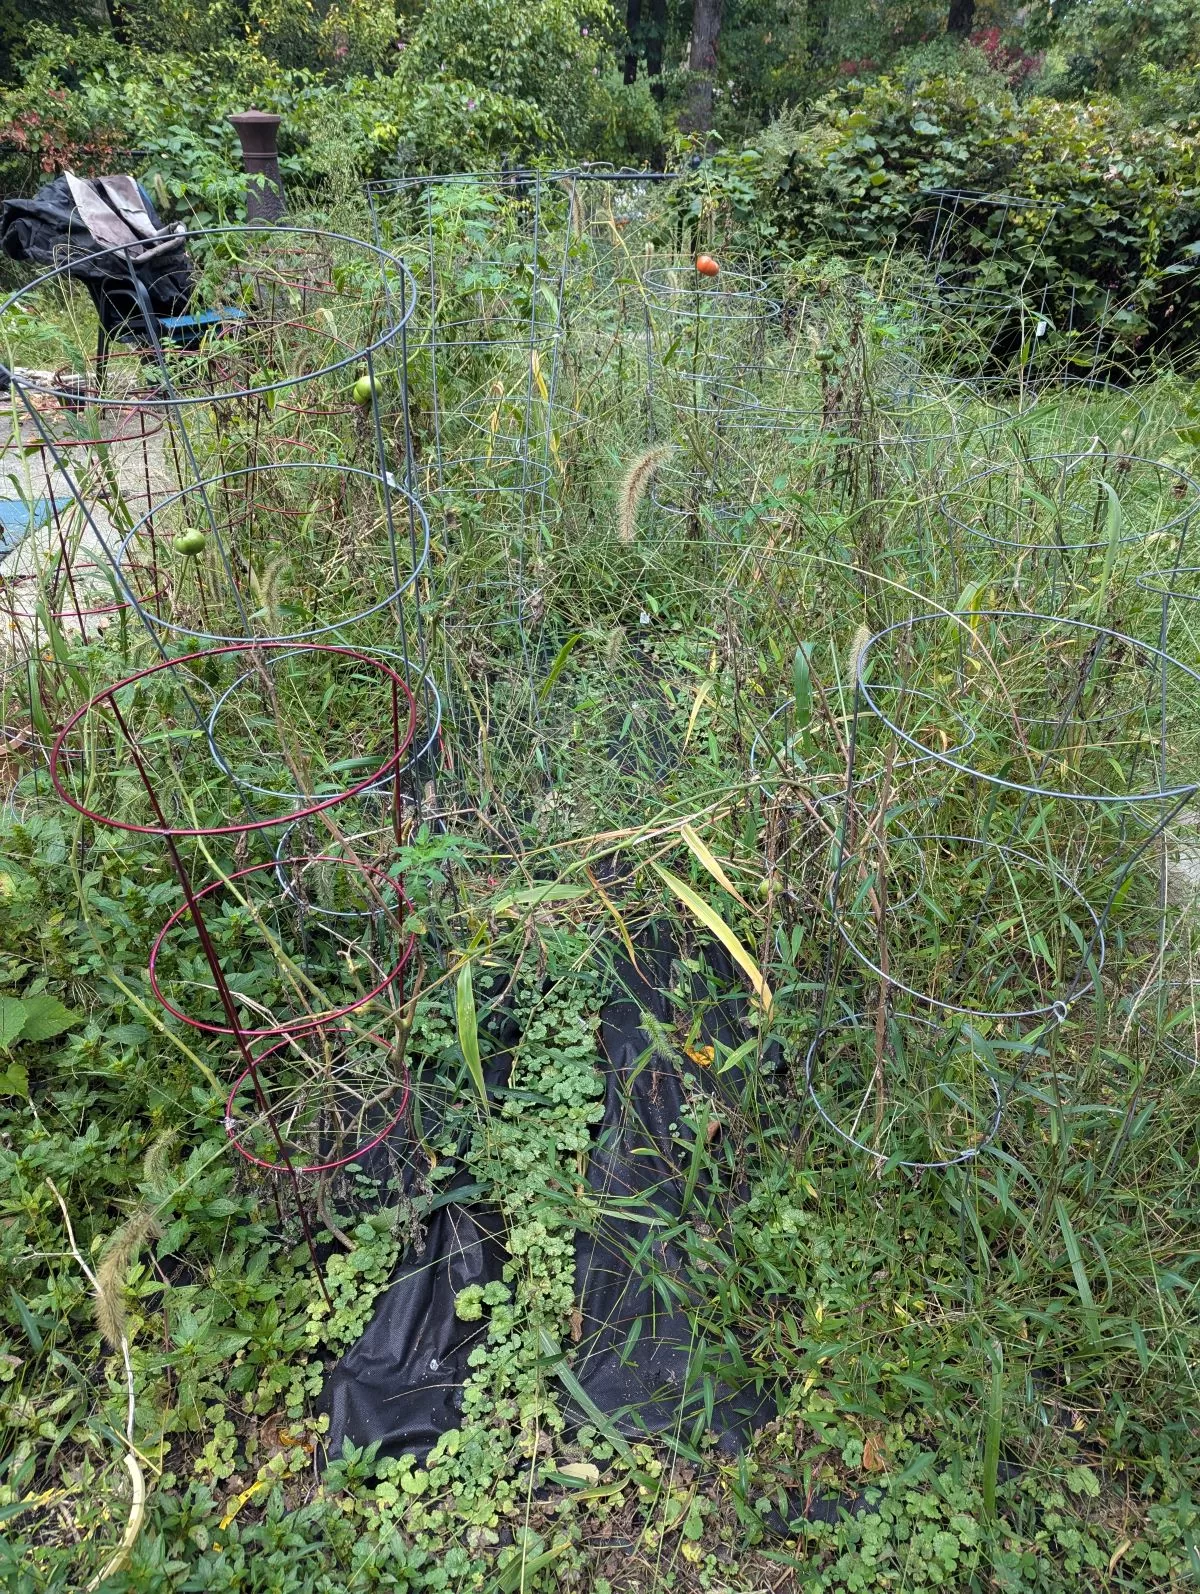
The tomato harvest is over, and the cold weather is taking its toll on the tomato plants. The leaves are turning brown and wilting, and the stems are becoming brittle.
October 17, 2024
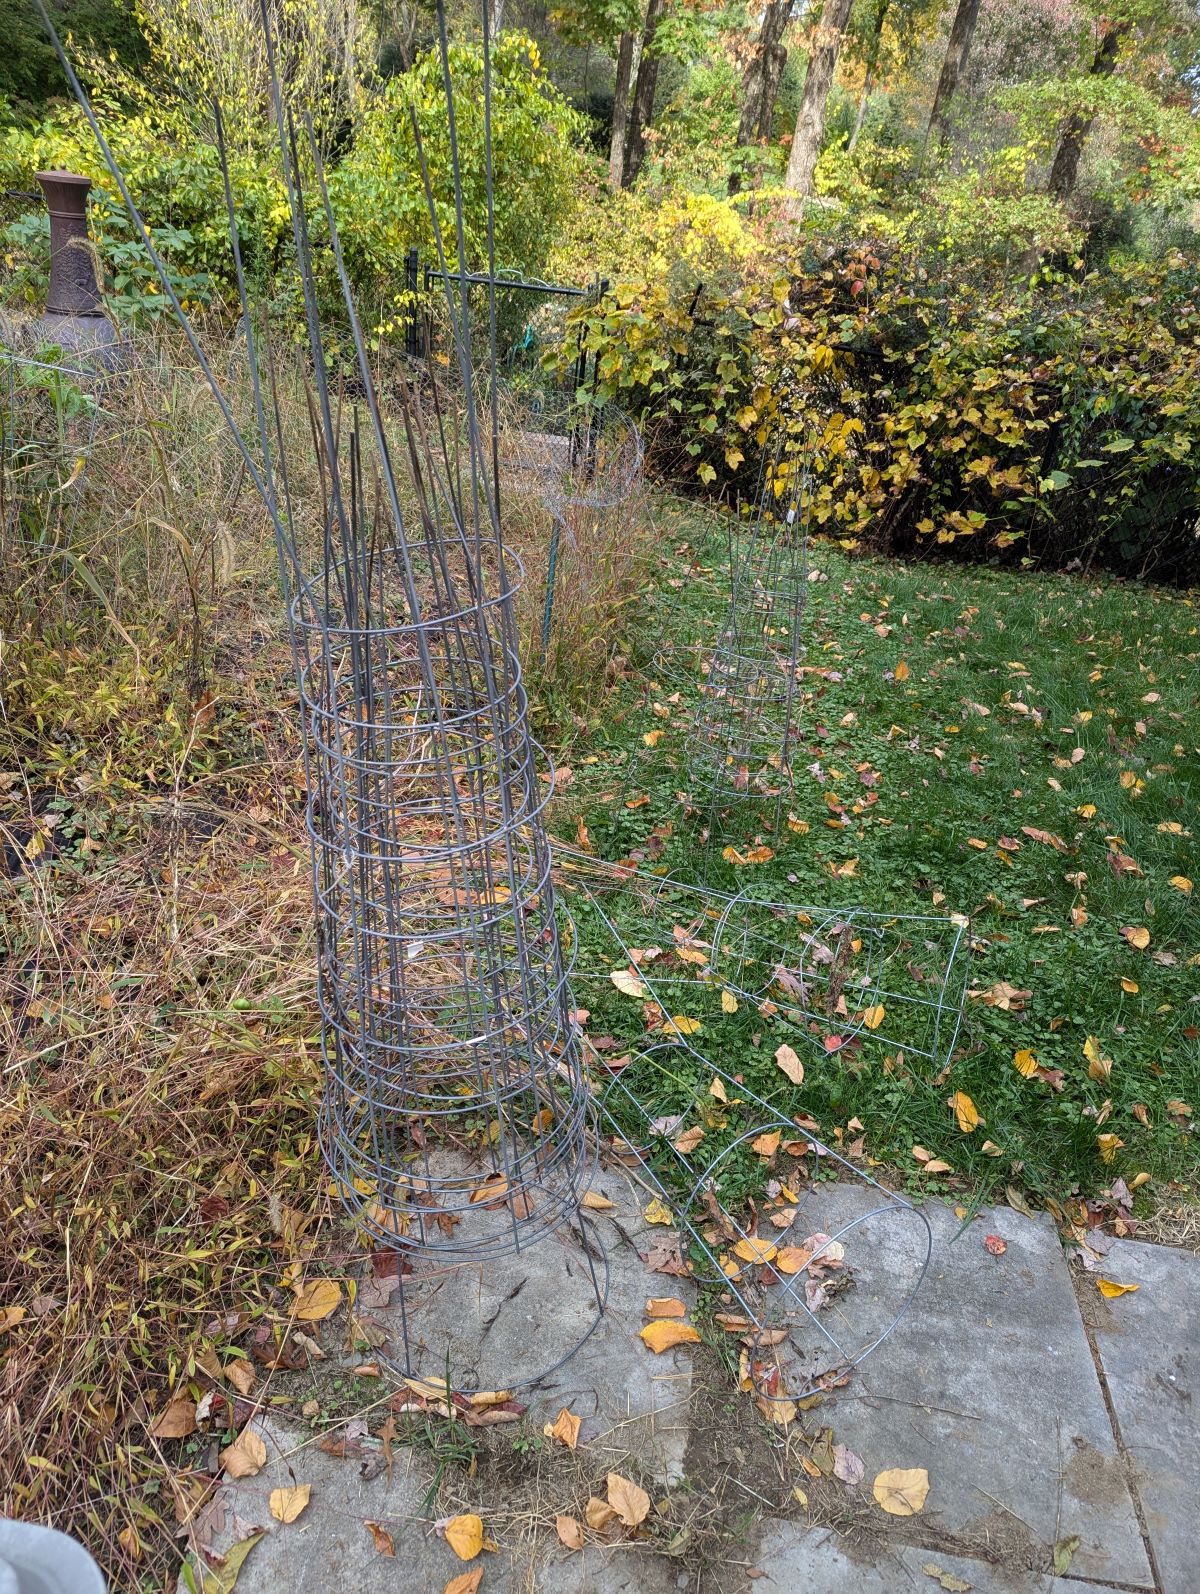
It’s time to bundle the tomato cages for storage until next year. I’ll leave the landscaping cloth in place to prevent weeds from growing until I till the garden in the spring.
stacked tomato cages ready for next year
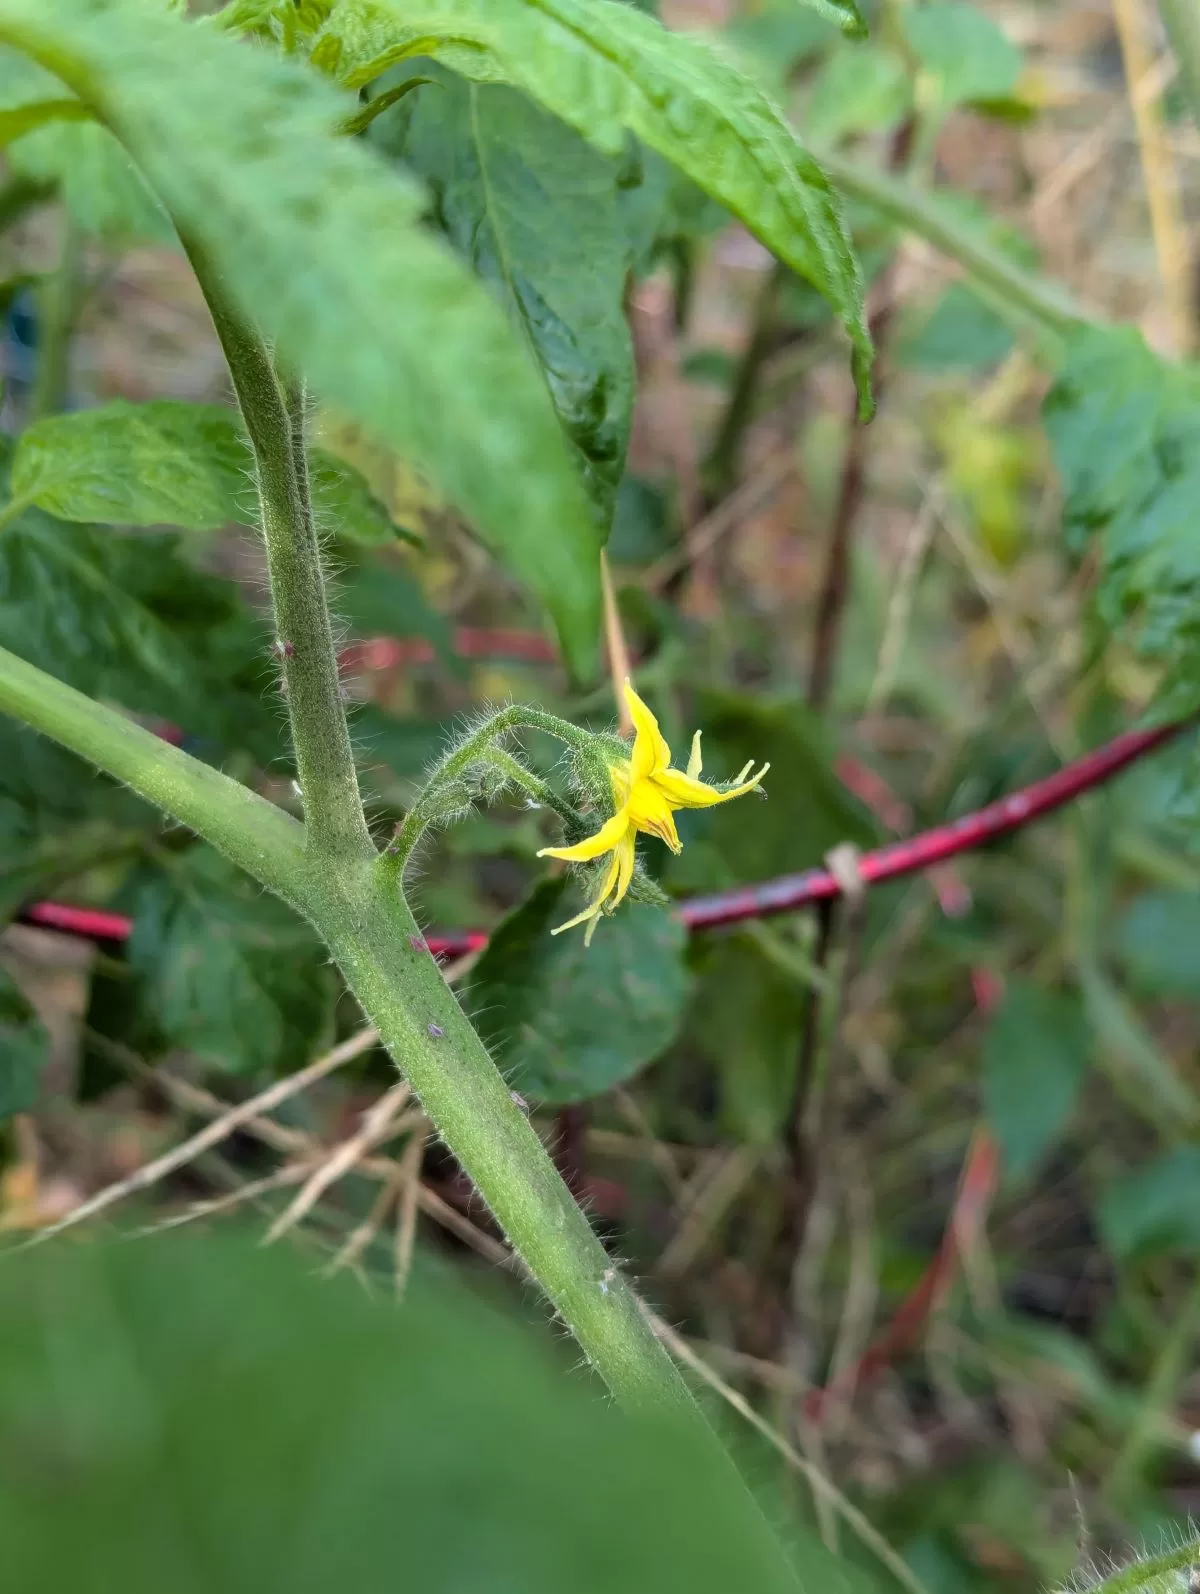
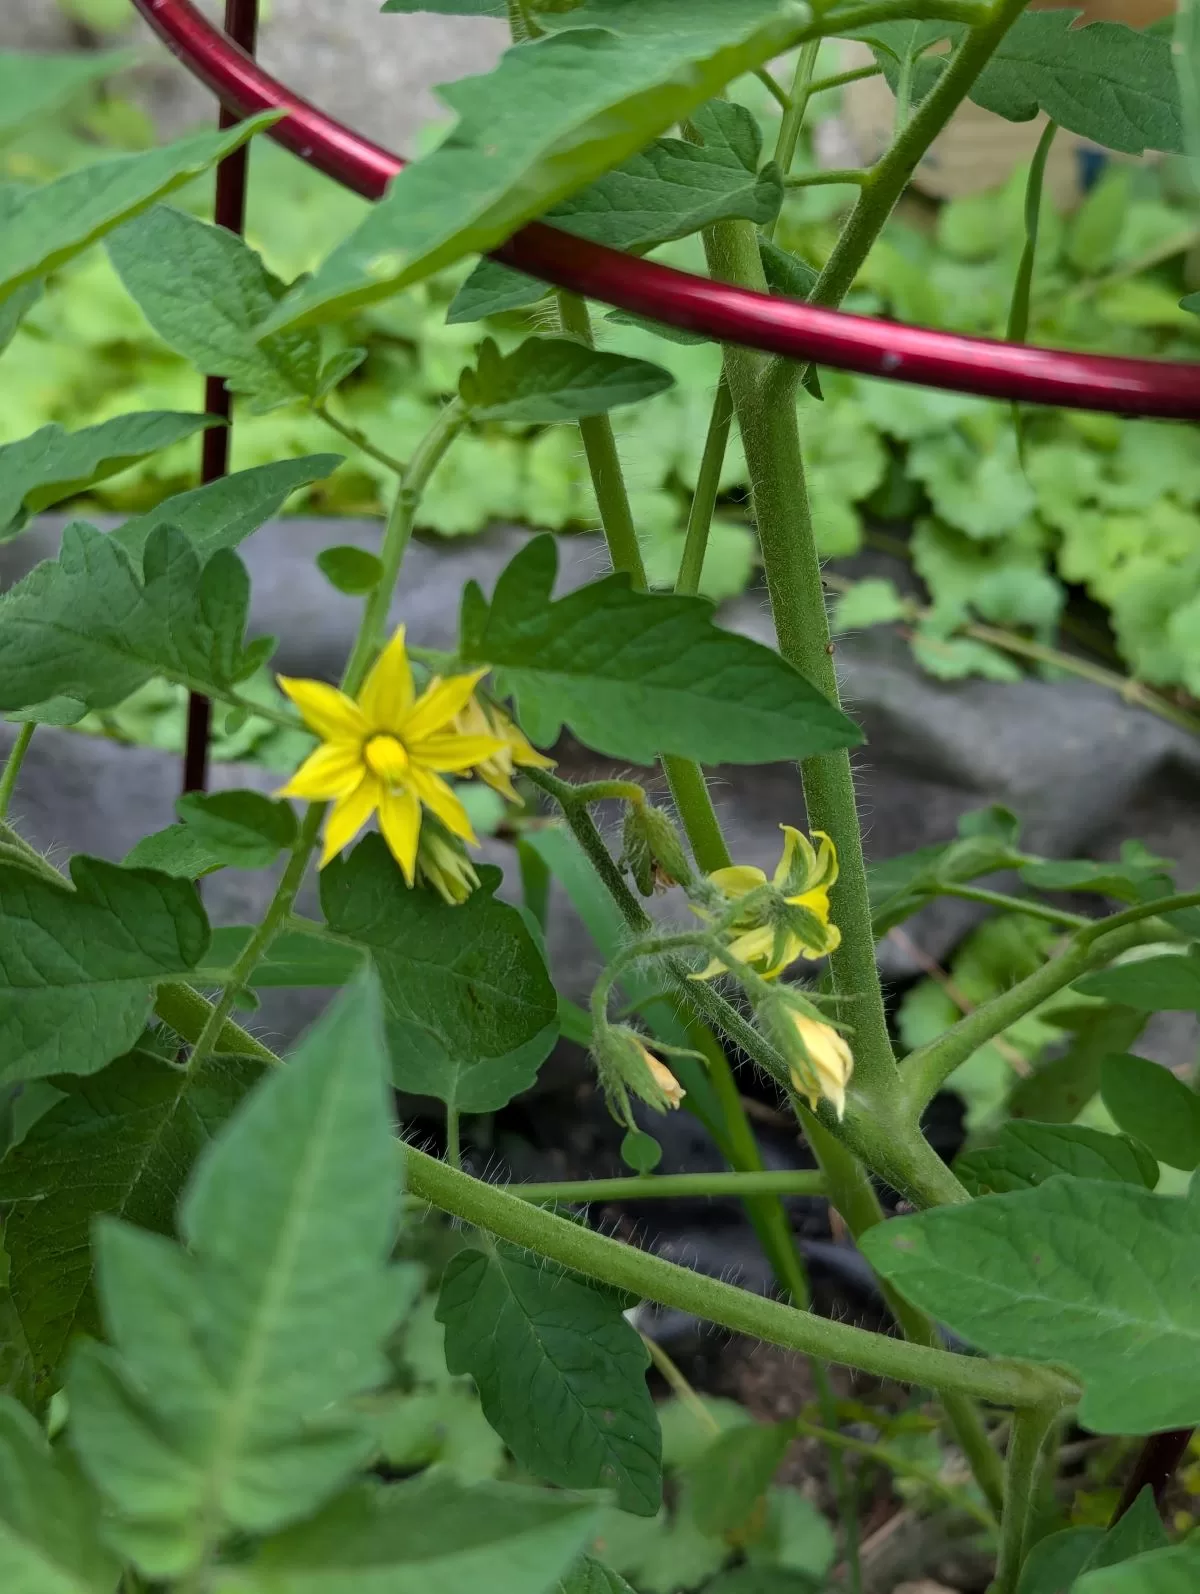
A late blooming tomato flower
I noticed a few flowers on the tomato plants. Just a tease before the winter, I doubt that after a few cold nights that there are many active pollinators
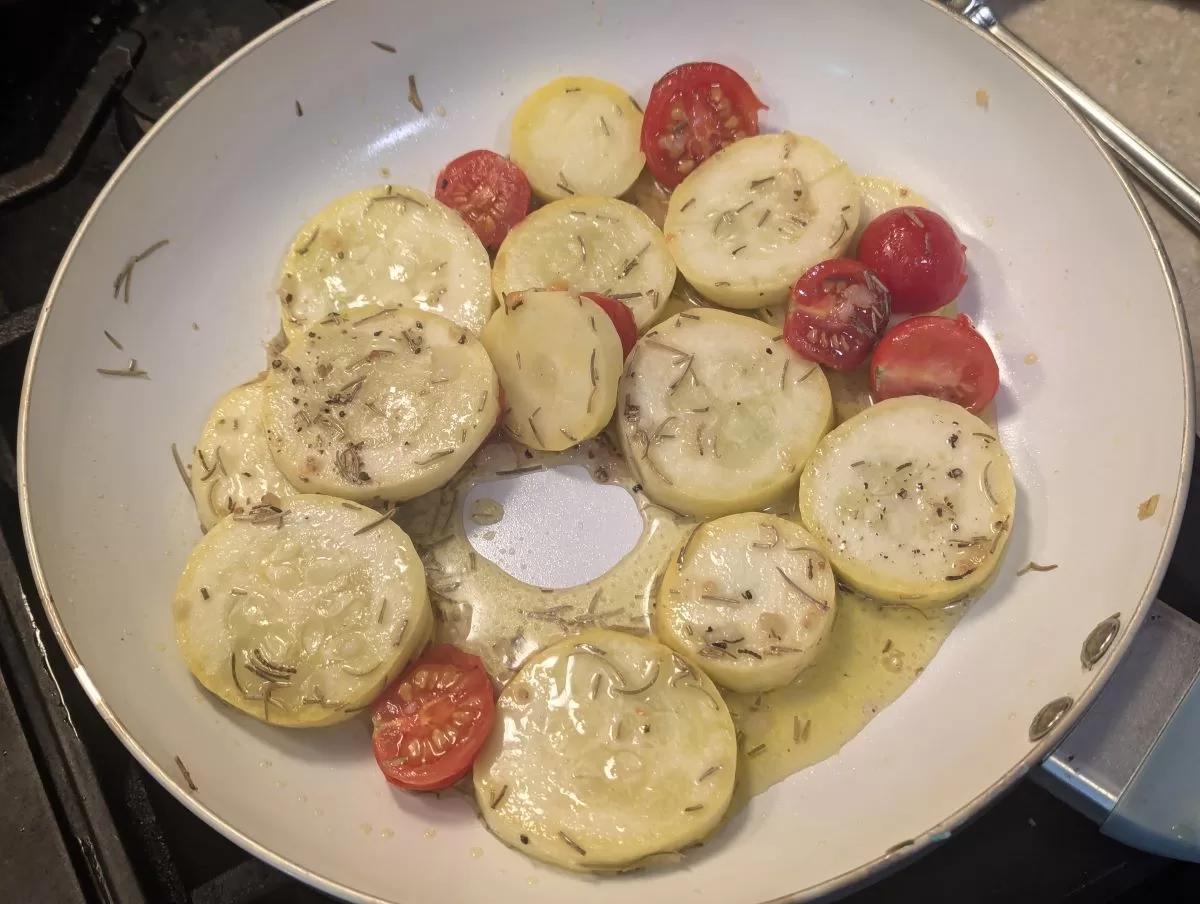
This year, we grew a large number of summer squash plants and have been harvesting an abundance of summer squash. I had never cooked squash before, but I had enjoyed it as a side dish at many restaurants. I decided to try cooking it myself. I started with a simple recipe that called for a few basic ingredients: rosemary, garlic, salt, and pepper. I was surprised at how easy it was to cook and how delicious it tasted. I am really enjoying eating the squash we grew this year, and I am glad that I tried cooking it myself.
Sauteed Summer Squash Recipe
This recipe is also suitable for preparing zucchini alone or mixed with summer squash. If you add chopped chicken and top it with grated Parmesan cheese, it can serve as a complete meal.
Ingredients:
2 tbsp. Olive Oil
Summer Squash cut into 1/4 to 1/2 inch slices
1 tsp. Rosemary
1 garlic clove (crushed)
1/4 tsp sea salt
1/4 tsp fresh ground pepper
fresh cherry tomatoes sliced in half (optional)
Heat skillet with olive oil and add crushed garlic to flavor the oil. Add squash in a single layer and cook for approximately 3 minutes or until al dente. Add rosemary, sea salt, pepper and cherry tomatoes. Cook an additional 3 minutes and serve. Done!
Freezing Blanching Summer squash, like most vegetables, must be blanched before they can be frozen. Blanching stops enzyme actions that can cause loss of flavor, color and texture. Blanching works best if you heat 1 gallon of water to boiling in a large pot fitted with a wire basket or colander. Wash and cut summer squash into 1/2-inch slices, or grate flesh for baking use. Add no more than 1 pound of squash (4-6 cups) to the boiling water. If the water does not return to a boil within 30 seconds to 1 minute, then you added too much. Once the water returns to a boil, blanch squash for 3 minutes (4 minutes at elevations greater than 3,500 feet). After 3 minutes, remove the squash, using the basket or colander, and plunge pieces into cold water or ice water. The quicker the slices or grated squash cool, the more crispness they will retain.
Freezing Fill pint- or quart-size freezer bags close to full. Squeeze out the excess air. Or, tightly pack rigid freezer containers leaving a ½ – 1 inch headspace. For all containers: seal, label and freeze. To freeze squash slices so that they do not stick together, place them in a single layer on a cookie sheet. Cover with plastic wrap and freeze solid. Once the slices are solid, place them into freezer bags or rigid freezer containers.
As July approaches, the weather turns warm and the days grow longer. In our neck of the woods, that means it’s time to harvest the fruits of our labor in the garden. This year, we planted beans in the spring and have been tending them lovingly ever since. The plants have done well, and the beans are starting to ripen. We can hardly wait to pick them and enjoy them fresh from the garden.
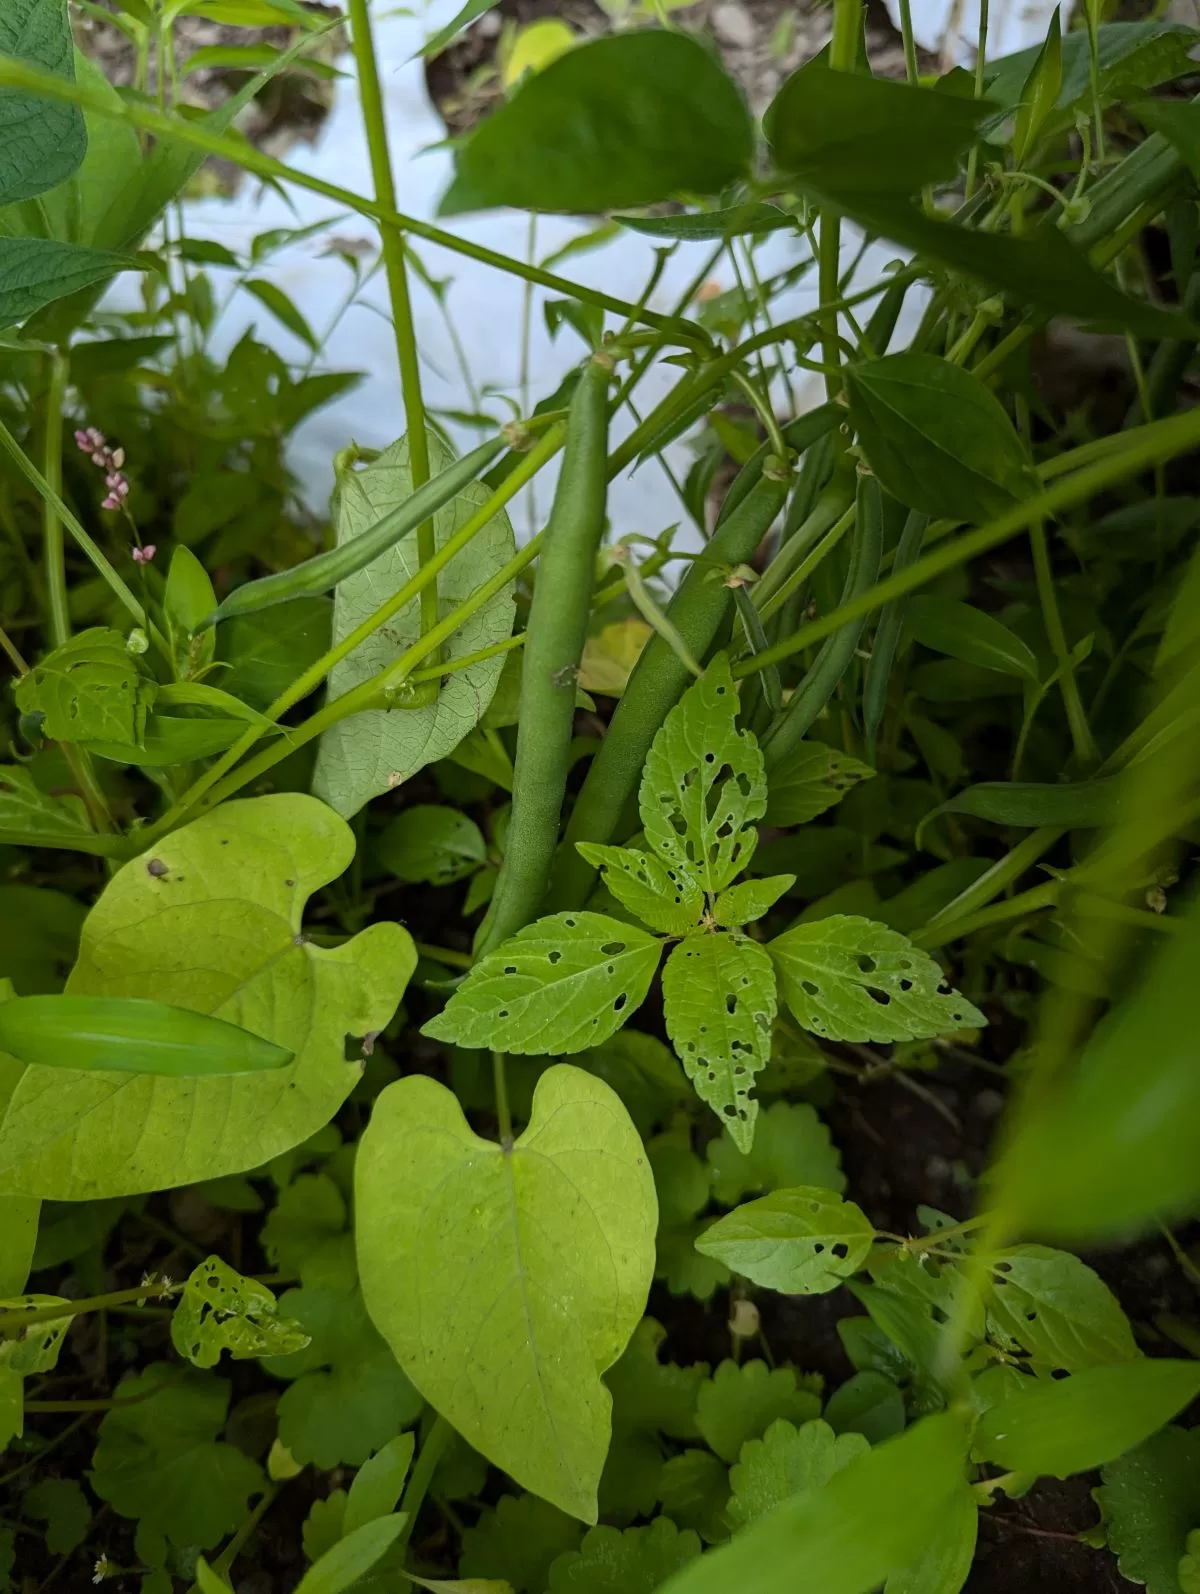
Garden Beans ready to pick!
Garden Beans need to be harvested before seeds form for tenderness
rt23 staff
Our Garden Bean patch is now filled with young, tender, green garden beans, replacing the flowers that were there previously. The beans are ready to be harvested, and we picked a small basket from just one row. We have four more rows yet to pick, and we plan to grill the beans on the barbecue with salt, pepper, olive oil, and a bit of butter wrapped in foil as a side dish for dinner tonight. The beans are delicious, and we are looking forward to eating them. These garden beans frow fast and should be picked before the seeds form and they loose their tenderness.
Garden beans are delicious, but must be picked early when tender and flavorful. If you wait too long, the beans form seeds and become tough and lose flavor.
rt23 staff
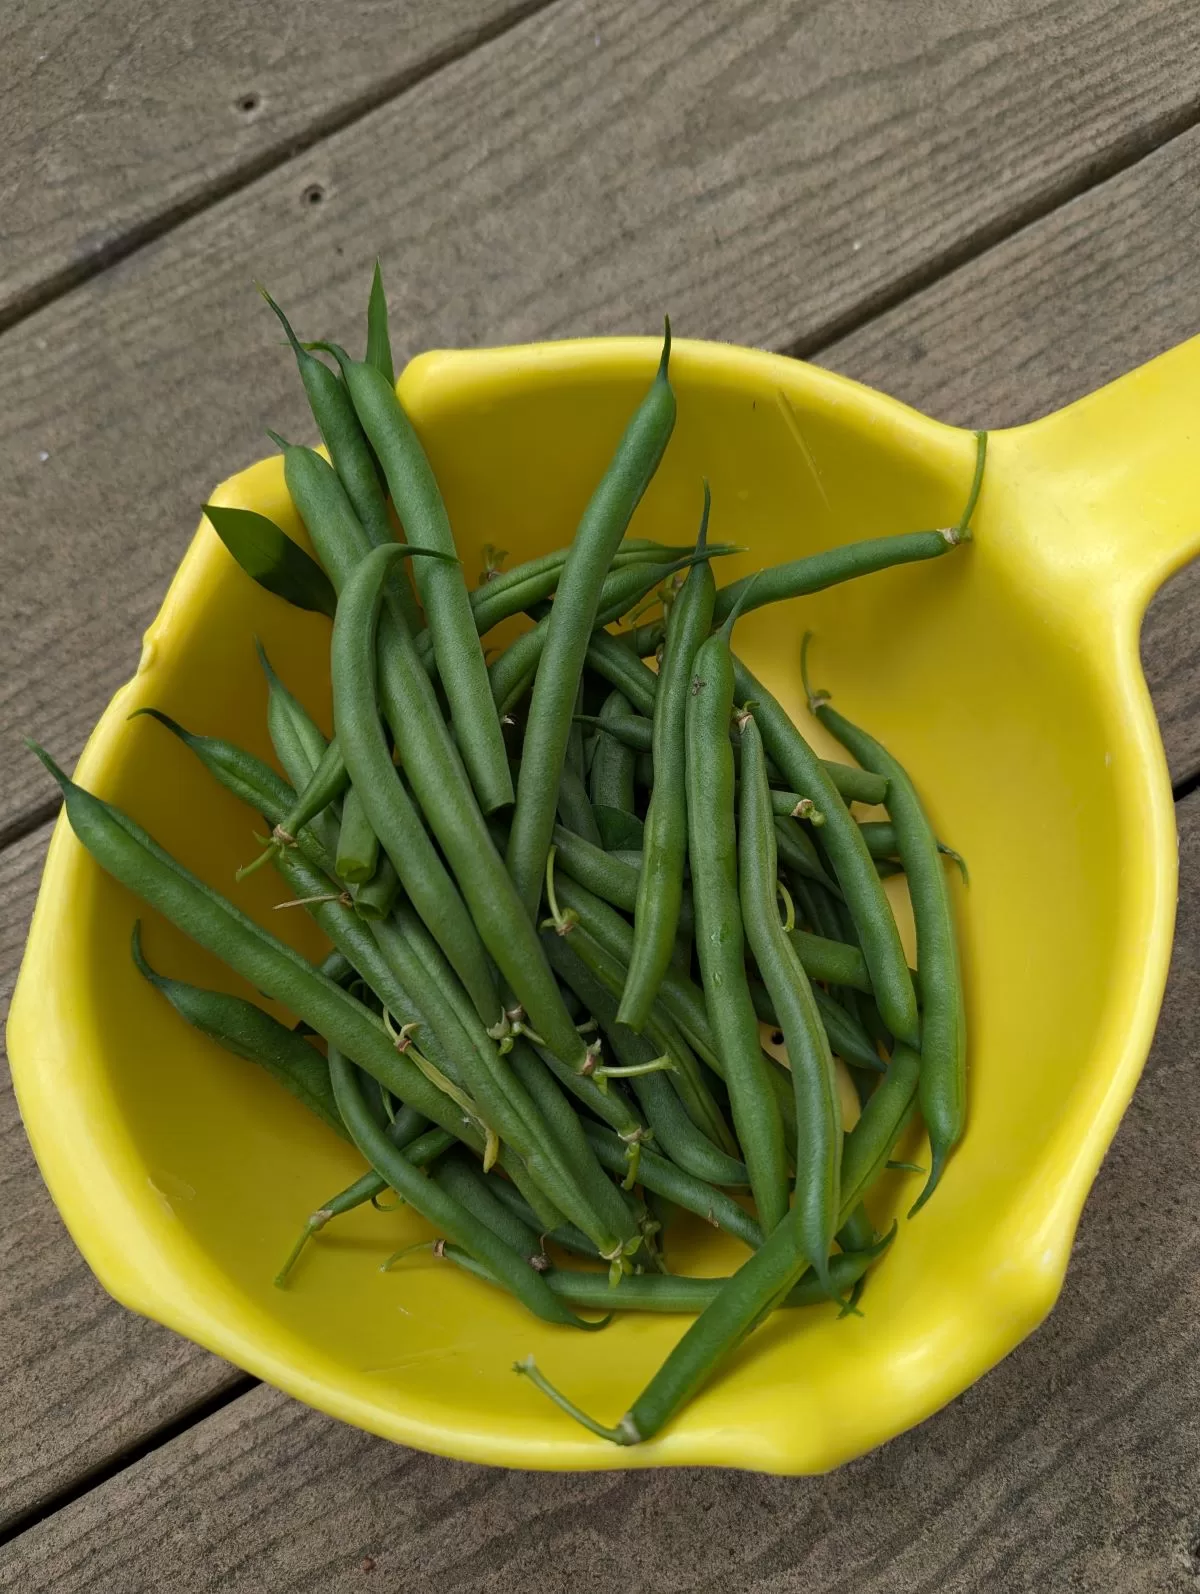
More green (garden) beans.
We picked our green beans, and we have a ton of them. We can’t eat them all right away, so we are washing, blanching, and freezing them so we can use them in soups and stews this winter. We are also going to be giving some of them away to friends and family.
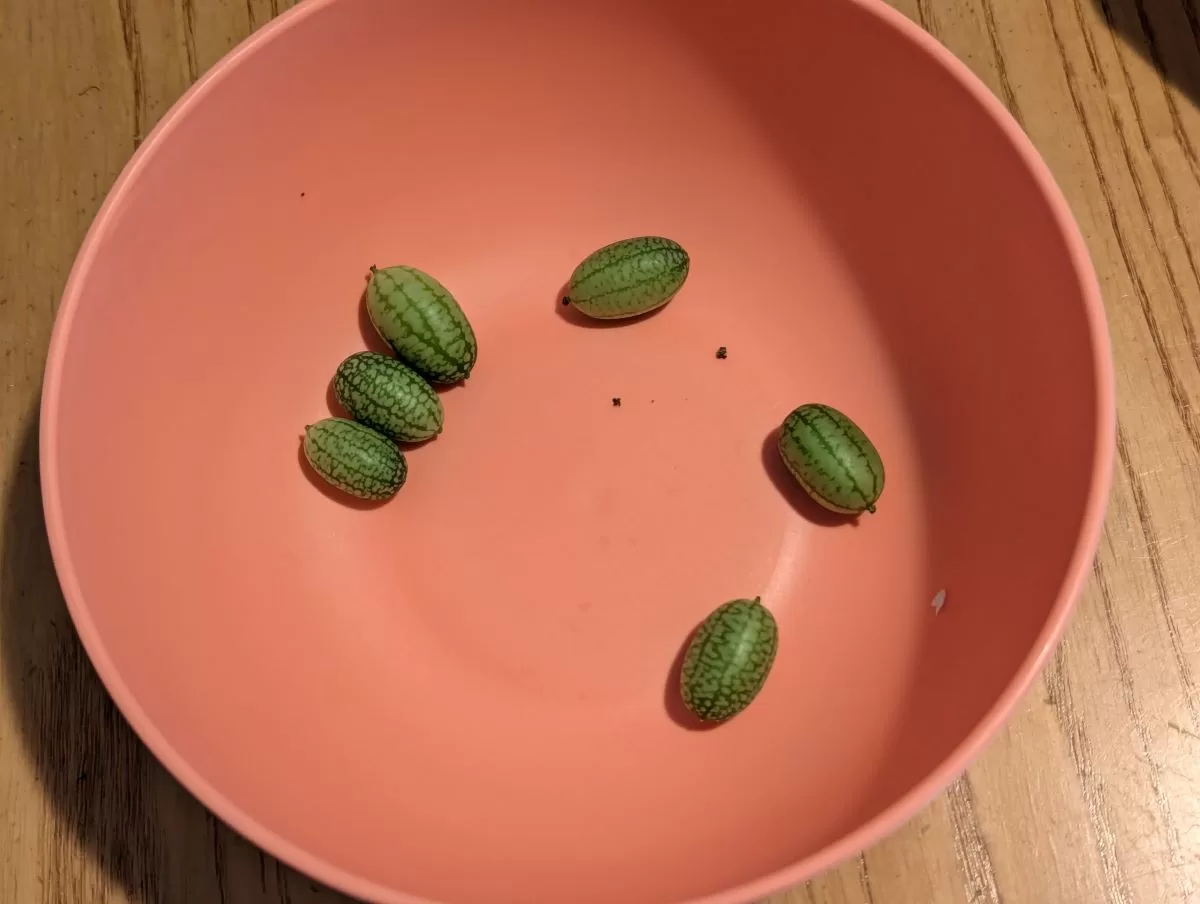
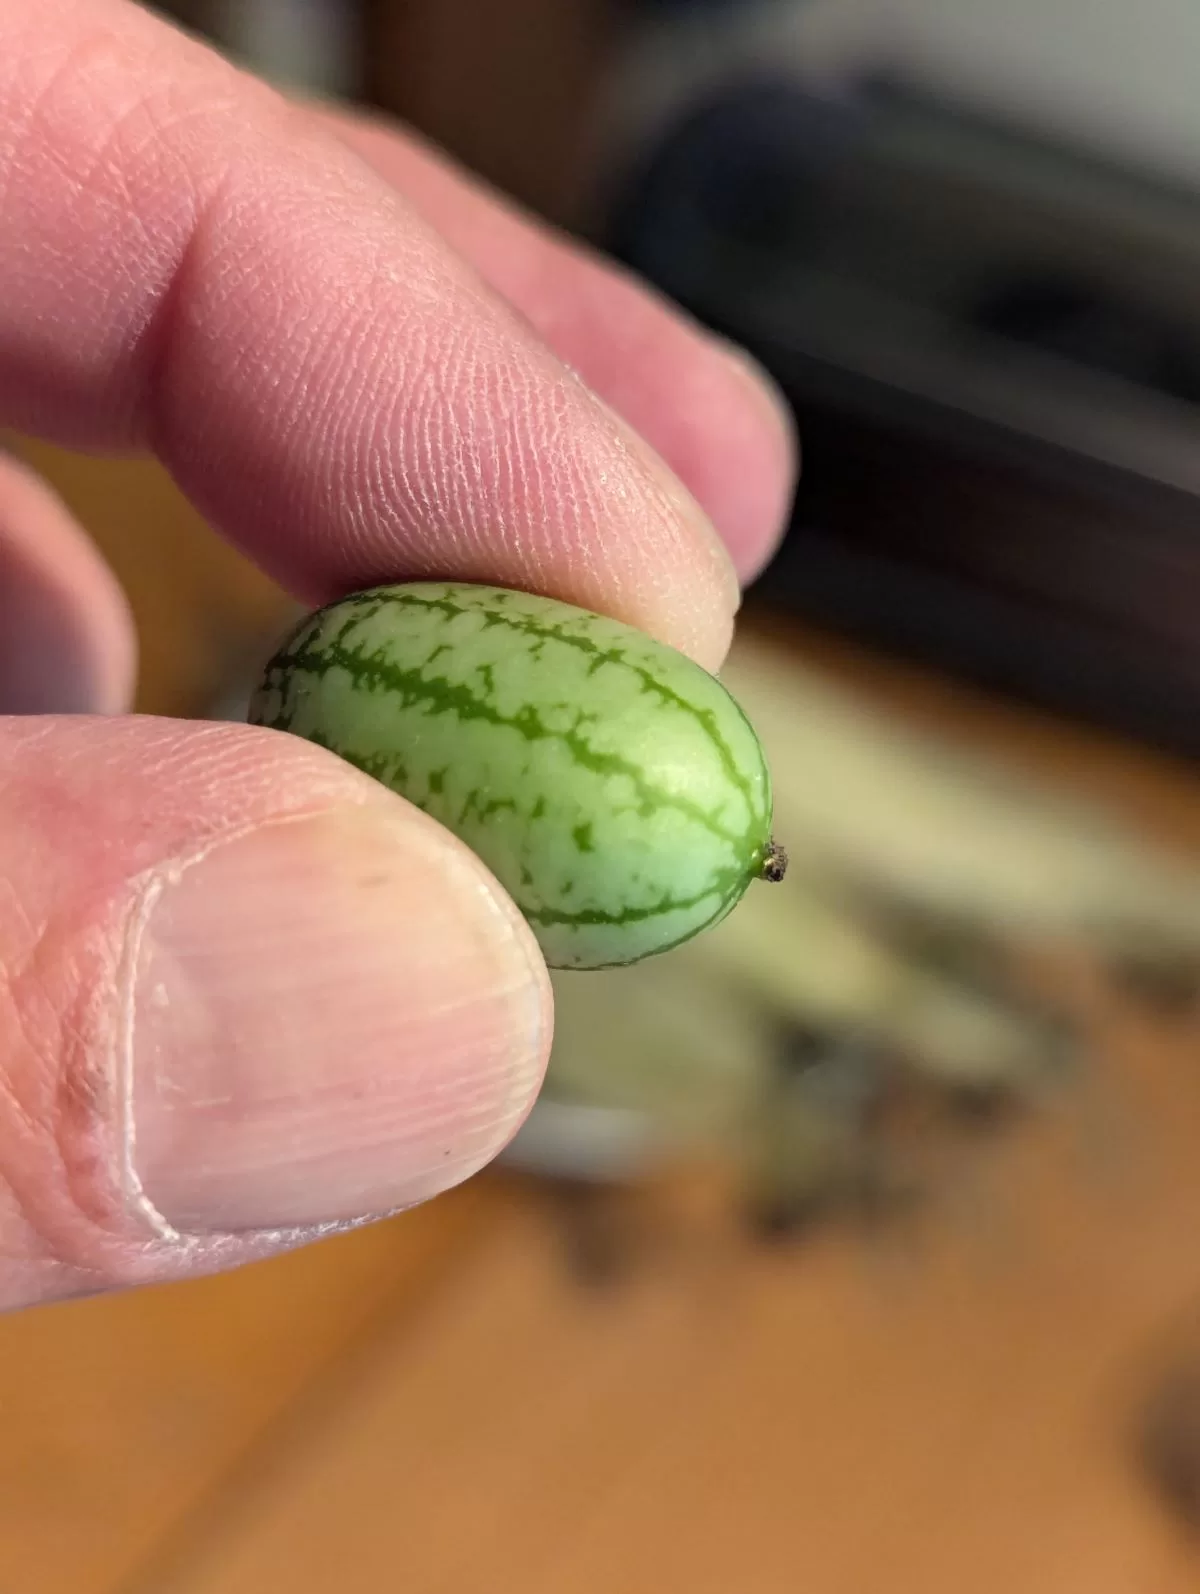
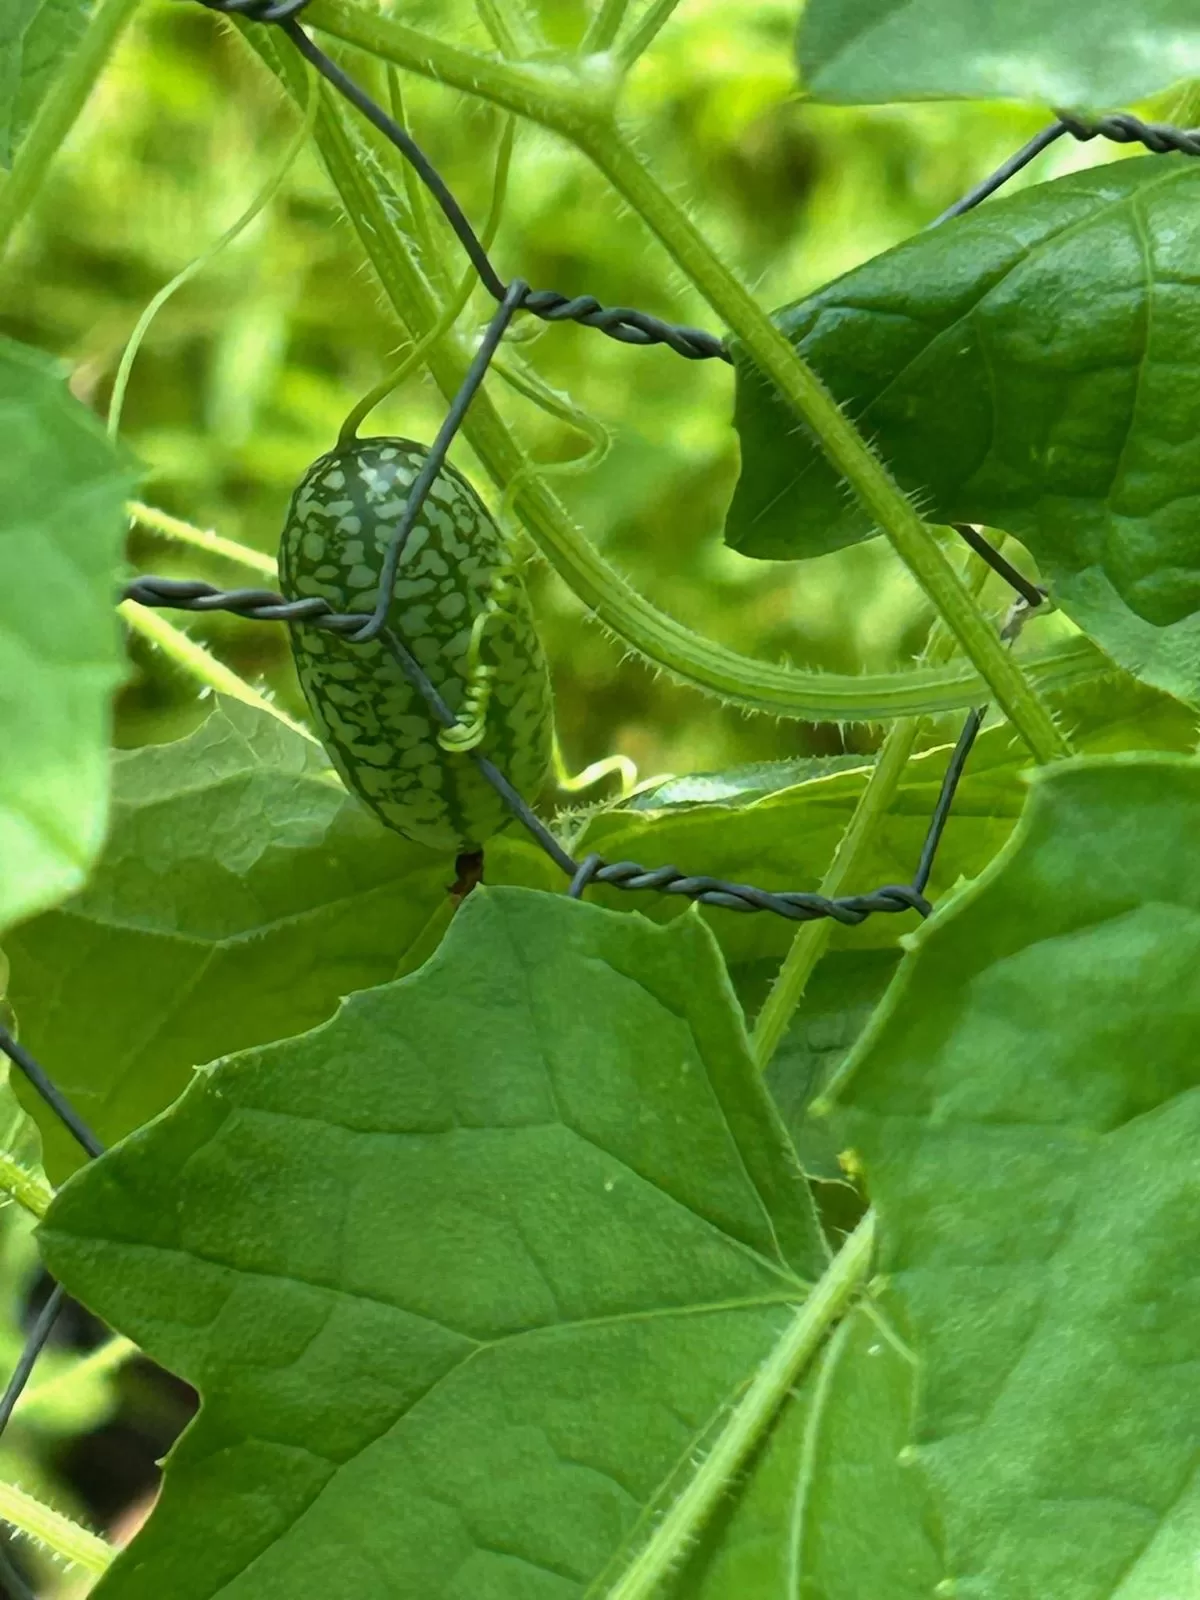
Cucamelons, Mexican Sour Gherkins, are tasty little treats that can be picked and eaten right out of the garden. Cucamelons have a cucumber crunch with a mild citrusy flavor.
Summer Squash!
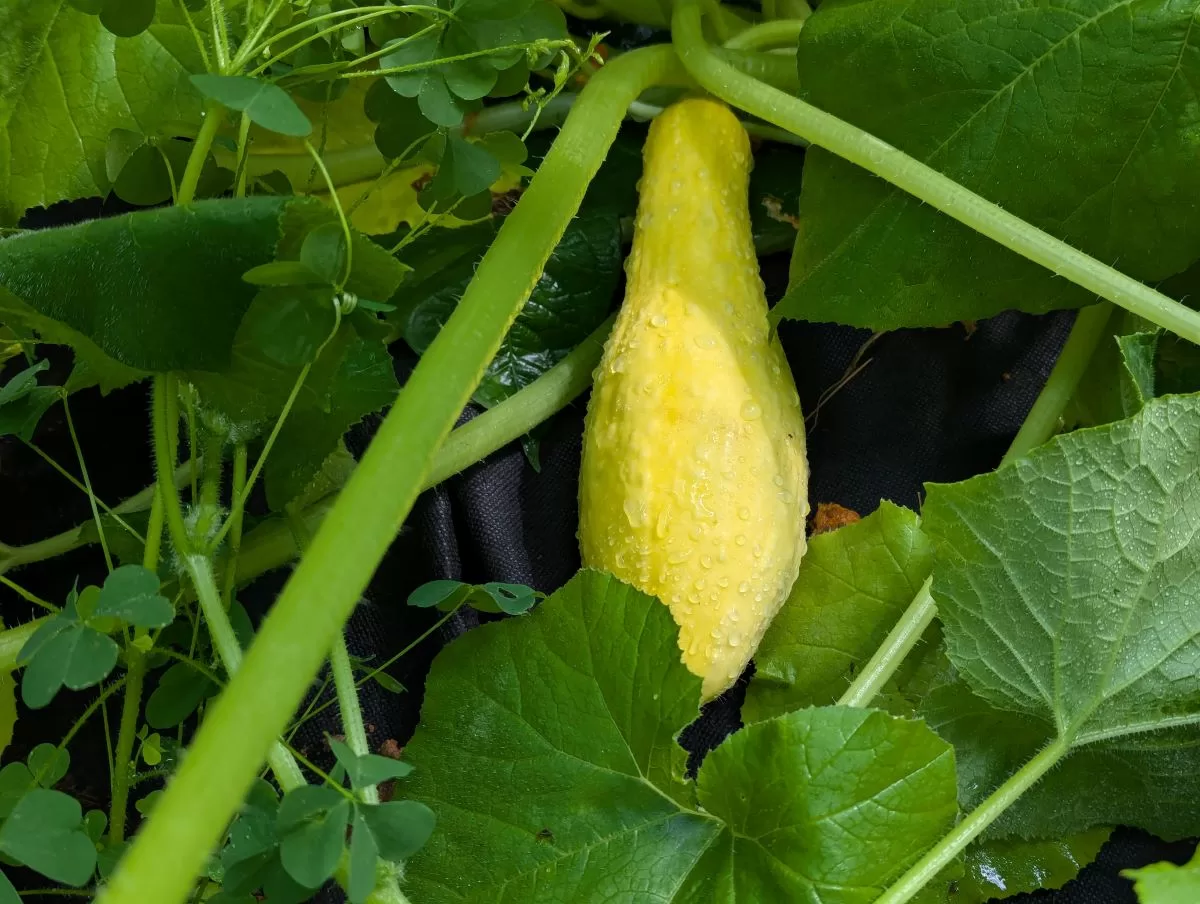
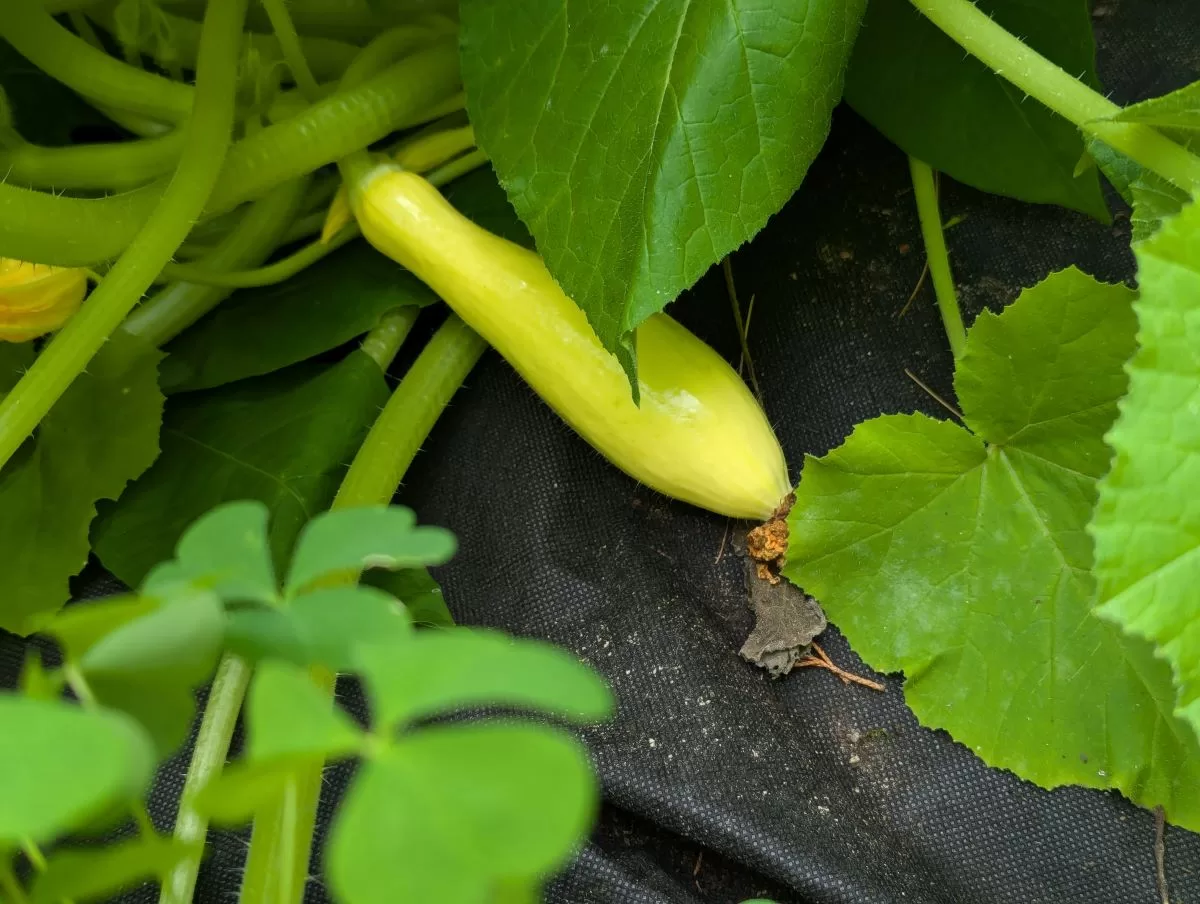
Summer Squash on the vine ready to pick
Summer Squash should be picked when the fruit is 6 to ten inches in length. Cut stem with scissors or pruning shears leaving some stem on the fruit. Picking early and often will encourage the plant to produce more fruit
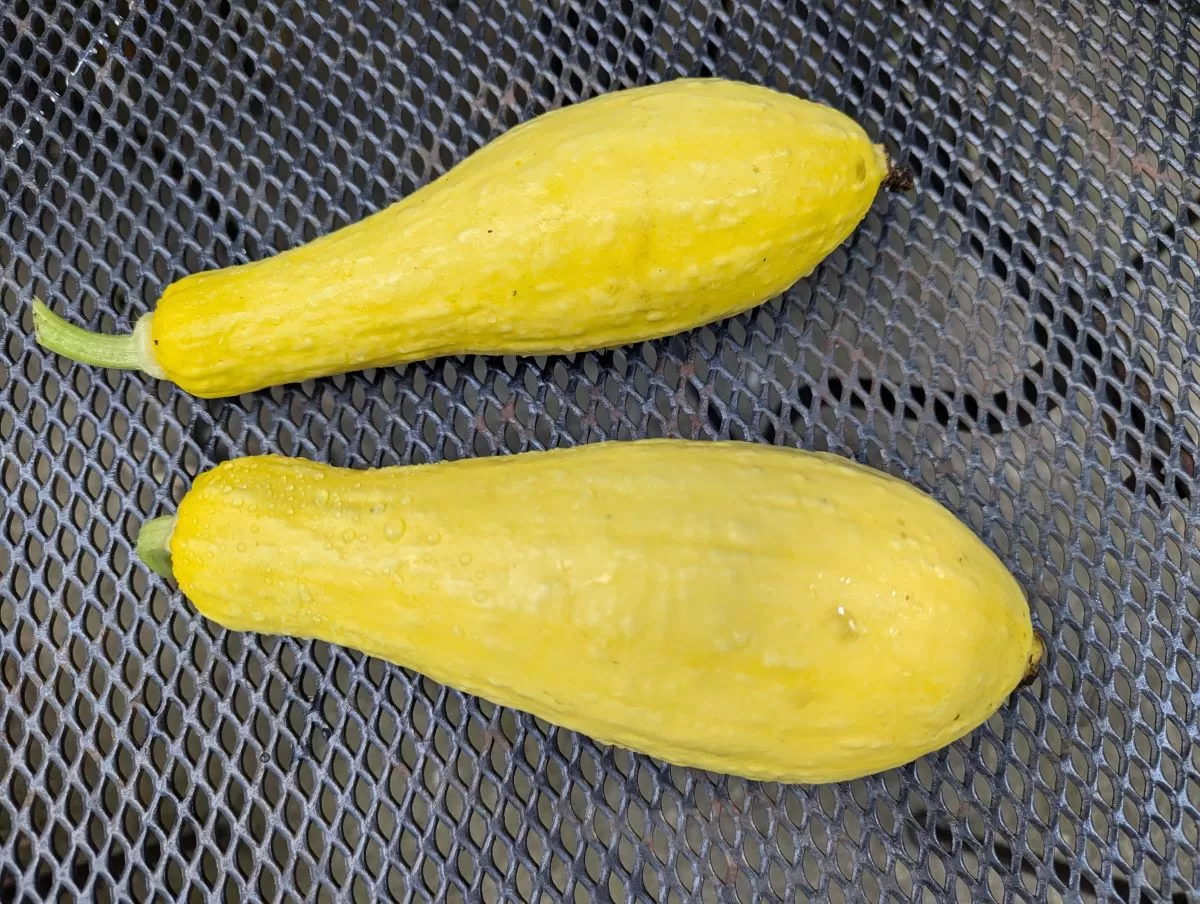
fresh picked summer squash
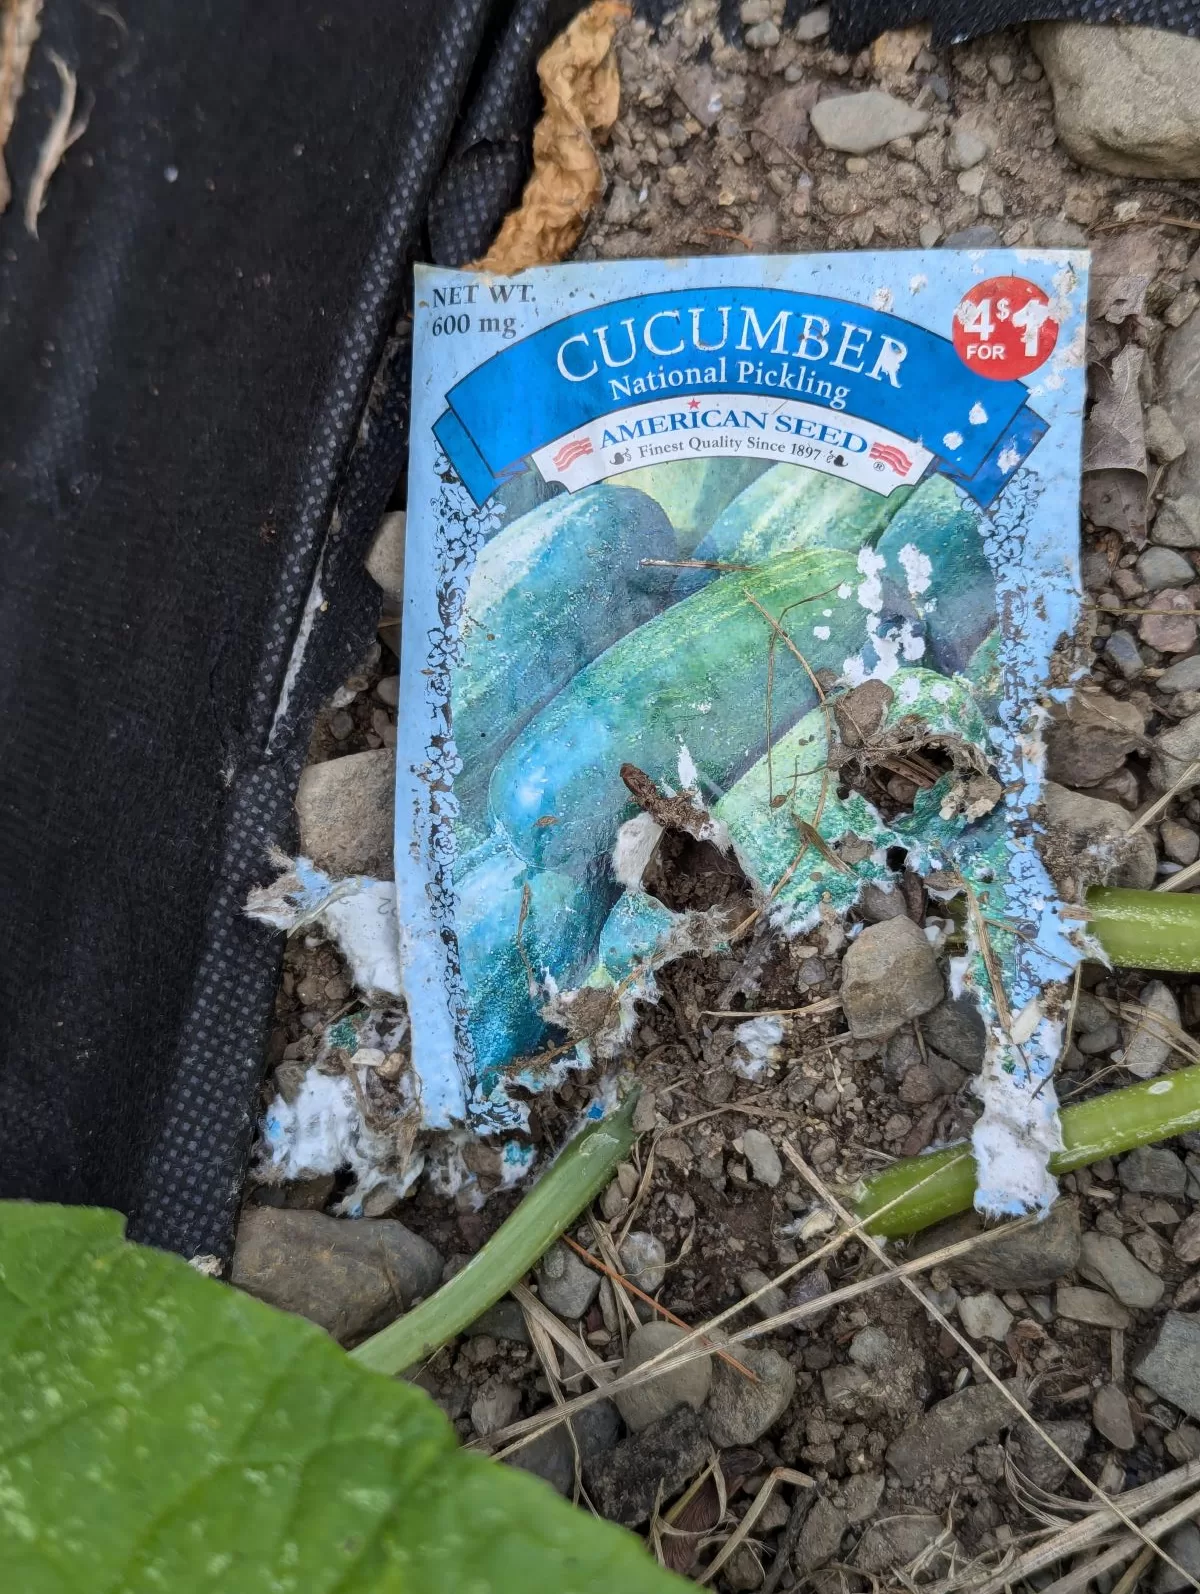
July 10, 2024 – National Pickling Cucumbers
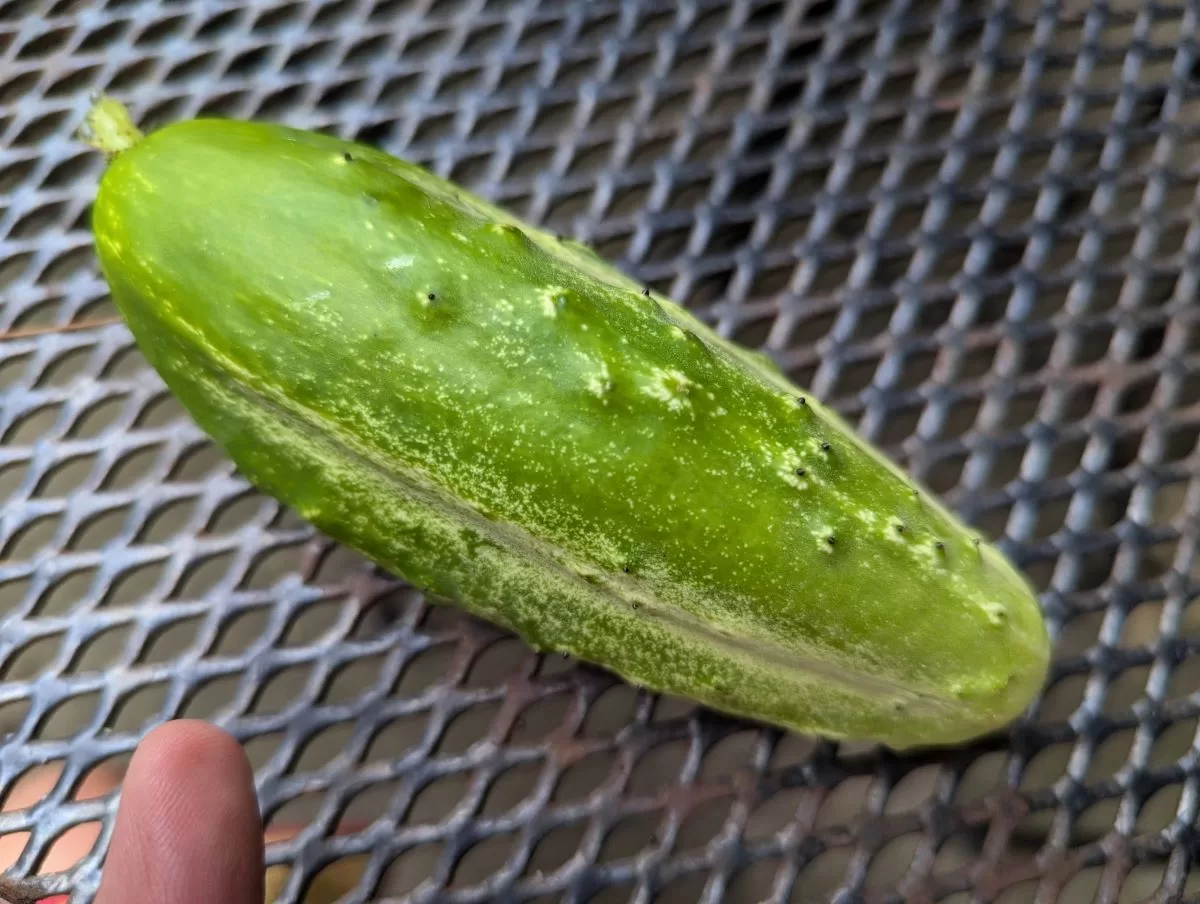
cucumber ready to pick!
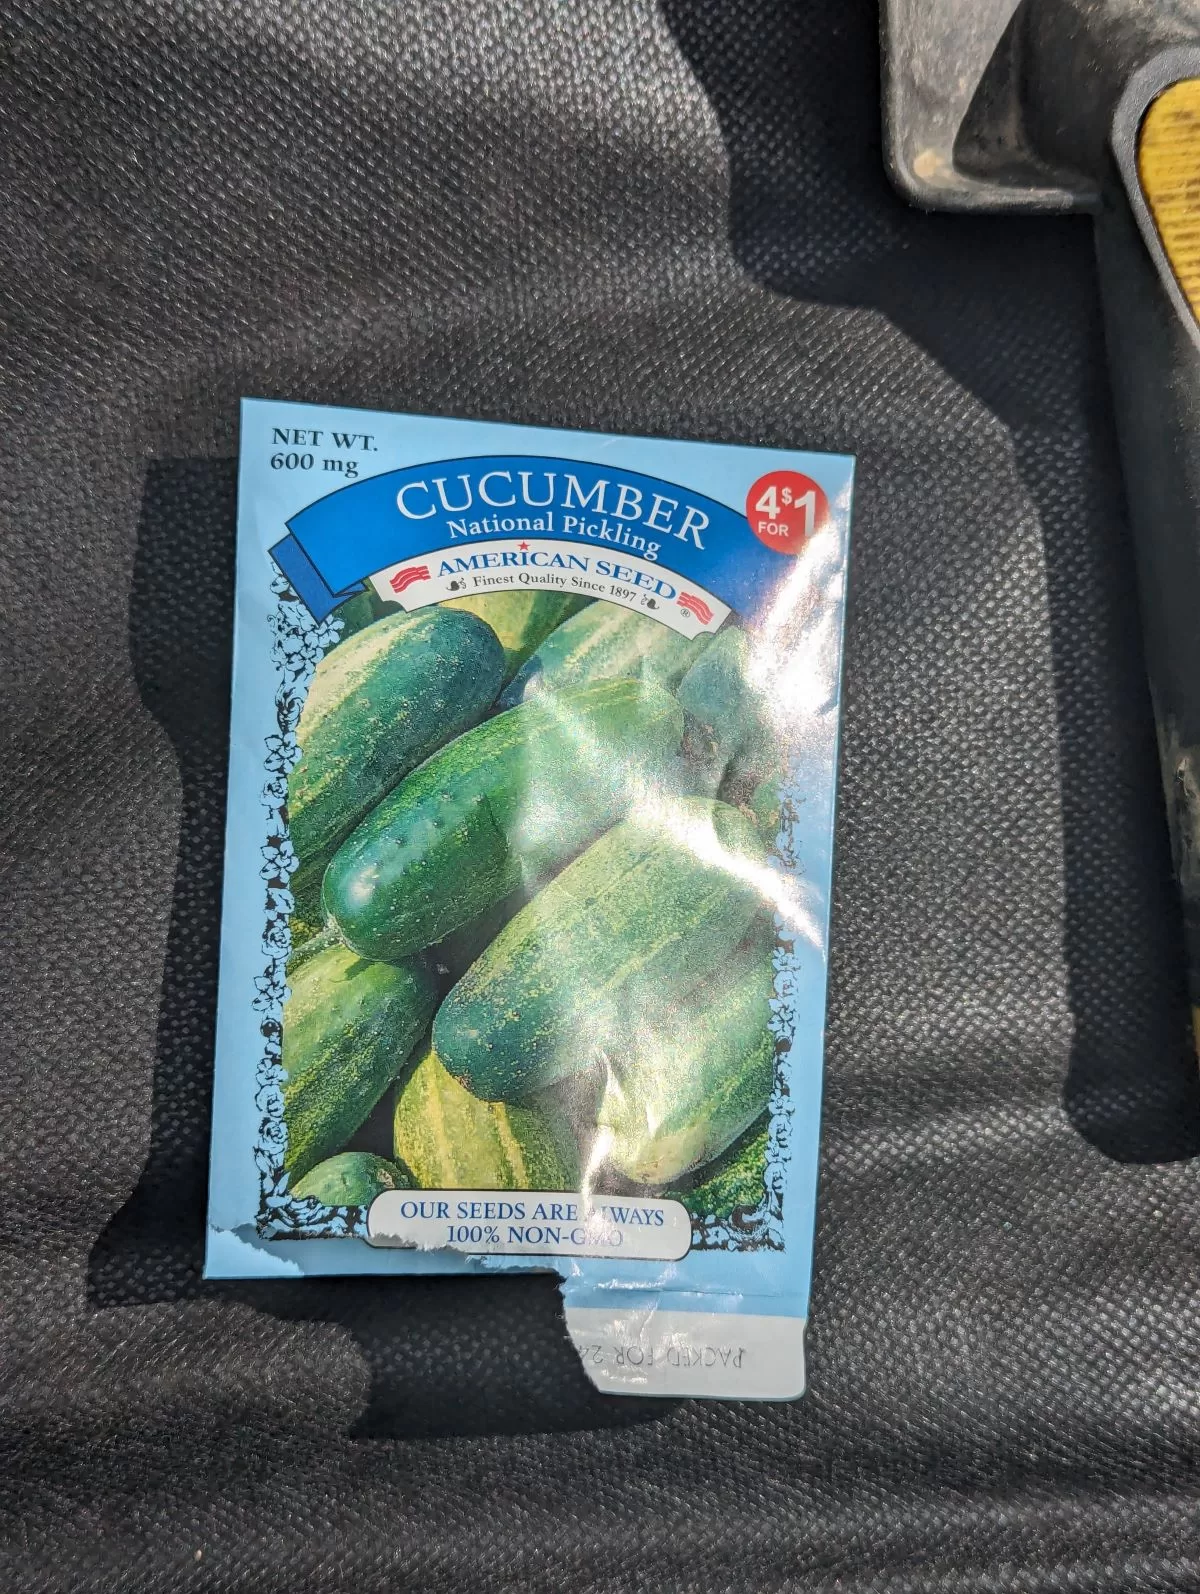
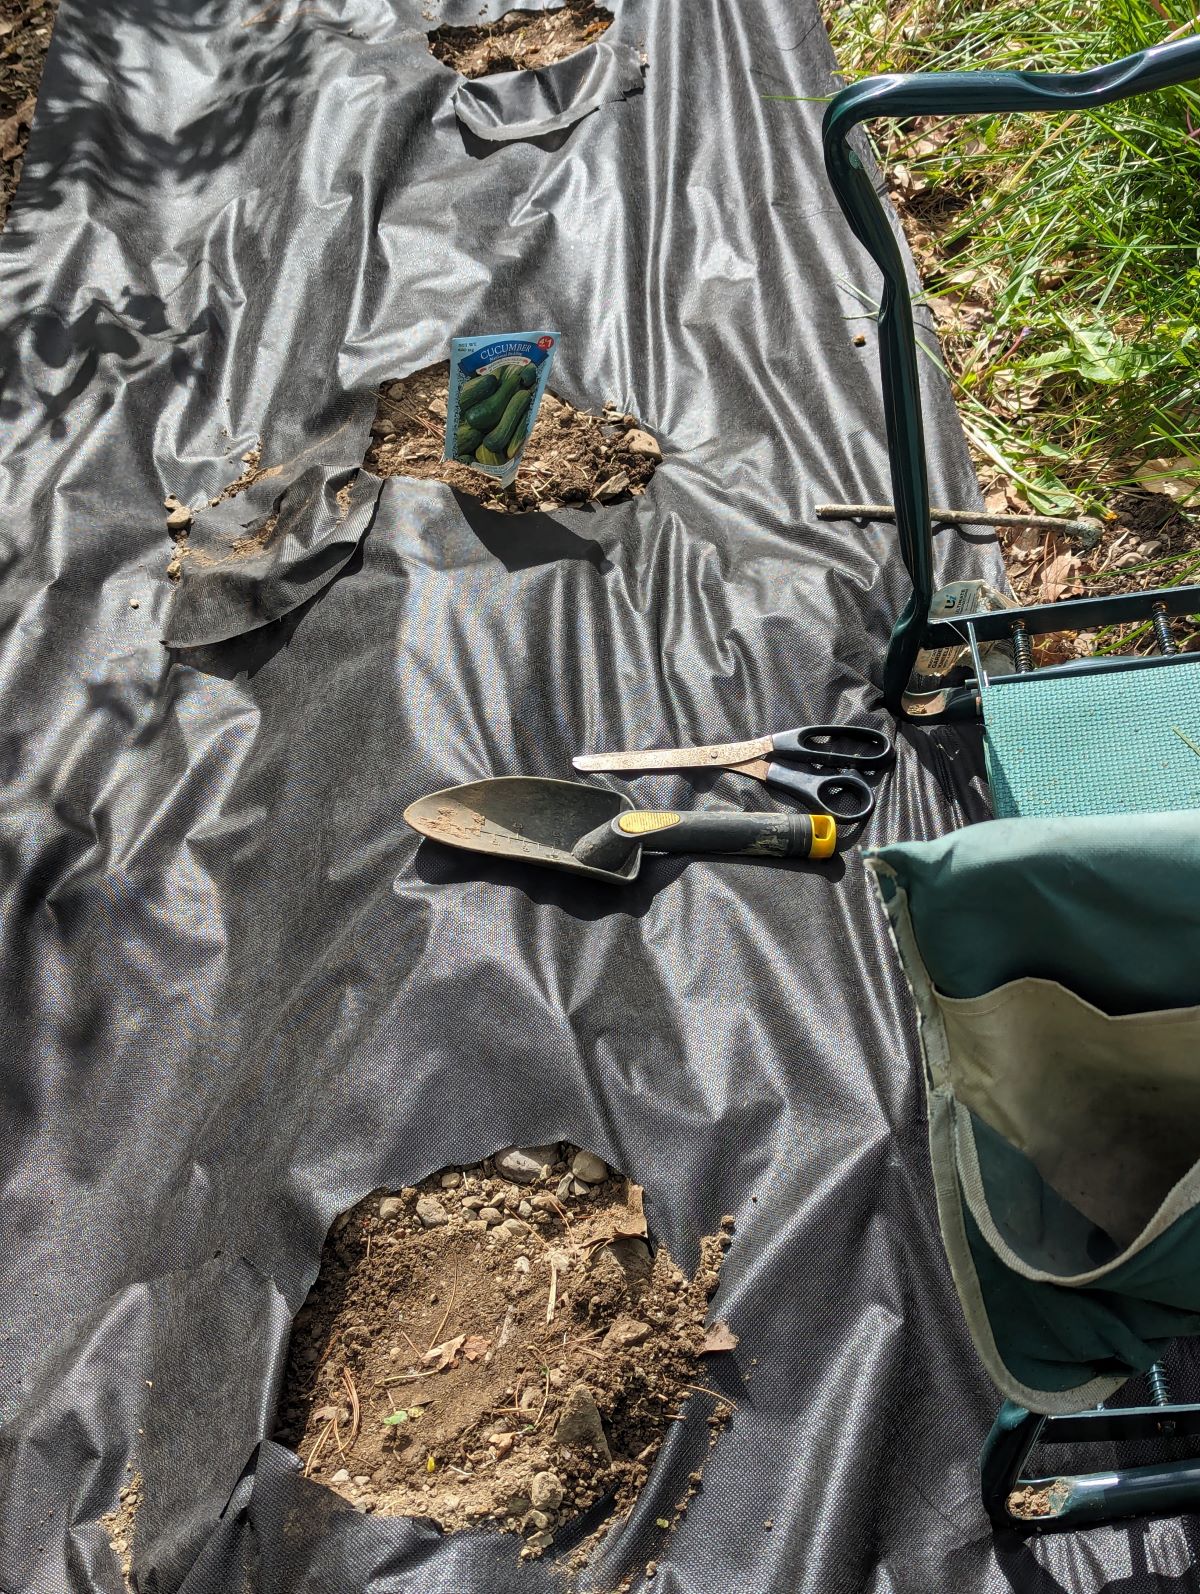
cucumber seed packet
The cucumber plants have been fun to watch over the past few weeks. They have been generating a large number of flowers, and now the cukes are starting to show. Now begins the search for the mature, green cukes among the large green leaves. This is a very rewarding time in the garden.
pickling cucumber
This year, I cultivated two different varieties of cucumbers. The first variety was a pickling cucumber. These cucumbers are perfectly suited for preserving. The second variety was a slicing cucumber, which is ideal for eating fresh. I am looking forward to pickling my cucumbers and enjoying them this winter.
July 16: Straight 8 Cucumbers
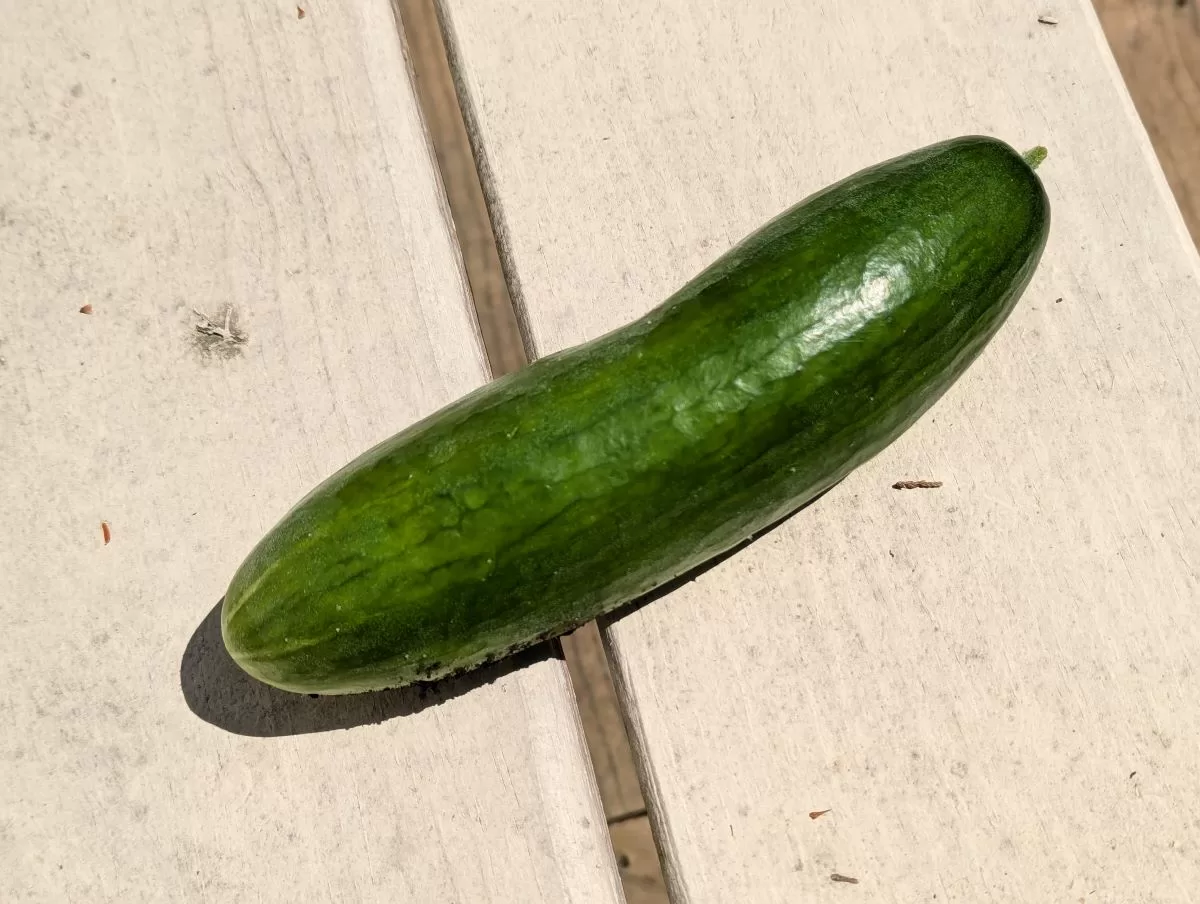
Straight Eight Cucumber
Today we harvested our first Straight Eight Cucumber. We picked it a little early, when the seeds were small and tender for a refreshing summer snack. We sliced it and enjoyed it fresh, just as it was. It was delicious!
July 19-20 Pickles!
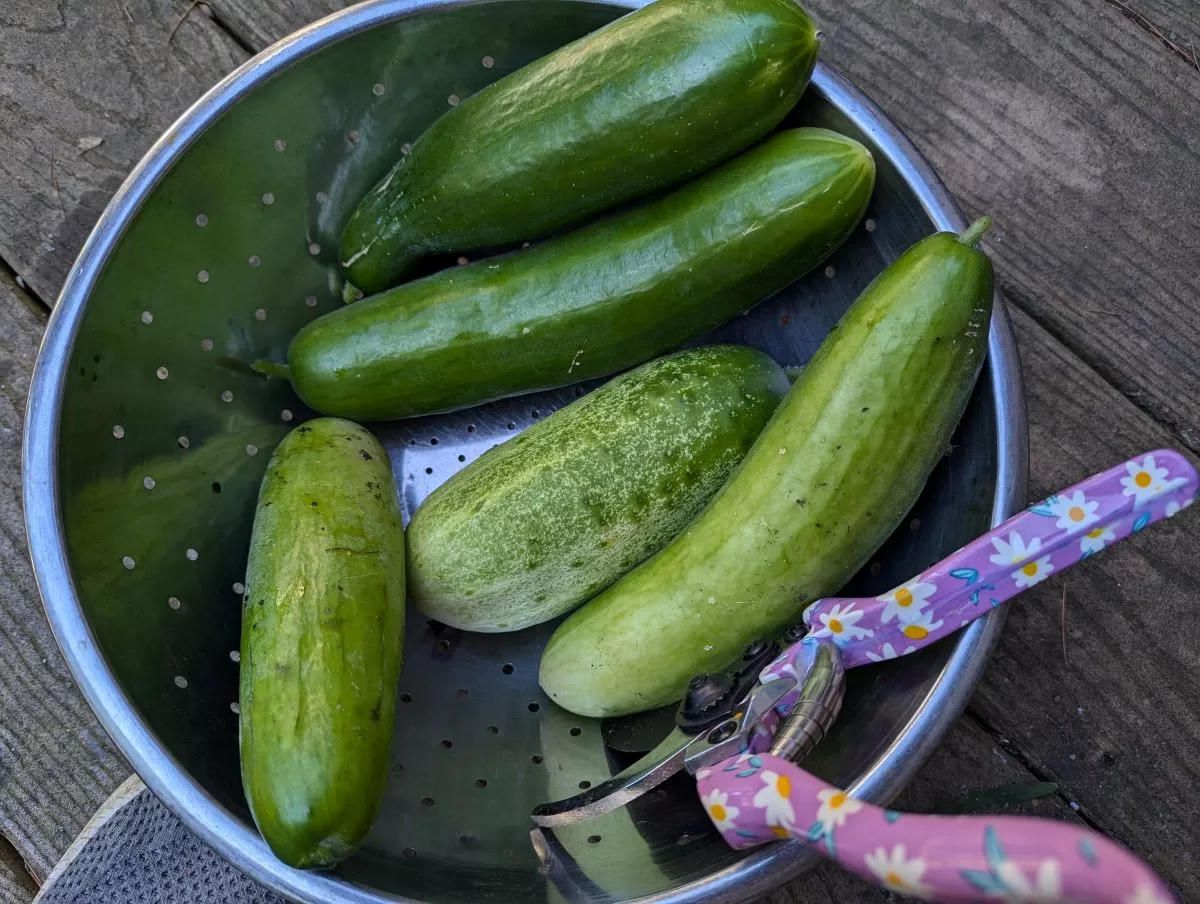
fresh picked cucumbers from the garden
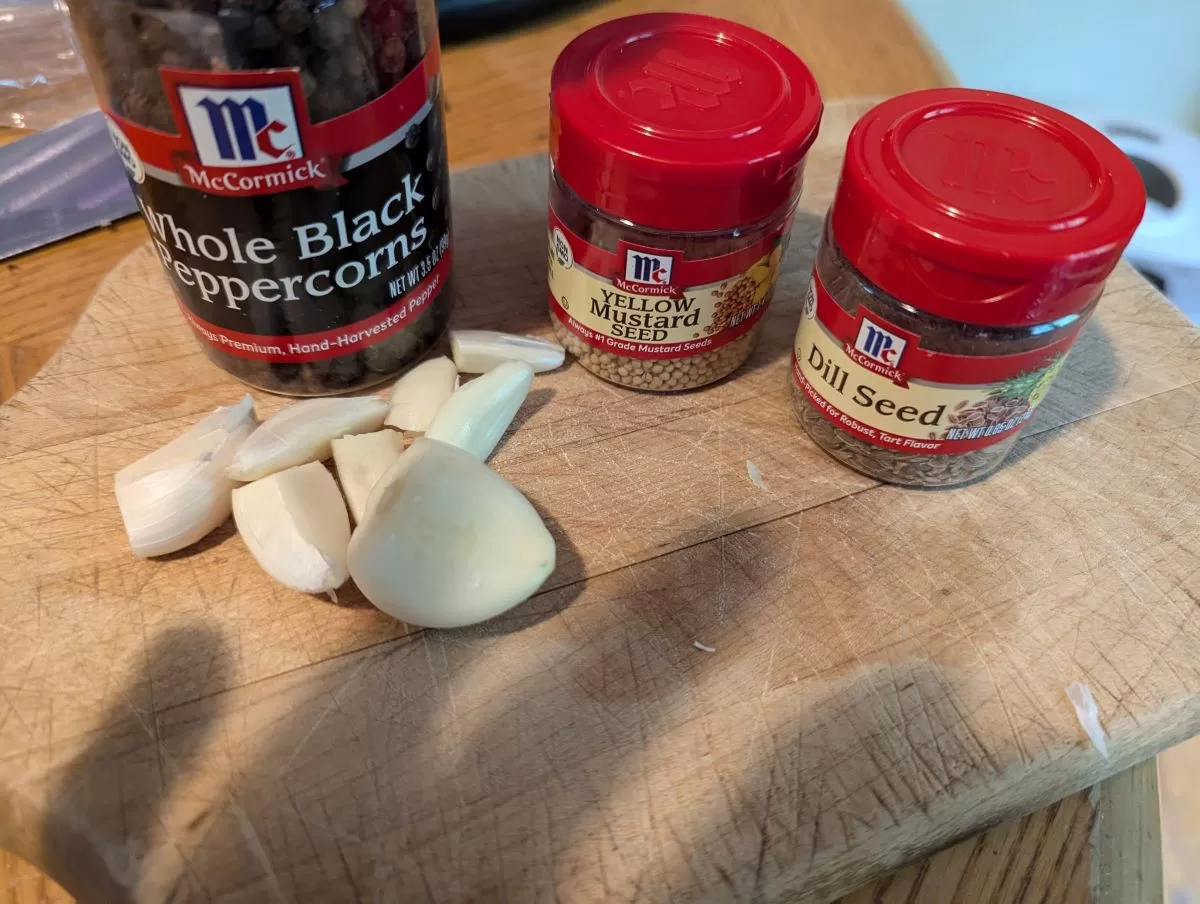
select herbs and garlic for my pickle recipe!
Every day I am harvesting more cucumbers than the day before, and it looks like this will be a good year for them. Cucumbers are delicious fresh from the garden, and they are also great for making pickles and relishes. Last year I experimented with pickling and preserving the surplus, and I am glad I did. I have enjoyed the pickles I made all winter long.
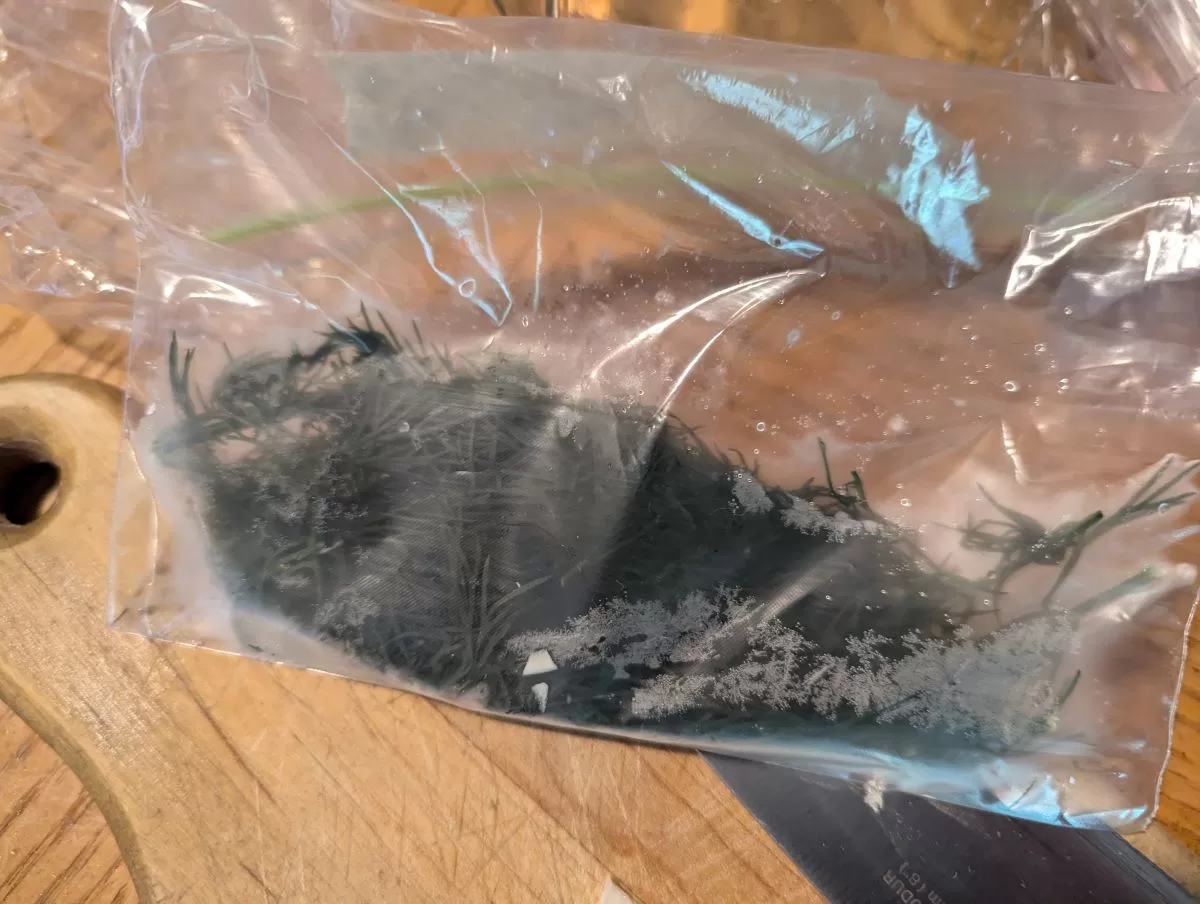
home-grown dill sprigs from the freezer
Before I make shelf-stable pickles, I make fresh half-sour pickles. I planted dill in my garden this year, and it produced an early harvest. Since I couldn’t use it all fresh, I froze some of it. Now I have a plan to use my frozen dill to make my fresh-pack pickles.
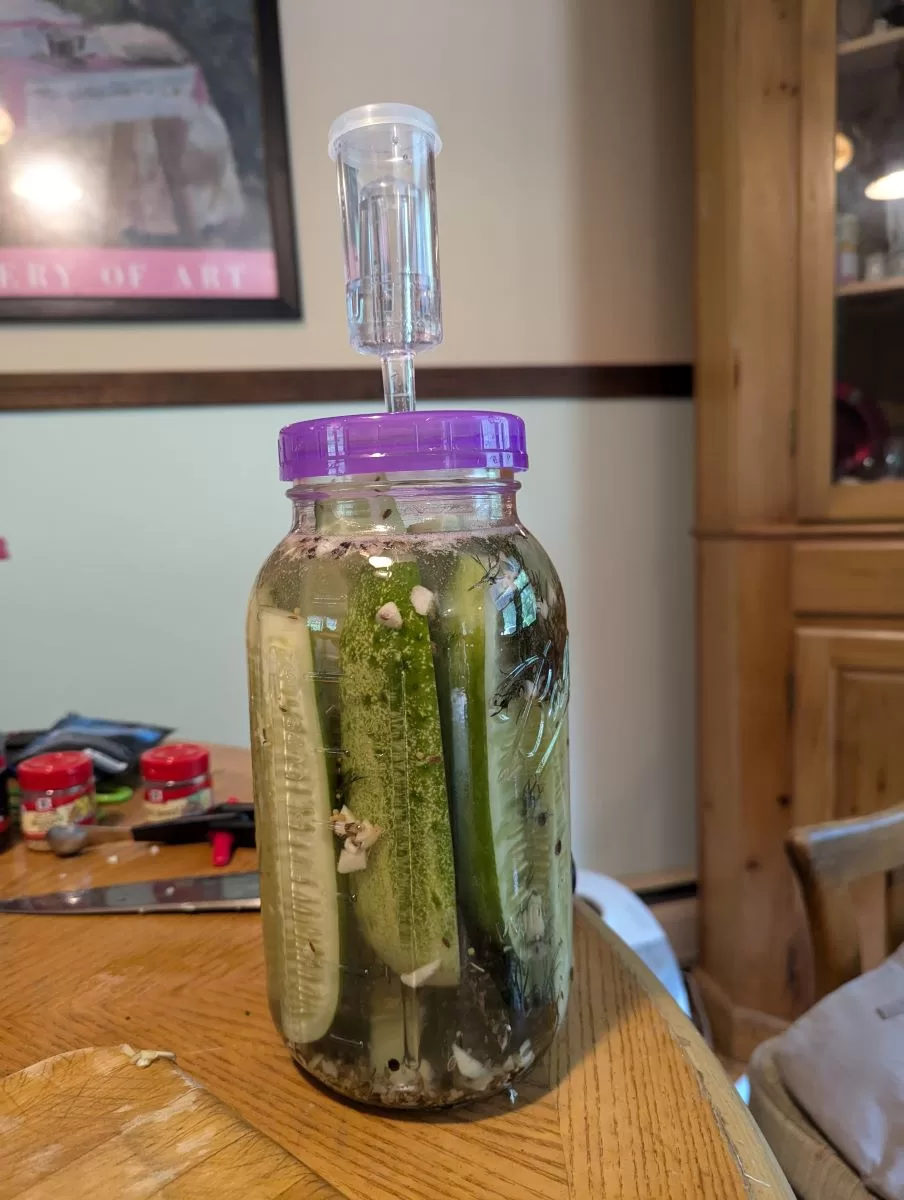
Fresh Half-Sour Pickles
These half sour pickles are a summer treat at barbeques, but not shelf stable and must be refrigerated after opening.
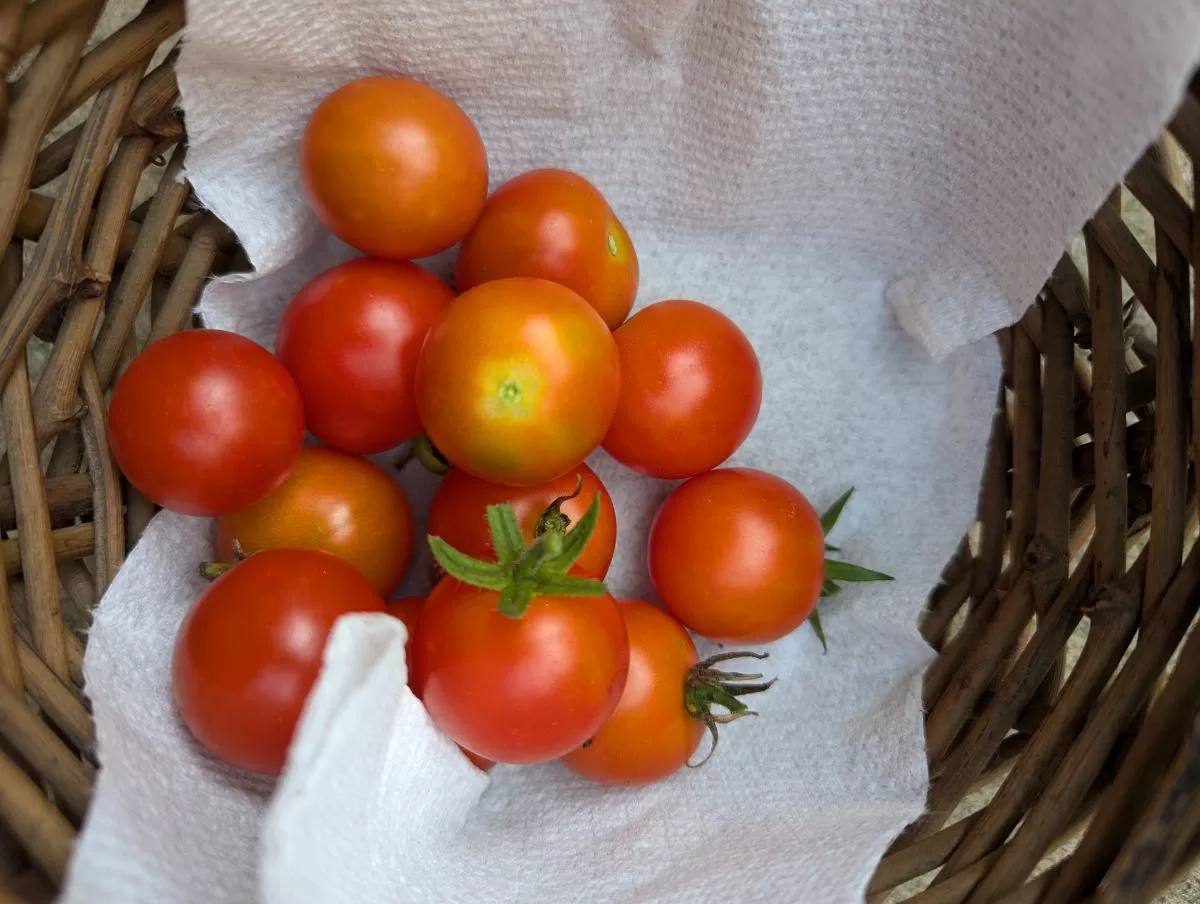
We germinated our cherry tomato plants indoors in March. After a month, we transplanted most of the plants into pots, and the remainder were planted in the garden. We have just had our first harvest, and we ate them immediately! We are looking forward to eating more of our homegrown tomatoes this summer.
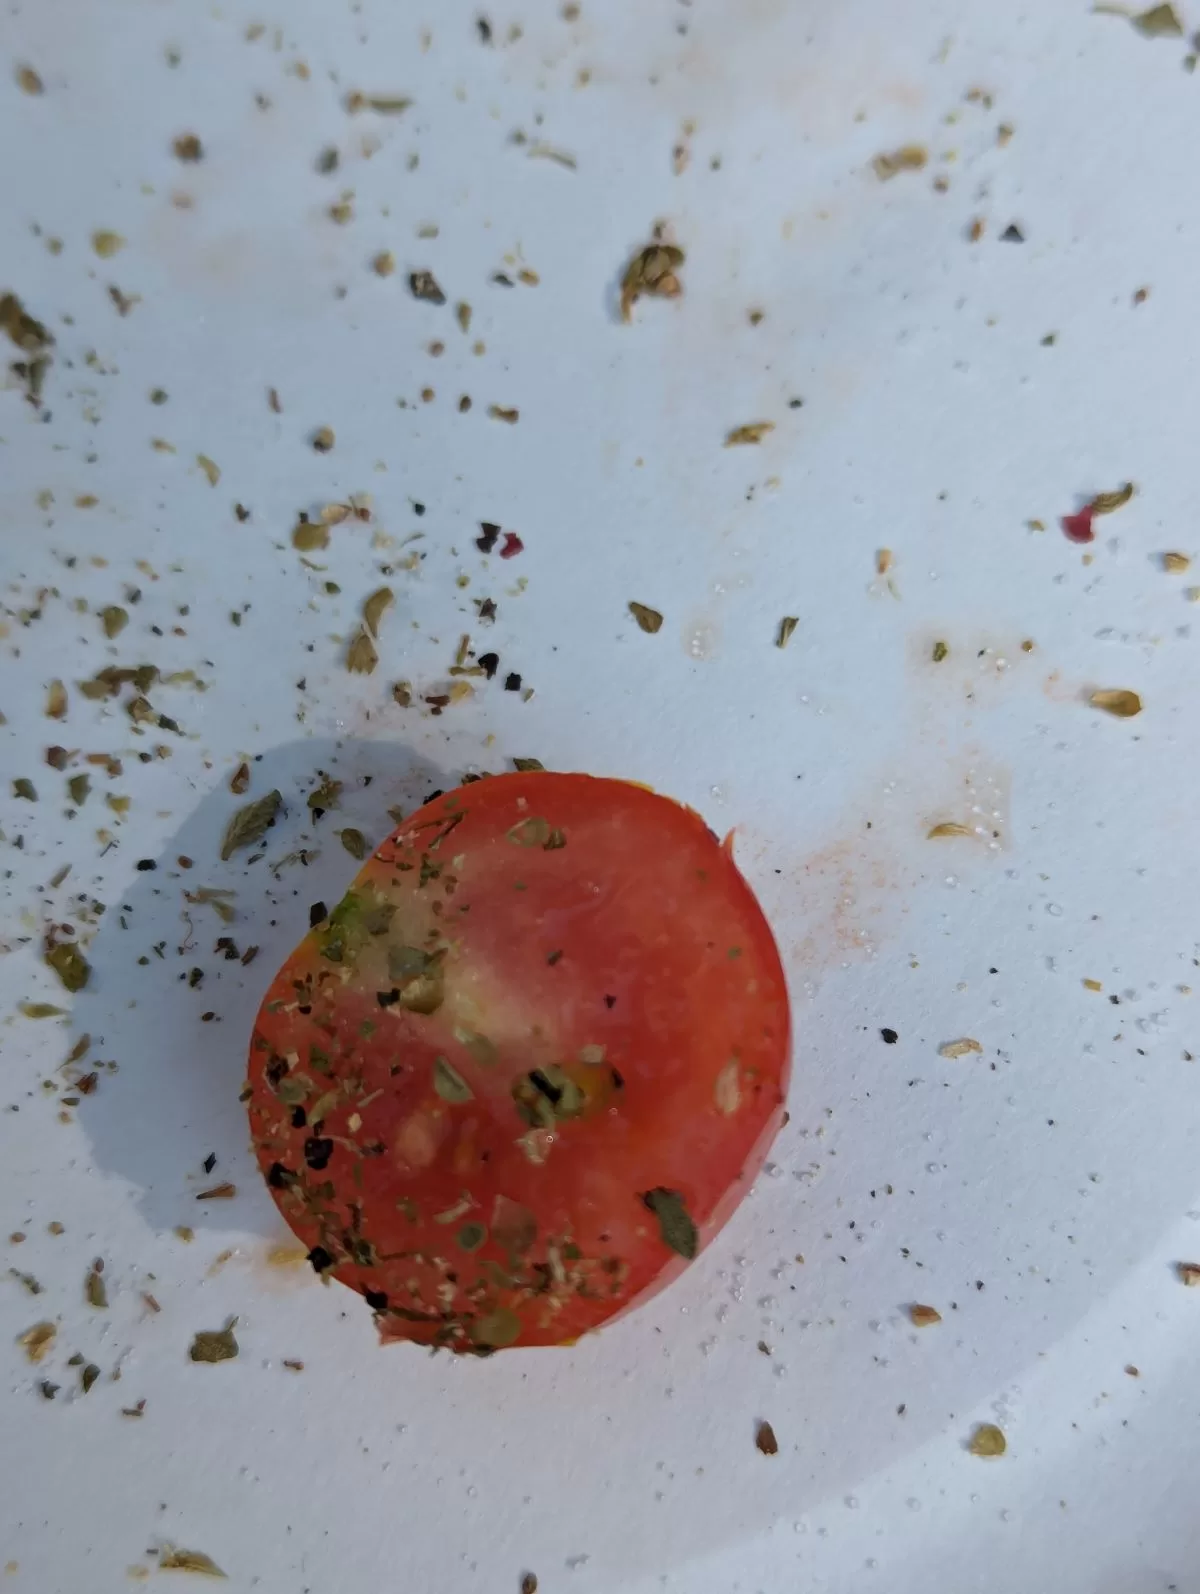
all thats needed is salt, pepper and oregano for a sweet, delicious snack
Cherry tomatoes are a delicious snack. To prepare them, we first slice them in half and arrange them on a plate with the cut side facing up. Next, we sprinkle them with salt, pepper, and oregano. The result is a delicious dish! We also like to drizzle the tomatoes with olive oil and sprinkle them with grated Parmesan cheese. We ate these cherry tomatoes as fast as we could pick them. They were delicious! We are sure to have many more cherry tomatoes this summer. We planted a large number of tomato plants this year, and we think they will produce a bountiful harvest.
June 27, 2024 Shelf Stable Kosher Dill Pickle Spears
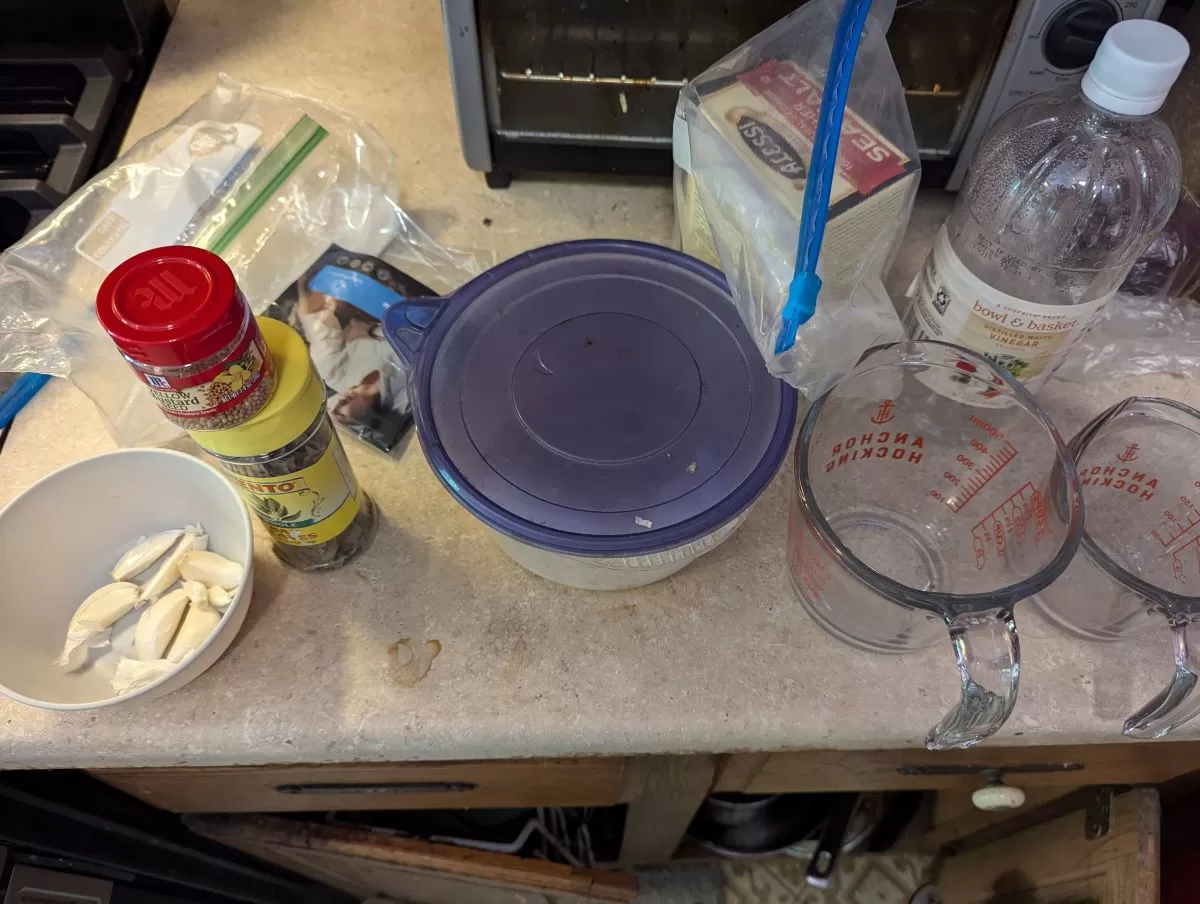
Readying ingredients for kosher dill pickles: salt, calcium chloride (pickle crisp), bay leaves, mustard seeds, dill, garlic, vinegar (5%), sugar
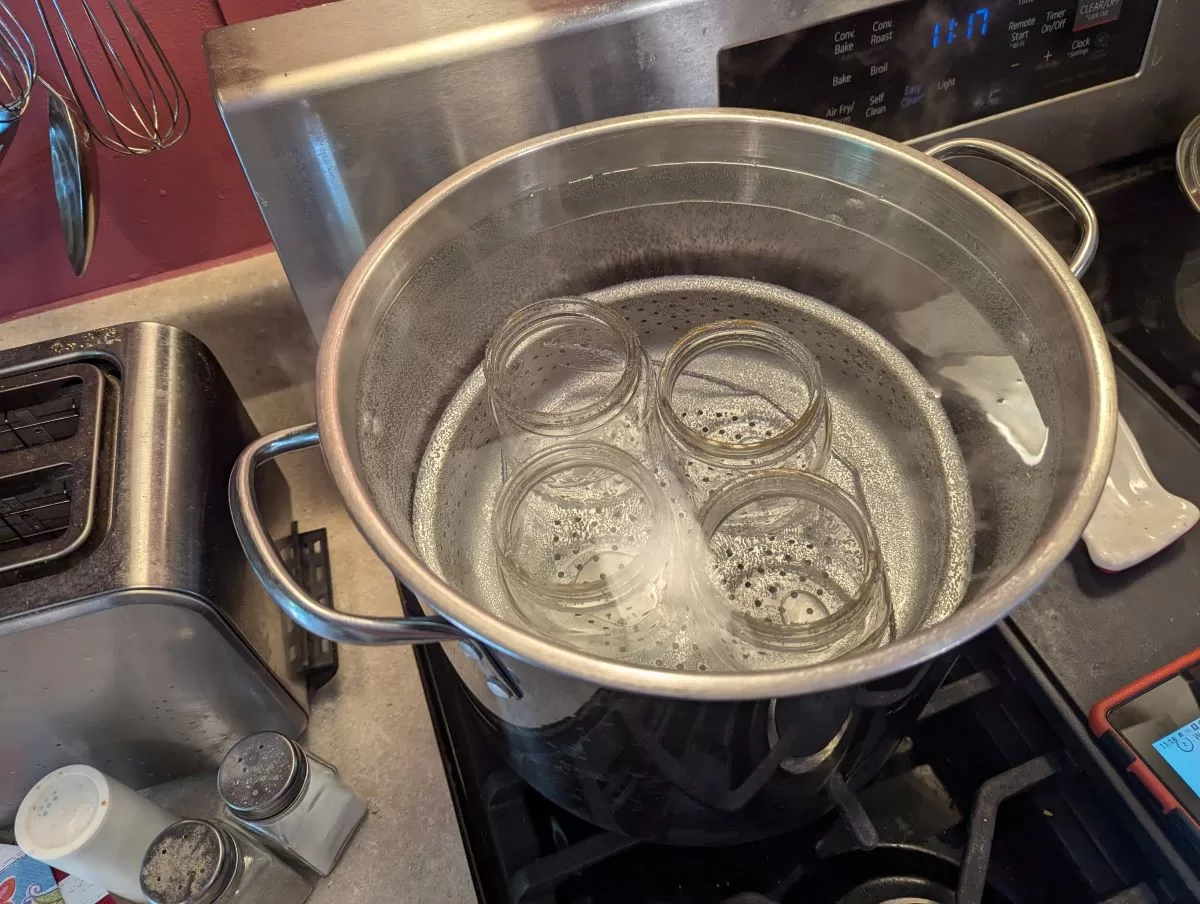
sterilizing pint ball jars in boiling water bath
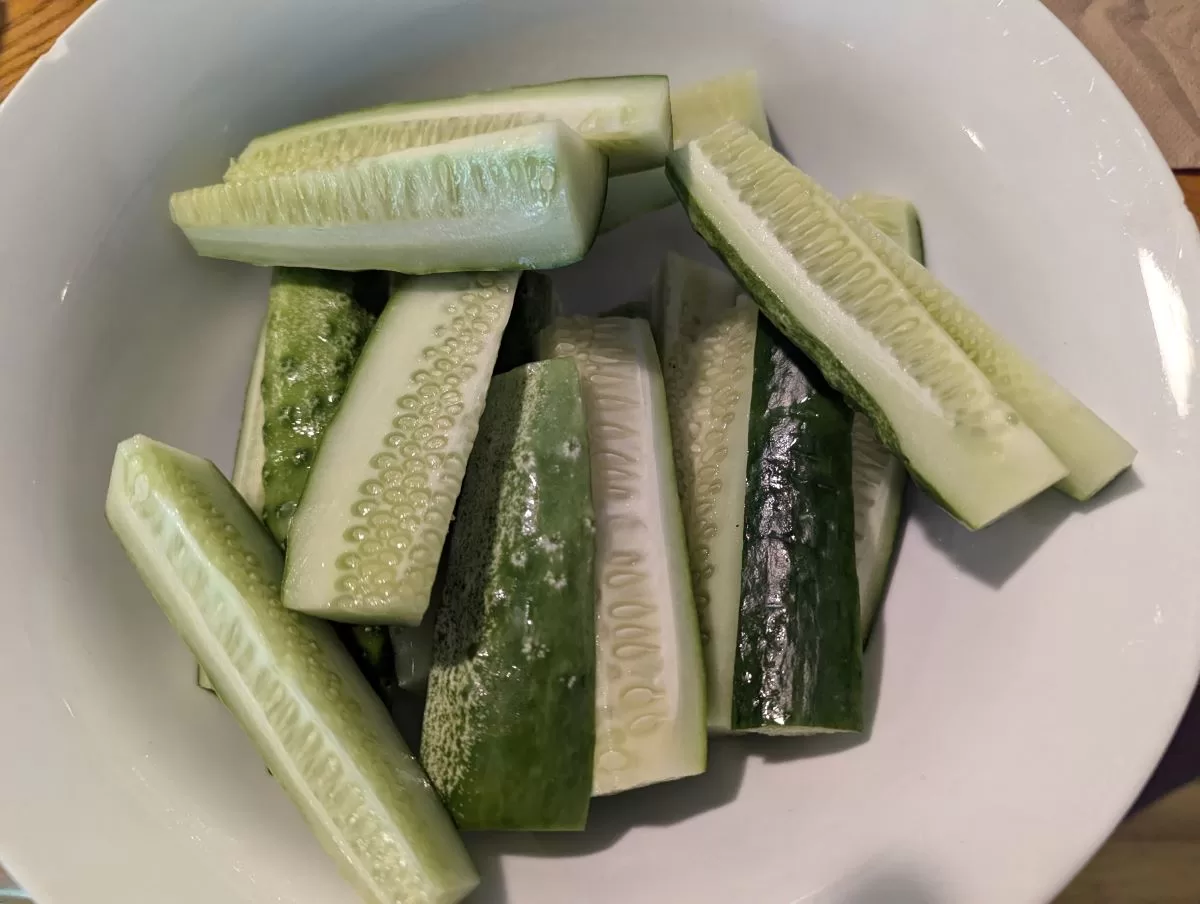
cucumbers sliced into spears for canning/pickling!
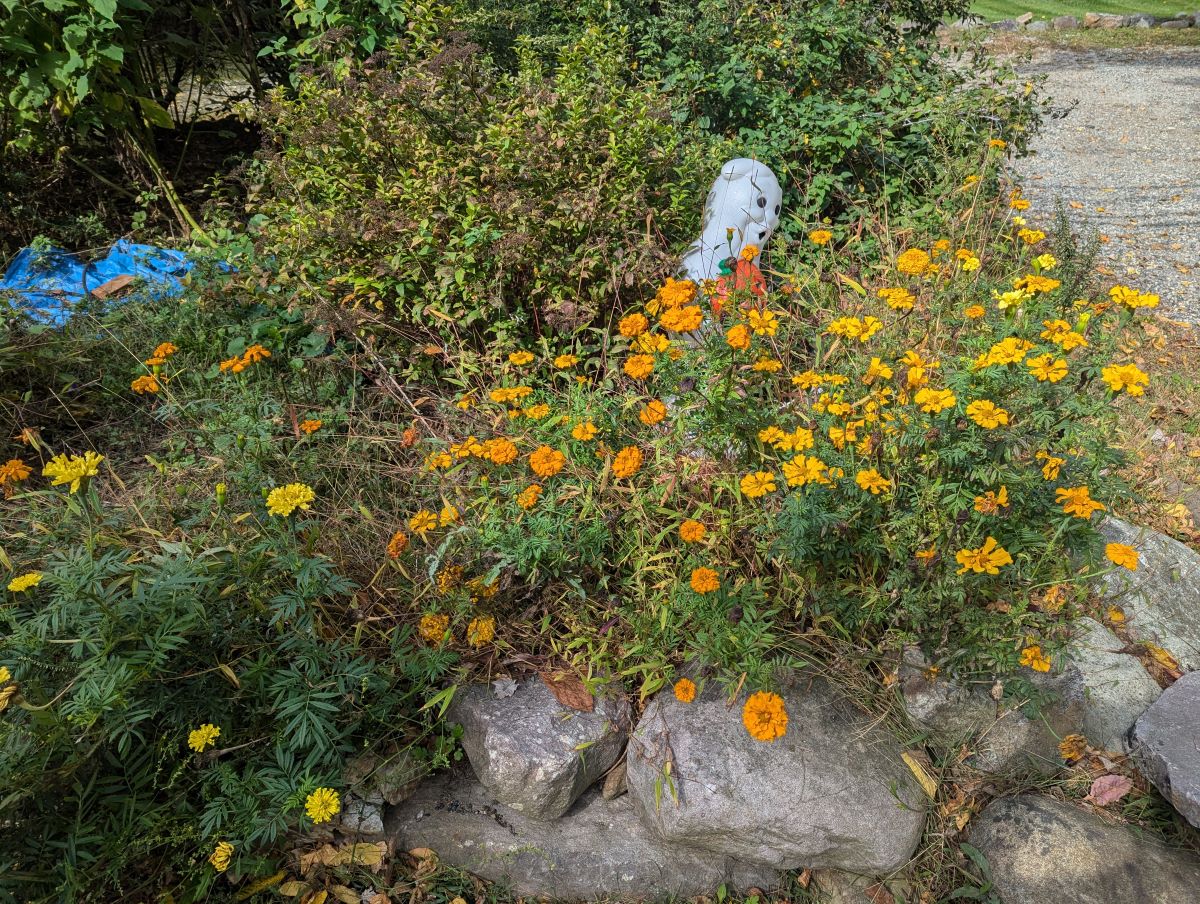
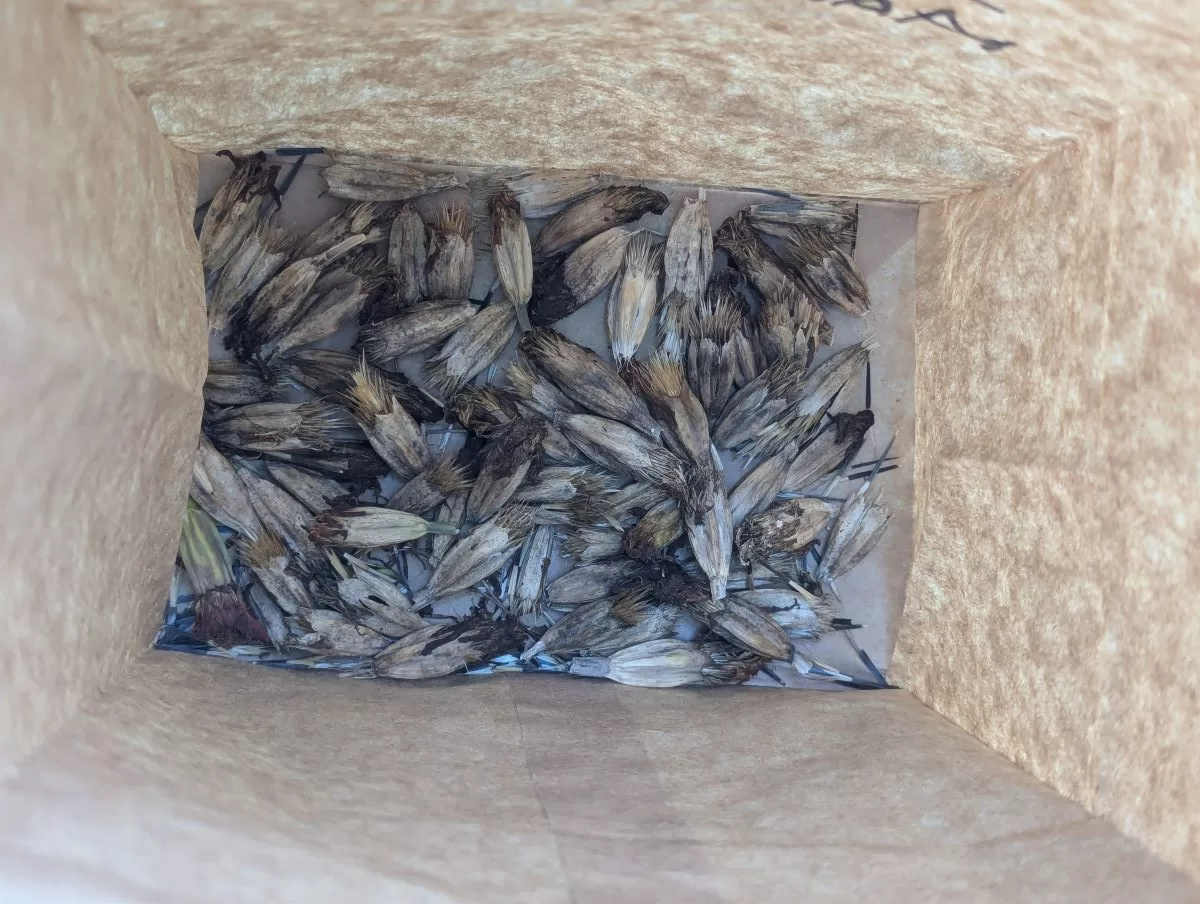
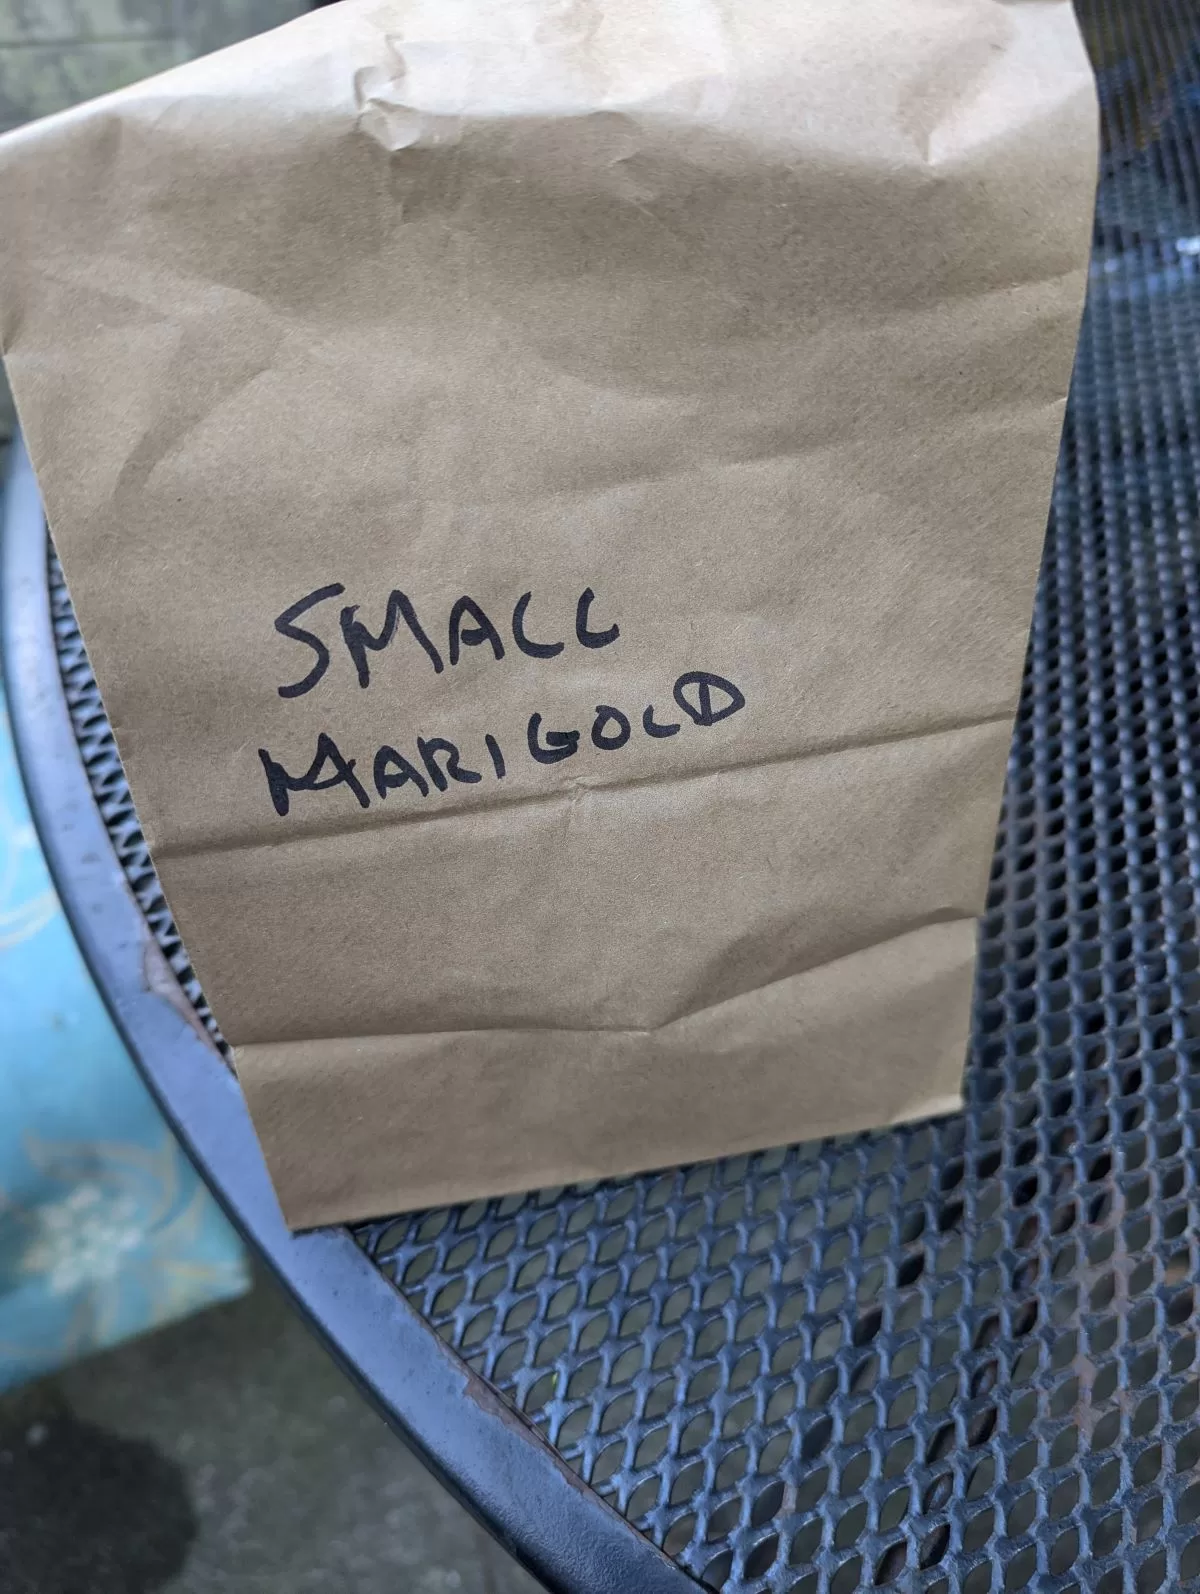
I am now harvesting the dried marigold flowers from my garden. I am saving the seeds for next year’s planting. I will store them in a paper bag in the refrigerator with my remaining seeds from spring planting.
August 22, 2024 : Garden update
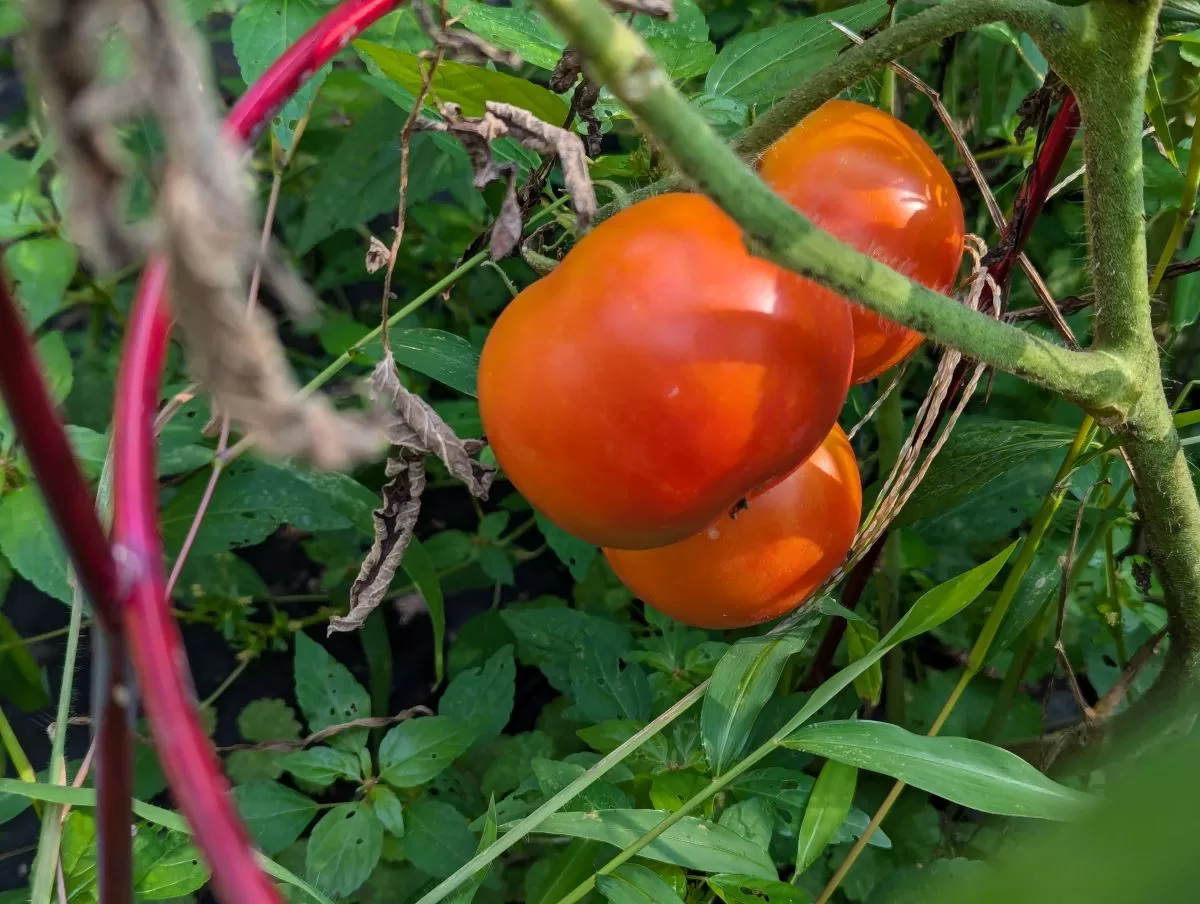
Tomatoes nearly ripe for picking
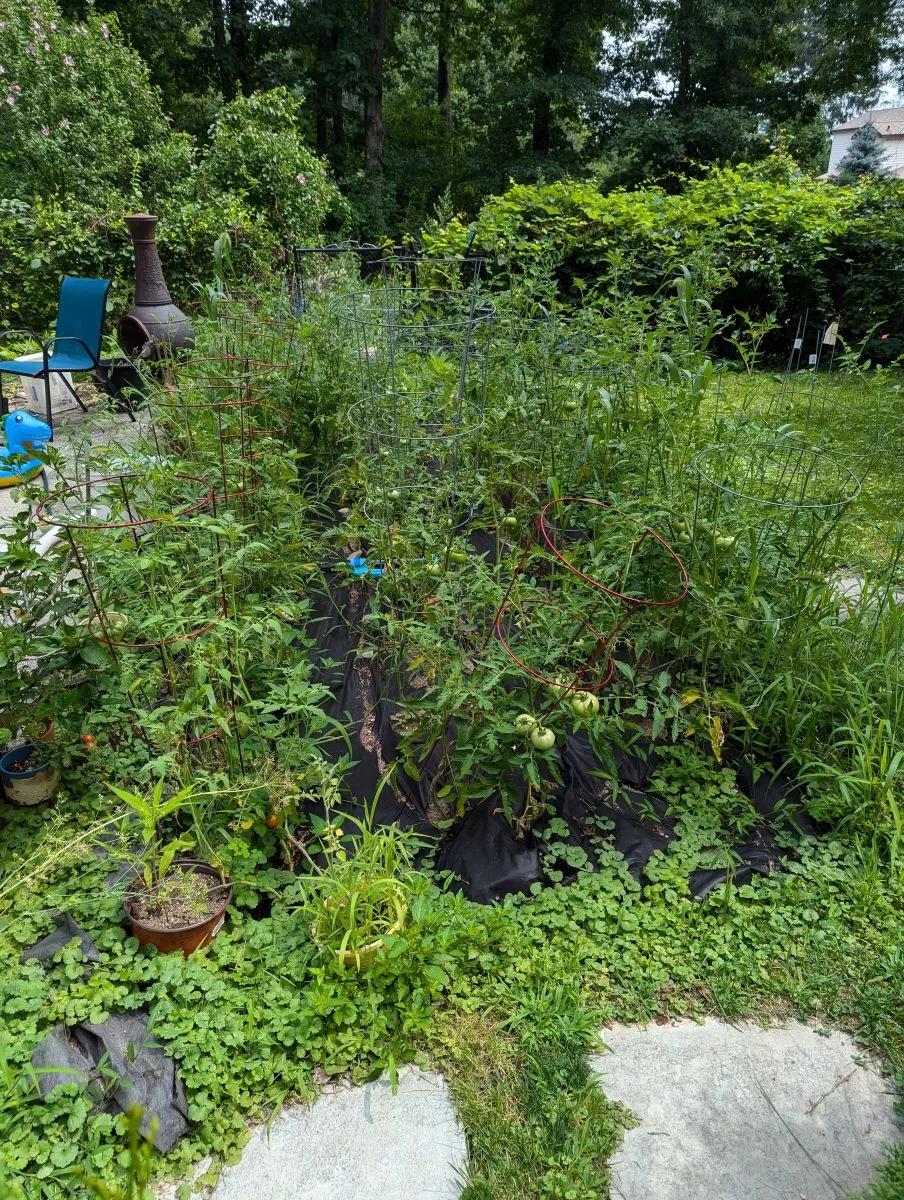
Yes, my garden is a big mess, but it is producing summer squash, tomatoes, cherry tomatoes, and delicious cucumbers. Critters have also been an ongoing concern
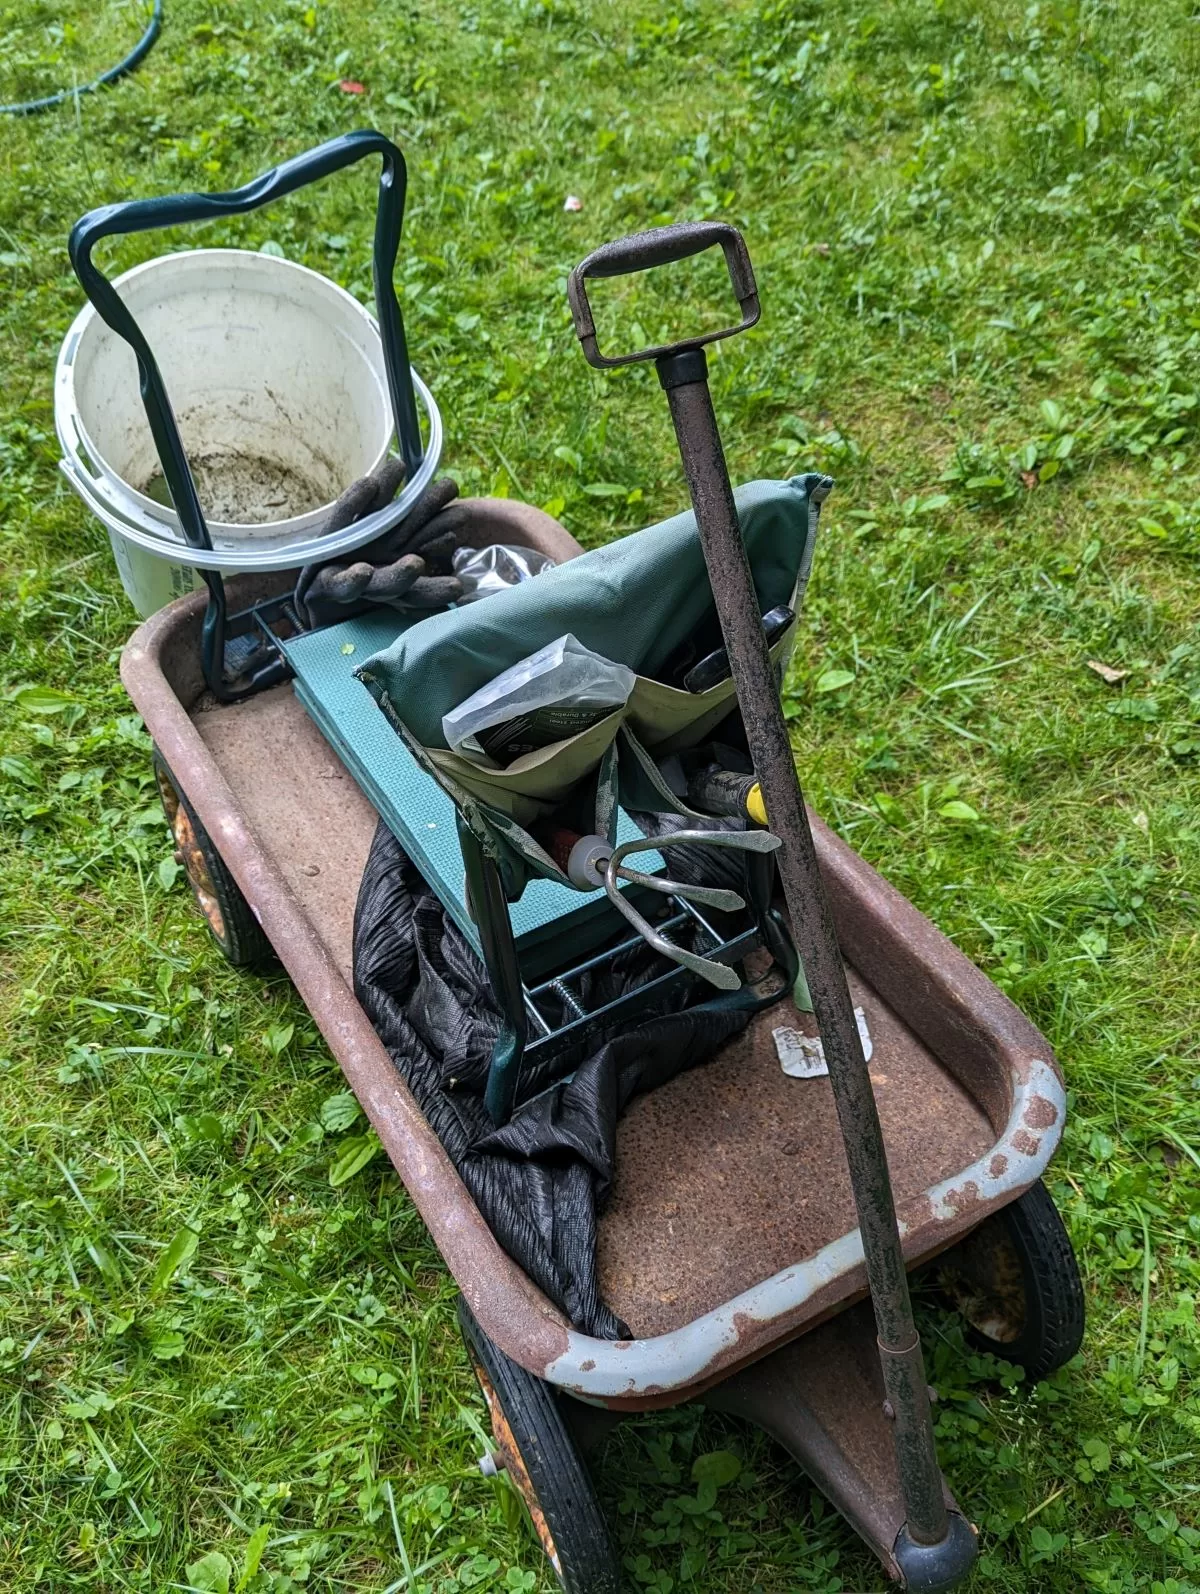
My radio-flyer wagon with kneeler and gardening tools and gloves. I use an old plastic bucket for garden debris and weeds.
With the majority of my planting complete, it is time to proceed to the next phase of my outdoor garden project. This phase is growth and maintenance, which includes feeding the plants, watering, and weeding. Weeding is a chore that is best performed frequently to avoid becoming overwhelming. It is also important to keep the garden clean and free of debris. In addition to the weeding, I will need to monitor the health of the plants and address any issues that arise. This includes removing dead or diseased plants, addressing pests and diseases, and providing adequate drainage.
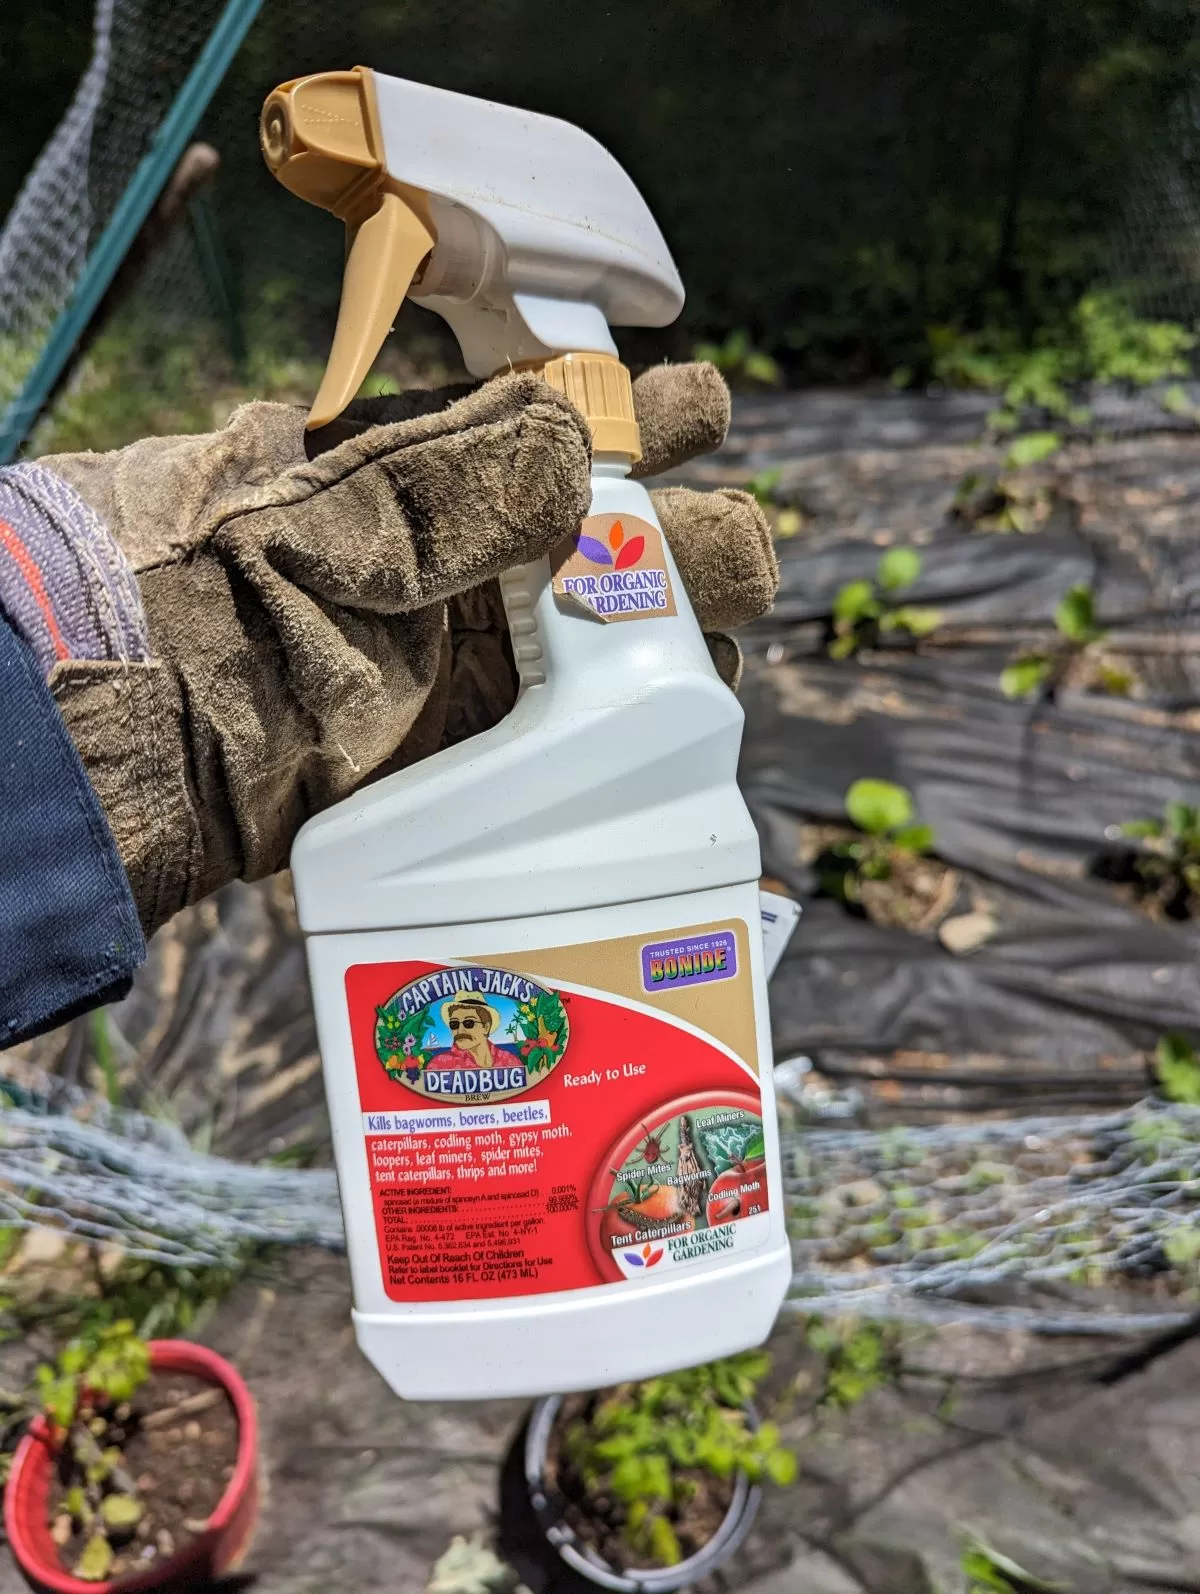
I noticed some leaf damage on my eggplants and treated with Captain Jacks Dead Bug. I grew broccoli and cauliflower last year and had problems with cabbage moths, dead bug worked well. This year I am using it on my eggplants for mites. BONIDE Captain Jack’s Deadbug Brew is approved for organic gardening to control a wide range of listed insect pests on listed vegetables, citrus, fruits flowers, and ornamentals. I have been using Deadbug for a few years, and I have found it to be very effective on broccoli and cauliflower. After just a few treatments, my broccoli and cauliflower plants were thriving, and I haven’t had to treat them since. This year, I’m using Deadbug to treat spider mites on my eggplants, and I’m happy to report that the good results. After just a few treatments, the eggplants in my garden have less perforated leaves, and they are growing well. Deadbug has been approved as an organic gardening treatment. The active ingredient in Deadbug is Bt (Bacillus thuringiensis), which is a naturally occurring bacteria that produces a protein (Cry toxin) that is deadly to certain insects.
Cayenne pepper is an effective deterrent for garden pests such as rabbits and groundhogs. I sprinkle the pepper around the perimeter of my gardens, and I purchase it in bulk. The pepper is an irritant to the pests, and they will avoid areas where it is sprinkled. I have found that this method is very effective in keeping the pests away from my plants.
Cayenne pepper is an effective deterrent for rabbits, groundhogs, etc. but must be applied daily
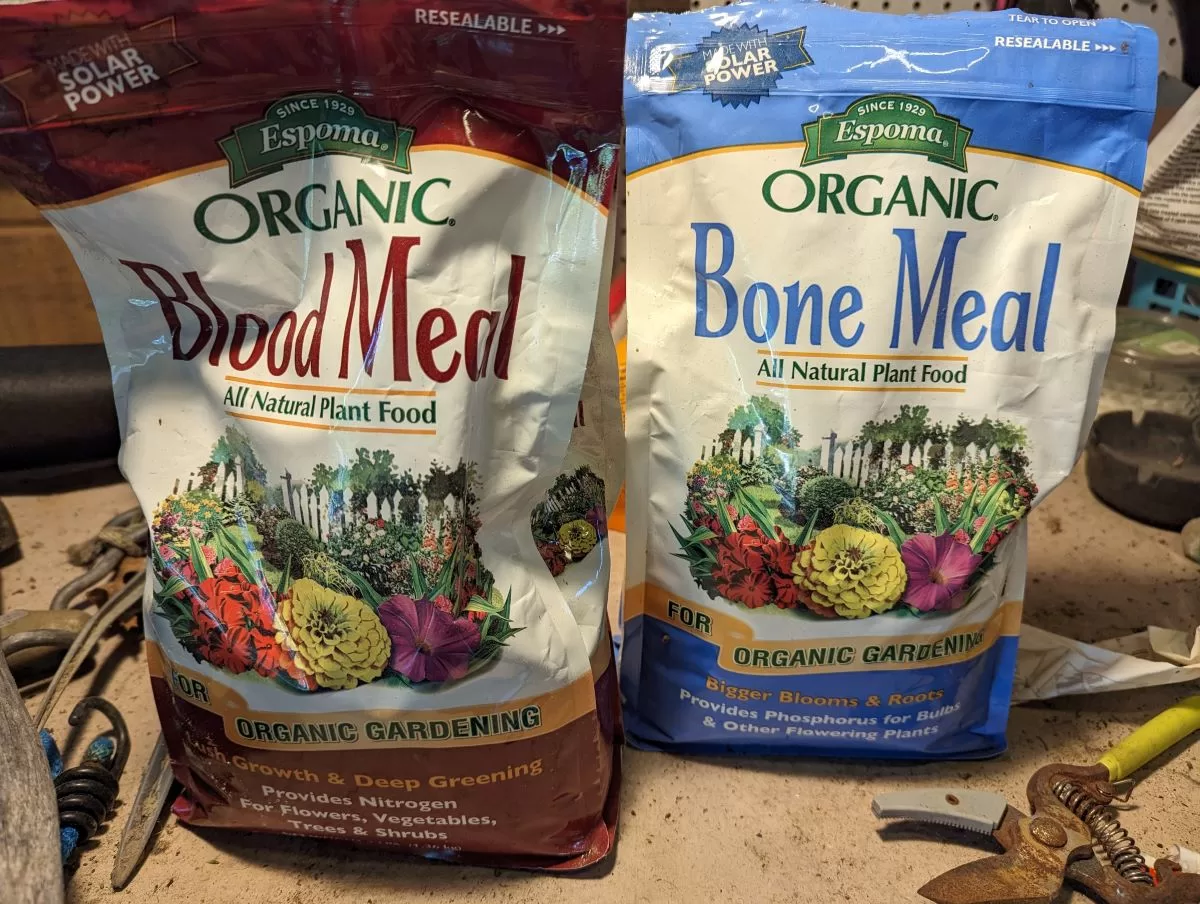
Organic fertilizers include blood meal and bone meal
I have been engaged in gardening for many years, and I have always been committed to finding the best way to promote growth and maintain the health of my plants. I have experimented with various methods, but I have recently switched to using a mixture of blood meal and bone meal, and the results have been impressive. Now, I sprinkle a 50/50 mixture of both meals into the soil at the base of the plant stems. This method has proven to be highly effective for several reasons. First, blood meal is a good source of nitrogen, which is an essential nutrient for plants. Second, bone meal is a good source of calcium and phosphorus, which also help plants thrive. Third, this method is all-natural and does not contain any harmful chemicals. This simple yet powerful solution has contributed to the health and growth of my plants in a remarkable way.
Sometimes “you are the rain”, make a habit of watering your garden regularly
rt23 staff
It is important to know how to interpret the signs that plants give to their caretakers. Watering is a key element to maintaining healthy plants, but it can be difficult to determine the amount and frequency of water your plants require. To avoid over- or under-watering, I maintain a consistent schedule but also vigilantly monitor my plants for indicators of thirst, such as dry soil or wilted leaves. Through careful observation, I have learned to recognize these cues and adjust my watering accordingly. It is a delicate balancing act, but one that is essential for thriving plants.
I am trying to use up the remaining seeds I have, so I am planting sunflowers, cucumbers, and zucchini. I also have a few tomato plants left over, and I am trying to find a place to put them. It is a lot of work, but I am eager to see how everything grows. I am also looking forward to the time when I can enjoy the homegrown produce at the end of the season. Gardening is such a rewarding pastime. I am glad I am able to continue gardening this season.
Our garden has been doing great in this heat wave. I think it has something to do with the fact that we’ve been working so hard to keep it watered. The tomatoes, eggplants, Mexican sunflowers, and Cucamelons are loving it. The heat and daily watering have worked like a charm and our recent blood and bone meal treatment really helped too.
Although the hot, sunny weather promotes plant growth, regular watering is required
rt23 staff
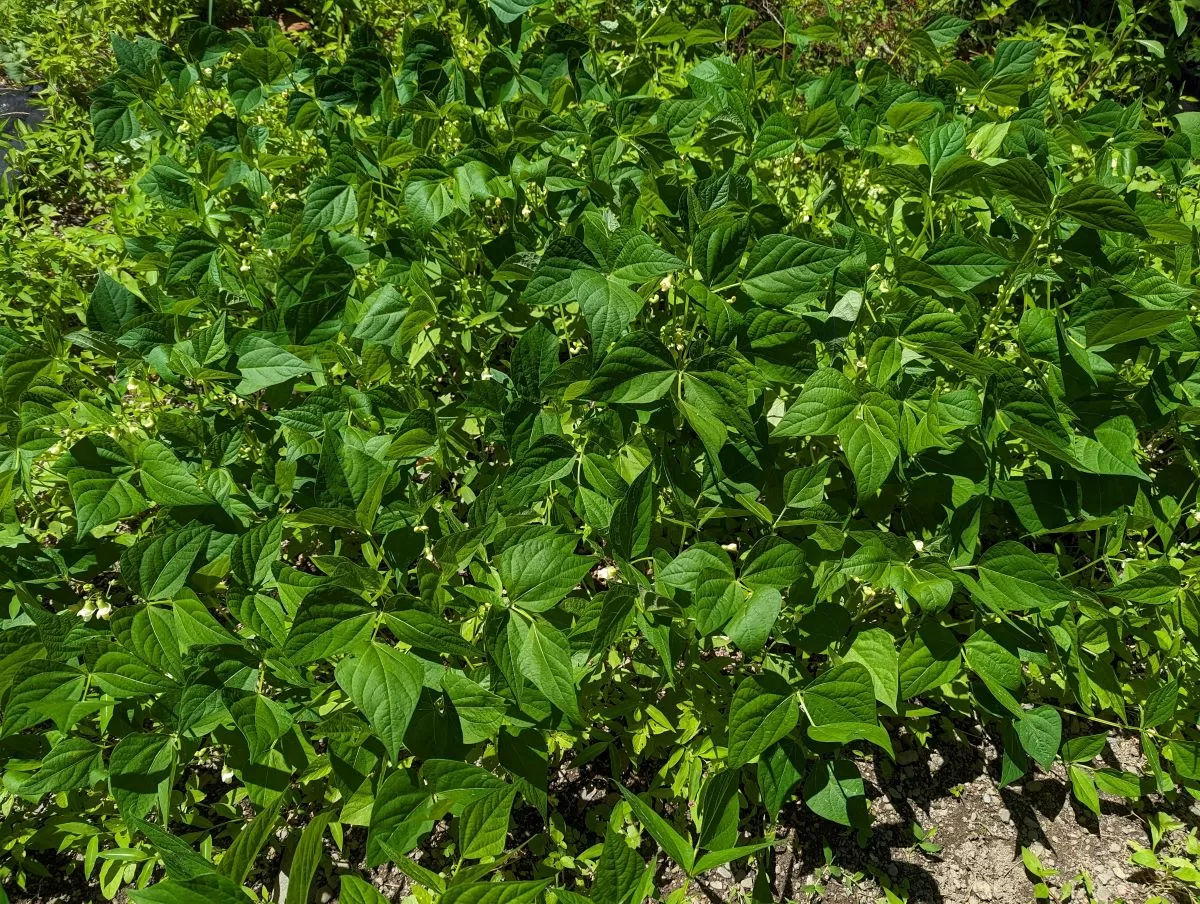
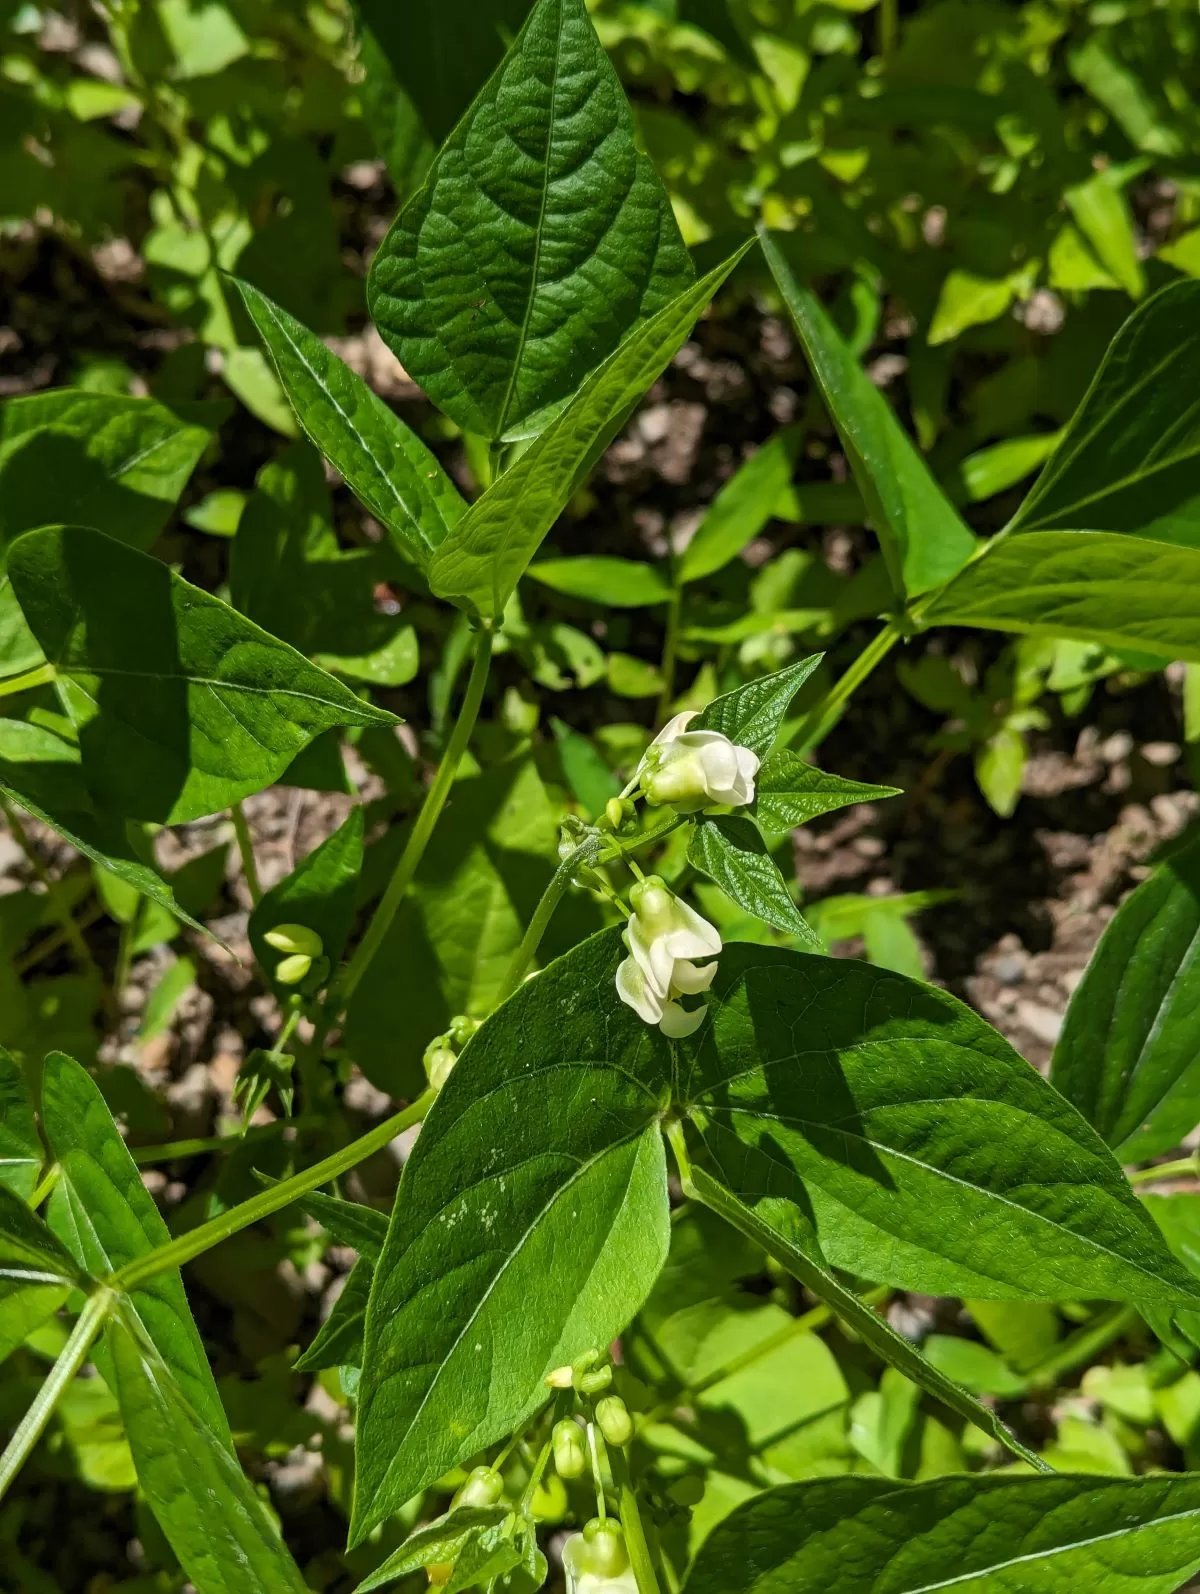
The cherry tomatoes have begun producing fruit, and the garden beans are in full bloom! We are checking on our garden beans every day so we can pick them at peak flavor before the seeds form. I’ve been gardening for many years and I’ve learned to keep a close eye on all of my plants so I can harvest them at just the right time. It’s all part of the fun, and I’m so glad I’m able to keep gardening this season.
We’ve been hard at work keeping our garden well watered and healthy, especially in this heatwave, and it’s really paid off. Our vegetable plants are thriving, and we’re seeing flowers on our tomatoes, cucumbers, and more. Even our garden beans are covered in white flowers. Now that our plants have made it through the hottest part of the summer, we’re excited to keep growing and tending to them and can’t wait to see our summer harvest.
Tomato Flowers (Better Boy/Beefsteak)
Our Better Boy/Beefsteak tomato crop is doing so well that we’re already getting some early flowering on the plants. We’re really hoping that this means an early harvest, which would be amazing. We’ve been working so hard to make sure that our garden is healthy and productive, and so far, it seems to be paying off. We planted the seeds in March and moved the seedlings outside in late April when there was less risk of frost. We have made sure to keep the plants watered and fertilized, and we’ve even sung and played music to them. It’s not easy growing tomatoes in North Jersey, but we’ve been having fun and are looking forward to the results. Fingers crossed!!
Our cherry tomatoes are already bearing fruit! They’re so sweet and delicious, you can pick them right off the vine and eat them fresh or prepare them with a little salt, pepper, and oregano for a summer treat! I’ve been gardening for many years and I’ve learned to keep a close eye on all of my plants so I can harvest them at just the right time. It’s all part of the fun!
Cherry Tomato
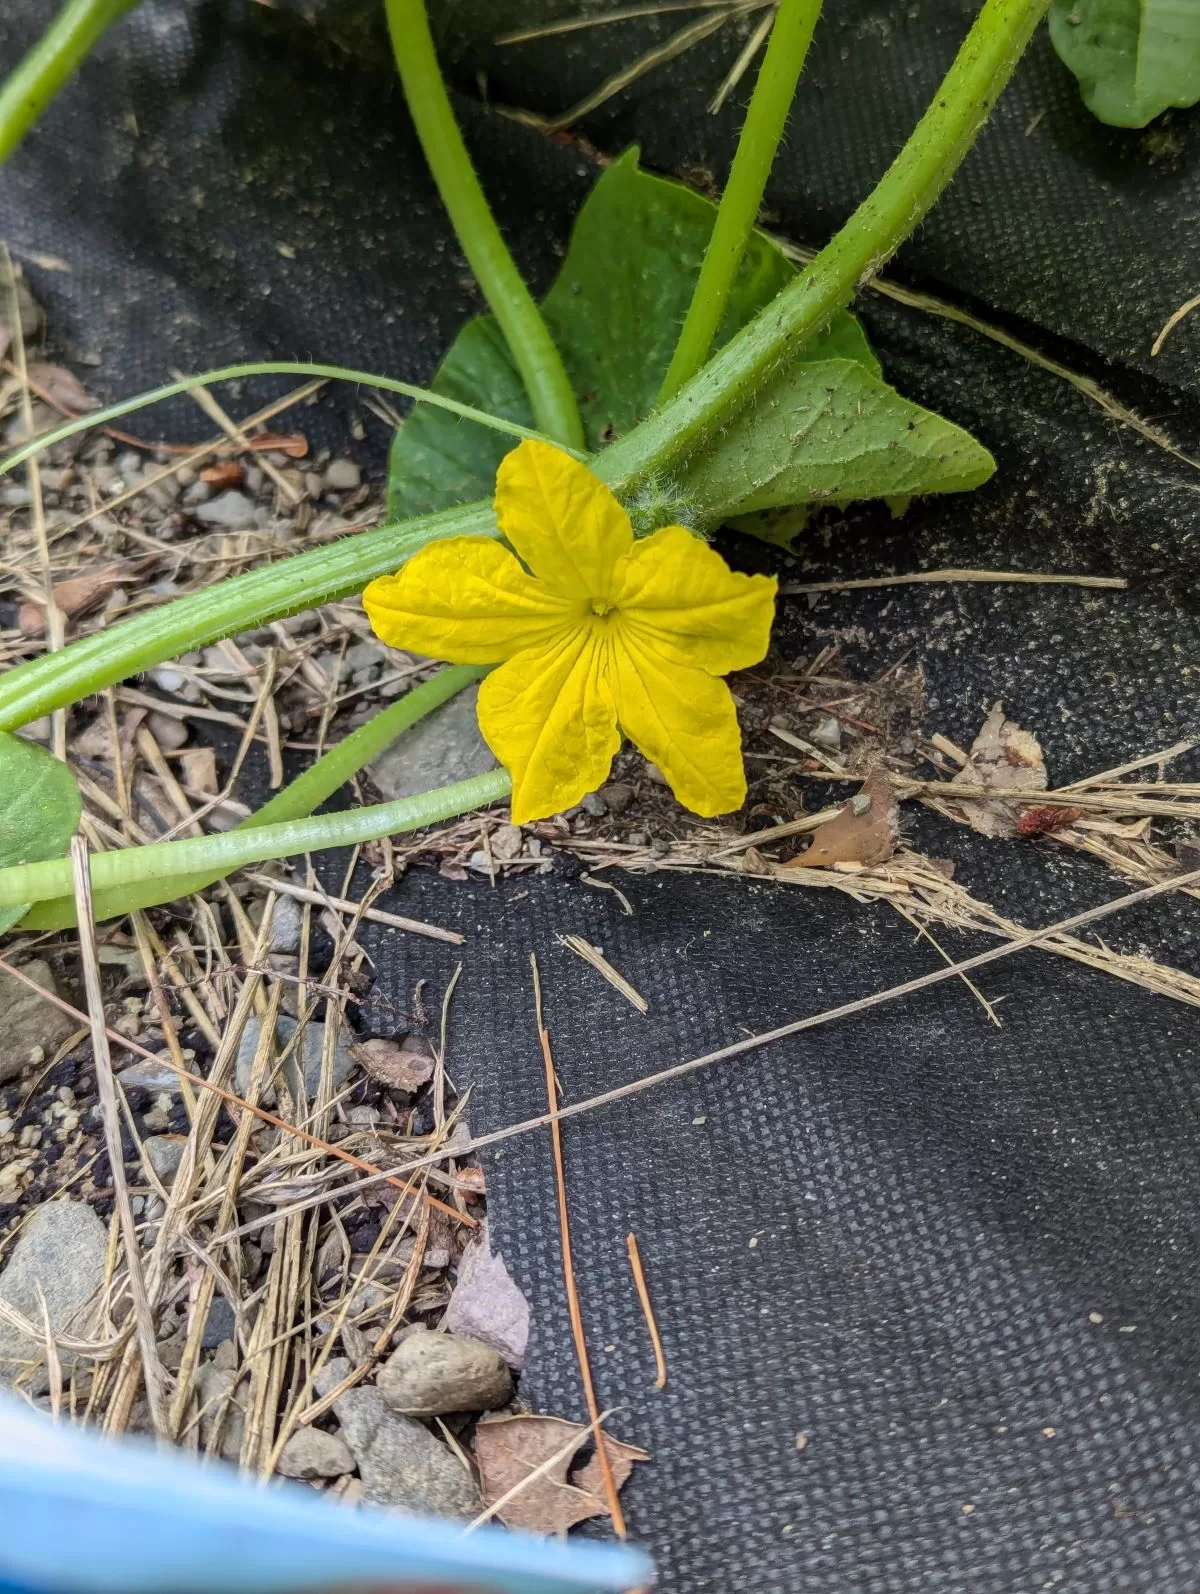
Cucumber flower
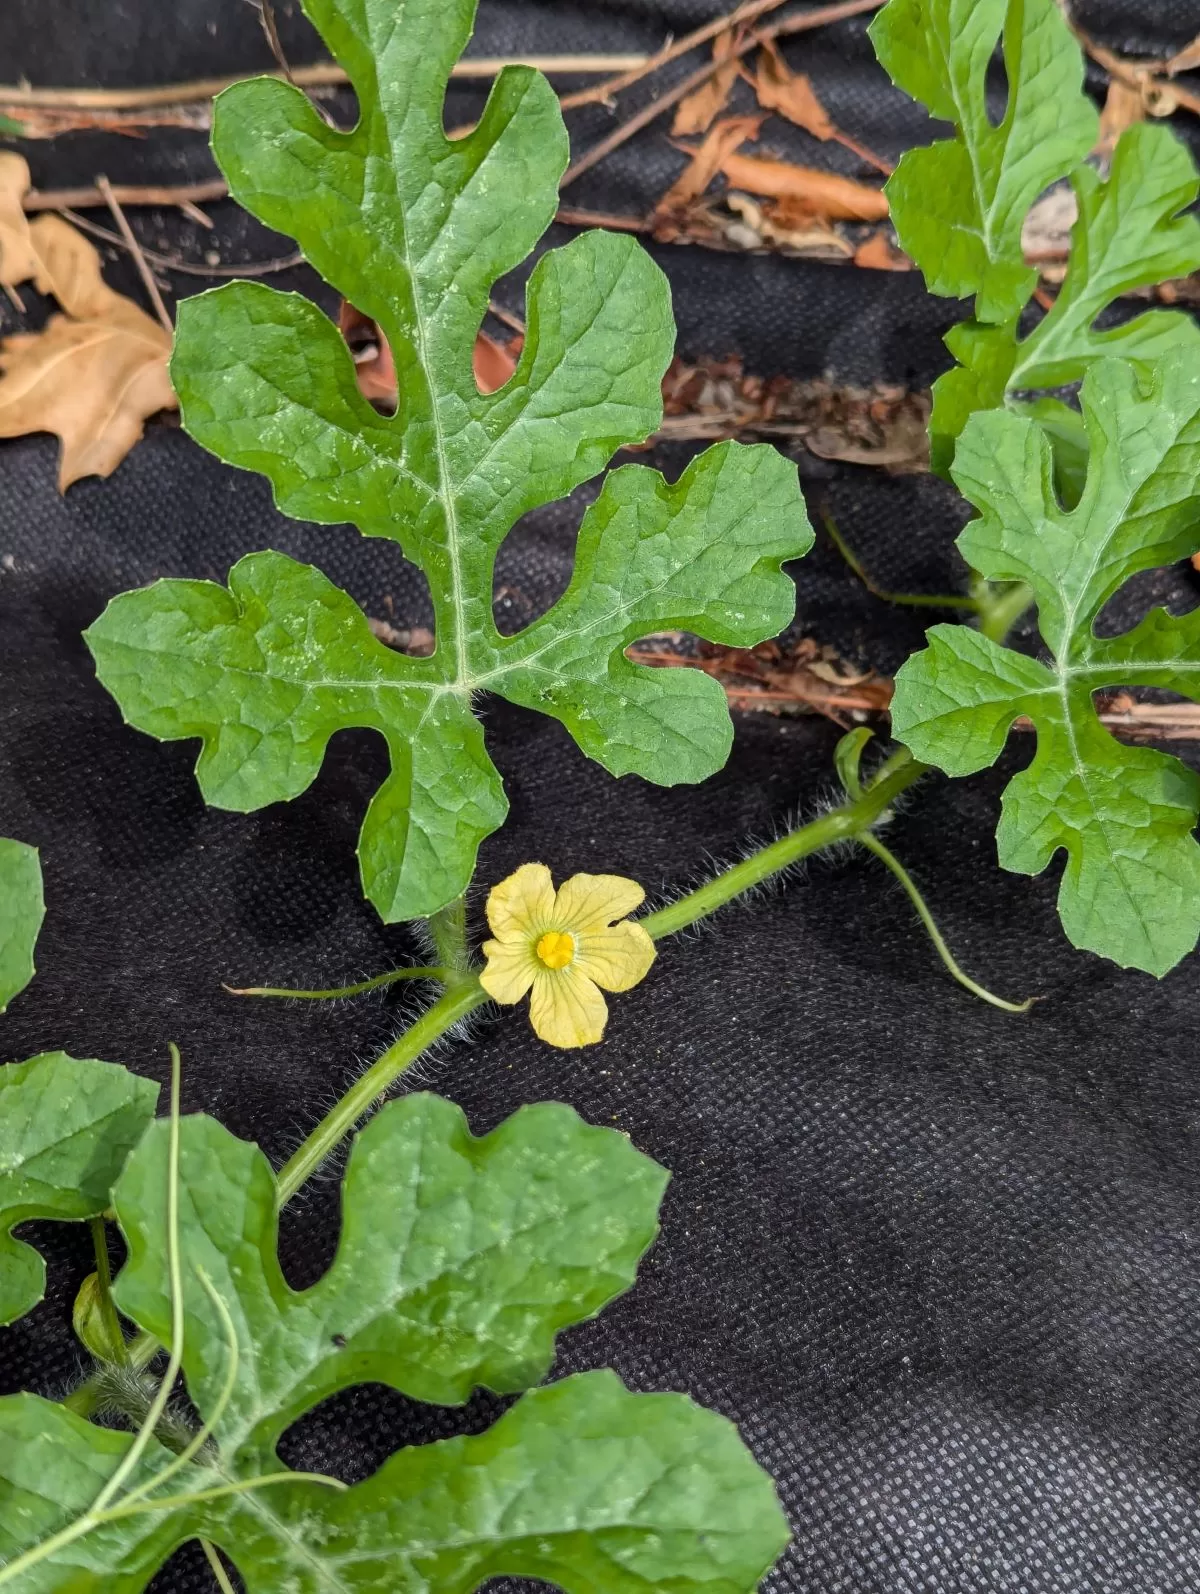
Look at these beautiful cucumber flowers in my garden! I planted the seeds on May 9 and they grew quickly. If you’re a gardener in northern New Jersey, it’s still not too late to plant cucumber seeds and get a harvest! The flowers are yellow and have a pretty bell shape. The flowers have a long stem and bloom one at a time. I love growing cucumbers, especially as i started making pickles last year.
Our pumpkins have been flowering but I don’t think the plant is developed enough to support the fruit
Pumpkin Flower
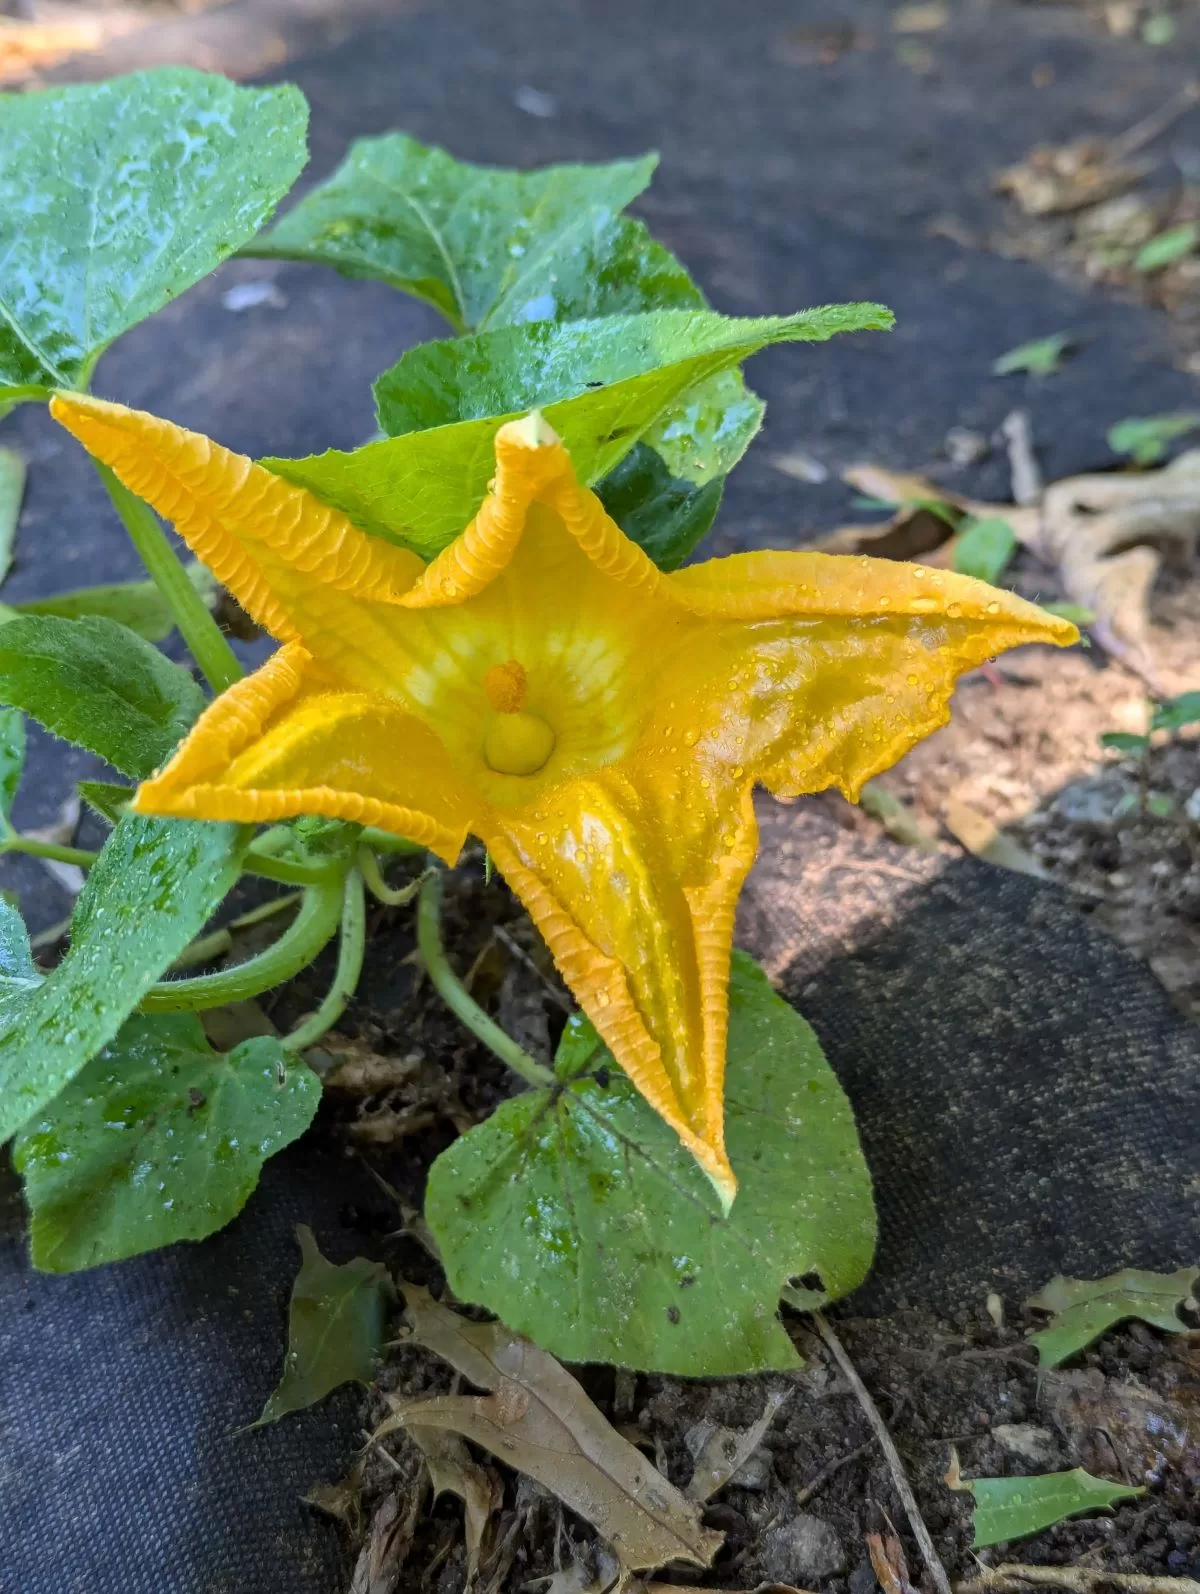
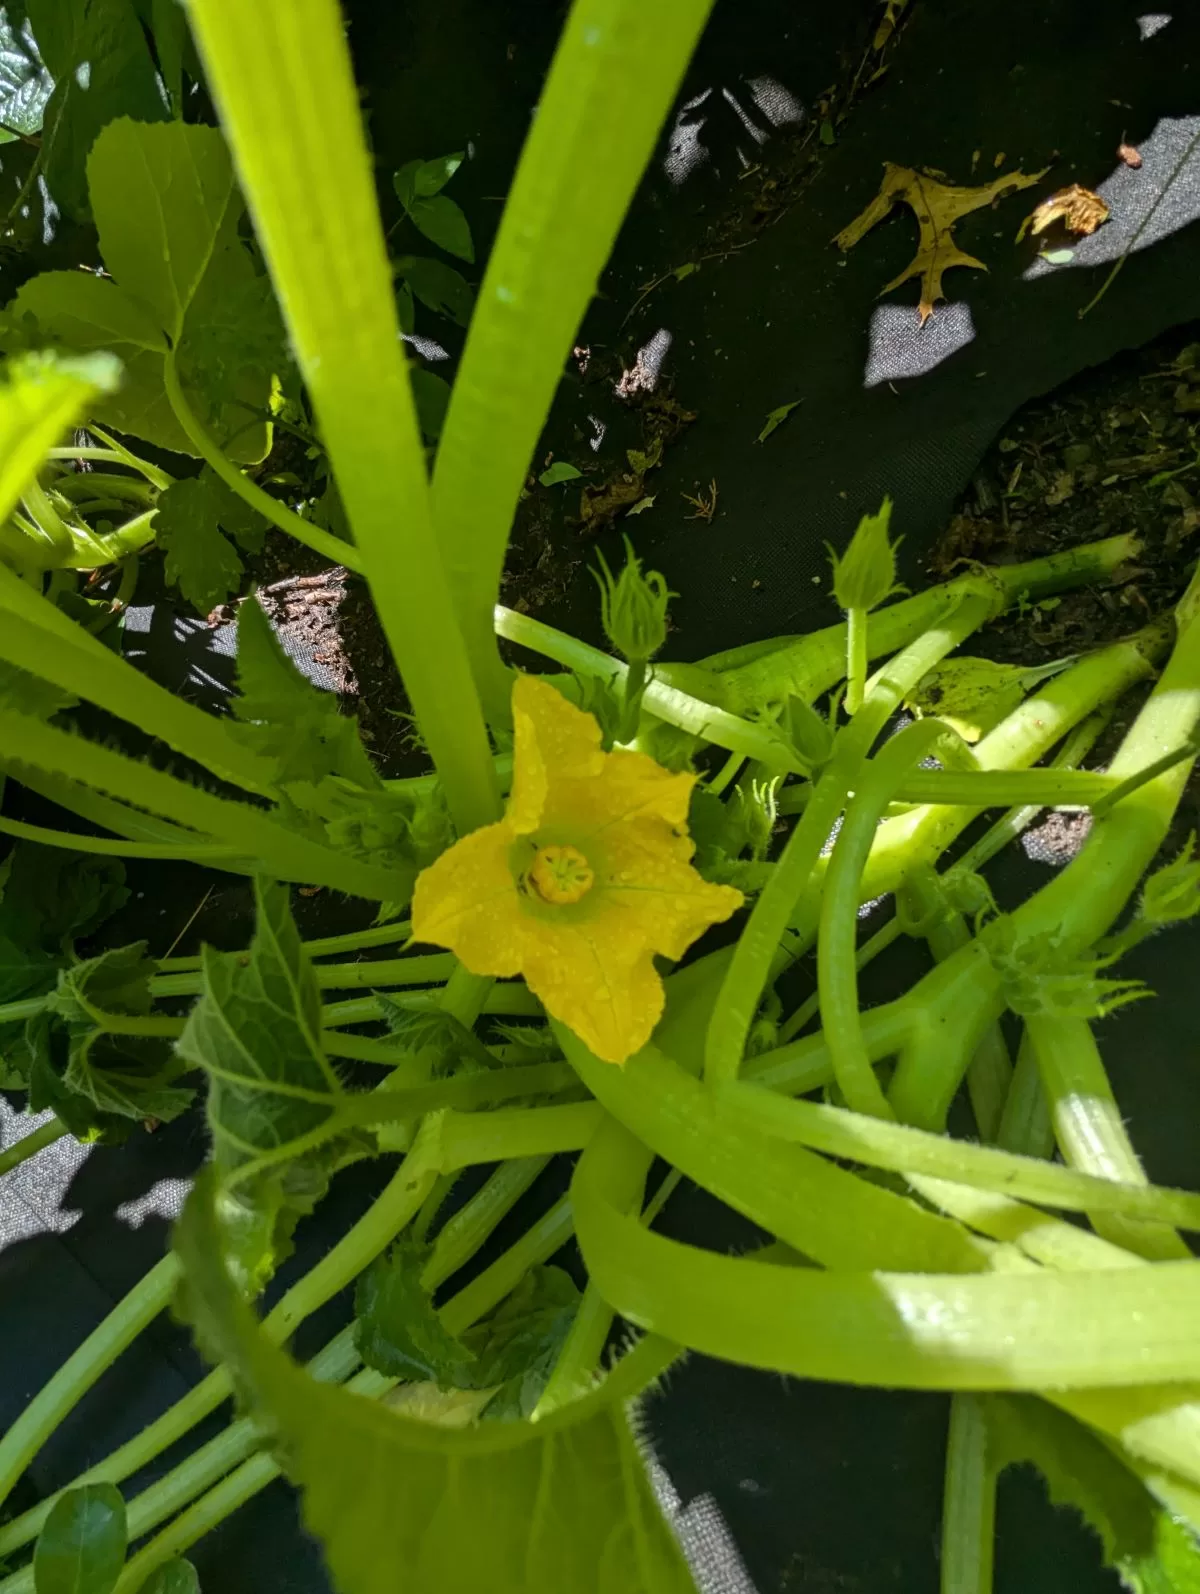
Summer Squash flower
If you’re a gardener in northern New Jersey, you’re in luck! It’s not too late to plant summer squash. I planted mine on May 13, and they’re already flowering. The plants grew really fast, so I think it’s still possible to get a harvest this season. If you’re a squash fan, I recommend getting your seeds in the ground today. In addition to being a delicious vegetable, squash is also very good for you. If you are not already a squash fan, it is time to try it!
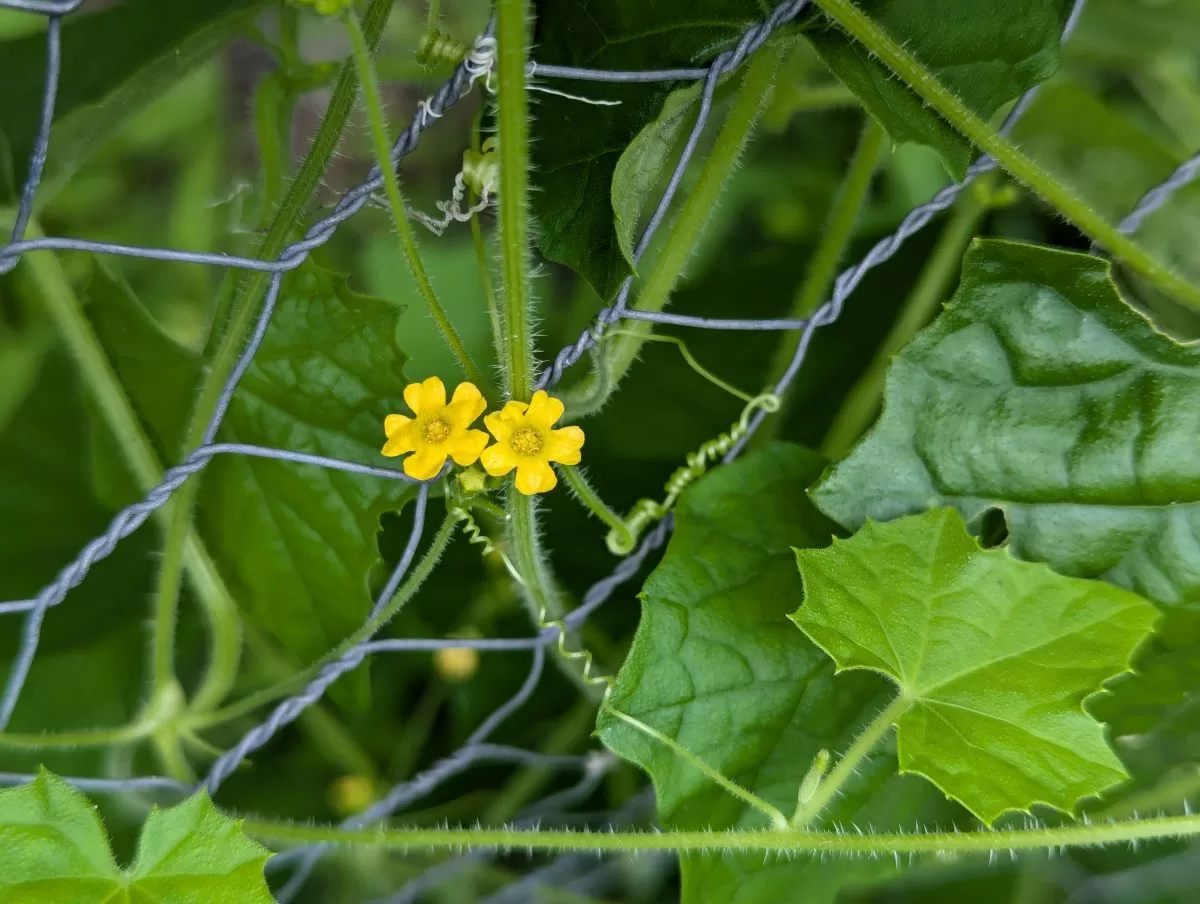
Our cucamelon vines have grown so much this year that they’ve enveloped the entire garden fence! The vines are covered with lots of flowers, so we’re expecting a bumper crop of cucamelons this year! But the best part is that the cucamelon plants are producing lots of flowers!
Our Summer Squash plants are beginning to bear fruit!
Our Summer Squash plants are getting huge! They have lots of flowers and even some fruit. We are looking forward to harvesting them soon. We are still in the early stages of growth, but the plants are doing well and we are excited to see what the future holds.
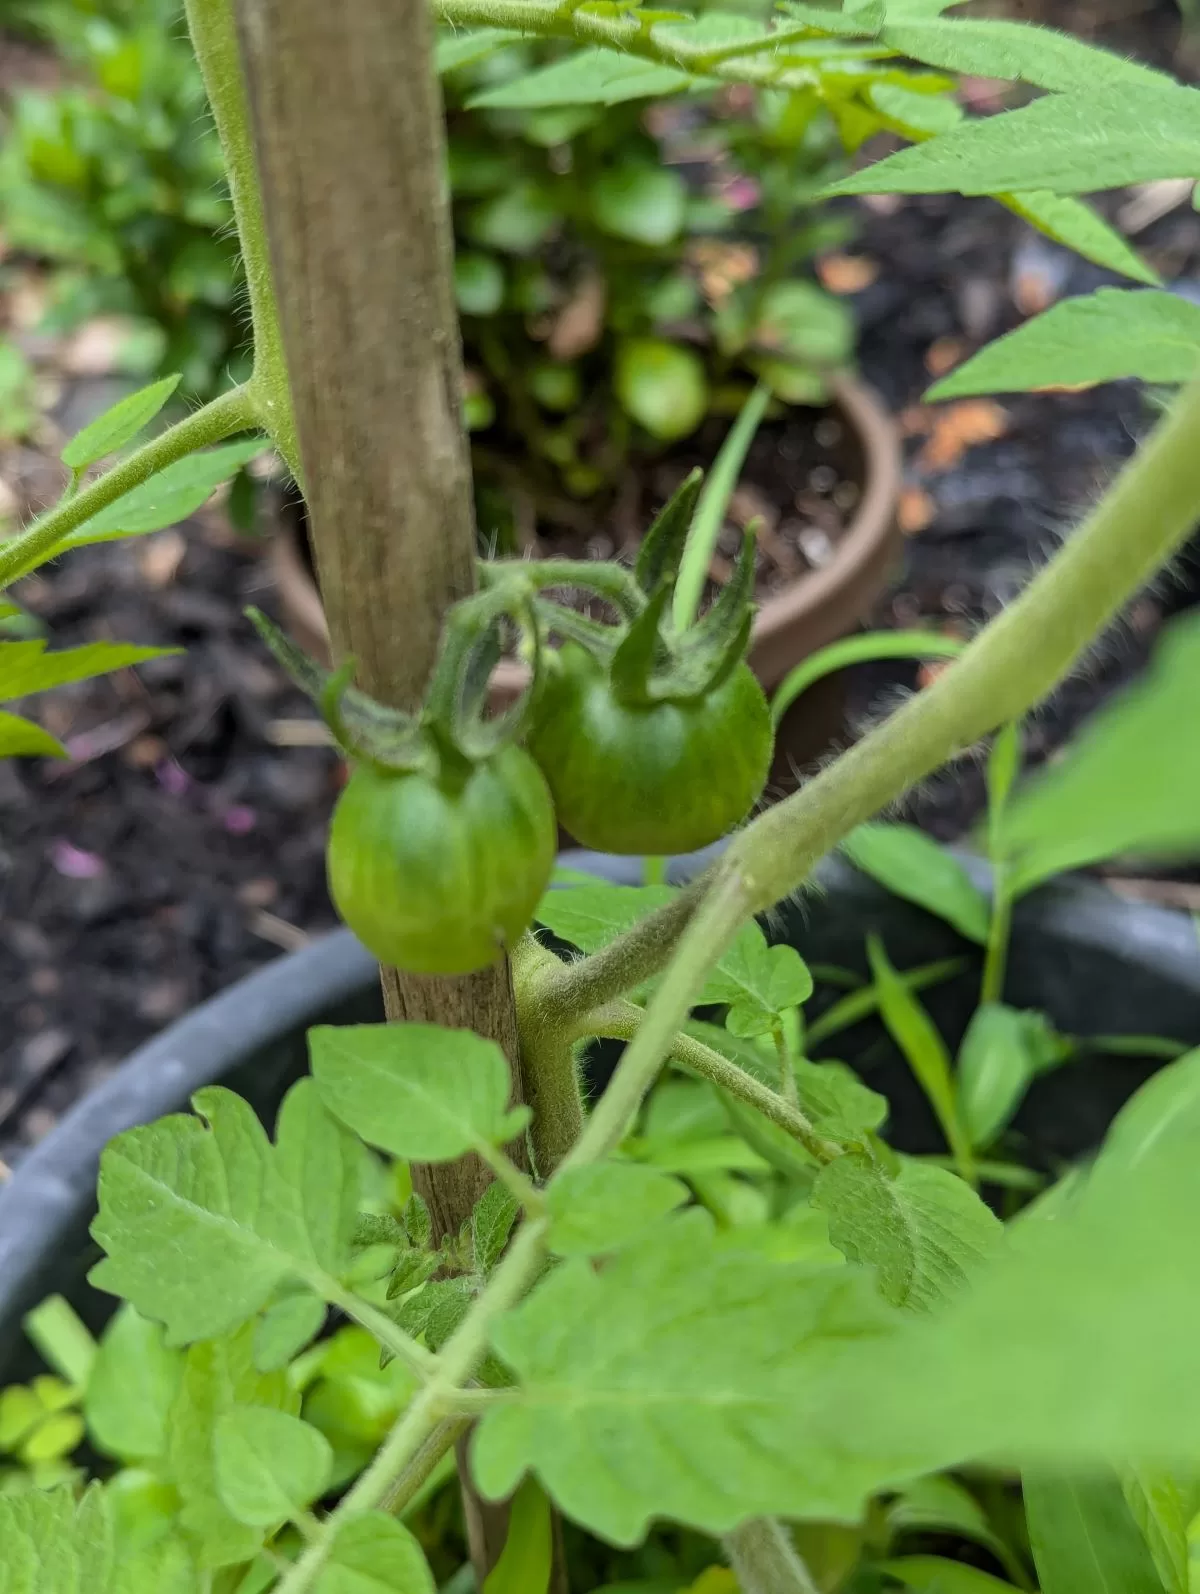
Our cherry tomatoes are also bearing fruit and we are waiting for them to change from green to red.
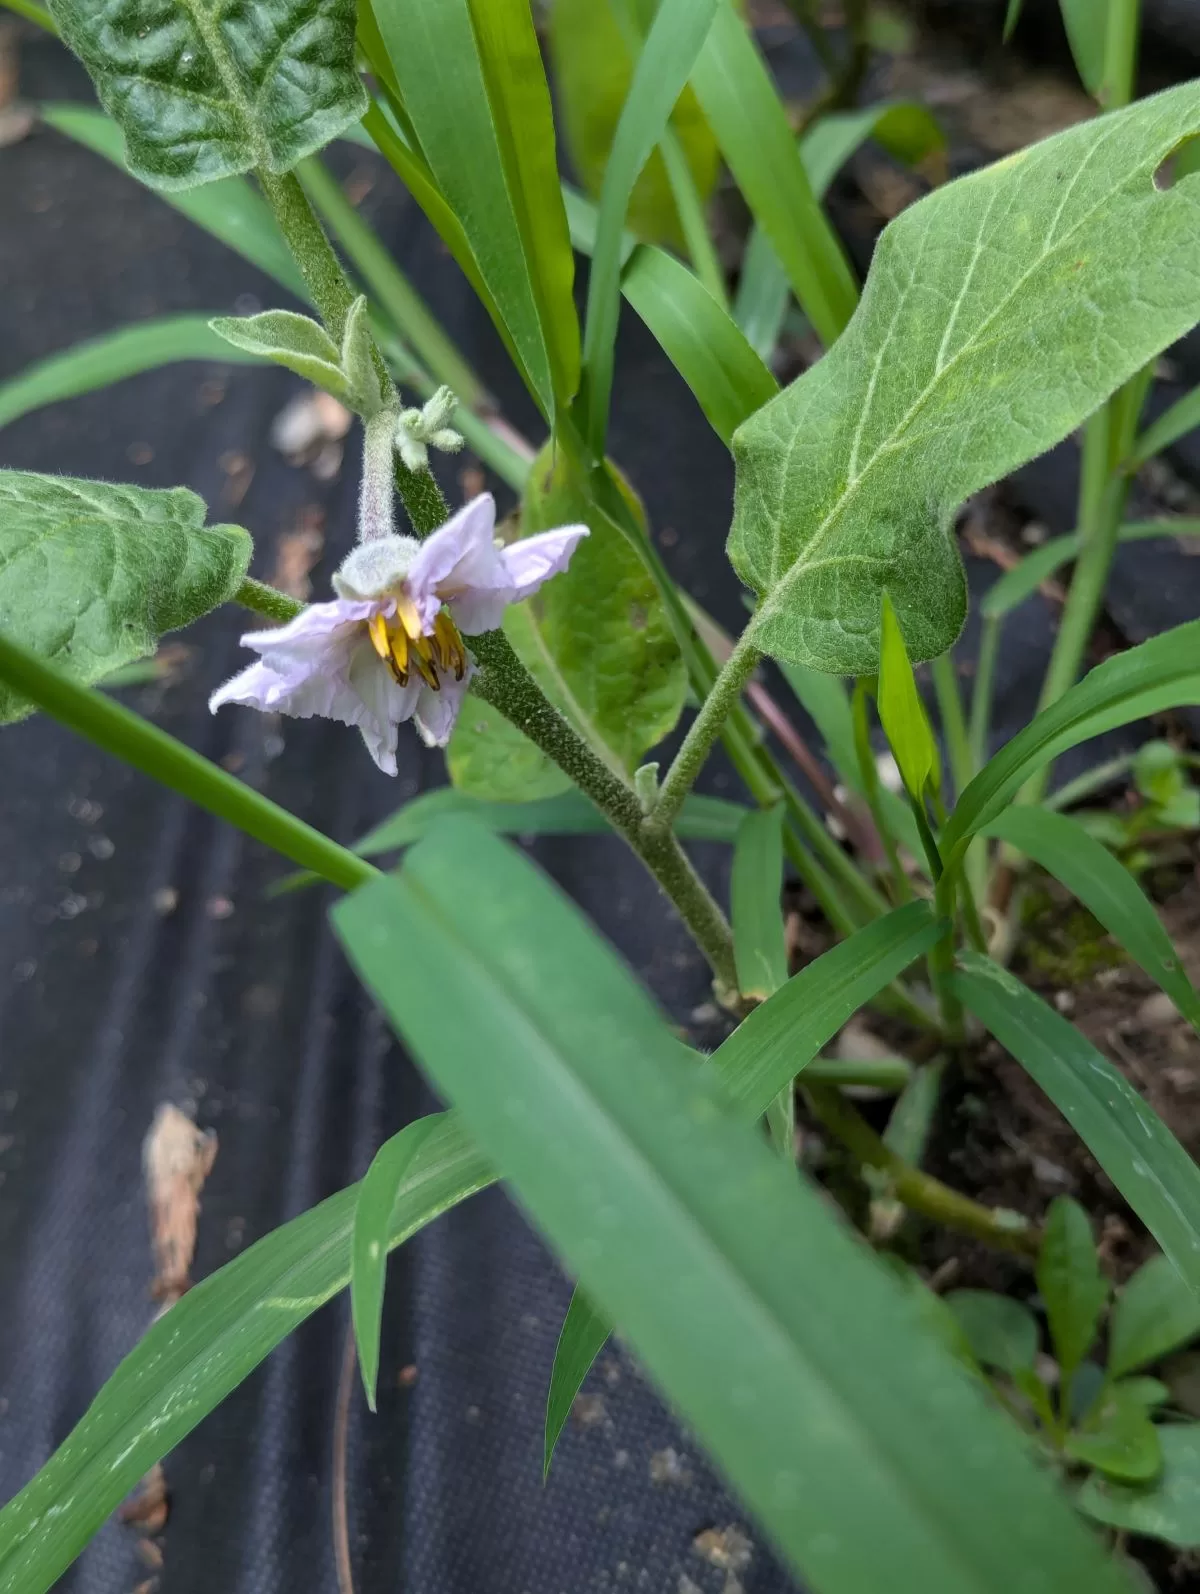
Every day, new flowers are appearing in our garden. The most recent flowering vegetables are watermelon and eggplant. Our cucumbers and tomatoes are also producing flowers and some fruits.
eggplant flower
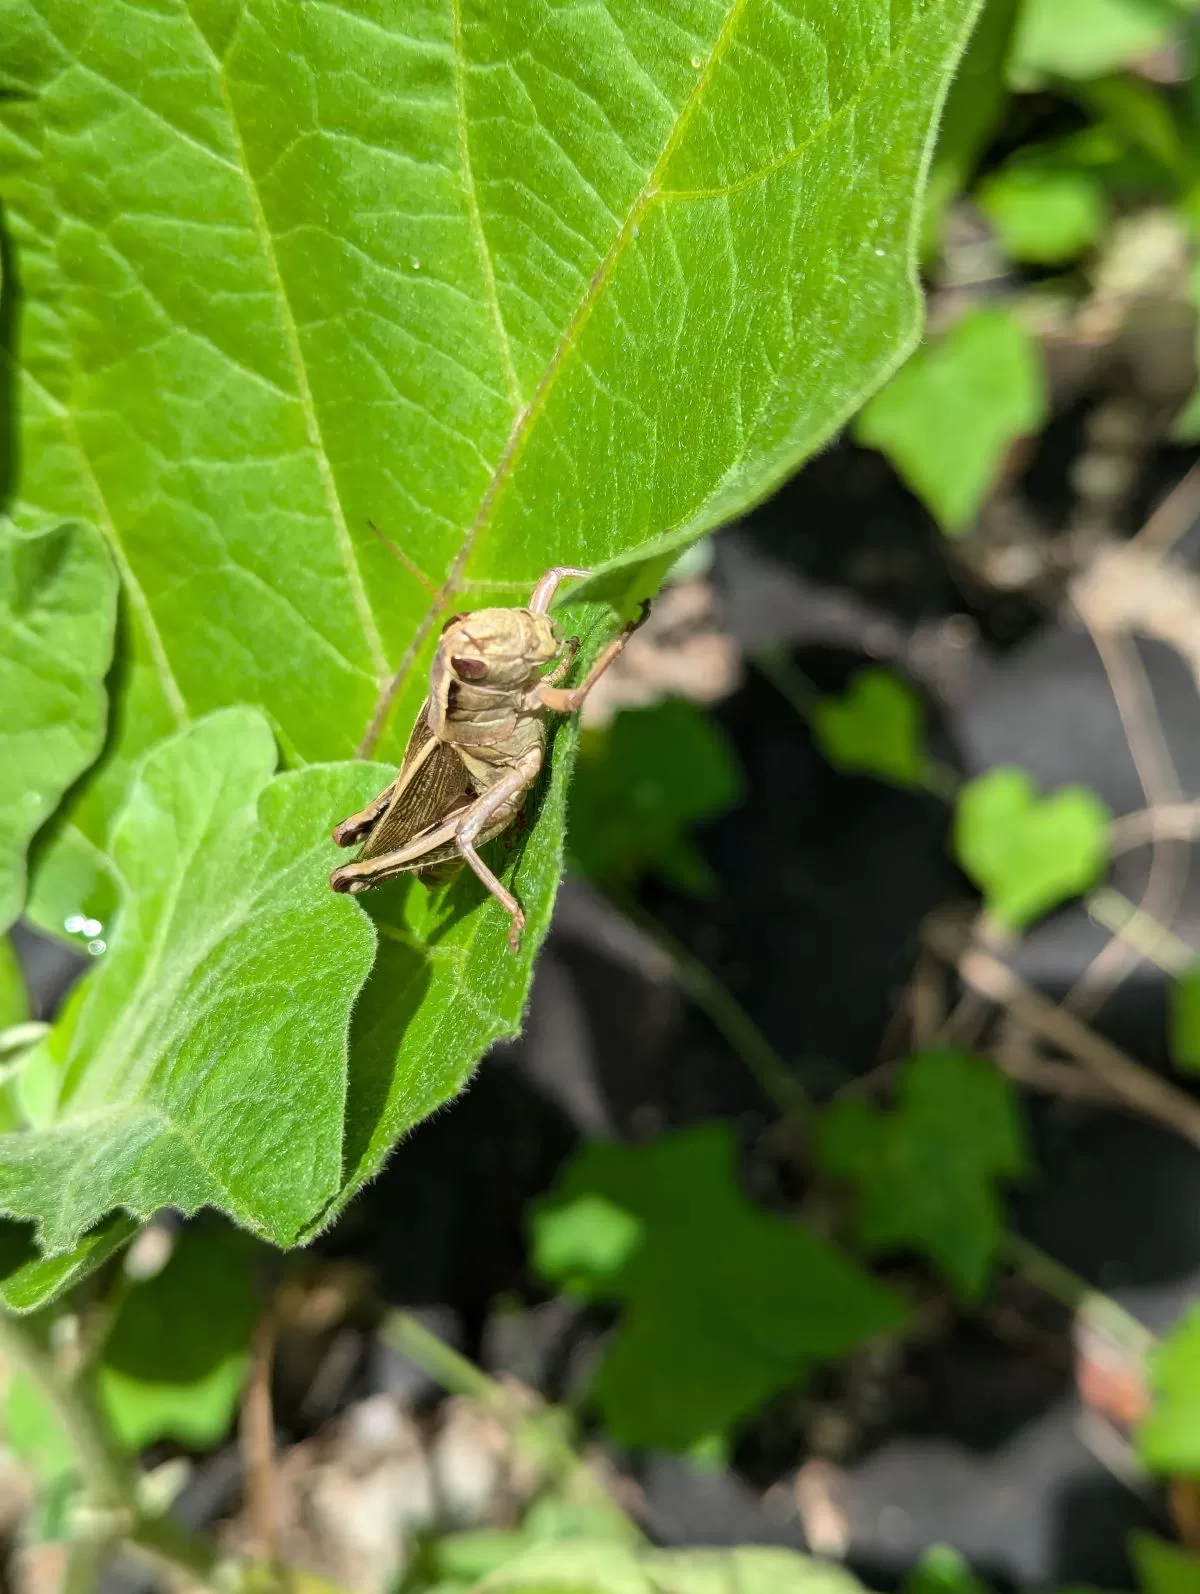
However, we are also encountering new pests, such as grasshoppers, which are consuming our leaves. These pests are a nuisance, but they are also a sign that our garden is thriving and producing food.
We have been using Captain Jack’s Deadbug weekly to control mites and caterpillars on our eggplants. It has been very effective, and we have not seen any damage from these pests. However, now that the plants are flowering, we have stopped using it to protect the pollinators.
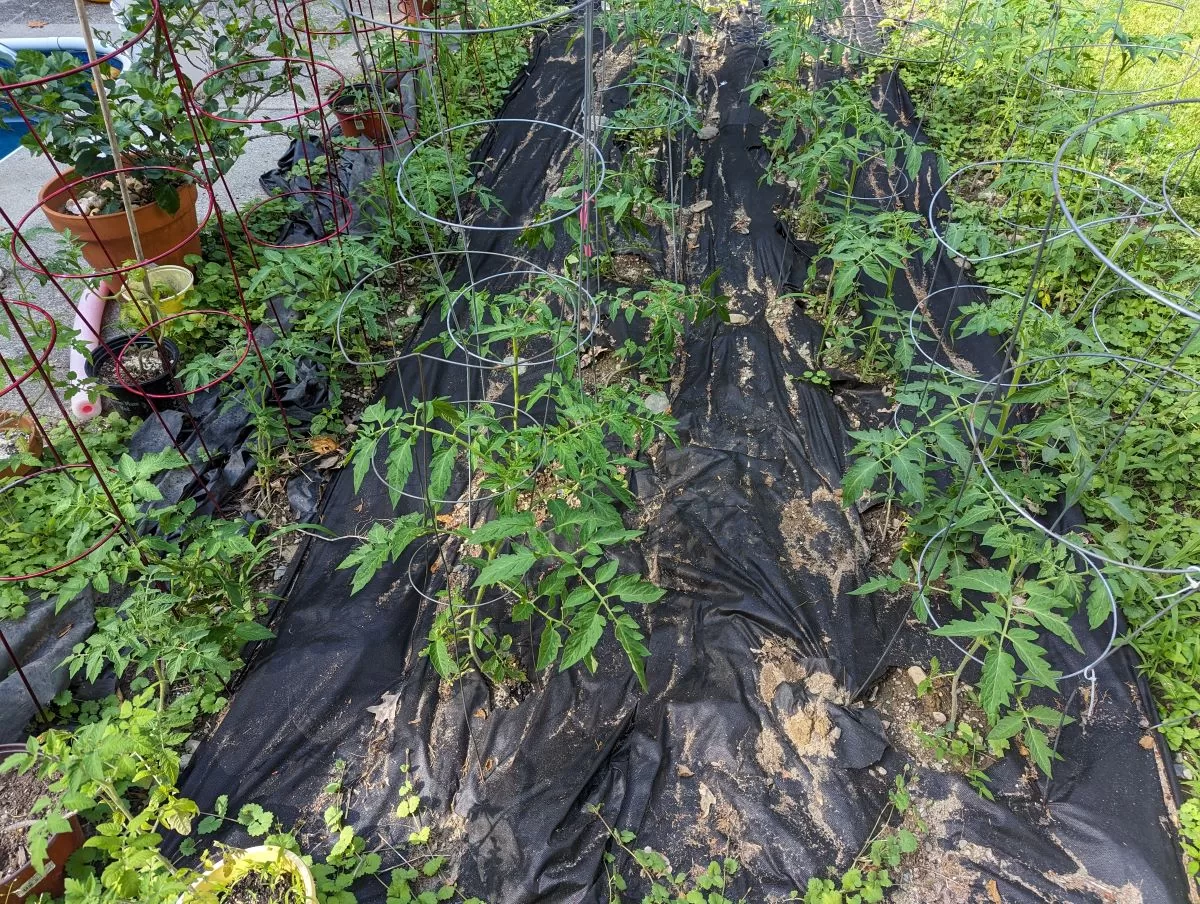
Tomato alley full of beefsteak tomatoes and weeds!
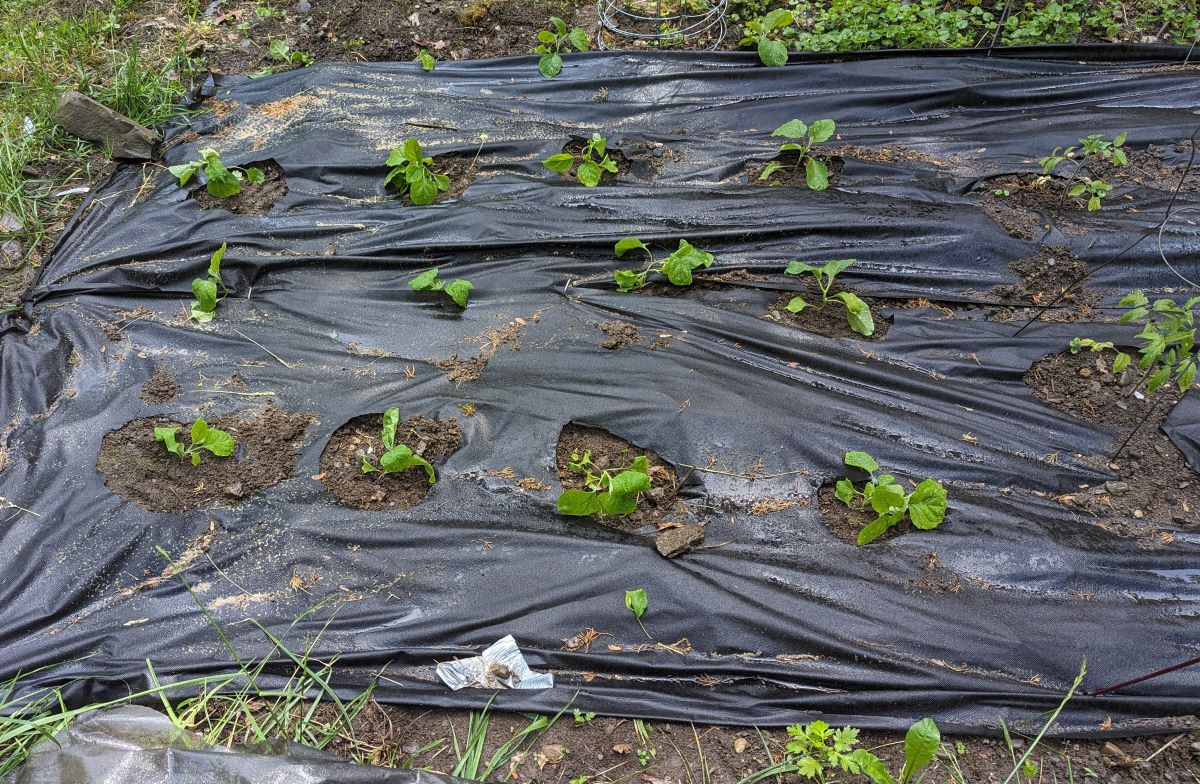
My garden is a riot of color and growth. The weeds are growing abundantly, but the cherry tomatoes and beefsteak tomatoes are thriving, and the eggplants are flowering. I love the look of my garden, even though it looks like a joyful mess. I prepared my garden by laying down ground cloth and securing it with garden staples. The ground cloth serves two purposes. First, it acts as a barrier to prevent weeds from growing. Second, it helps to retain moisture in the soil. Unfortunately, Mother Nature had other plans for the garden this year. weeds grew as well as my vegetables. Despite this setback, my granddaughters inform me that there are 110 tomatoes growing!!
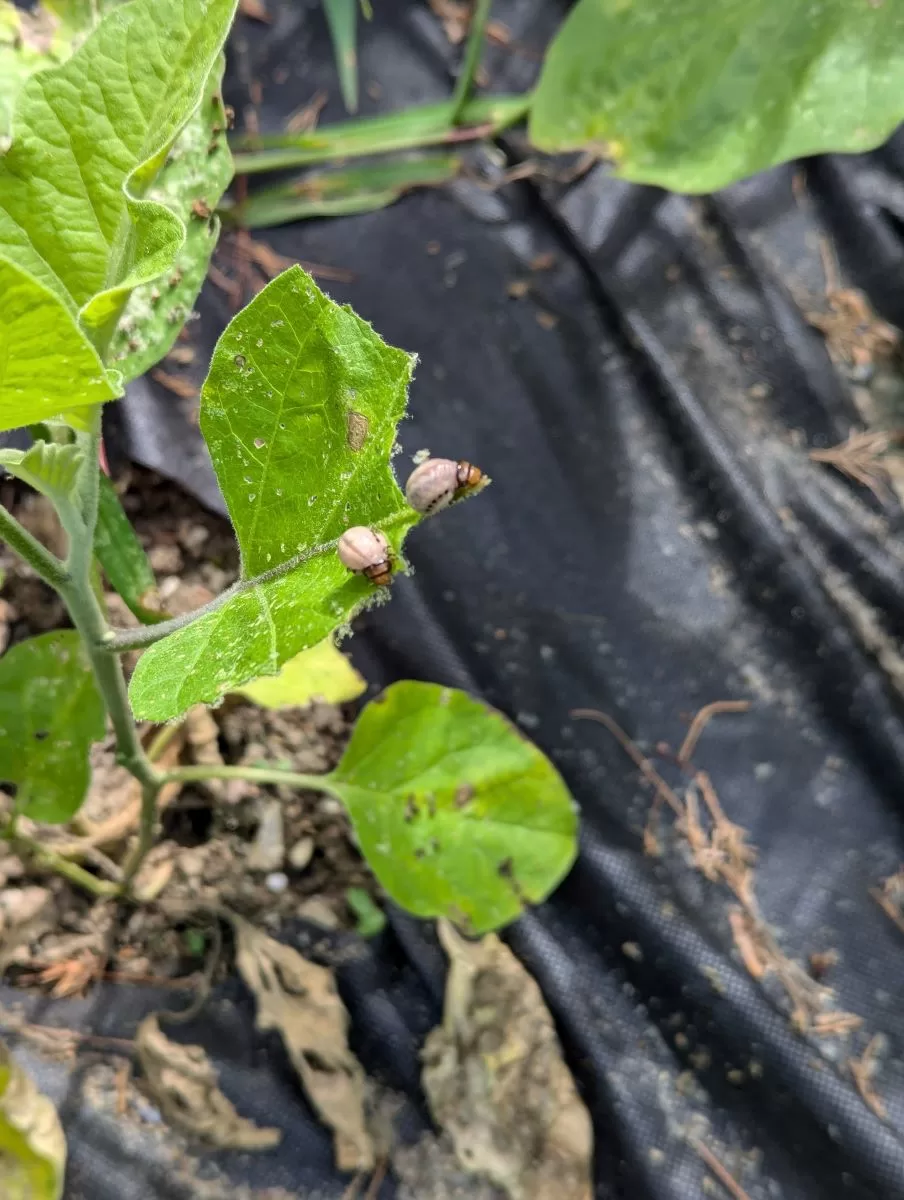
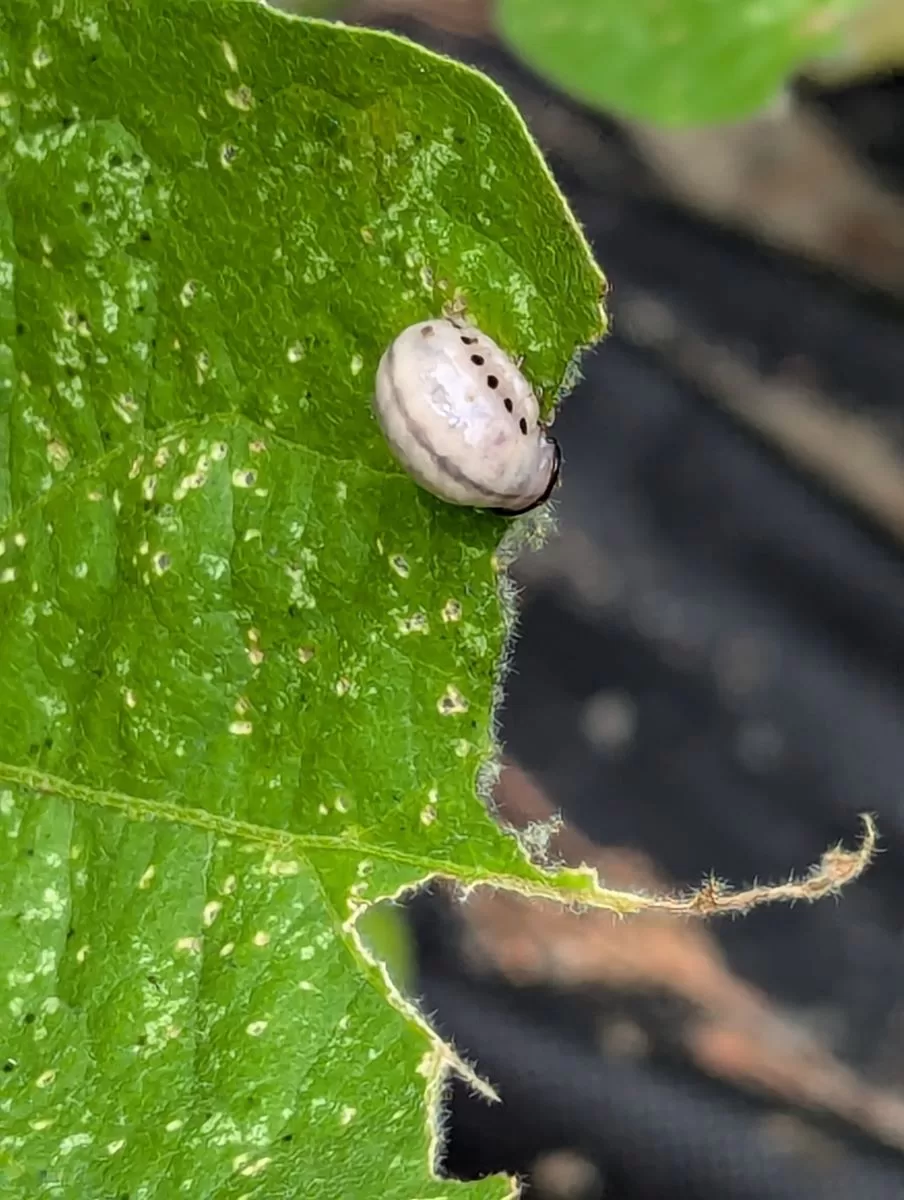
leaf beetles eating eggplant leaves
Eggplants seem to attract a variety of insect pests. First there were caterpillars and spider mites which I treated with Captain Jacks Deadbug, a naturally occurring bacteria called Spinosad. Spinosad is a leading pesticide used worldwide in the production of organic produce.
Leaf Beetle, ugh.
I am now encountering leaf beetles on my eggplants. As soon as I discovered them, I began by culling the beetles and then disposing of them. However, if the problem becomes more severe, I may employ the use of Captain Jack’s Deadbug, which is approved for organic gardening.
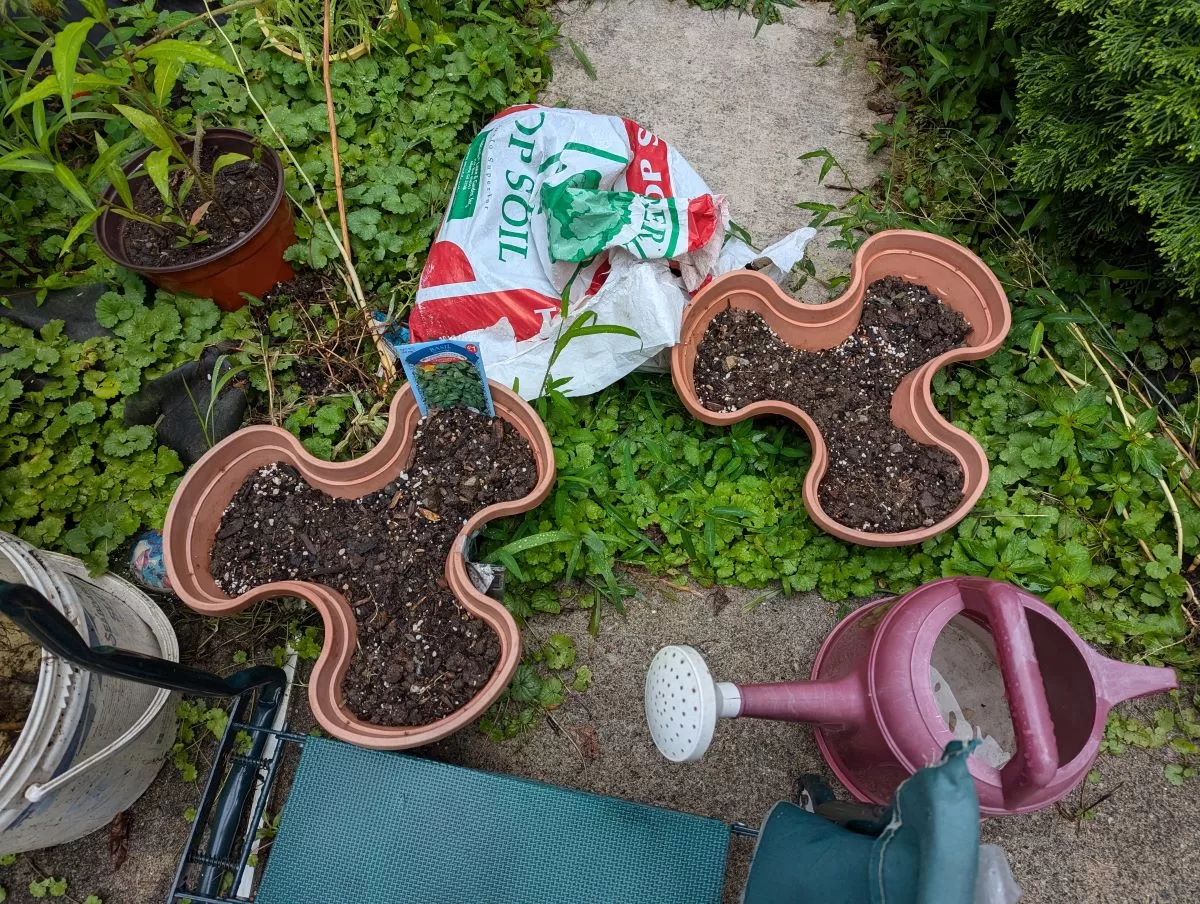
replanting a new basil and cilantro herb crop
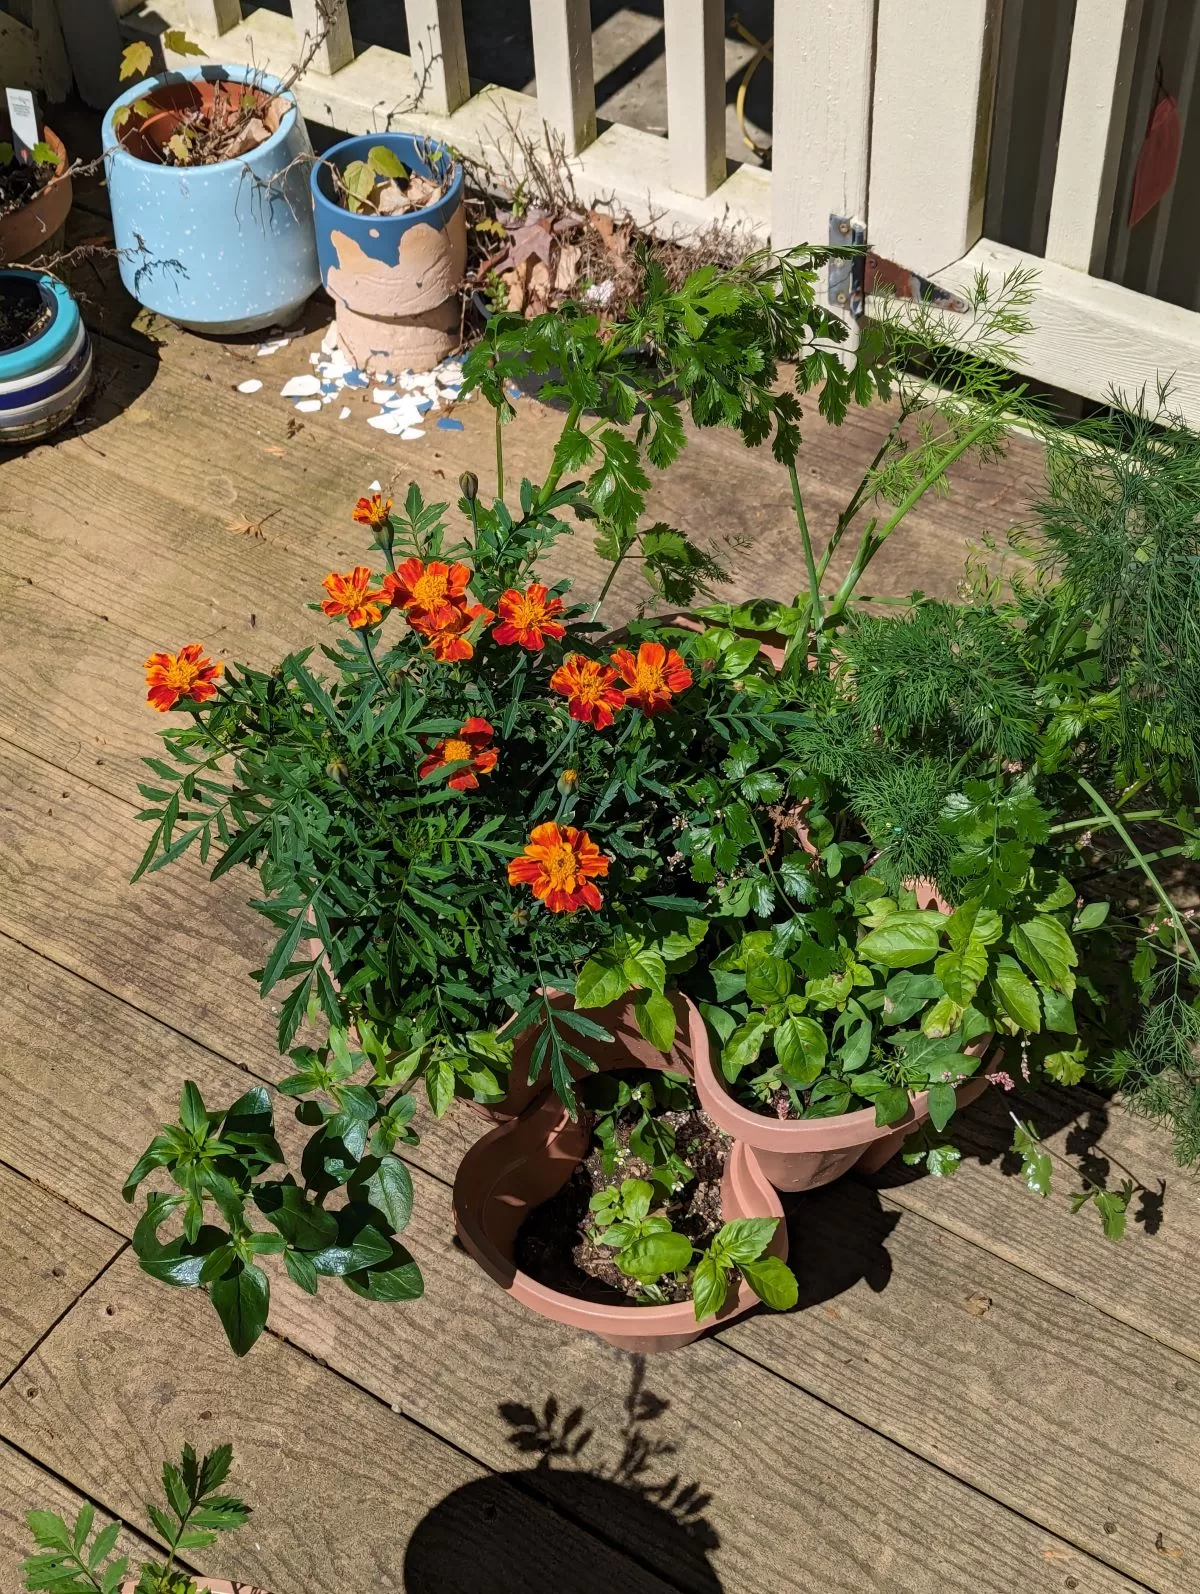
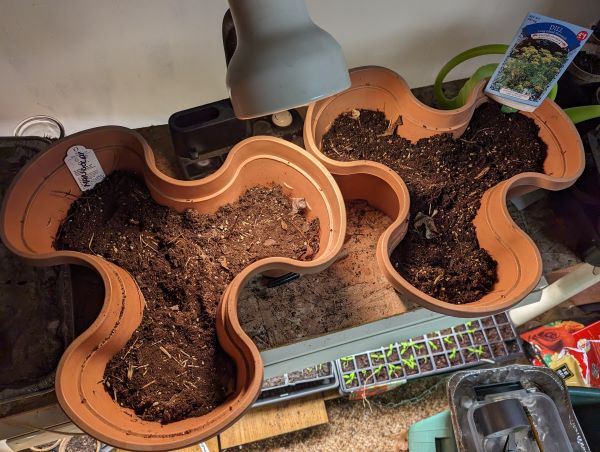
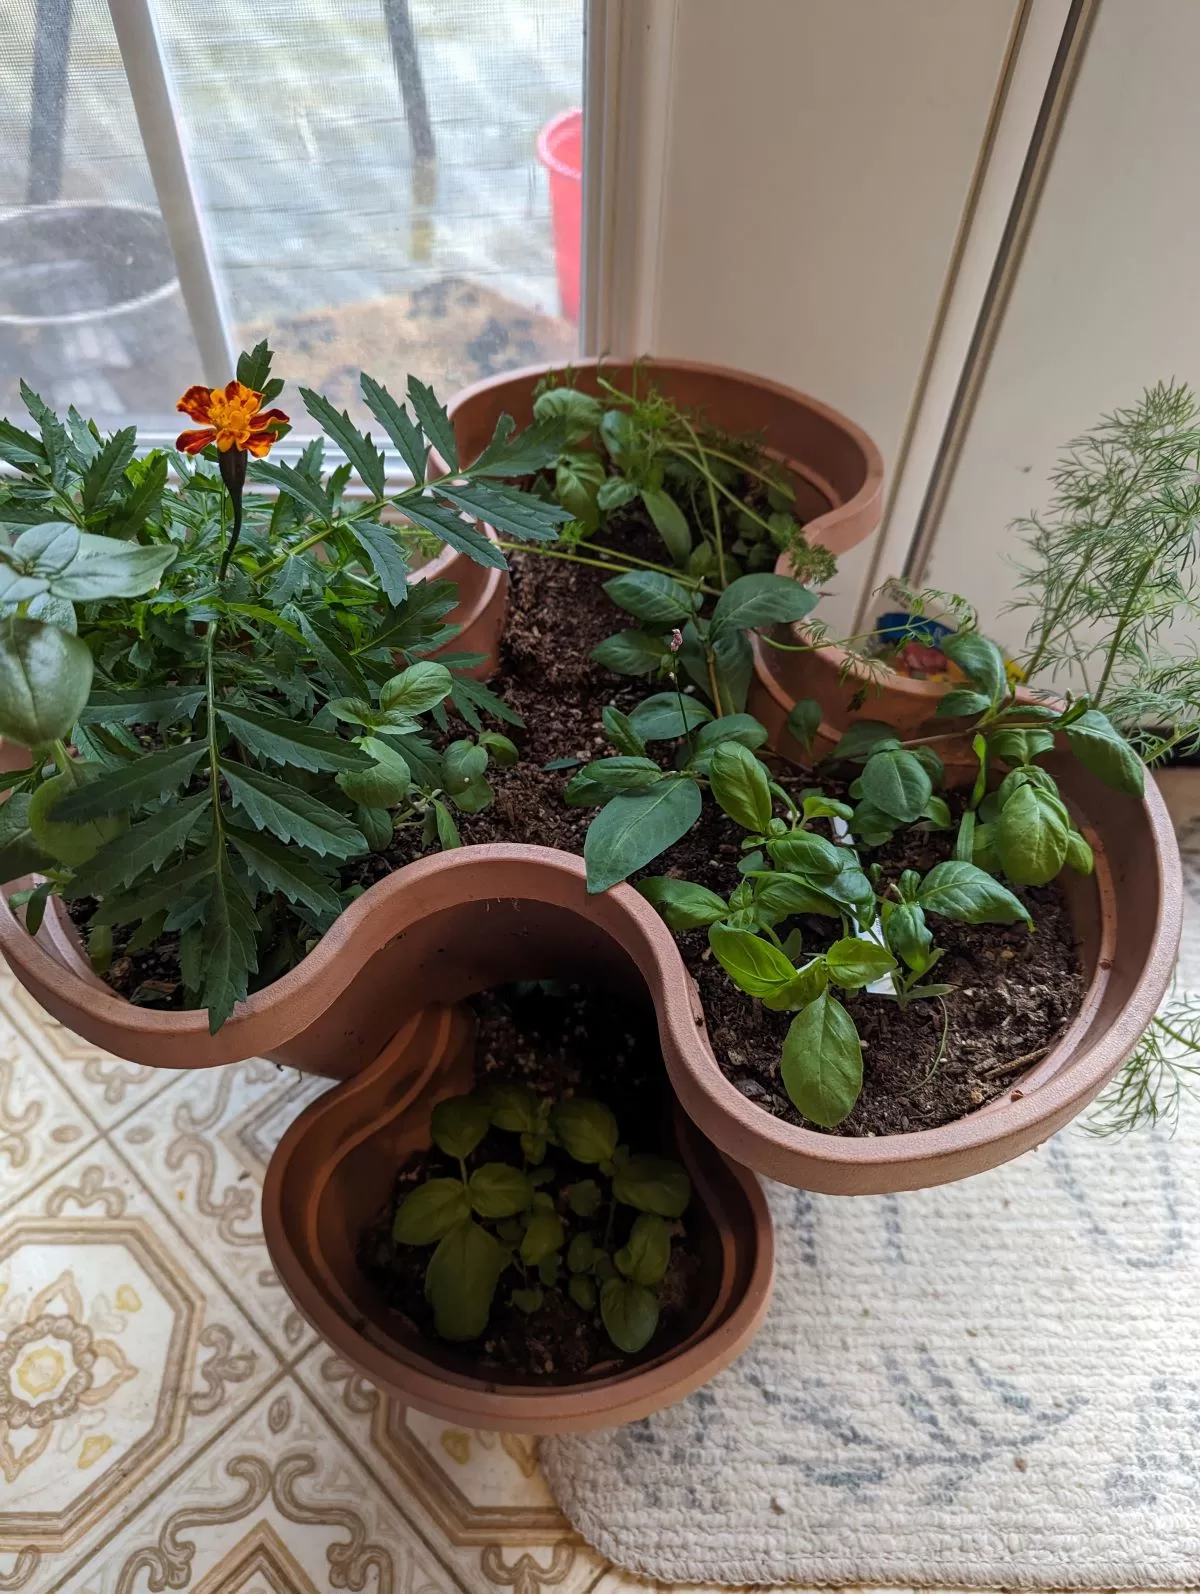
herbs and flowers in our stackable plant containers!
The stackable plant containers I purchased last spring were a great success! We were able to harvest a bountiful crop of dill, which we enjoyed fresh and froze for future meals. We also harvested cilantro and basil, and today we planted a new crop of these herbs. In addition to the herbs we grew marigolds and snapdragon for color. The best part is that the containers are so easy to move around that I can put them in the best spot for each plant.
The last frost date for northern New Jersey is April 25. I am getting ready to transplant my tomato plants into the garden beds. I started the plants indoors in March, and they are ready to go out. I am also getting ready to plant other warm-season crops such as peppers, eggplant, and squash.
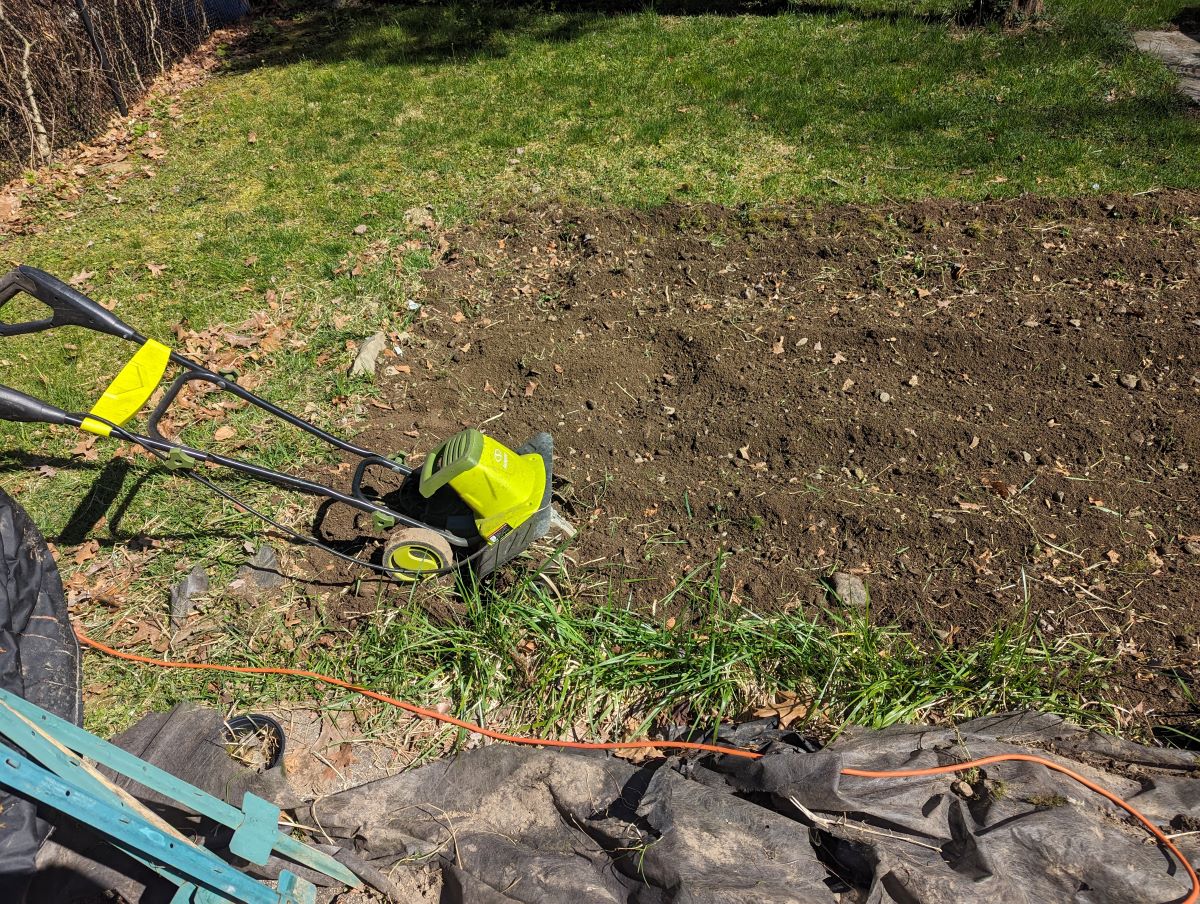
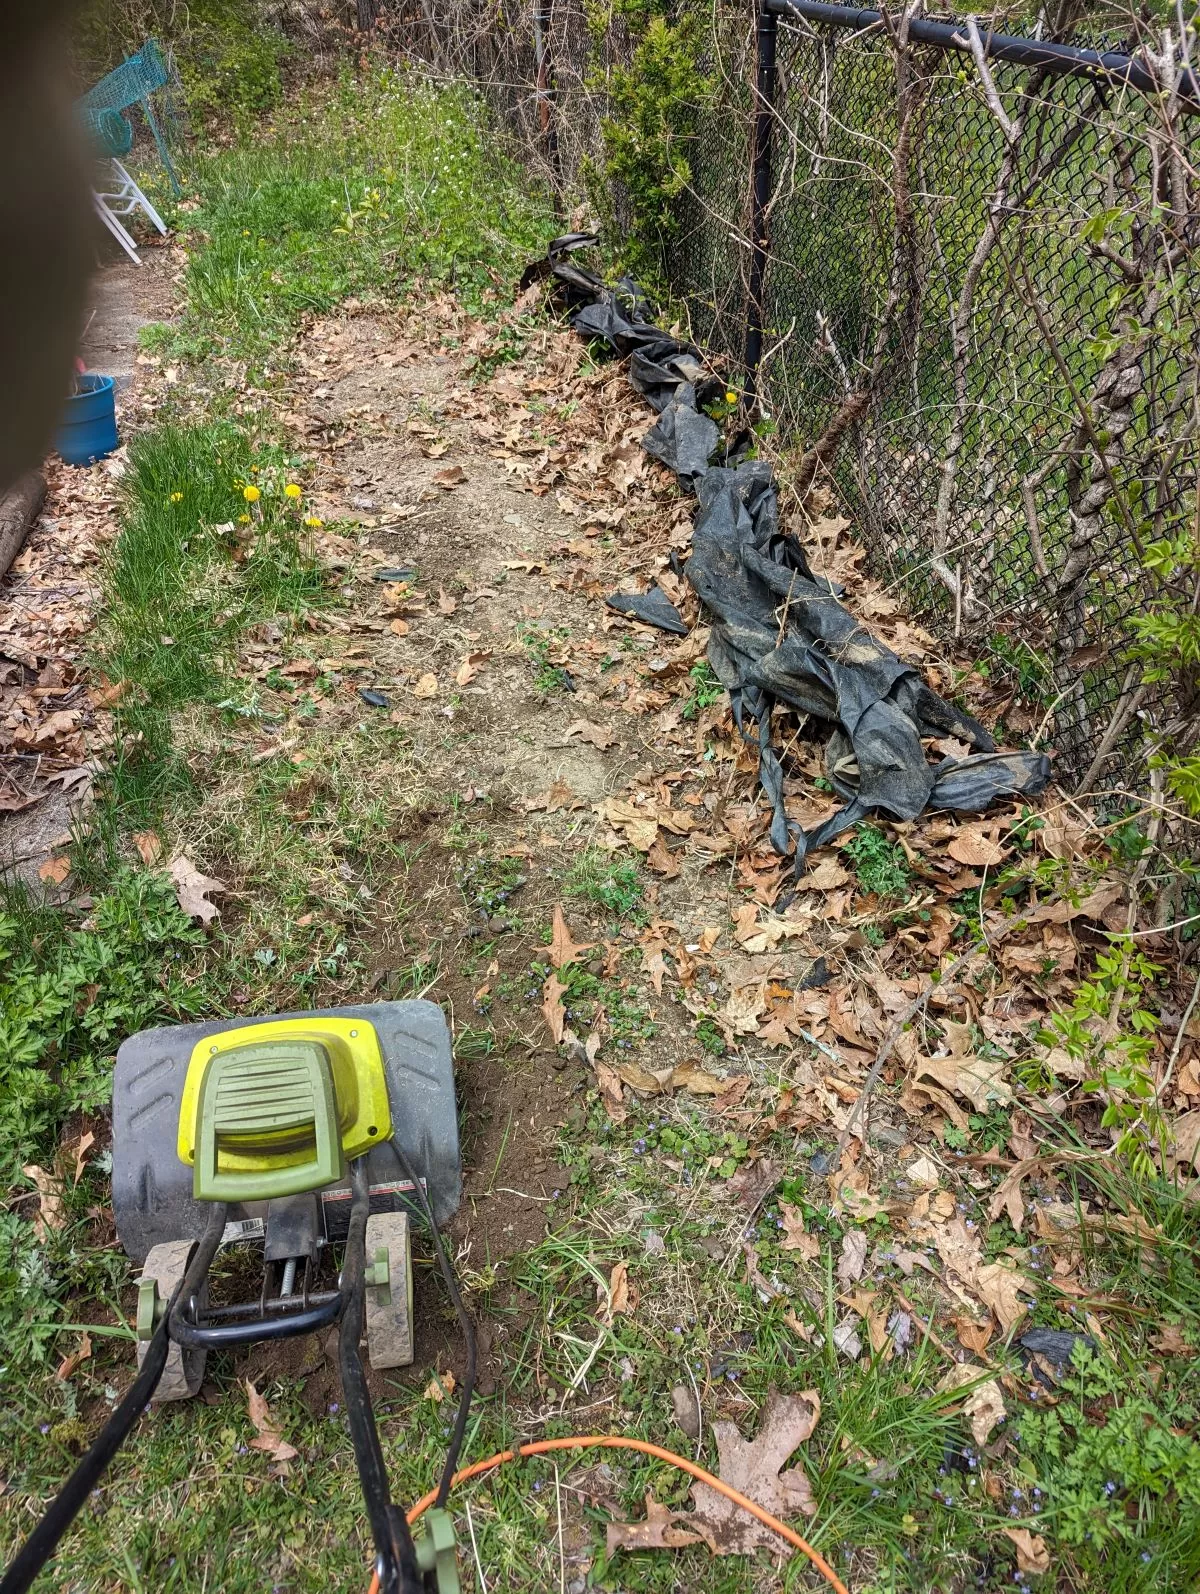
before
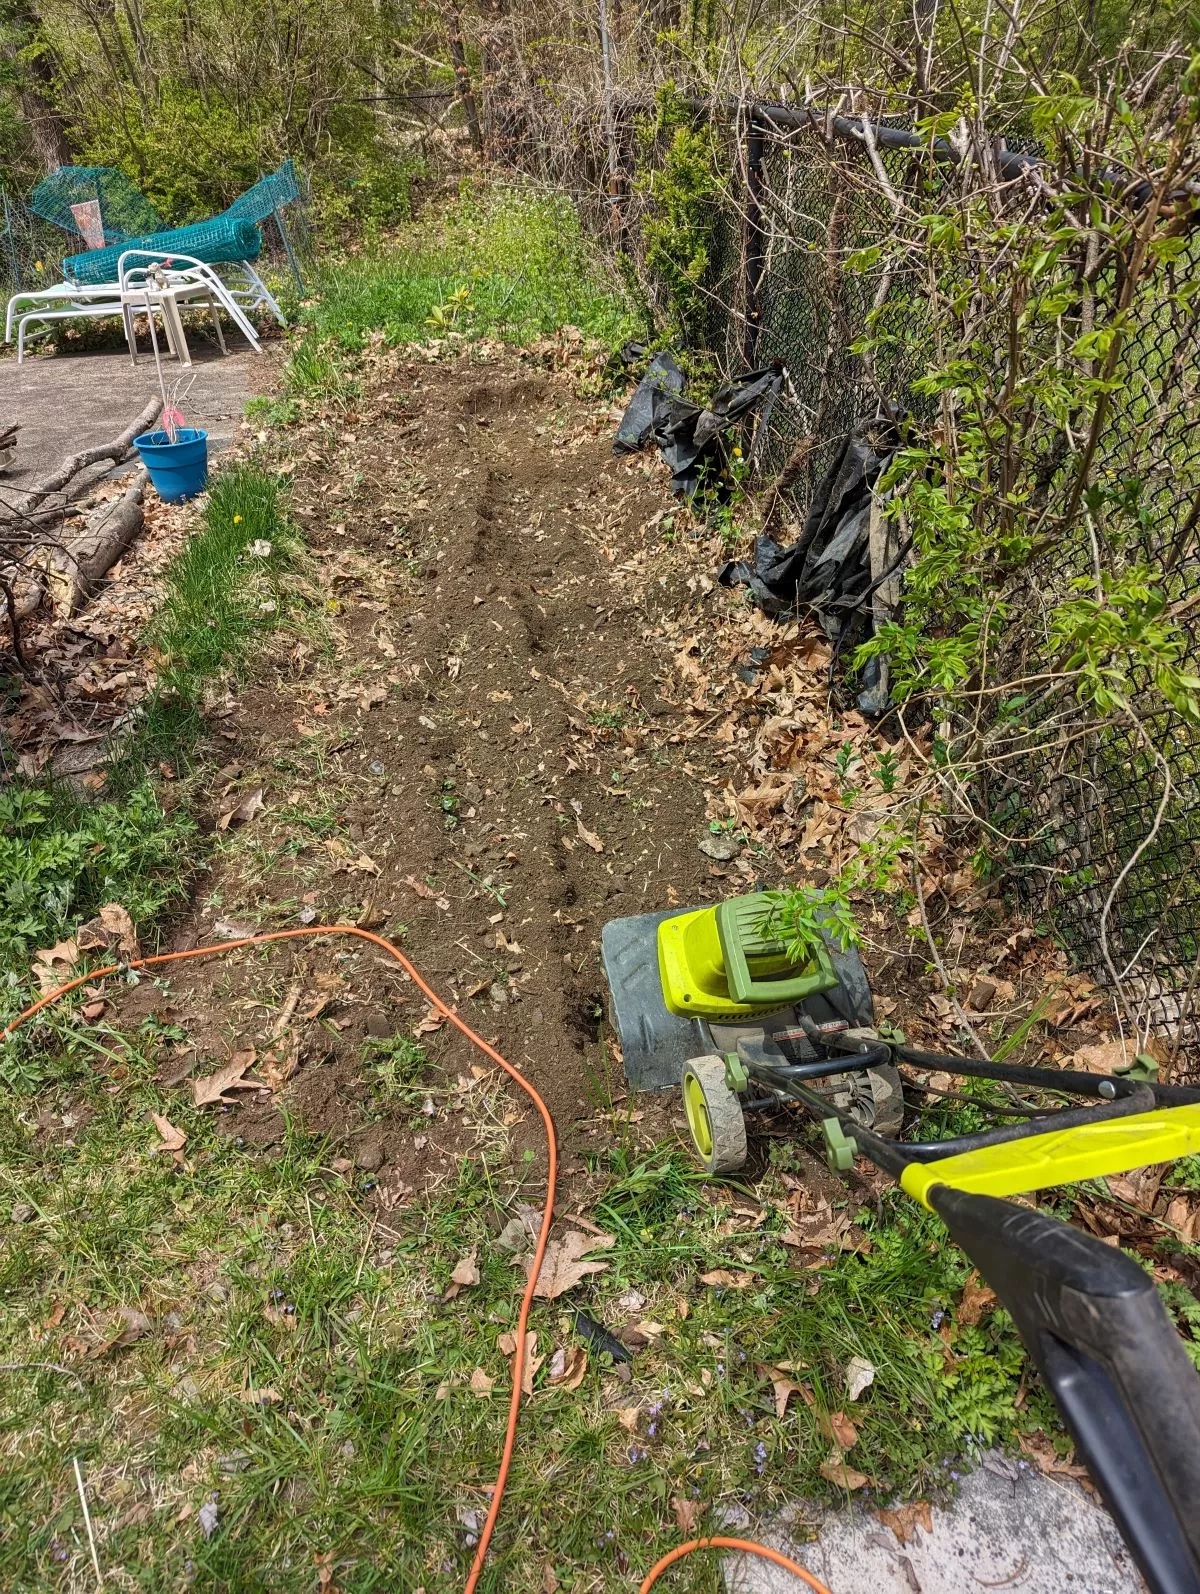
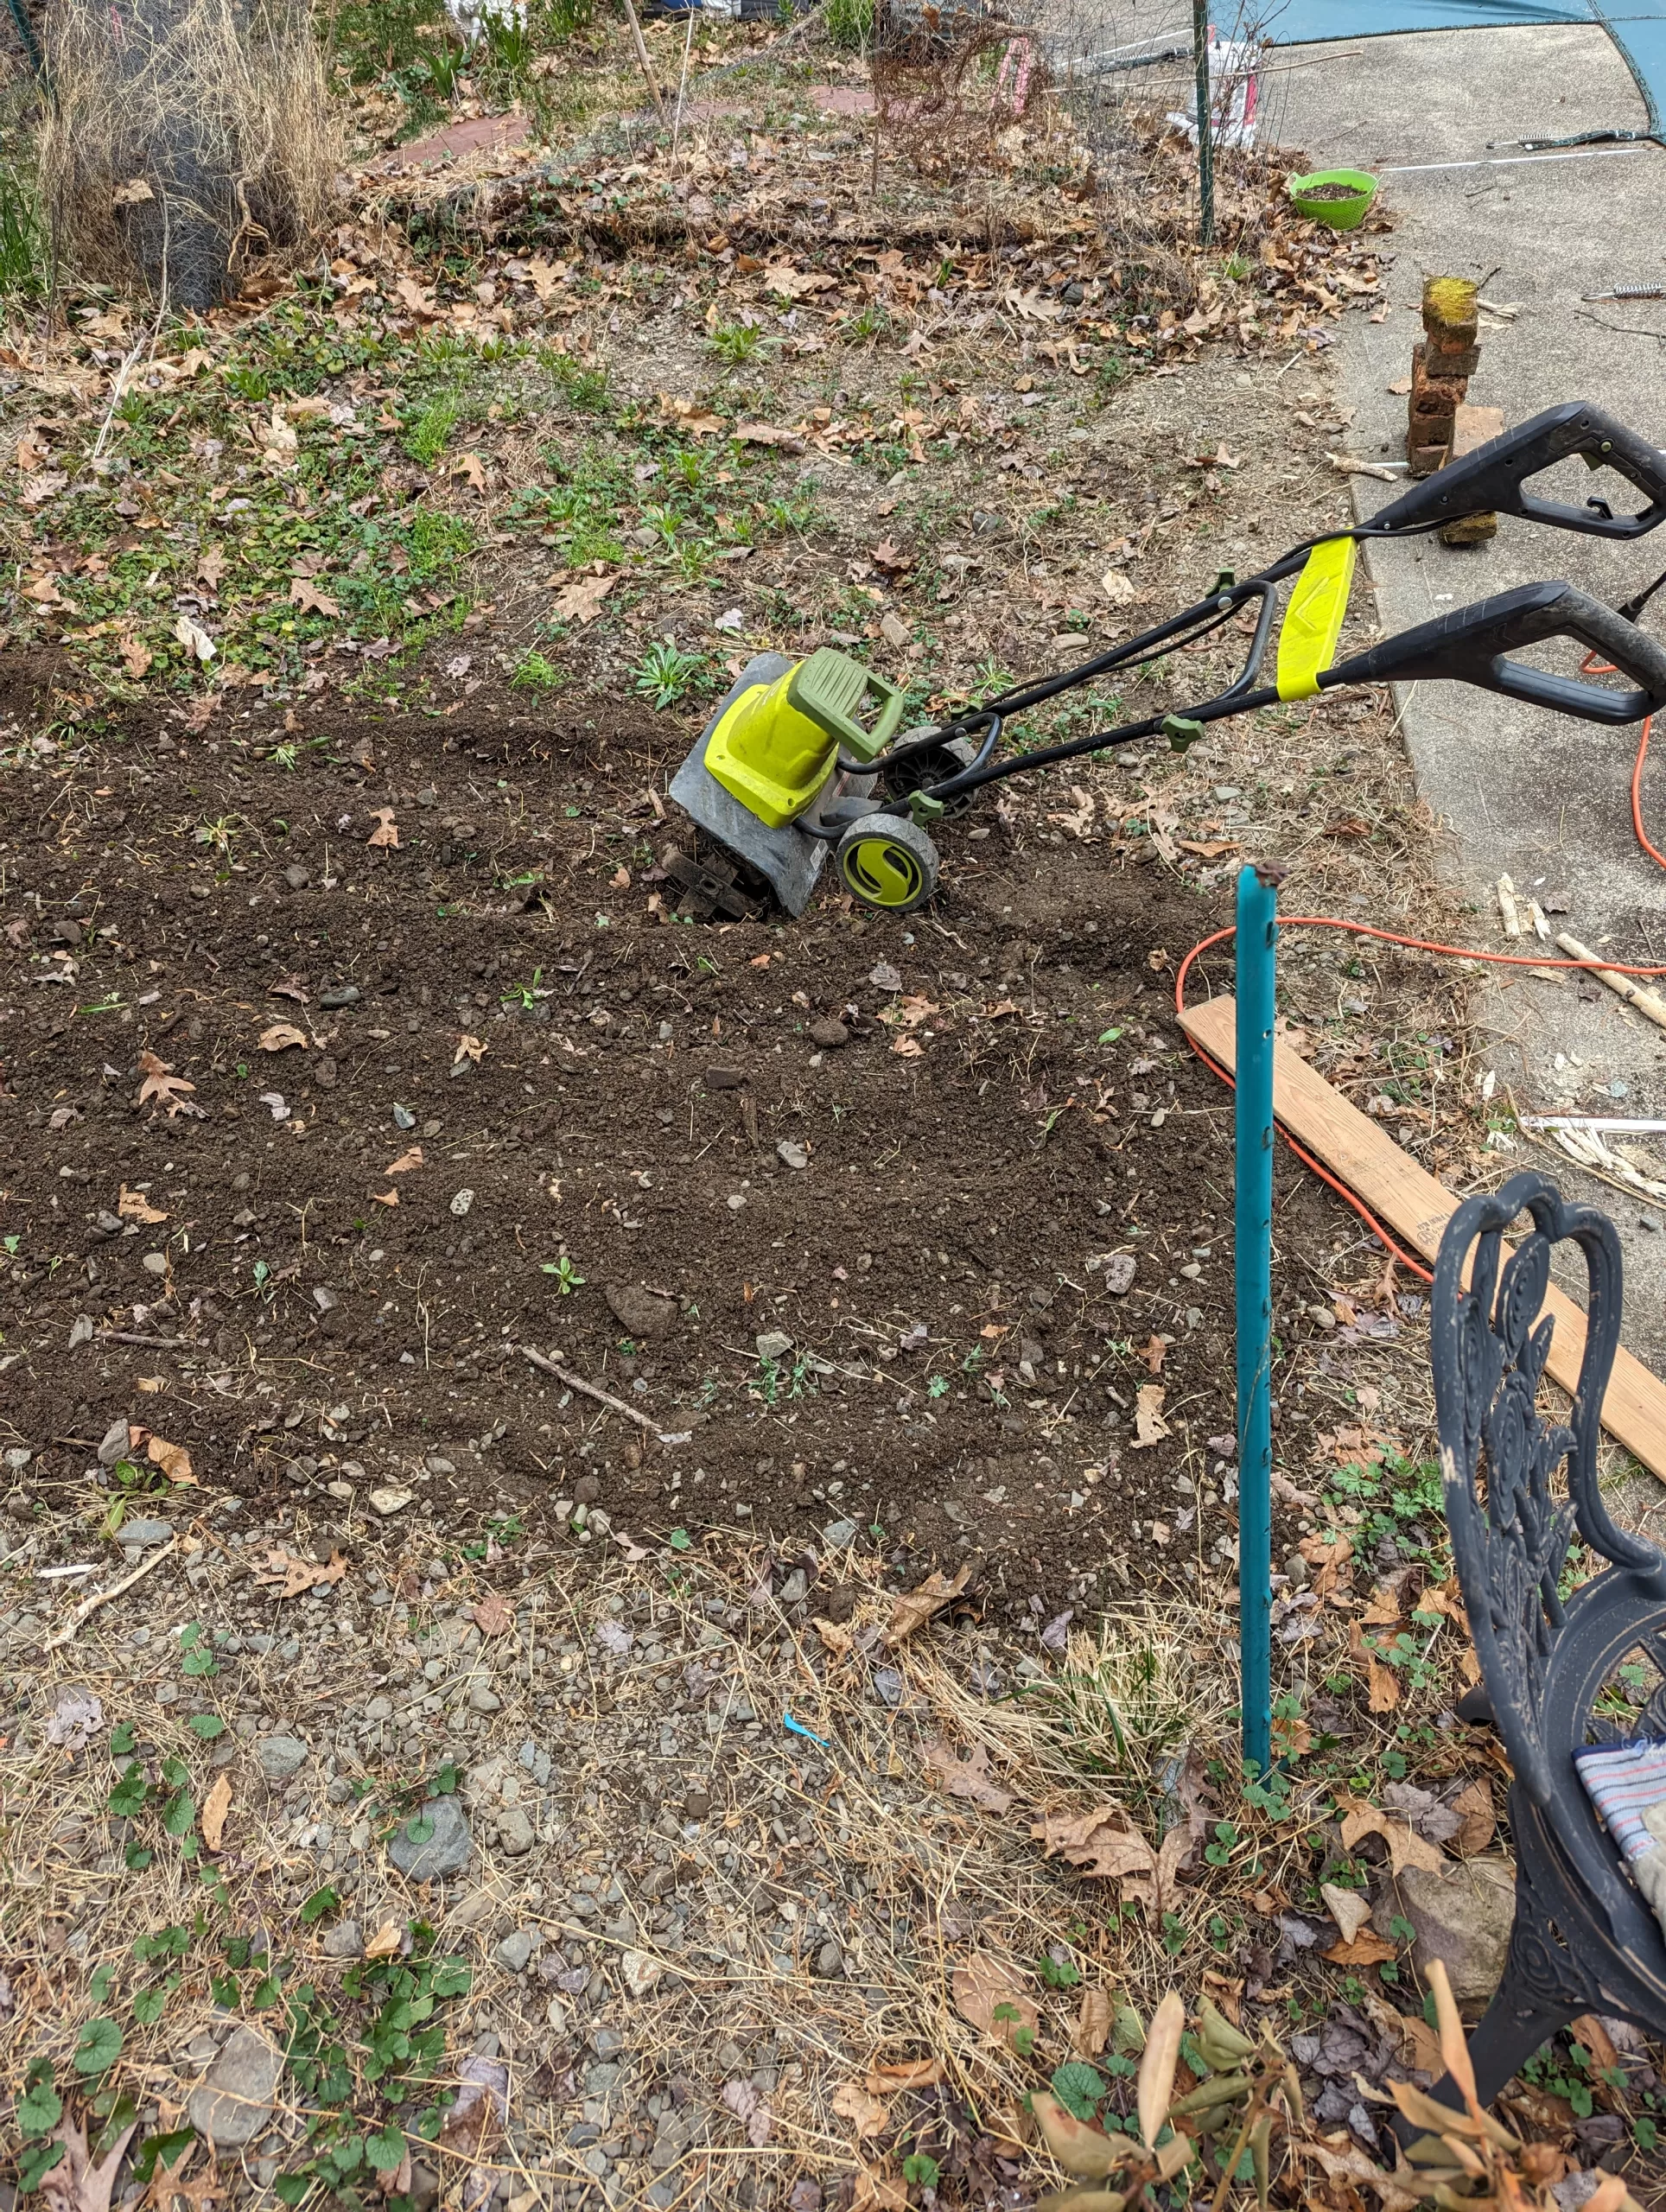
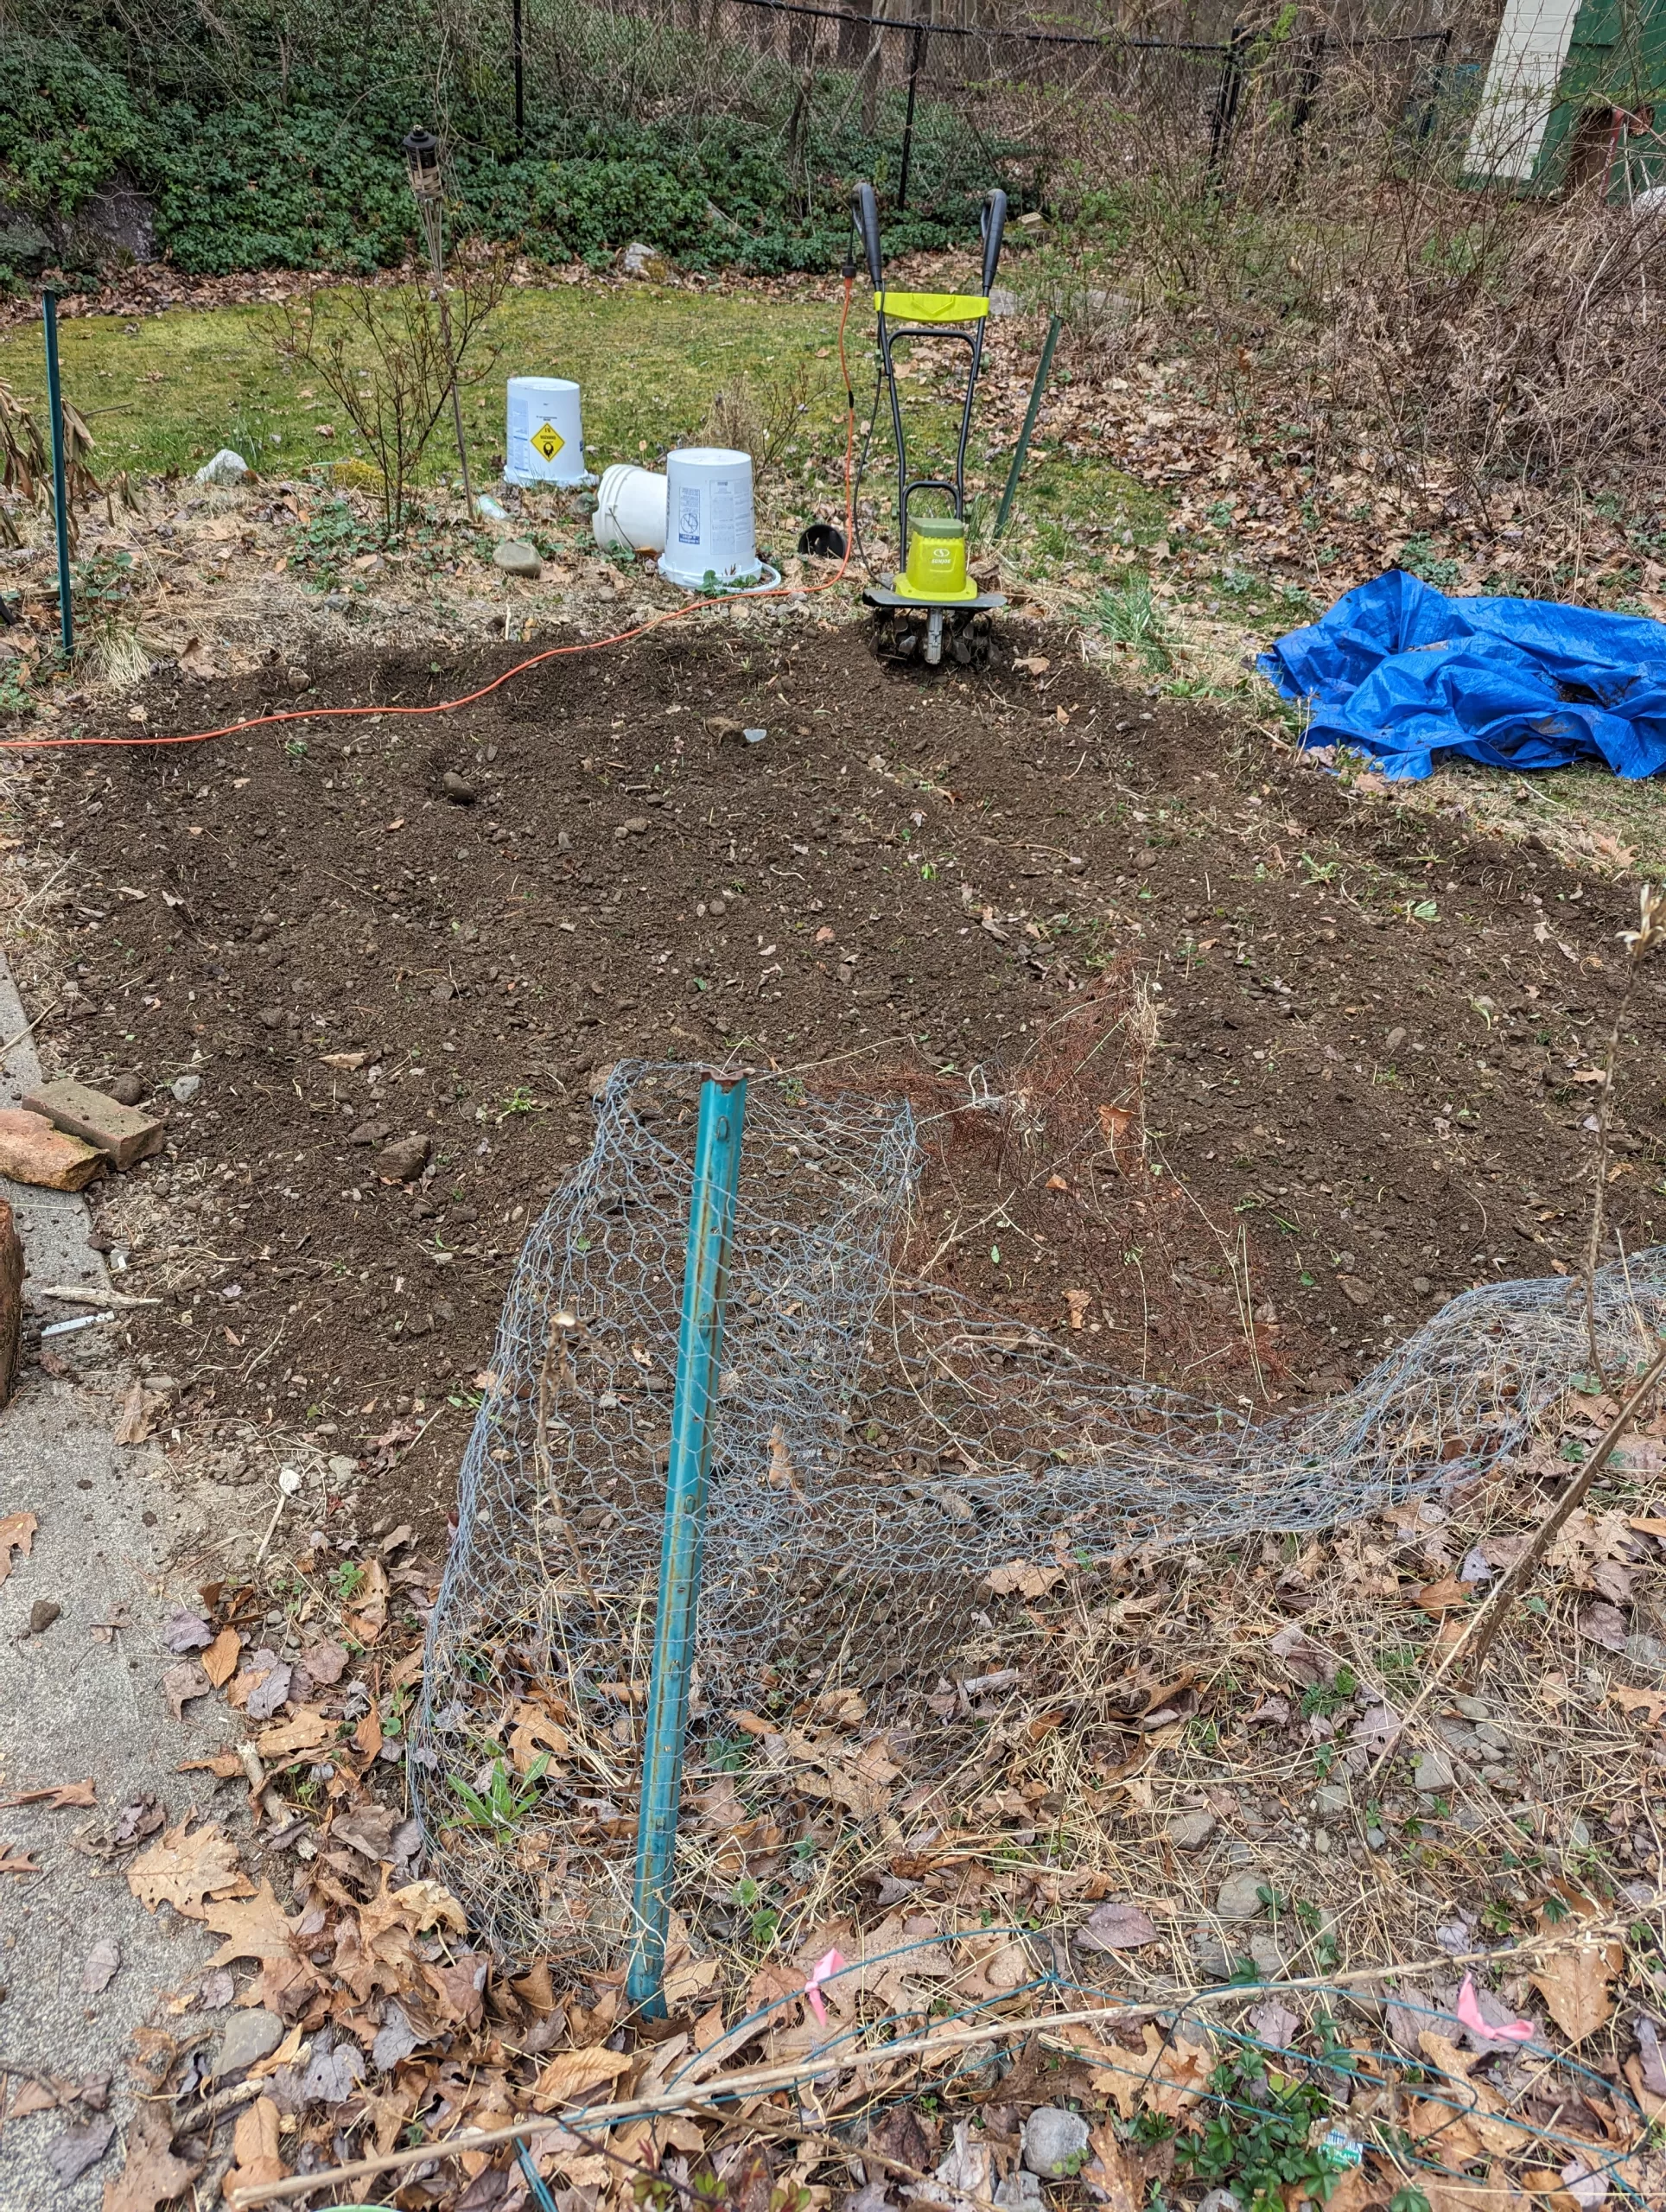
Using a small electric rototiller, I made quick work of my tomato bed! These small electric tillers are essential for creating a garden. They are lightweight and straightforward to use. Hardware stores and rental facilities offer them for rent, but you can also buy them. In the past, I rented gas-powered tillers, which were quite heavy and required gas and oil, but they got the job done. I am using my electric tiller to cultivate my garden this spring.
I’m getting ready to plant my garden, and I’m thinking about pest and animal control. Never too early to sensitize and condition garden pests to avoid your garden. I sprinkle cayenne pepper powder around my garden fencing. I buy bulk cayenne pepper packages and use dredge shaker to scatter the pepper around perimeter of my gardens. I’m hoping that once a groundhog or rabbit gets a snootful of this, they won’t return.
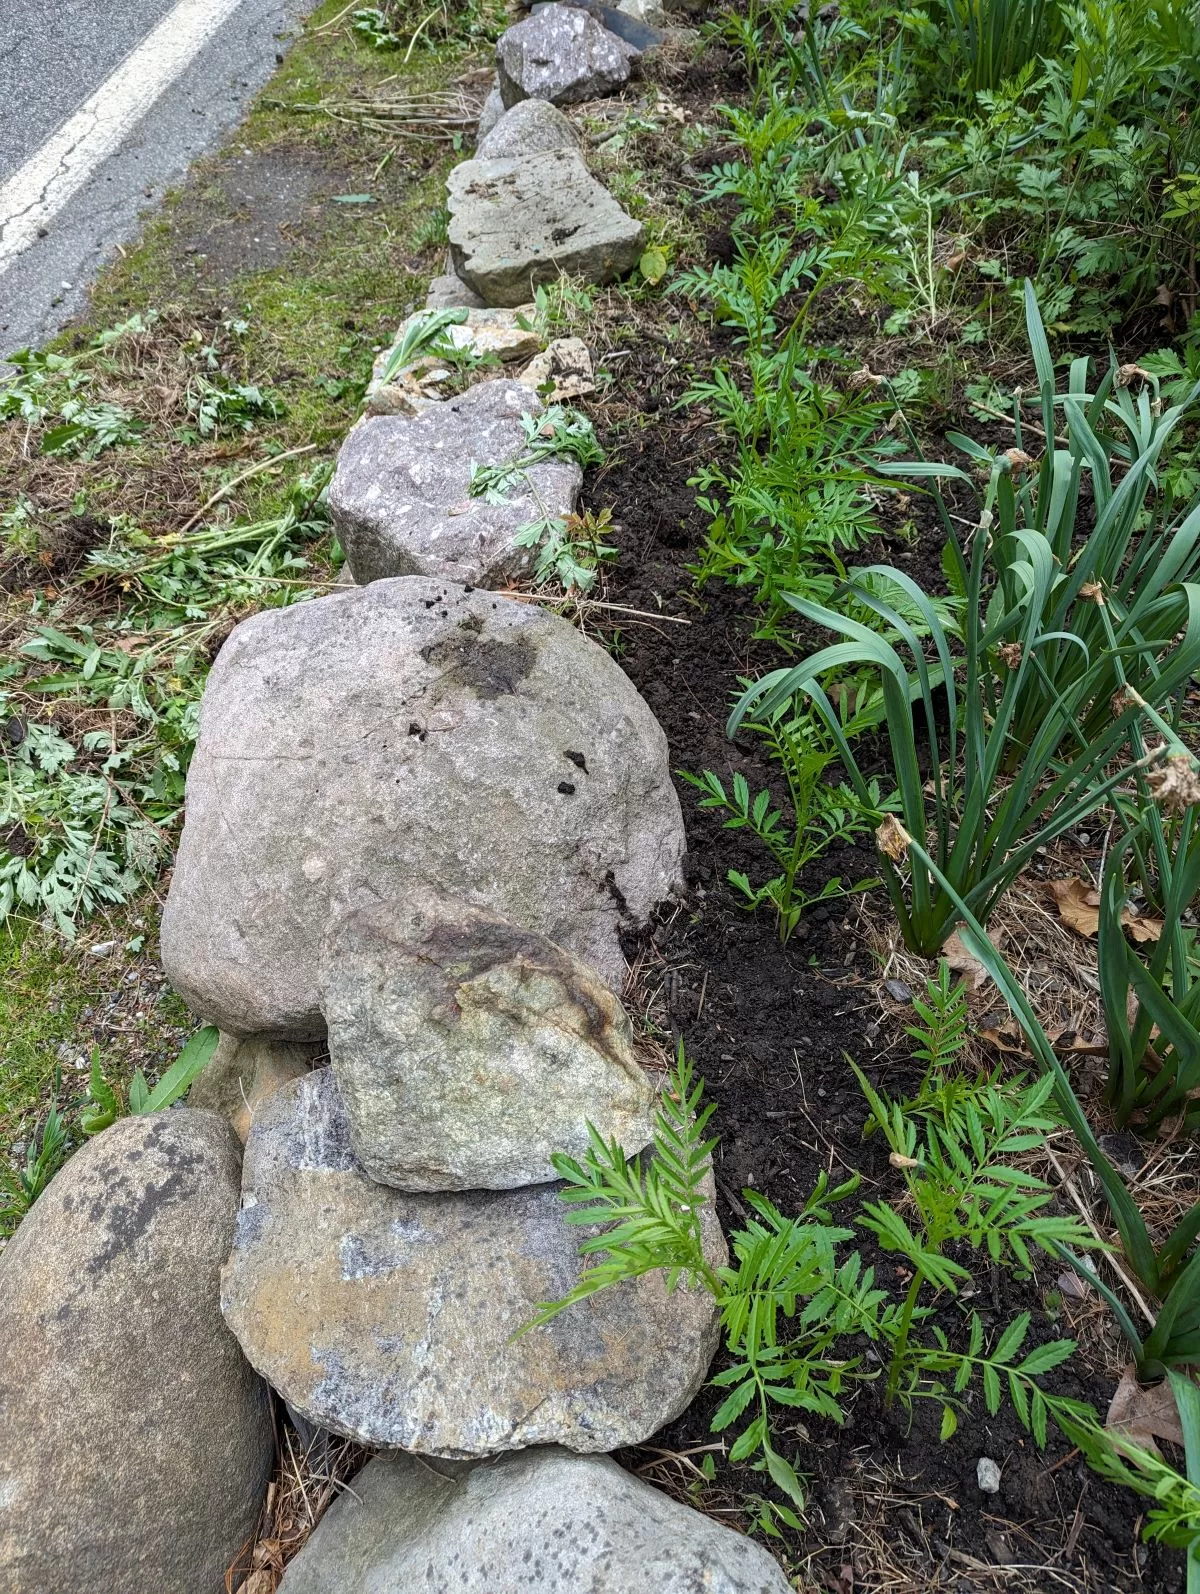
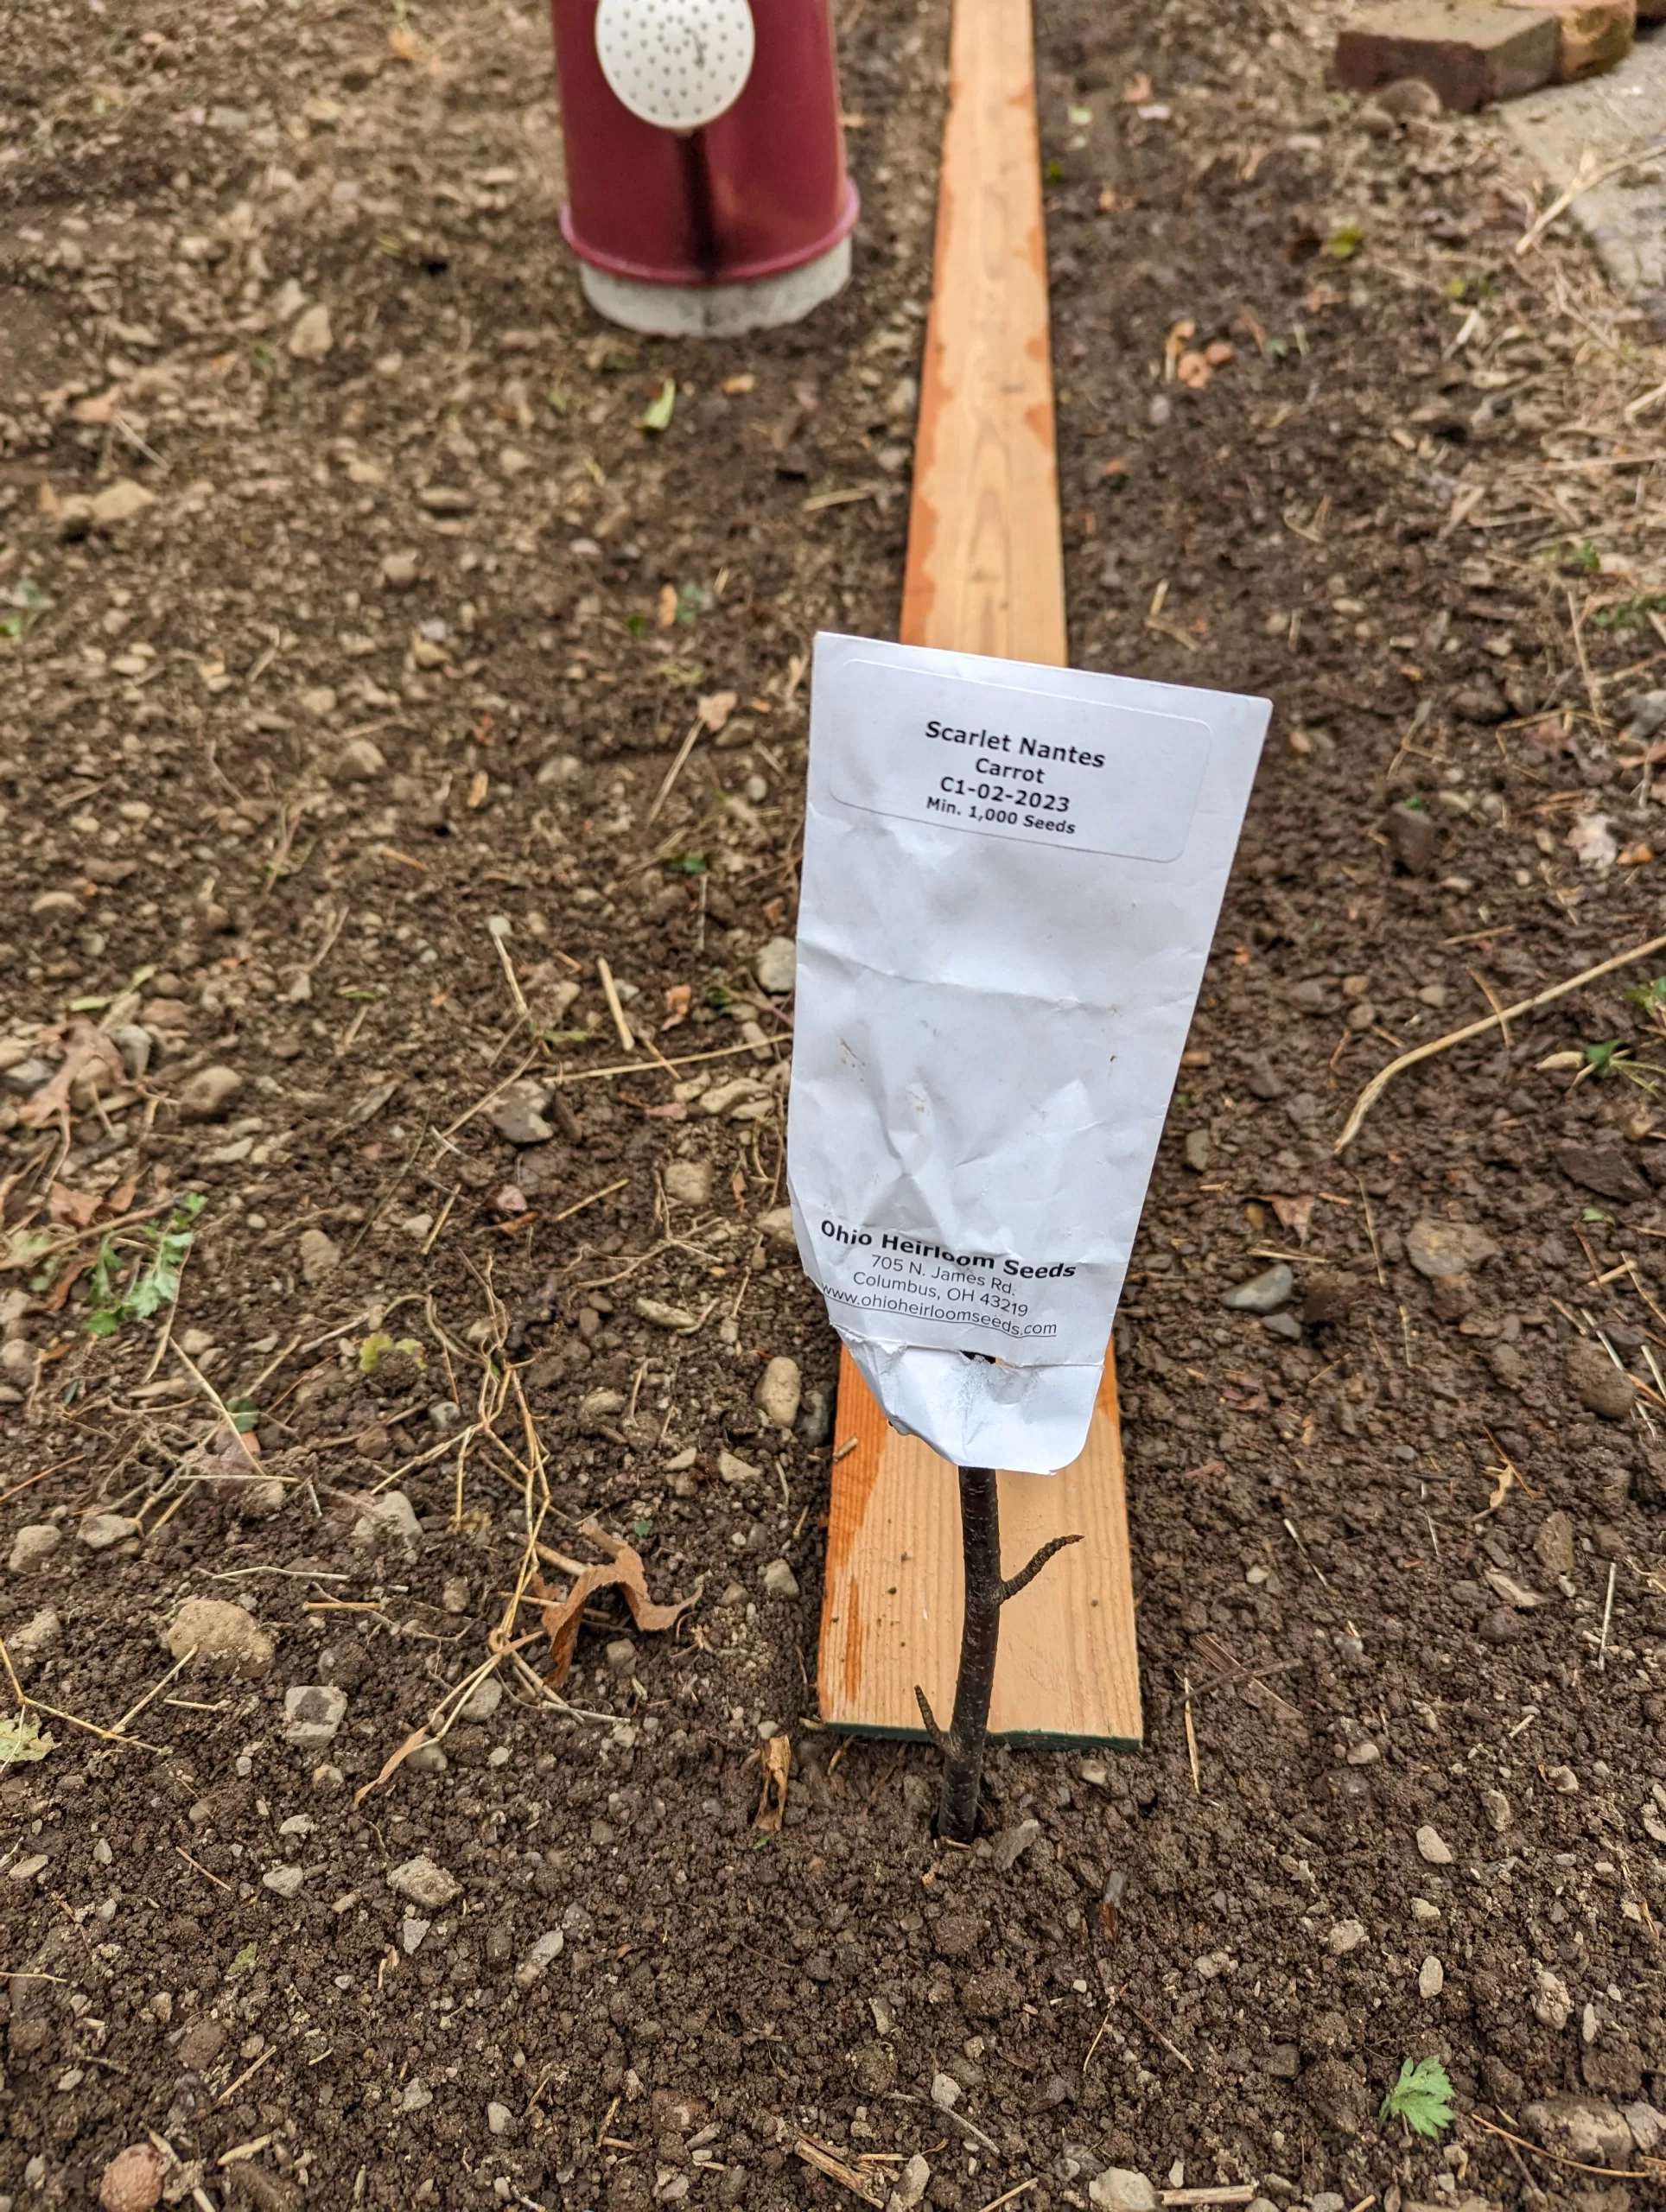
carrots!
I planted an additional row of carrots. The sunflowers I planted in February are thriving and should be ready for transplanting in the next few weeks.
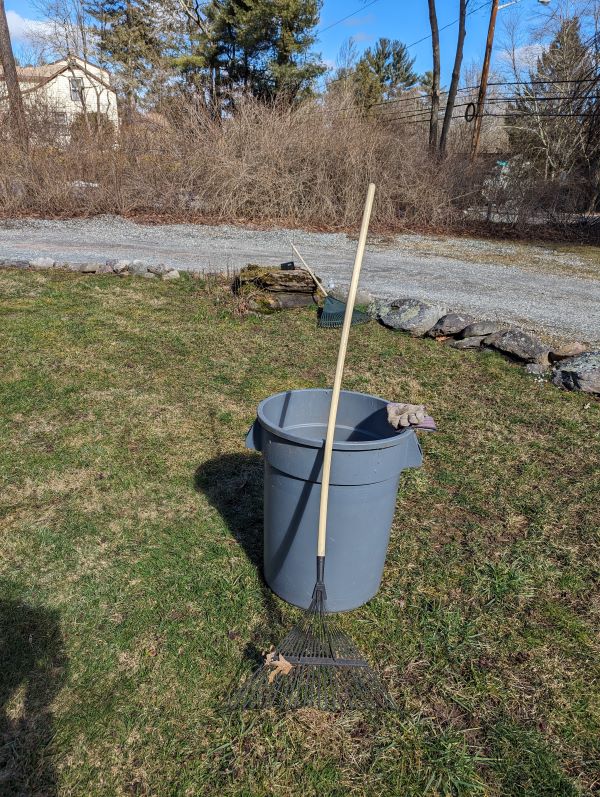
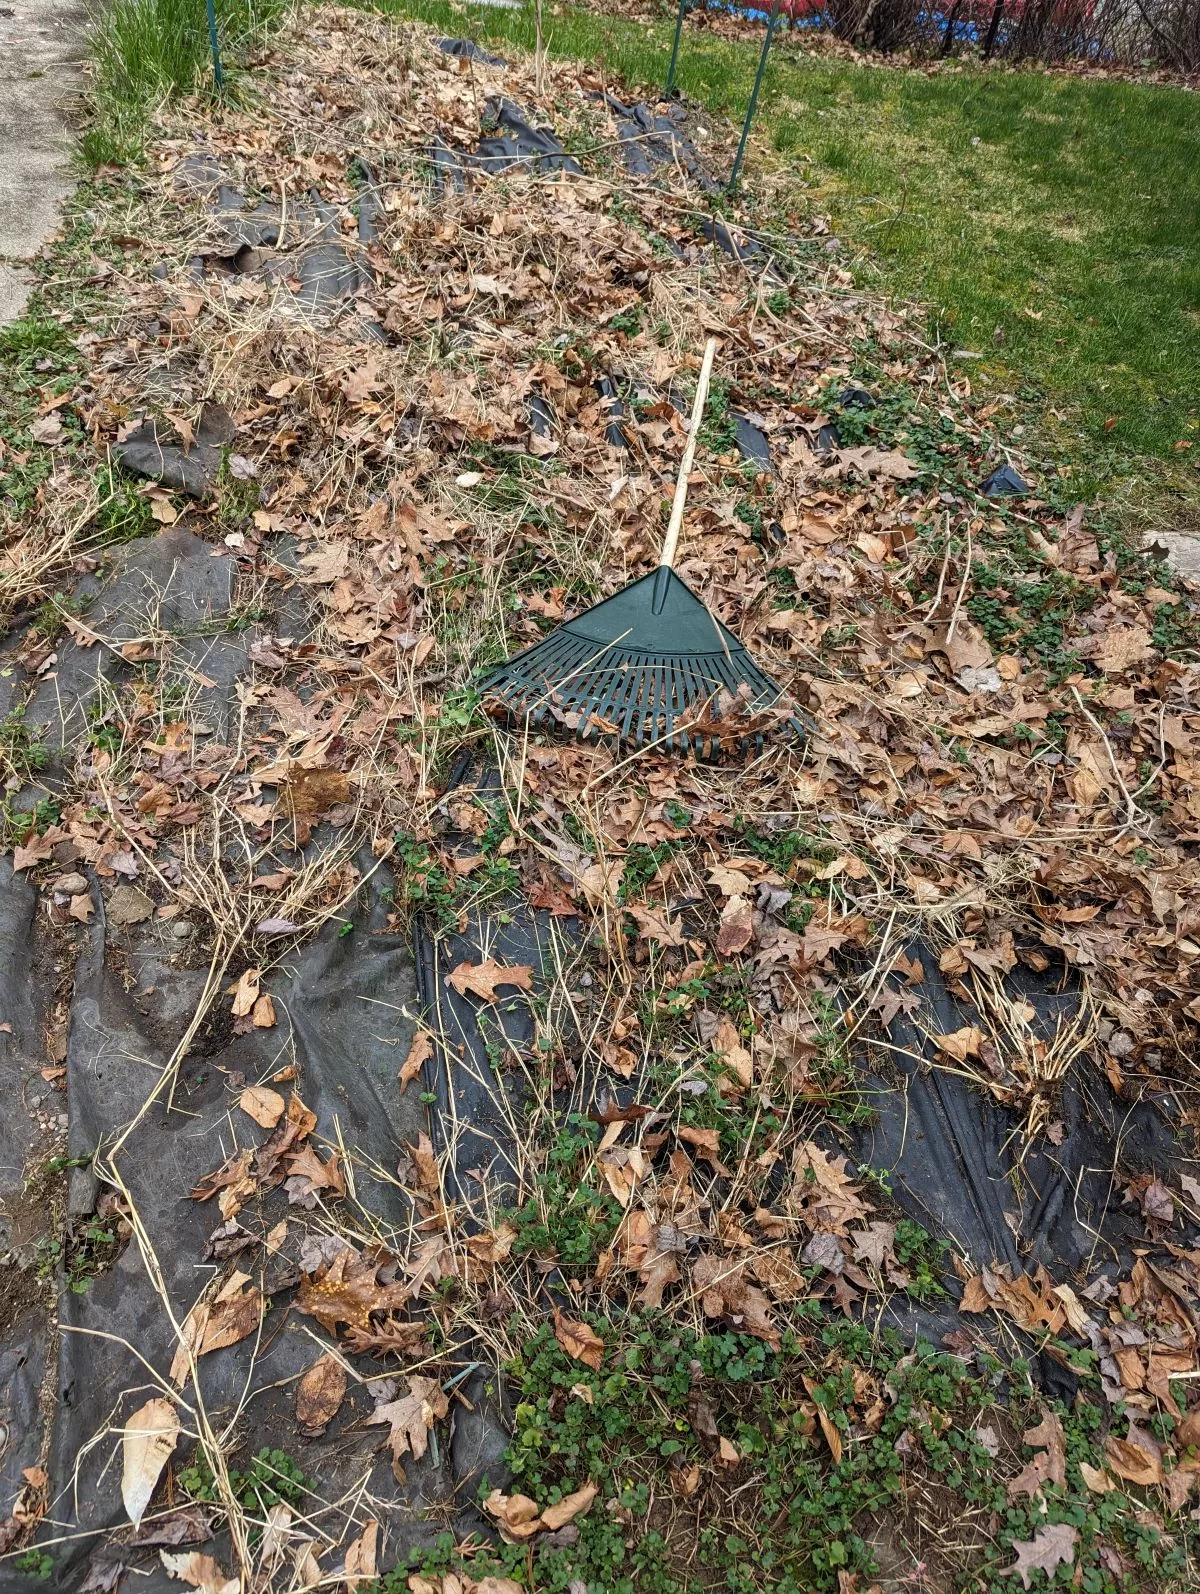
I am still in the process of removing lawn debris from my yard. I have a lot of work to do, and I am taking my time to do it right. I need to clean up the yard before I can apply lime and seed it. I am going to start by removing the dead grass and weeds, then I will spread lime to neutralize the soil. Finally, I will seed the yard with new grass. This process will take several days, and I am looking forward to having a lush, green lawn again.
To adjust pH, I add lime. I prefer pelletized lime over pulverized lime because it’s less messy. I use a Scotts Mini Broadcast Spreaderset at 6 to apply the lime. I try to apply it before it rains to help it absorb into the soil.
using broadcast spreader to apply pelletized lime.
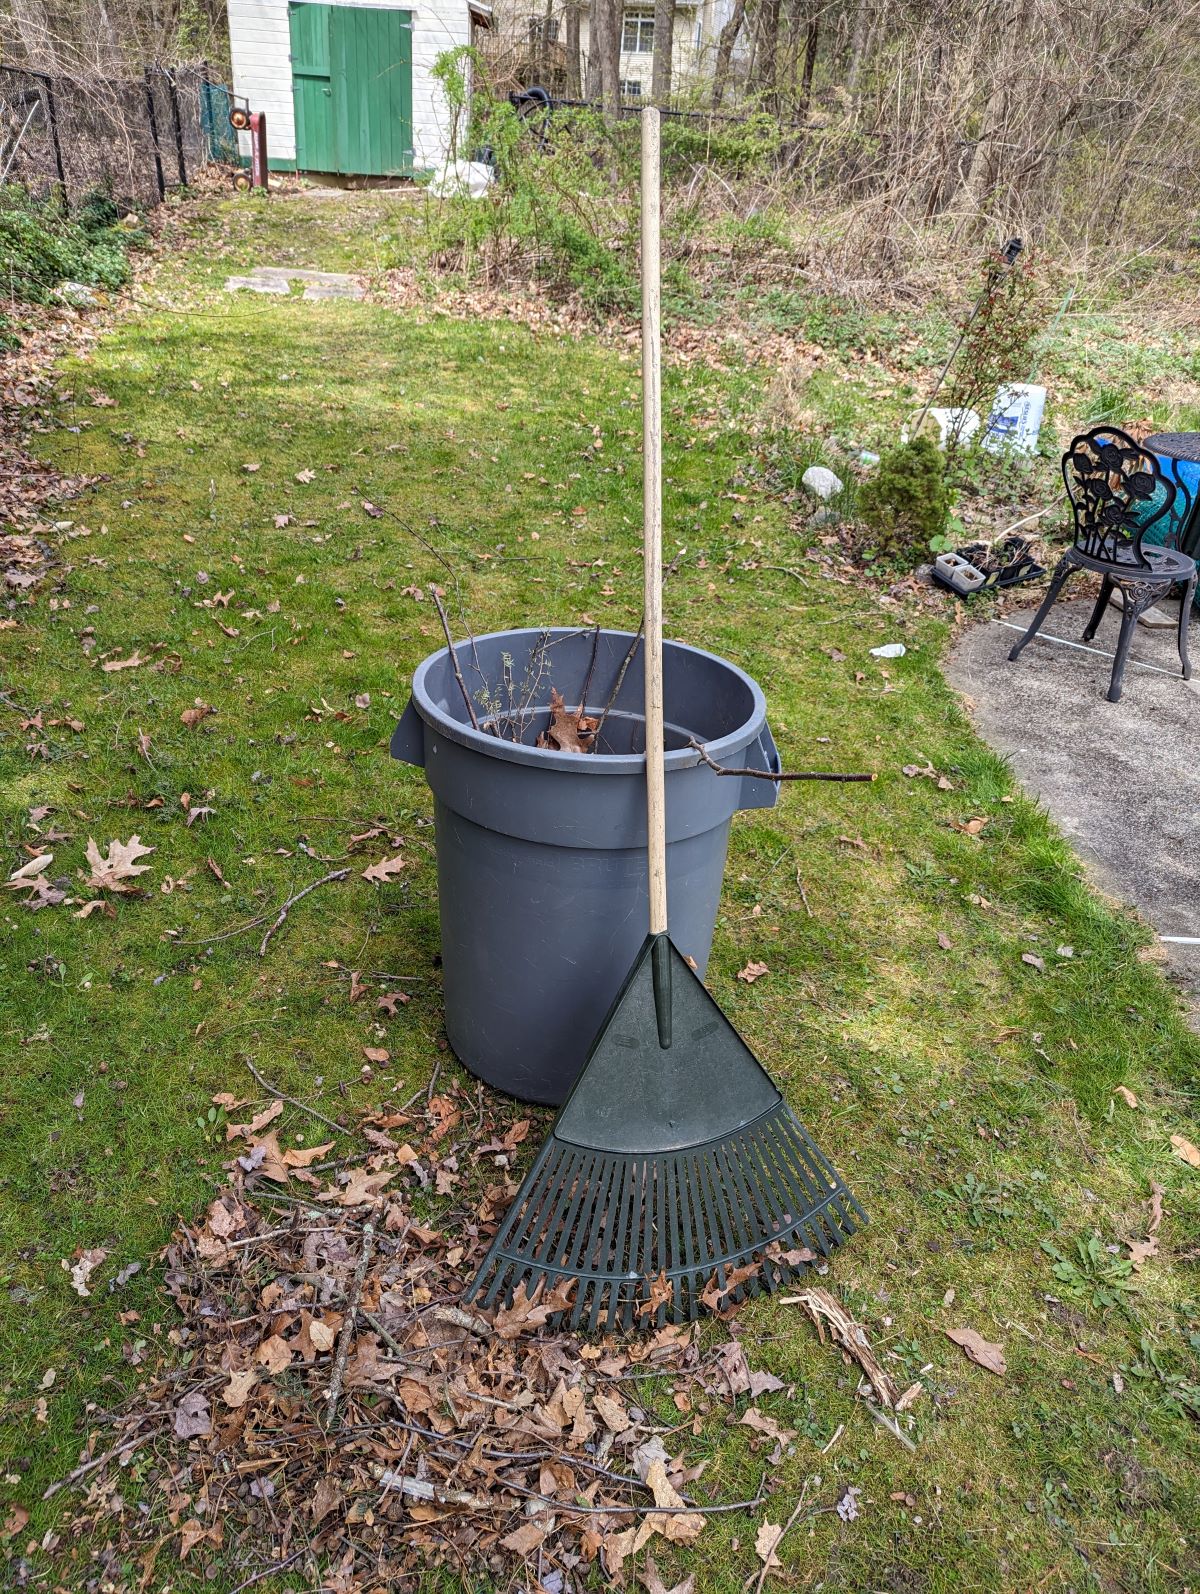
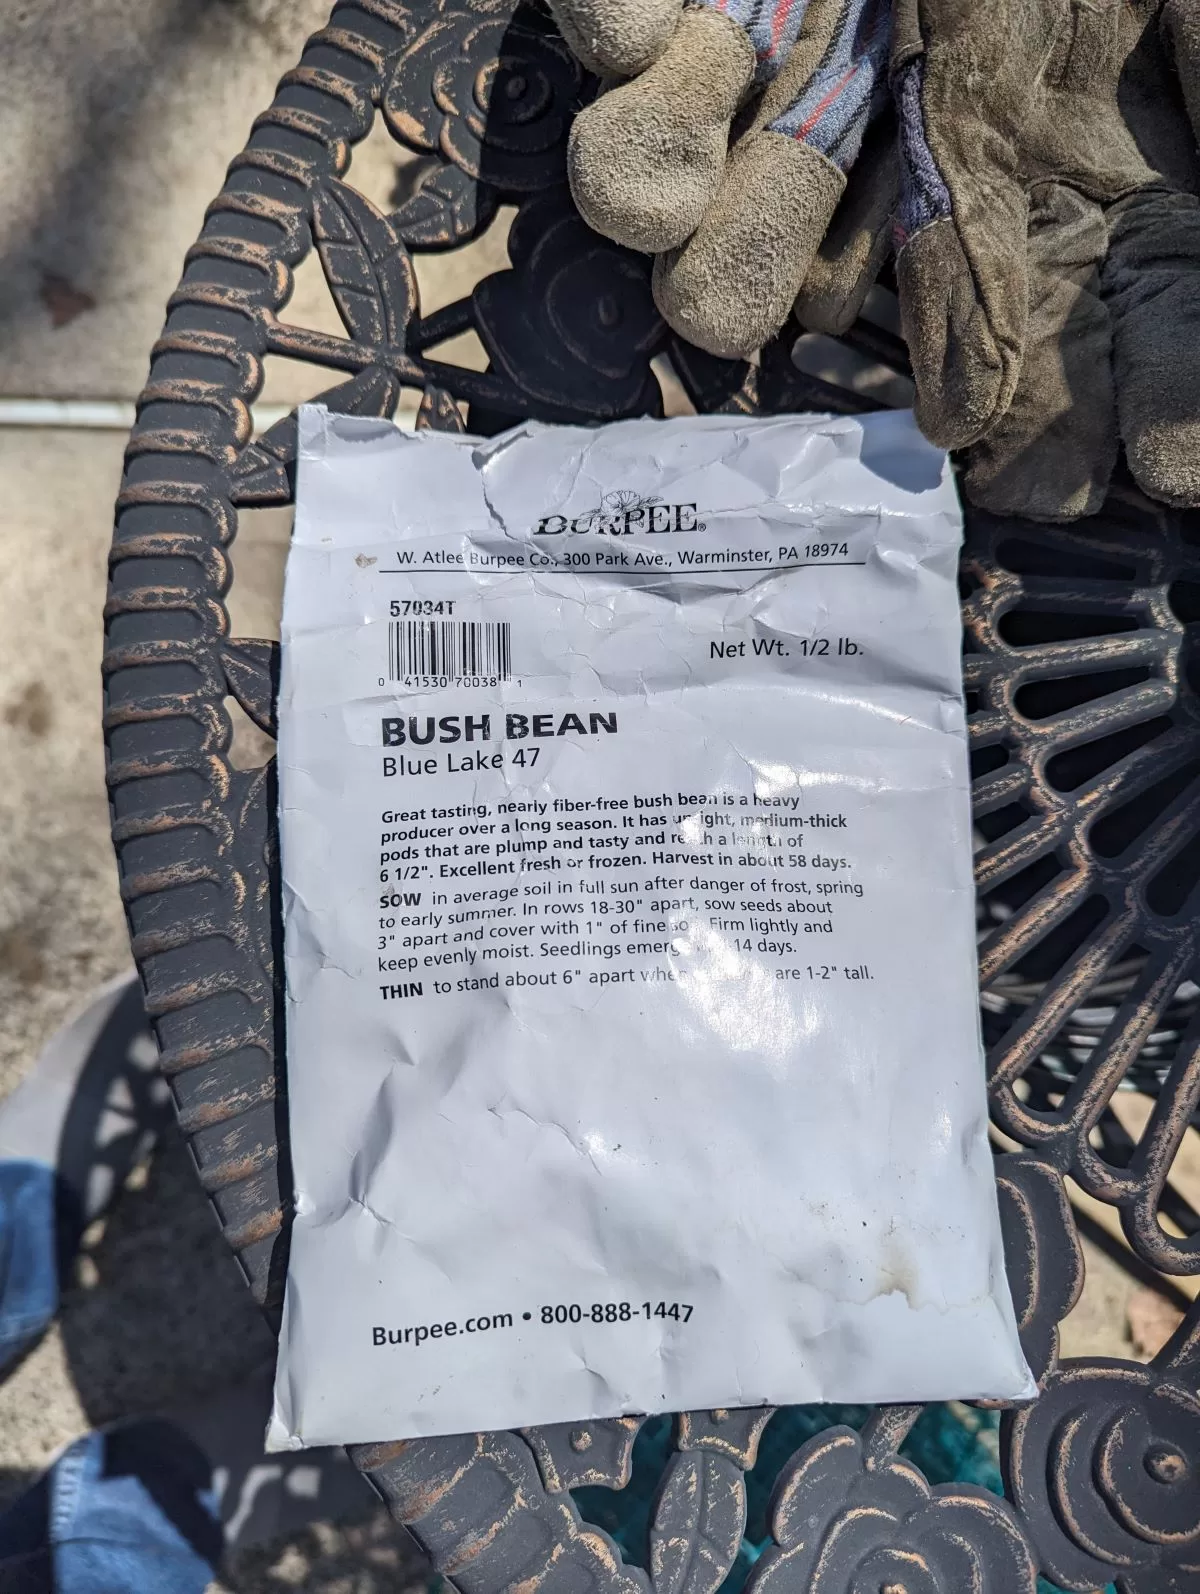
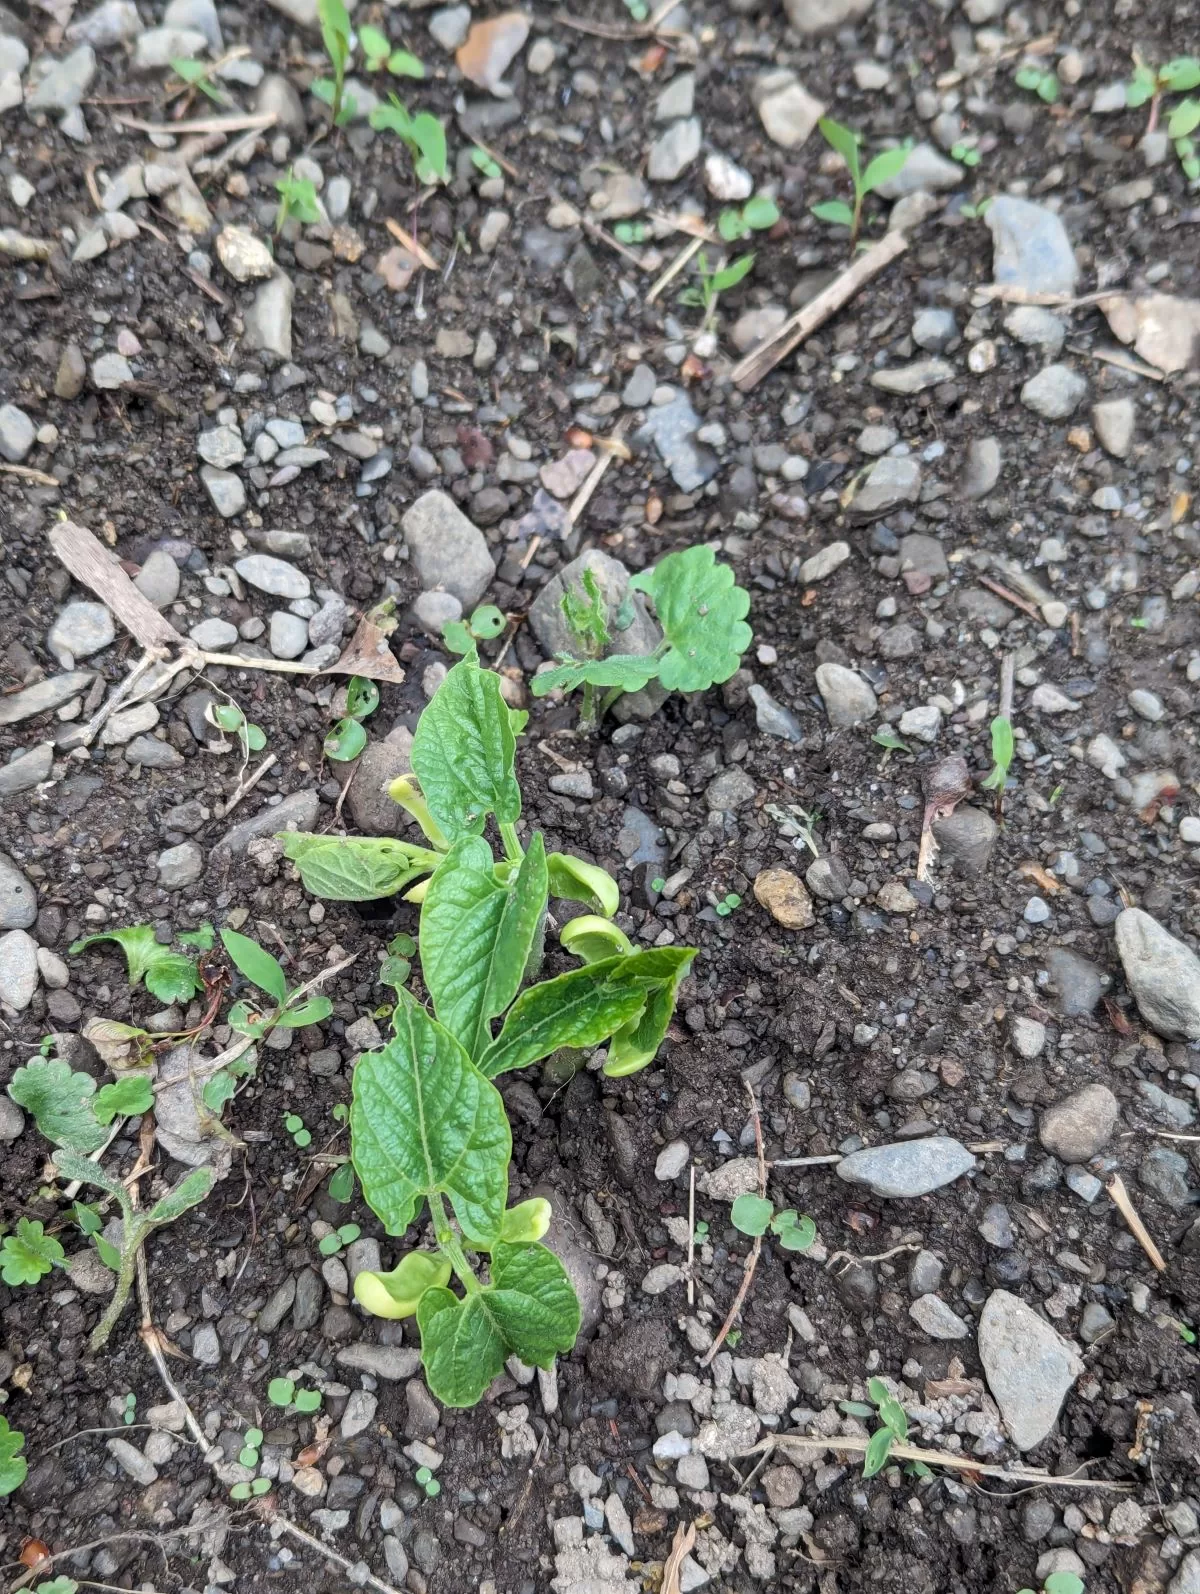
I planted bush beans today. I purchased a bulk pack of Blue Lake Bush Beans last year. I think I will have enough for next year as well. Bush bean seeds are robust, and the plants are straightforward to grow. They produce a good yield over a week or two. I like to pick the beans when they are young and tender. I also like to eat them fresh. They are delicious!
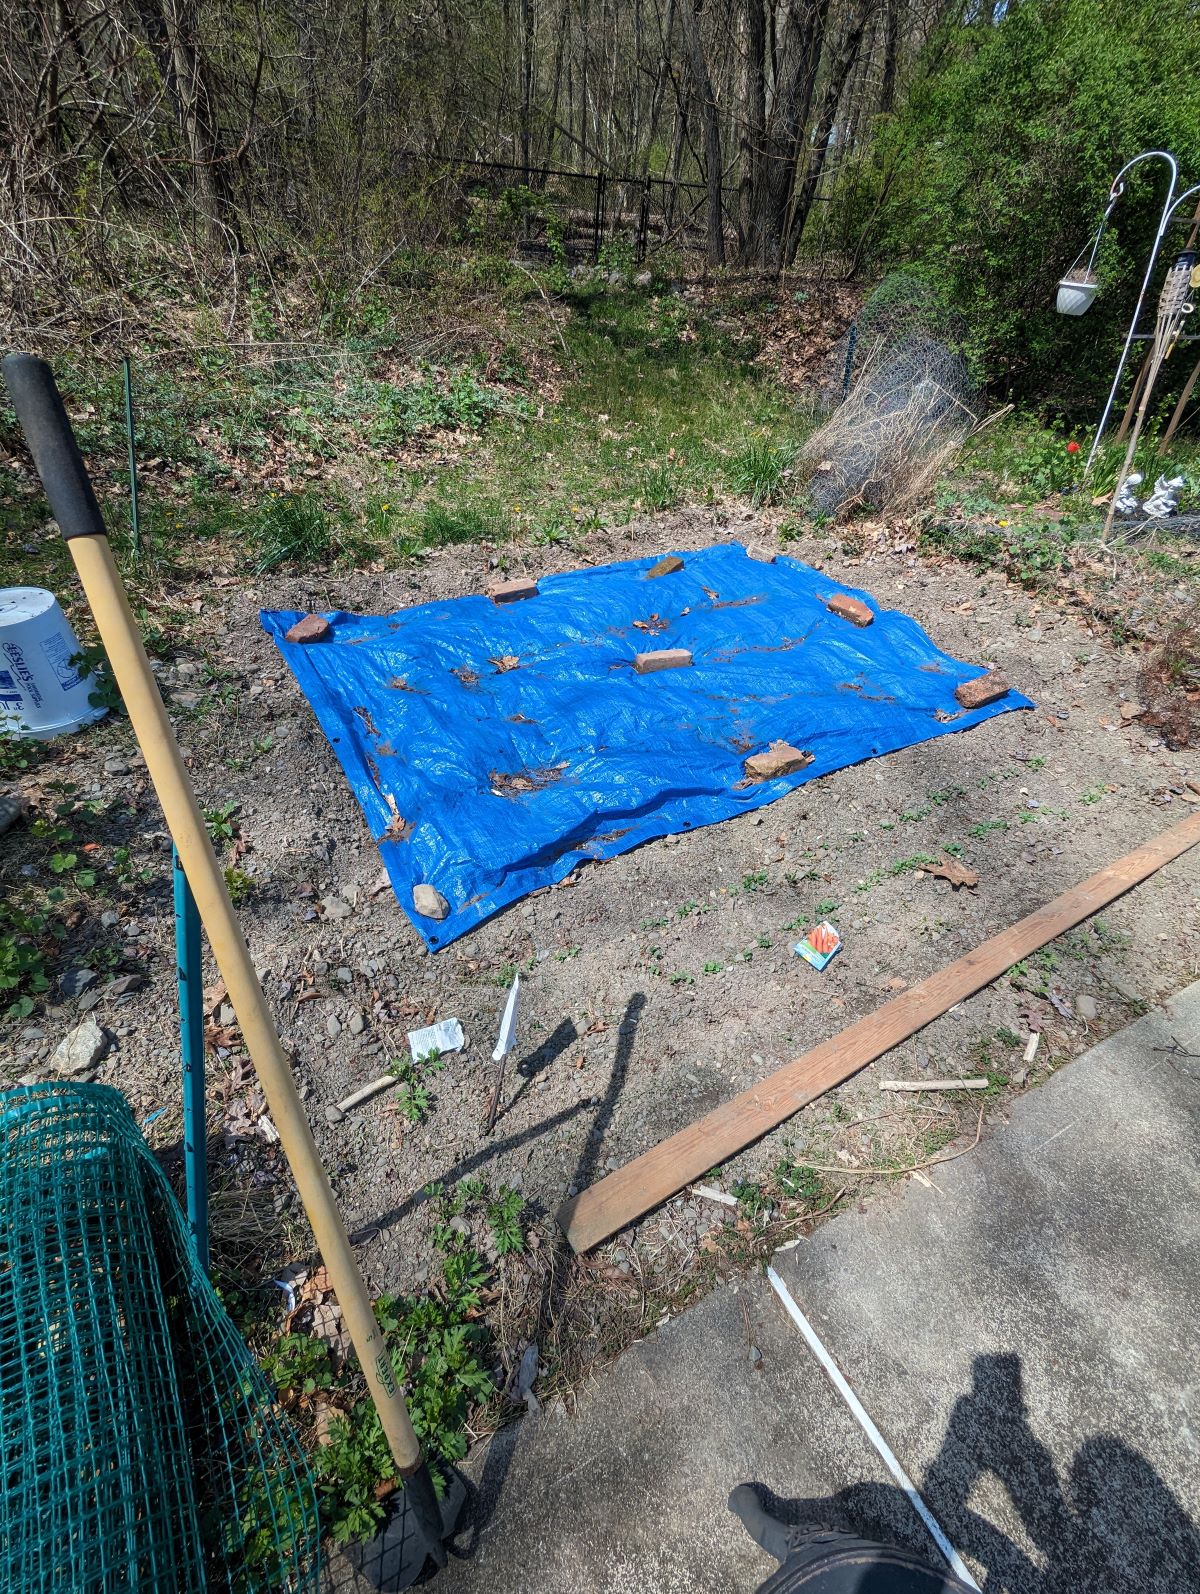
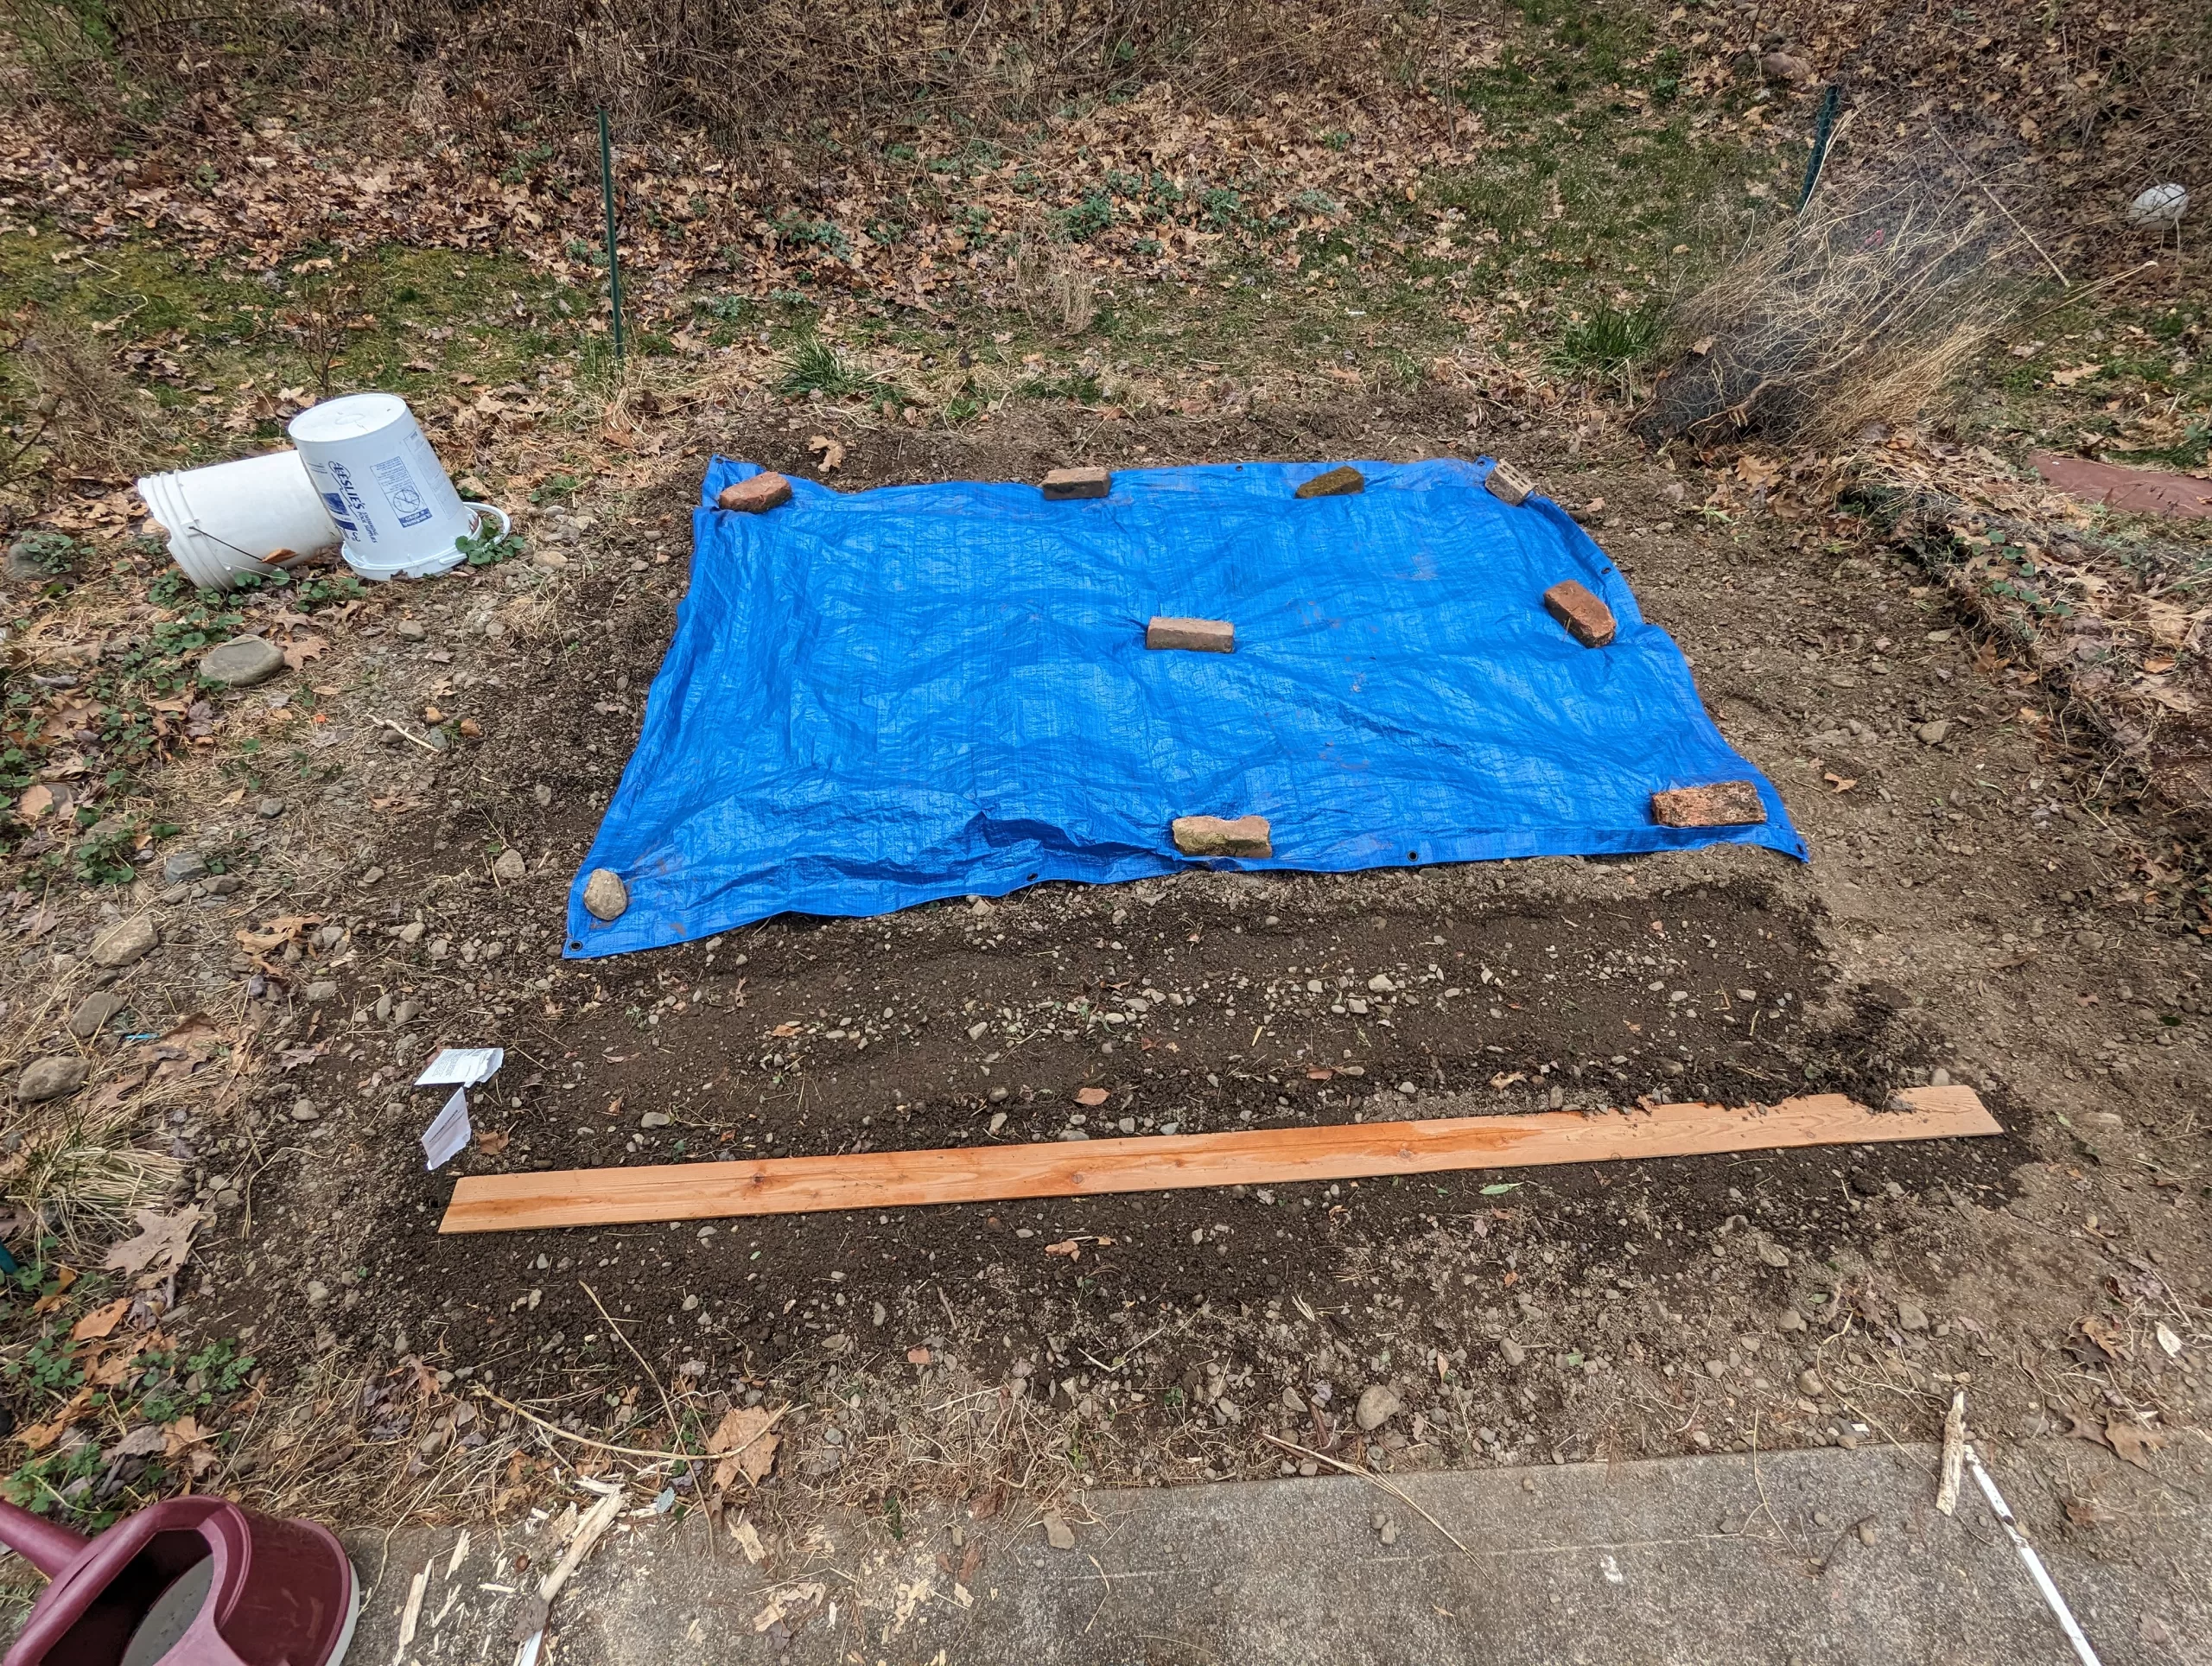
prepared bean field
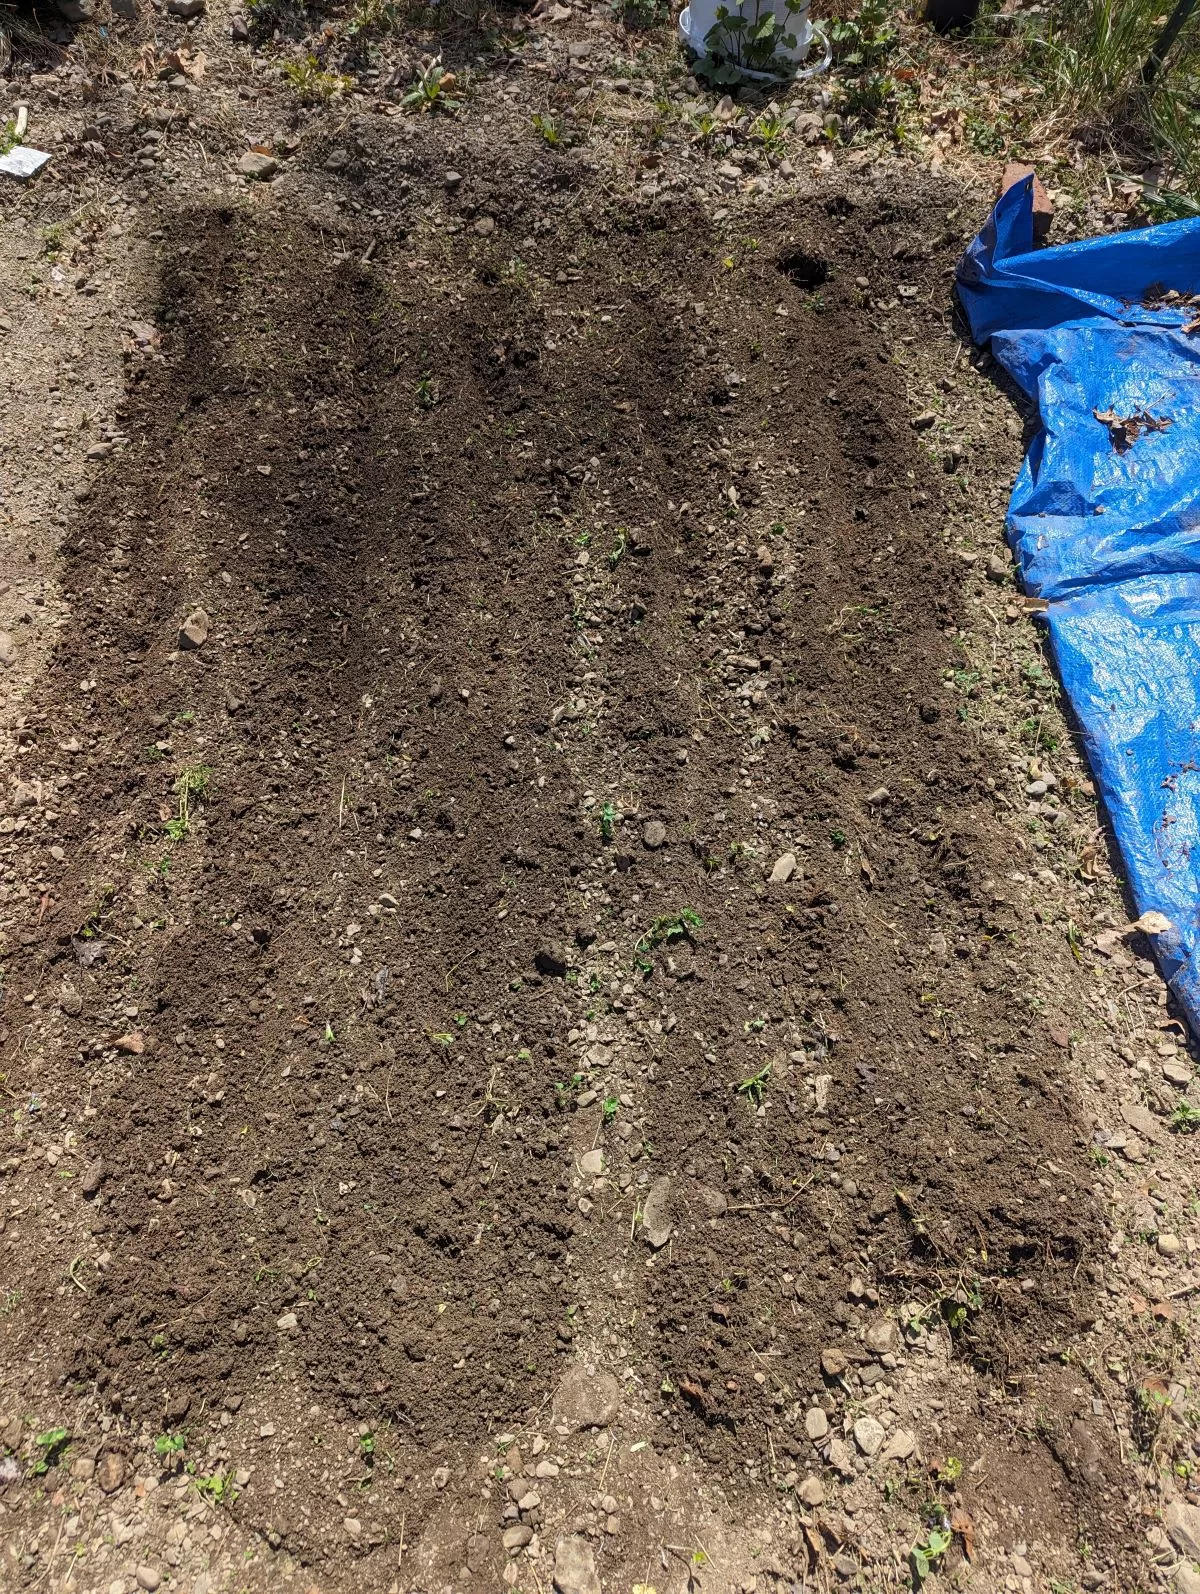
I prepared the plot by removing any large stones and debris. Then I covered it with a tarp to prevent weeds from growing. After a few weeks, I removed the tarp and made rows in the soil with a hoe. I sowed the seeds in the rows, covered them with soil, and watered the plot generously.
after planting beans
April 28, 2024
before tilling
Today I tilled the garden where I will soon plant cucumbers. I used a ssmall electric rototiller, which made the task a lot easier. I had never used a rototiller before, and I was surprised at how easy it was to use. I was able to till the entire garden in a matter of minutes. I am looking forward to planting my cucumbers and watching them grow.
after tilling
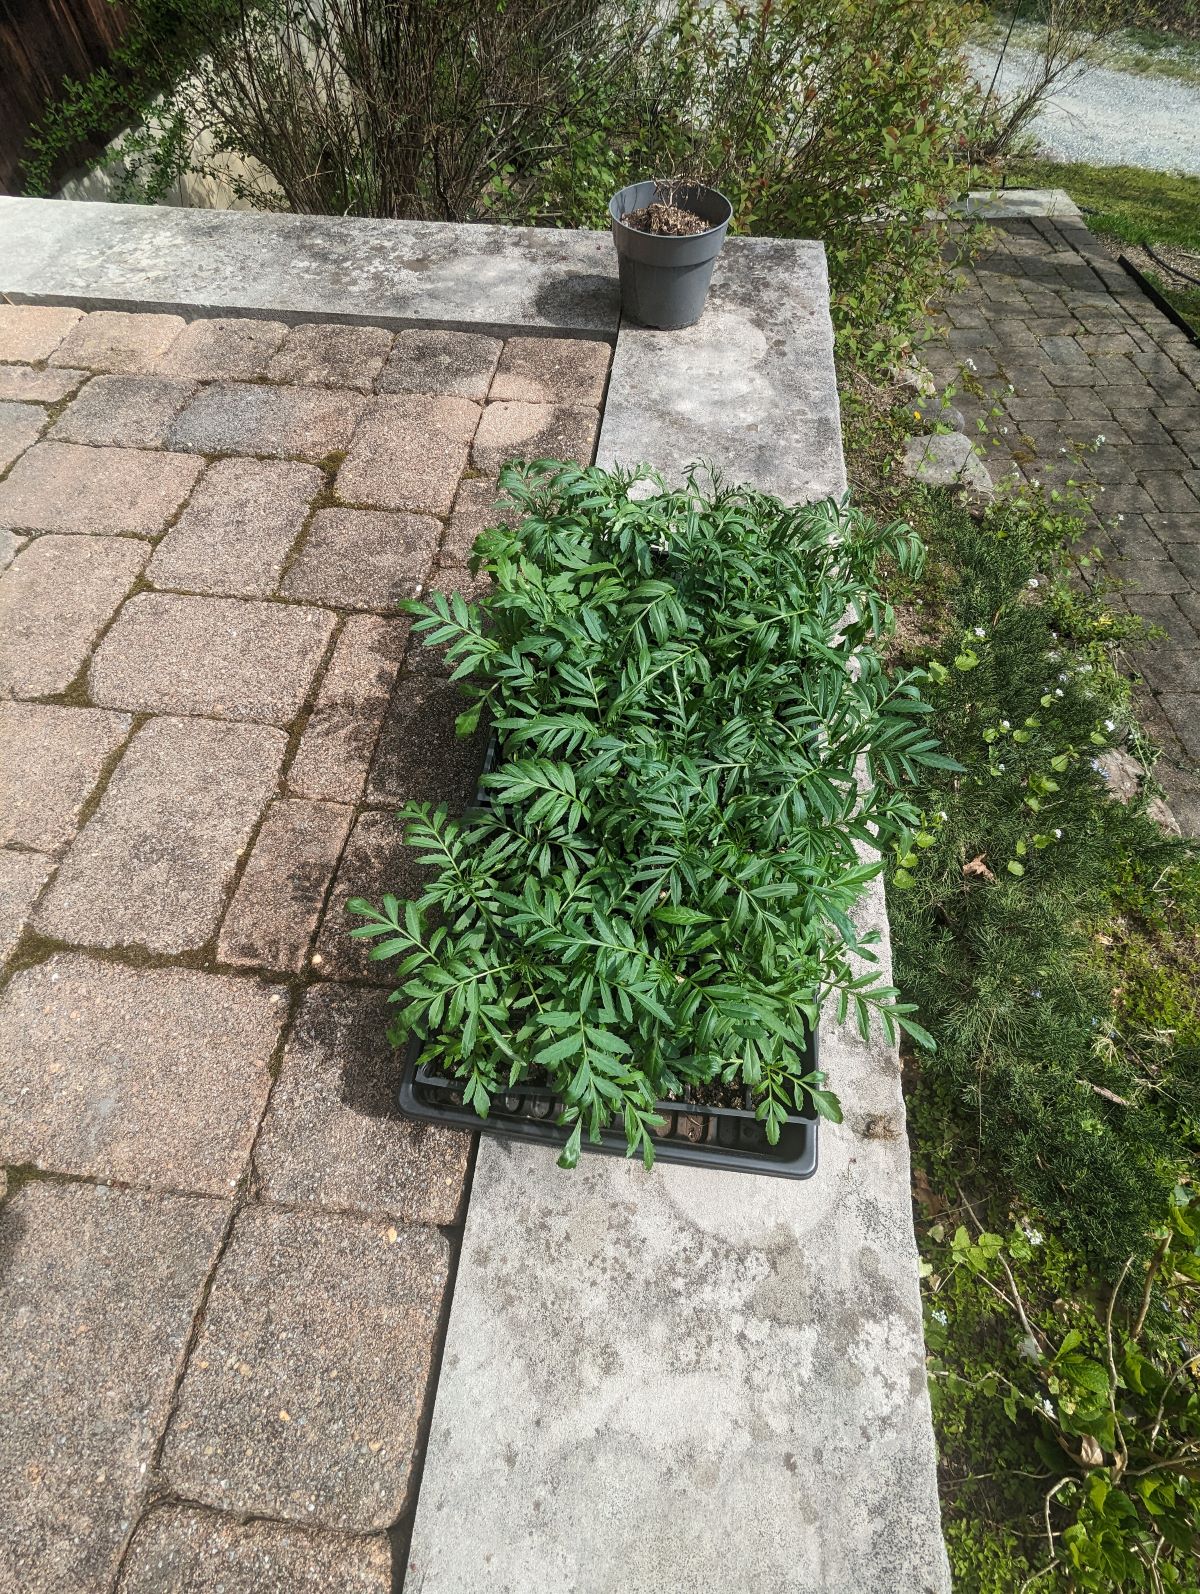
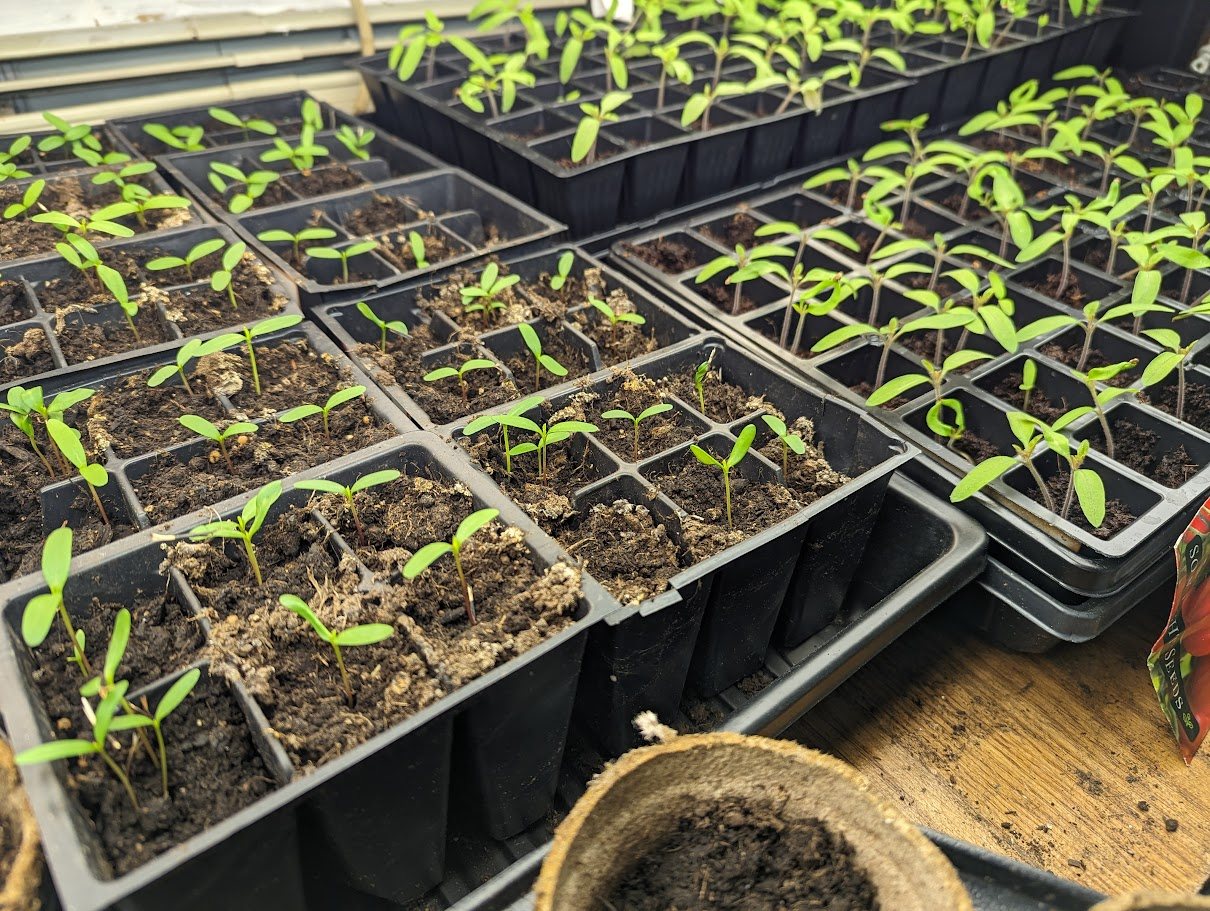
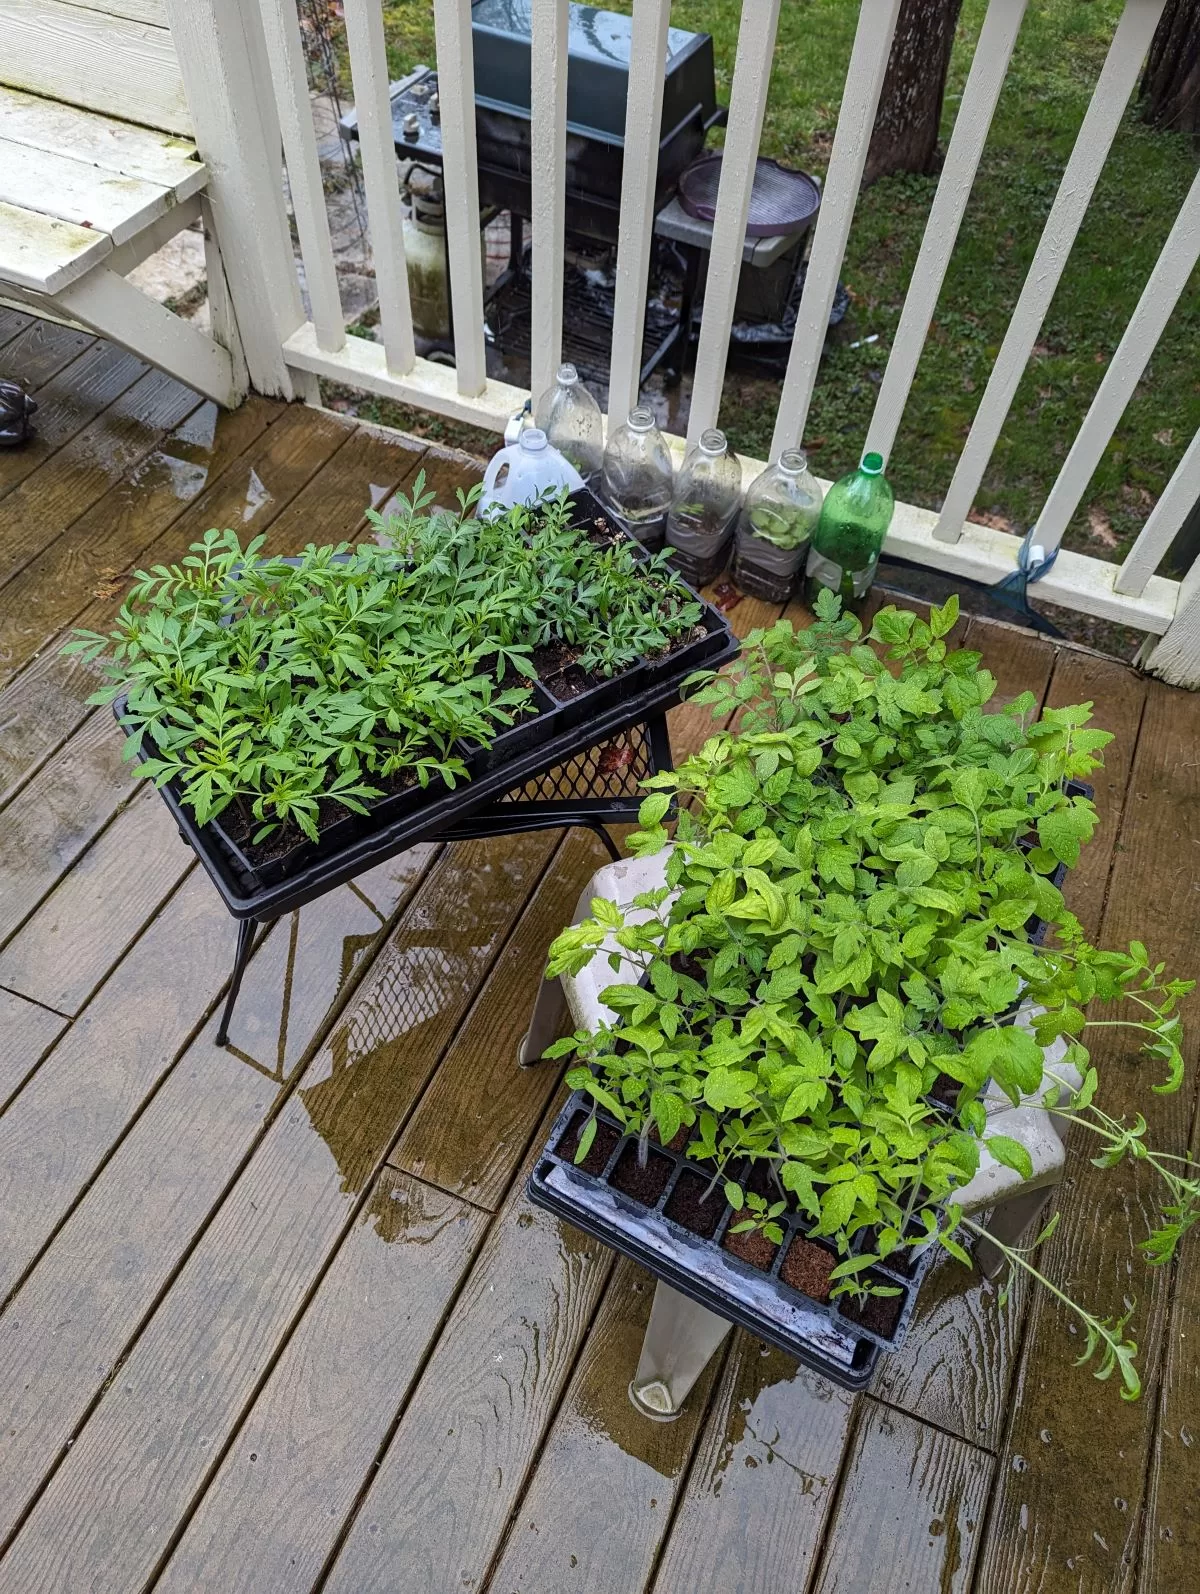
indoor sown tomatoes
The warm weather has finally arrived in northern New Jersey, and I am preparing to move my indoor-sown tomatoes and marigolds outdoors. The predicted overnight temperatures are in the 50° F range, which I believe is safe for acclimating them to outdoor conditions. I will also move the marigolds outdoors. I am looking forward to seeing my plants thrive in their new outdoor environment.
As the weather warms and the days get longer, the garden is coming to life. Azaleas are blooming, garden beans are sprouting, and our winter-sown sunflowers and indoor-grown vegetables are ready to be transplanted. This is a very busy time in the garden as we prepare for the upcoming growing season.
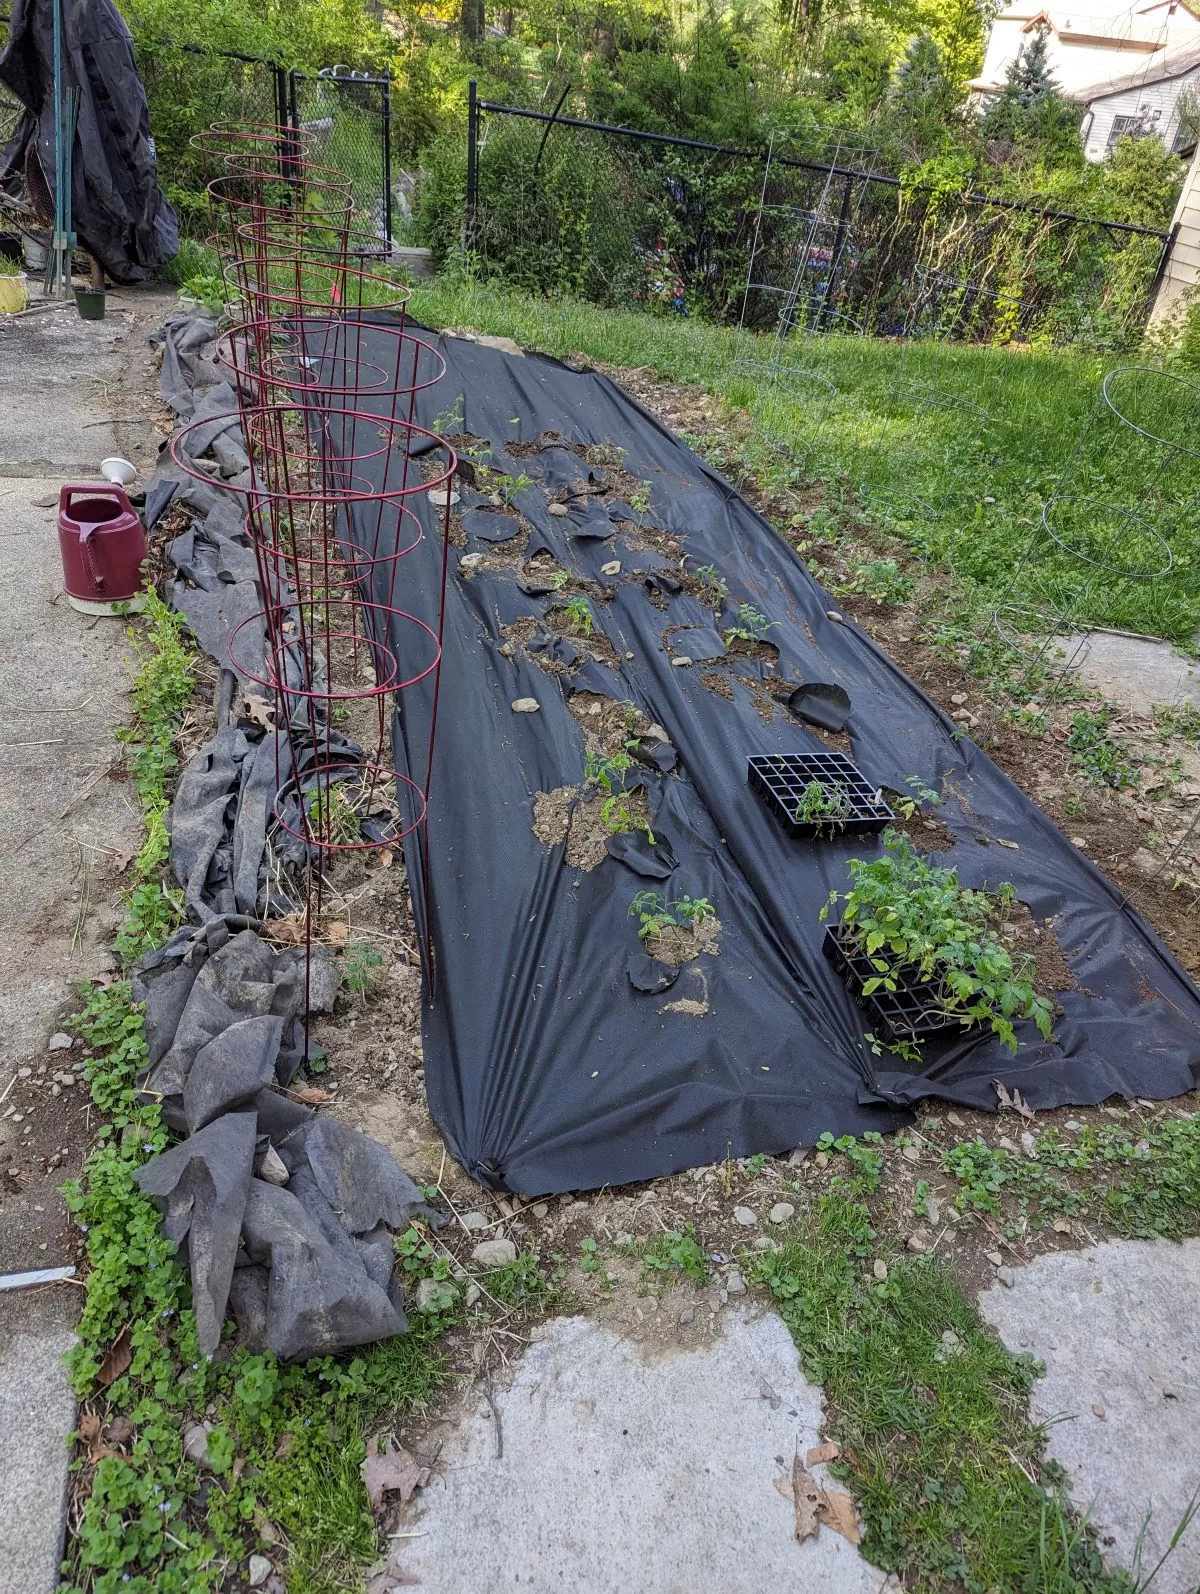
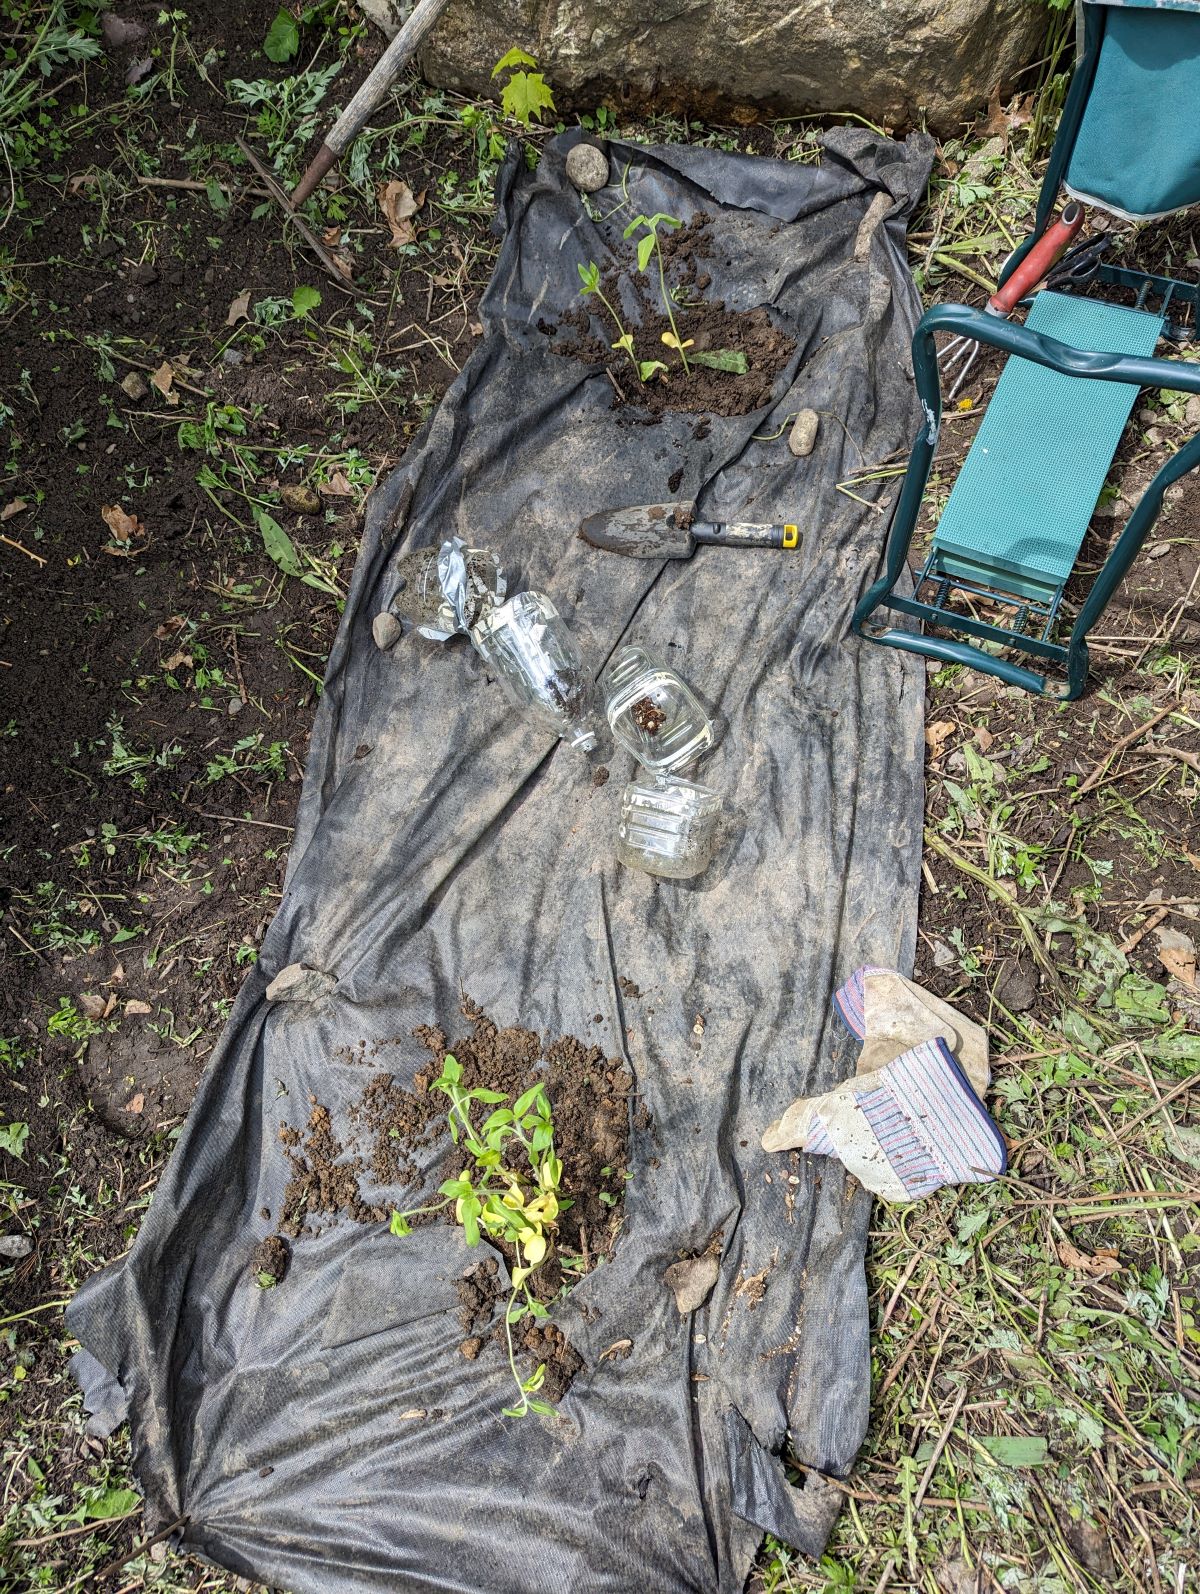
Today is a big day in the garden. I am finally transplanting my tomato plants to the outdoor garden. I started the plants indoors in March, and they have been growing steadily ever since. But now they are ready to be moved outdoors. I am using landscaping cloth to protect the plants from pests and diseases. I am also installing tomato cages at this time so that the tomato plants will grow into them. I am so excited!
Keep an eye on the soil moisture and water your garden when it needs it, not just when it rains!
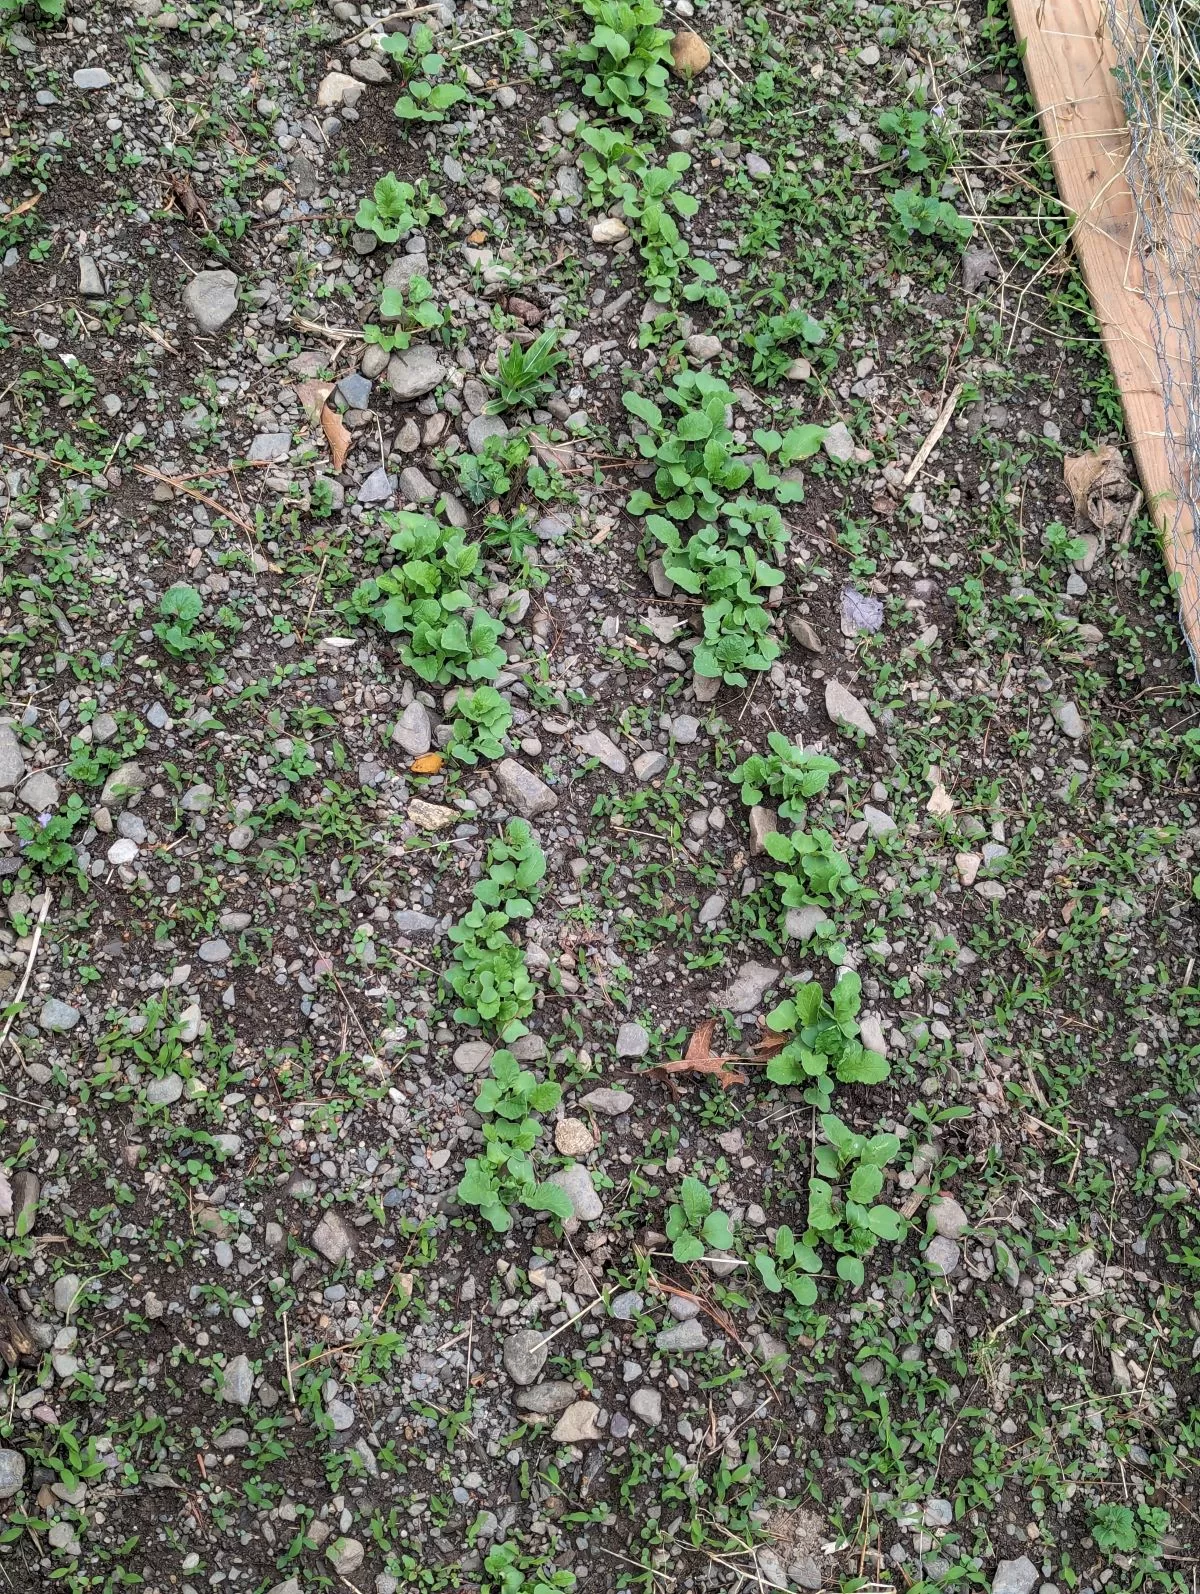
Today I am planting cucumber seeds in the outdoor garden. I first lay out a ground cloth. The ground cloth keeps the soil moist and prevents weeds from growing. Next, I cut holes in the cloth and plant the cucumber seeds. Cucumbers grow quickly, so I plant the seeds directly in the outdoor garden.
Marigold tray started indoors on March 13 ready for transplanting
Marigold seeds
Today I transplanted my indoor-sown marigolds to a rock wall border in my garden. I supplemented the plants with leftover seeds. I like to sow marigolds indoors because they get a head start on the season. Also, I purchase large packages of marigolds because I use them in many locations. Marigolds are straightforward to grow, and the seeds can be collected at the end of the season.
creating a border with marigolds
Summer Squash and Cucumbers atop a rock wall
Last year, I planted summer squash for the first time. I was a bit late getting it in the ground, but it grew quickly and produced delicious squash. This year, I planted seeds earlier, adjacent to my driveway, I am looking forward to harvesting it.
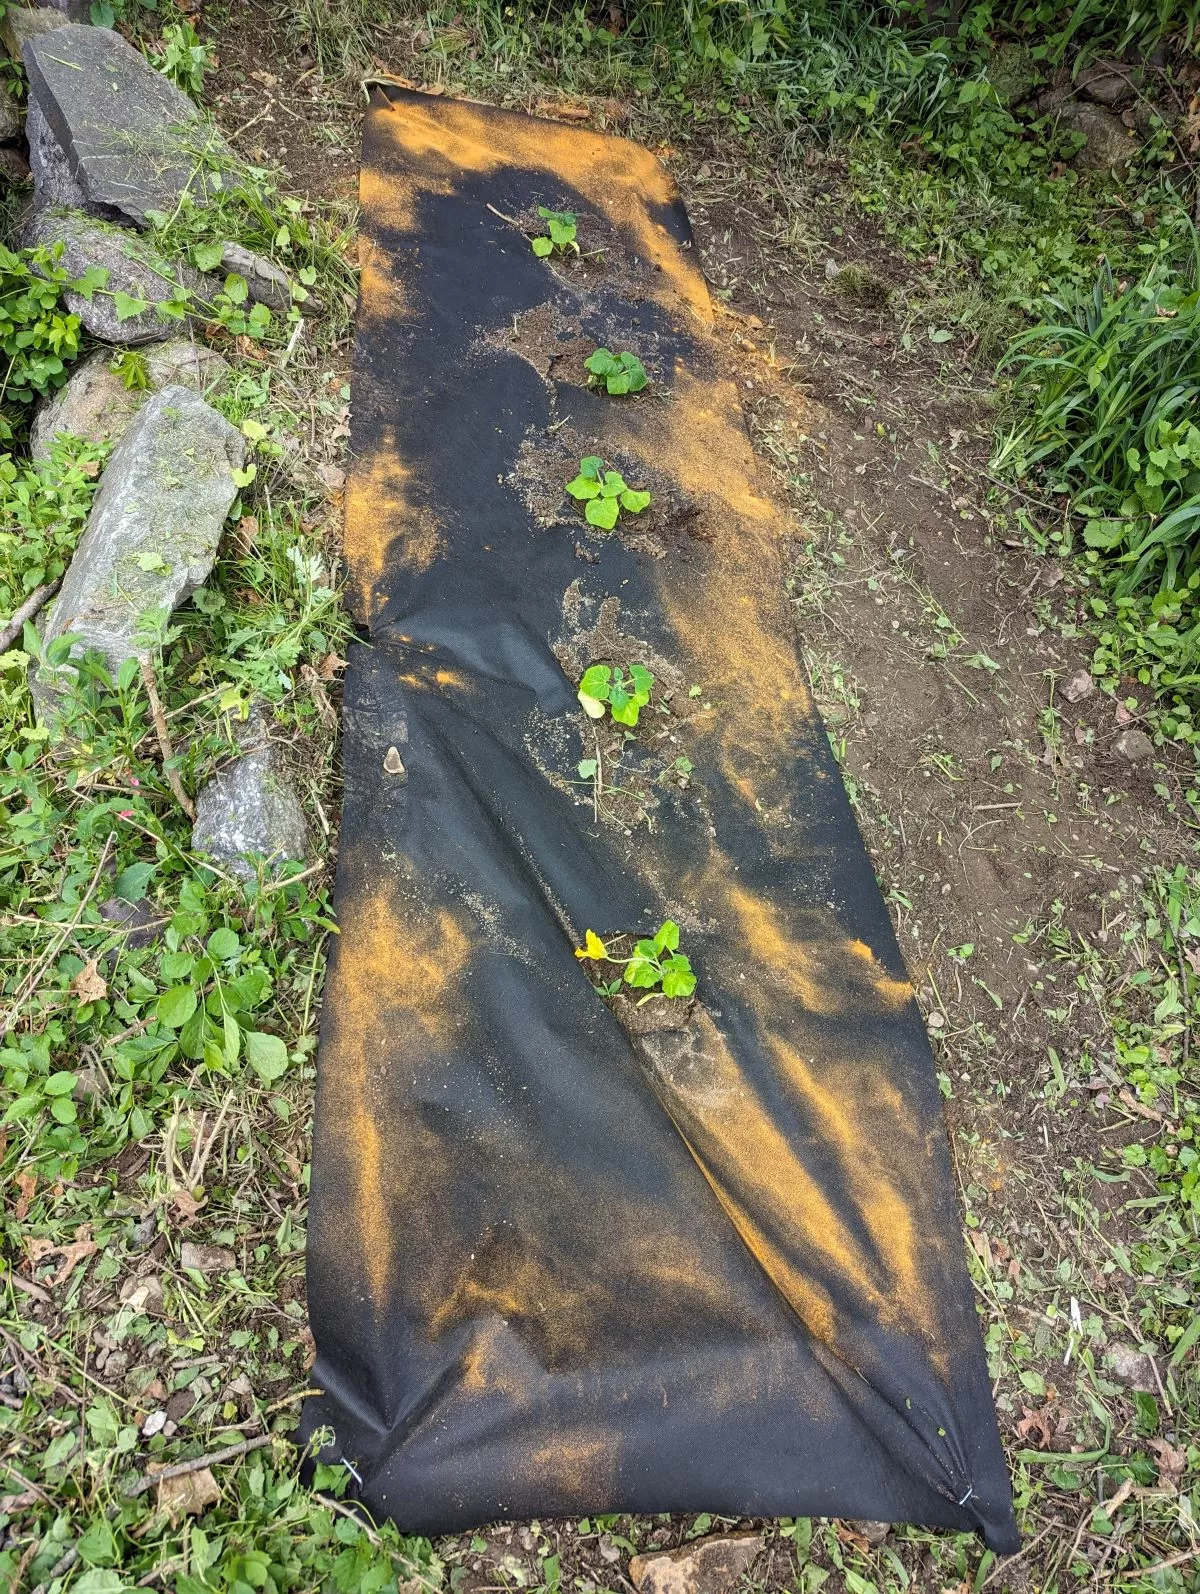
Pumpkin patch treated with cayenne pepper to deter critters
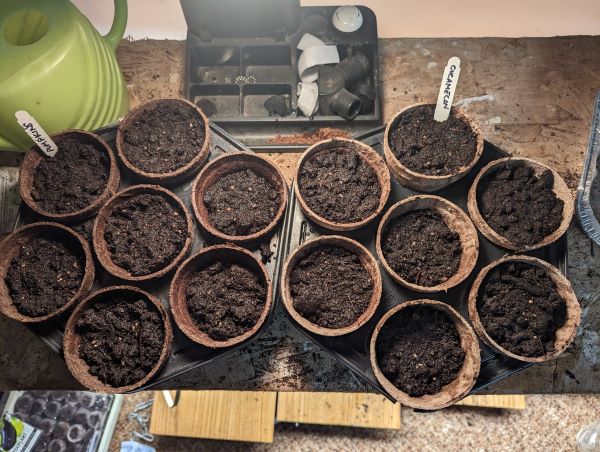
indoor-sown pumpkin plants in tray ready to plant
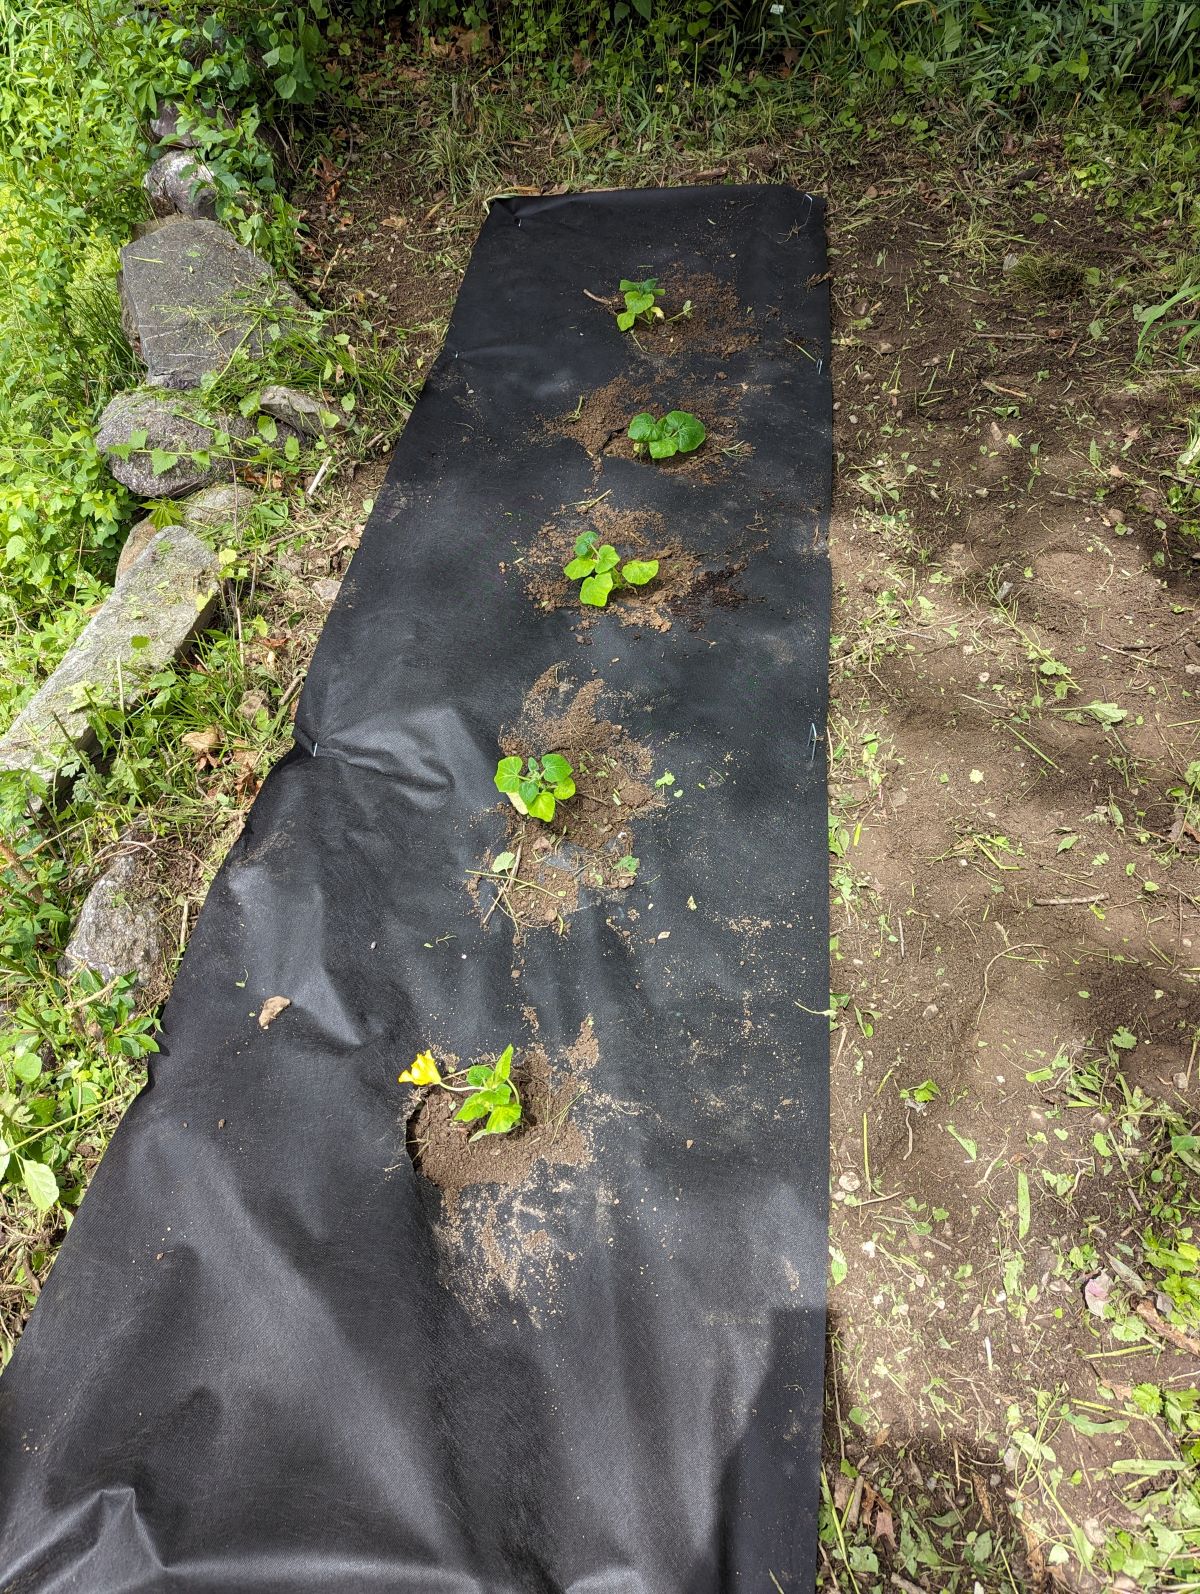
Today I transplanted my indoor-sown pumpkins to my new outdoor pumpkin patch. To begin, I tilled the soil, then raked out the rocks and debris, and finally leveled the surface. This was a lot of work, but it was necessary to provide the best growing conditions for my pumpkins. Next, I laid down ground cloth and secured it with landscape staples. This will help to prevent weeds from growing and will also help to retain soil moisture.
tilled and raked, ready for landscape cloth and staples
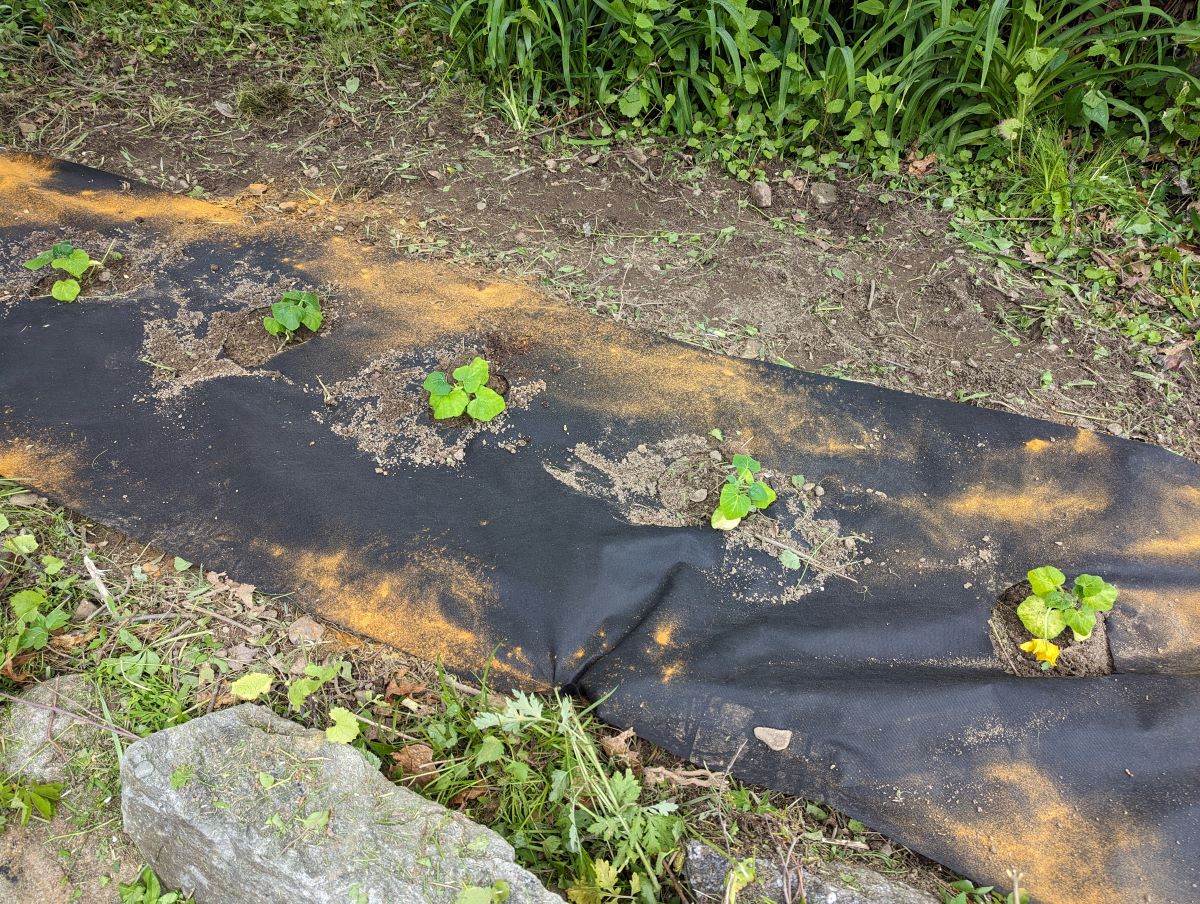
holes cut and pumpkins in the ground
I use my hand as a template to cut holes in the landscape cloth. I then placed one pumpkin plant in each hole. I sprinkled the area with cayenne pepper to discourage animals from entering. I am using pavlovian training to condition animals to avoid ground cloth. The cayenne pepper acts as a natural repellent, and is the primary deterrent to train the animals to stay off of all ground cloth.
These last few days have been a whirlwind of activity in the garden. We have transplanted tomatoes, cherry tomatoes, Mexican sunflowers, pumpkins, marigolds, eggplants, and cucamelons from our indoor nursery. We have also planted radishes, carrots, summer squash, green beans, and cucumbers all from seed. In addition, we have planted our winter-sown sunflowers. Whew!
Cucamelons transplanted near garden fence as a trellis
Last week, I finished moving all of my plants outdoors. The basement nursery is now empty, and the grow lights have been turned off. All of the plants that I had started indoors have been transplanted to the outdoor gardens. The last plants to be moved were warm-weather plants such as Eggplants and Mexican Sunflowers. I also transplanted watermelons that had been sown indoors; however, they have yet to develop secondary leaves beyond the cotyledons. I am hoping that they will survive the transition to outdoor conditions.
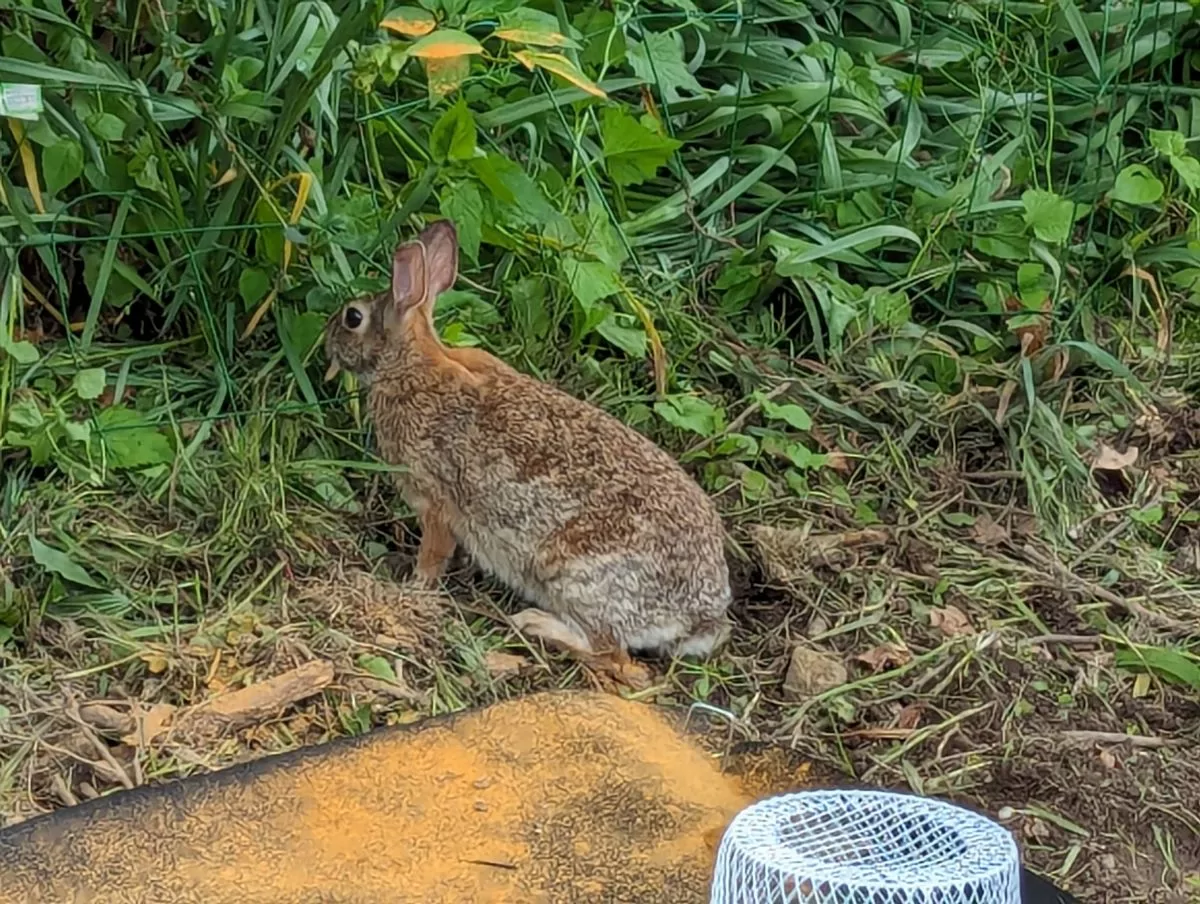
Rabbit warily approaching pumpkin patch near cayenne pepper border
I have observed rabbits in my garden, and I am concerned that they may start eating my plants. I have been sprinkling cayenne pepper around the perimeter of my garden in an attempt to keep them away. I am hopeful that this will be an effective deterrent, but I am also open to other suggestions. If you have any advice on how to keep rabbits away from my garden, please let me know.
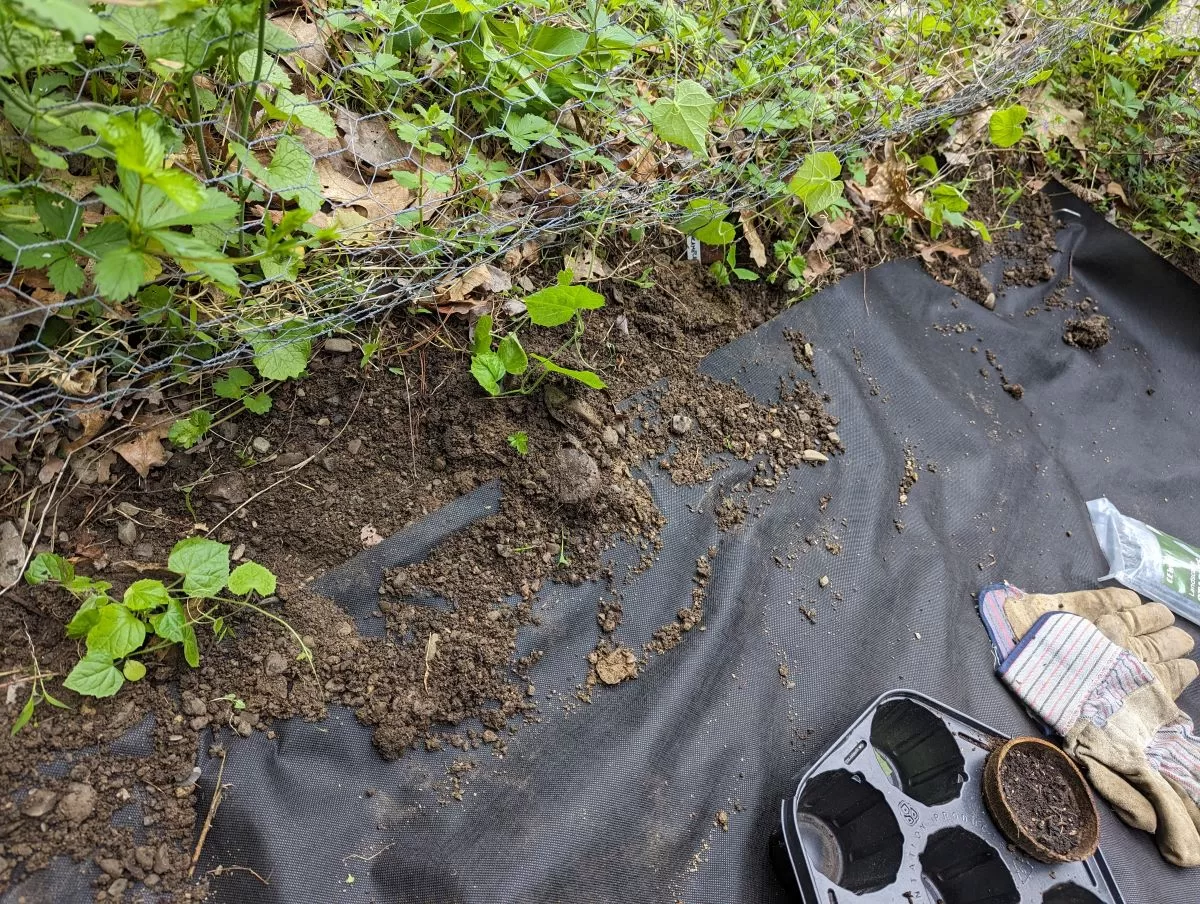
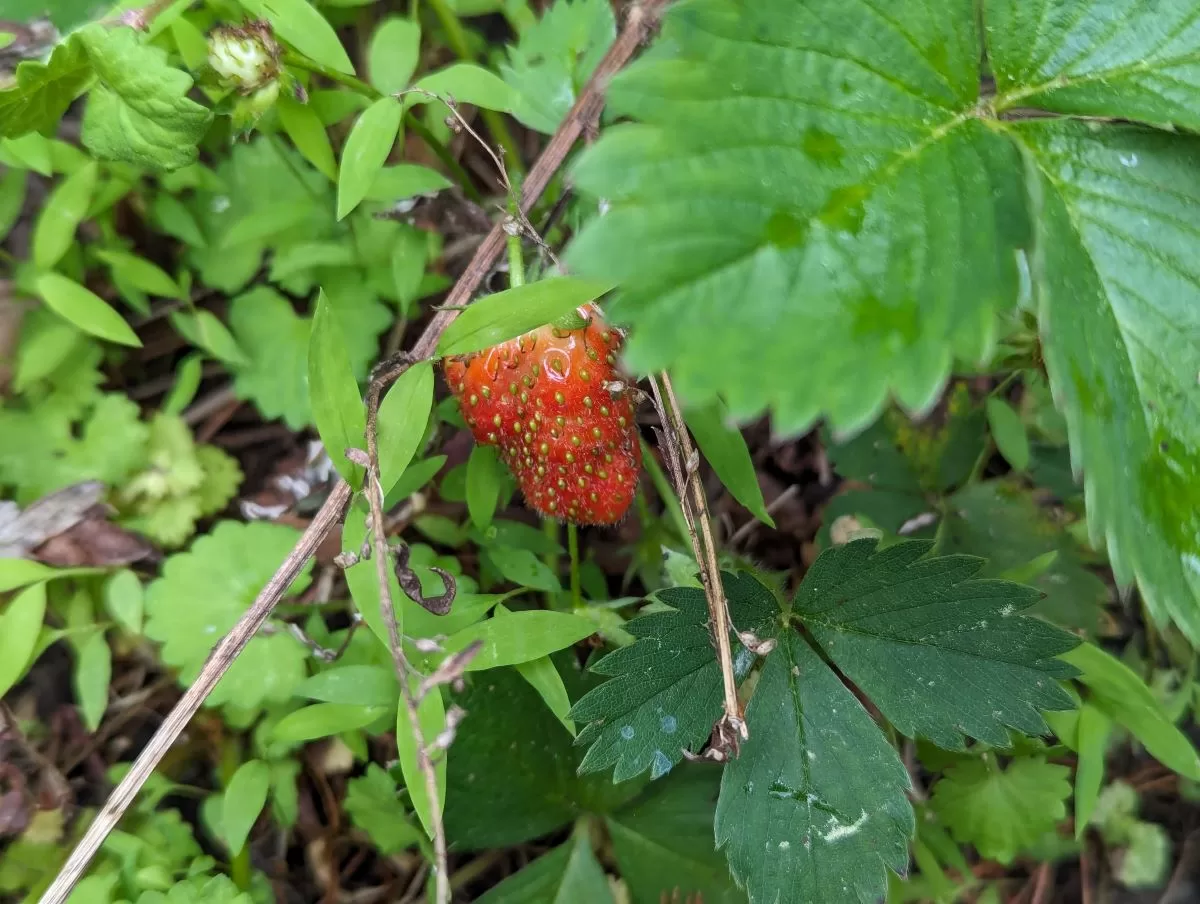
I weeded my strawberry patch today and uncovered quite a few strawberries that are almost ready to pick. Unfortunately, a garden pest got to my strawberries first. I have a fence around the patch and a screen on top, but I neglected to put down a barrier of cayenne pepper. Lesson learned!
With the majority of my planting complete, it is time to proceed to the next phase of my outdoor garden project. This phase is growth and maintenance, which includes feeding the plants, watering, and weeding.
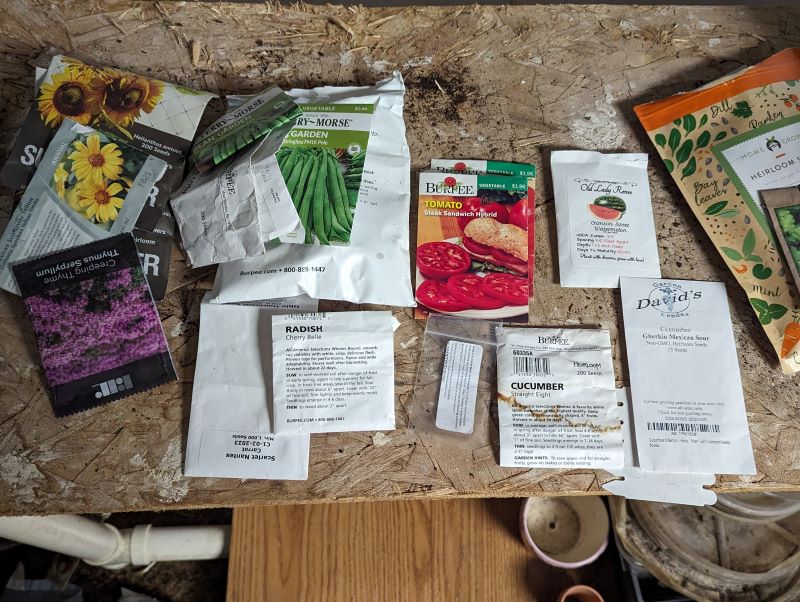
I am getting ready for the 2024 garden season by taking inventory of the seeds I saved from last season. I am also purchasing new seeds from online sources and local shops. I have some tomato seeds from 2020 and 2021 that I will plant, but I will also sow new 2024 seeds. I purchased some Early Girl hybrids, which I have successfully grown for the past few years, and Better Boy tomatoes. I will sow these varieties indoors in seed trays filled with potting soil. I typically start tomatoes indoors in March. I will also be starting watermelon and cucamelon indoors, but I will use peat pots because vine plants will quickly overwhelm the trays. I will transplant the seedlings into the garden when the weather is warm enough.
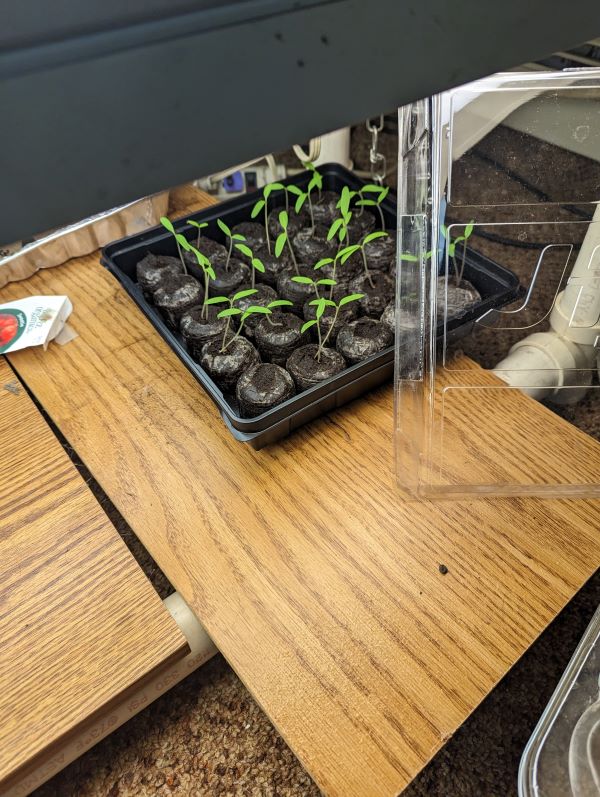
Artificial lights can be used indoors to encourage the early germination of seedlings. If a window is not available for growing plants, a simple light setup can be constructed to provide seedlings with the necessary energy for growth. The light setup can be as simple as a few fluorescent light fixtures or as complex as a sophisticated hydroponic setup. In either case, the light setup should be designed to mimic the natural light spectrum that seedlings would normally receive from the sun.
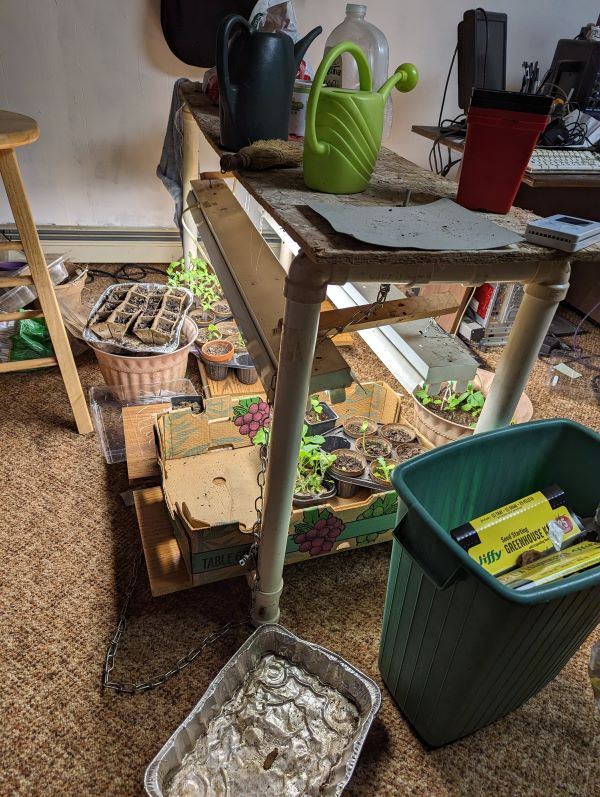
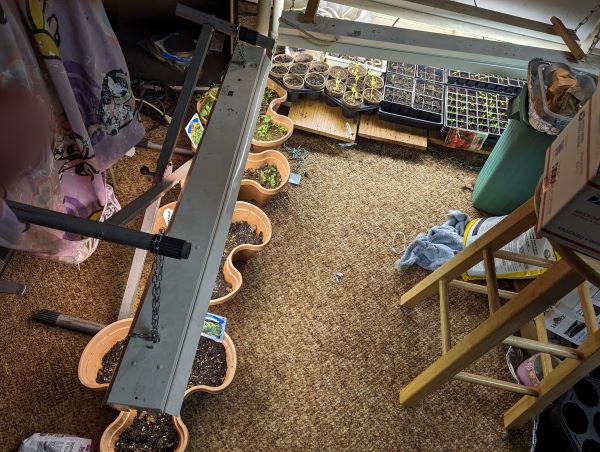
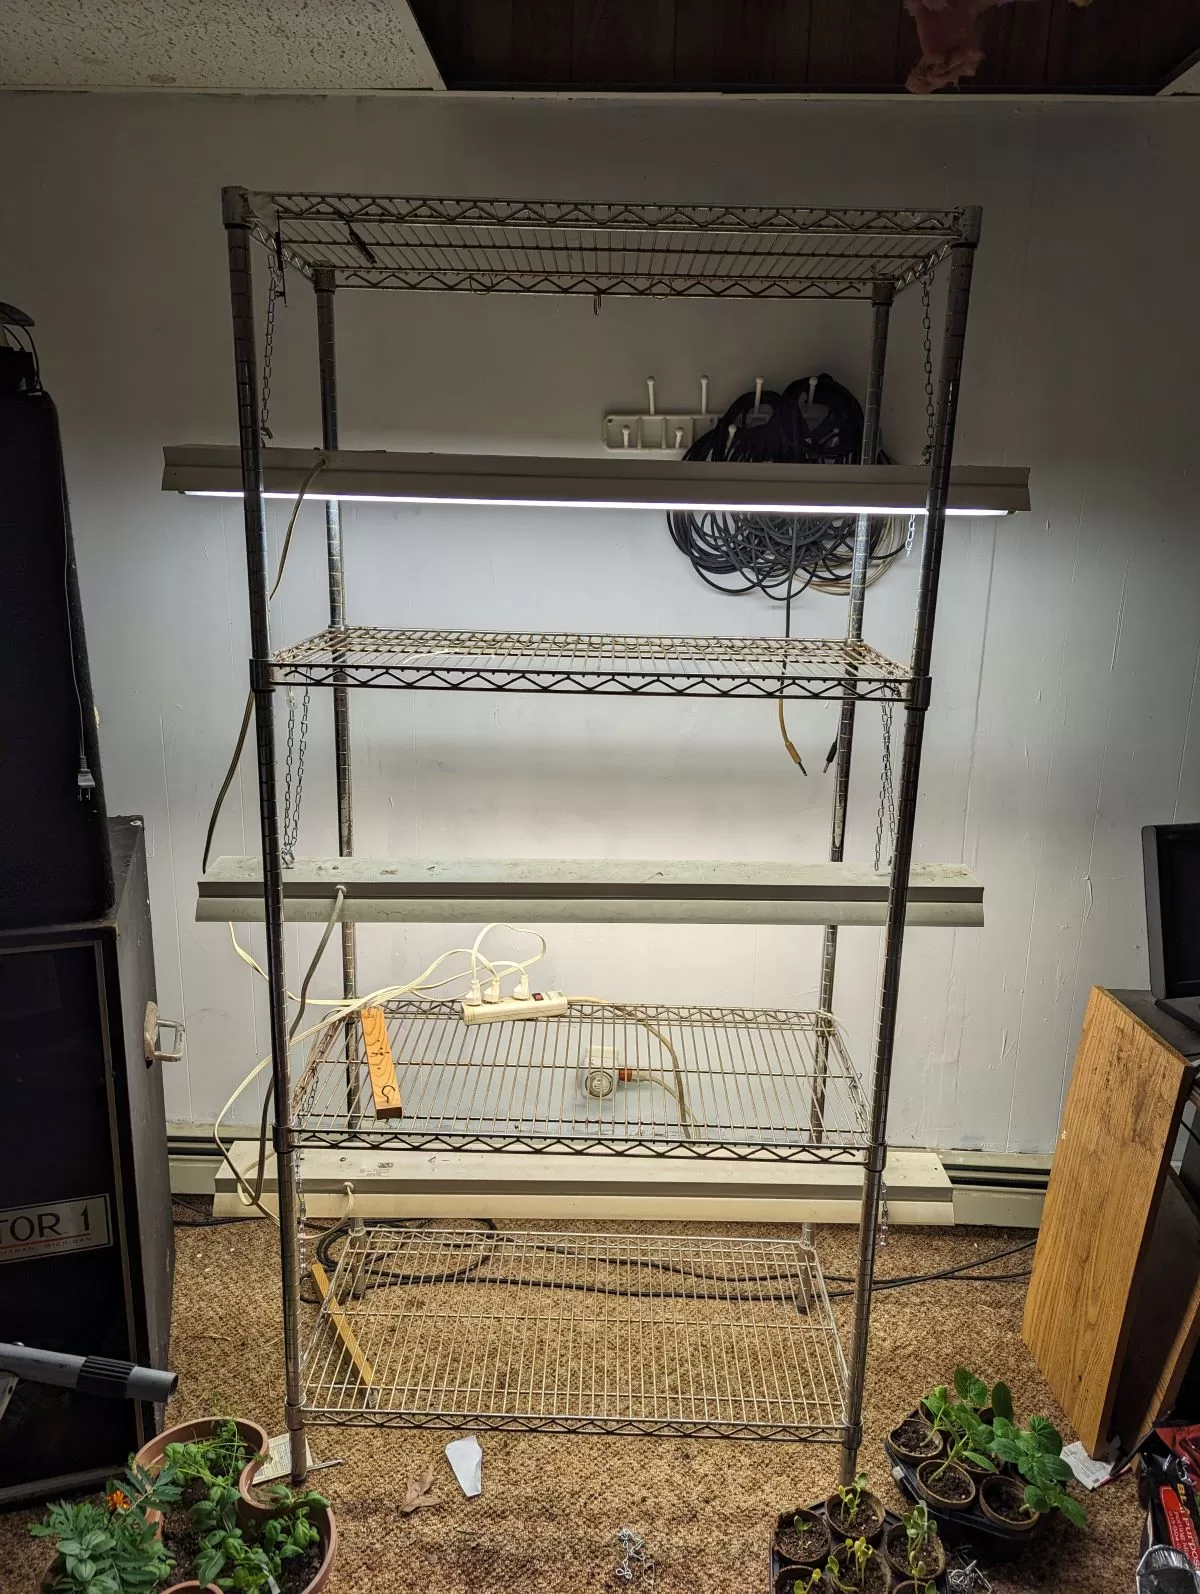
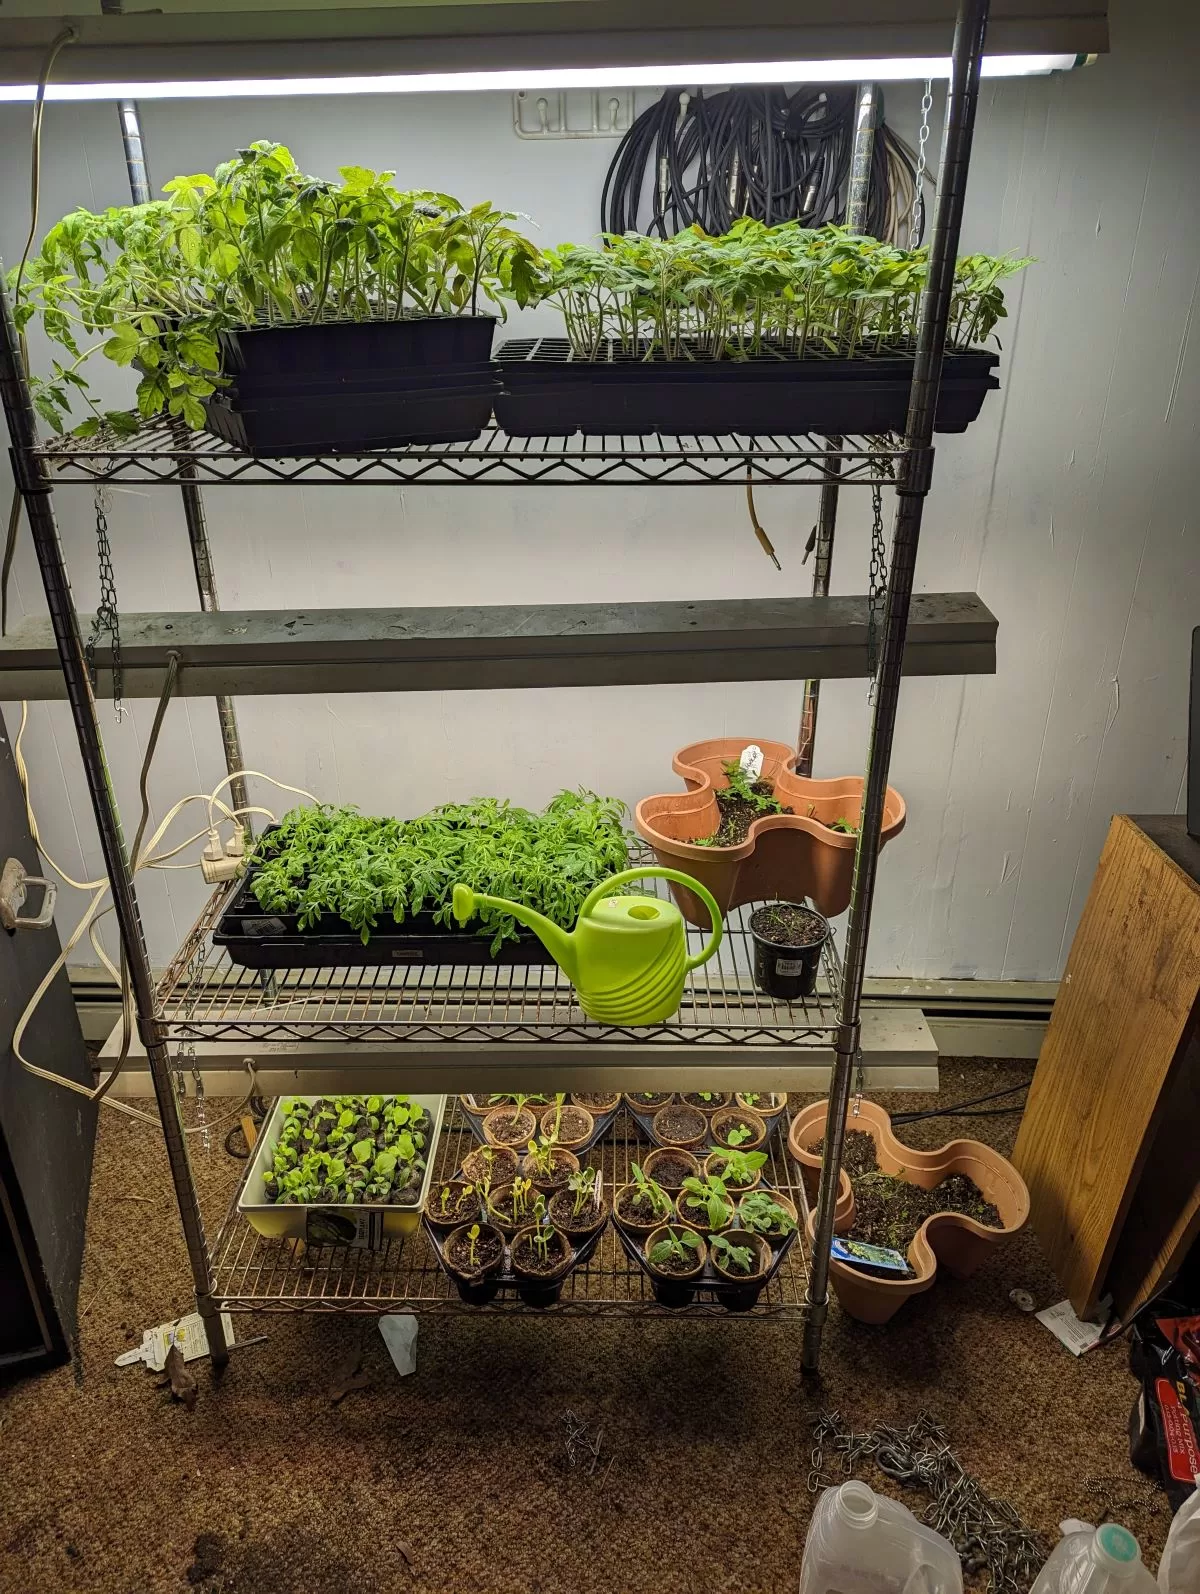
This is a description of the lighting system I use to germinate seedlings. It is constructed from PVC pipe and PVC connectors, both of which are readily available at local hardware stores. The 36-inch shop lights are suspended by a chain, and I employ full spectrum fluorescent bulbs connected to a timer outlet. I configure the timer to provide approximately 10 hours of light to the seedlings. I do not use the light until the seedlings have sprouted.
Not the prettiest setup, but it works! It is constructed from PVC pipe and PVC connectors, both of which are readily available at local hardware stores. The 36-inch shop lights are suspended by a chain, and I employ full spectrum fluorescent bulbs connected to a timer outlet. I configure the timer to provide approximately 10 hours of light to the seedlings. I do not use the light until the seedlings have sprouted. Not the prettiest setup, but it works!
My light kit for starting seedlings
Be sure to check the soil moisture every day! Trays and seedlings will dry out fast indoors!
rt23 staff
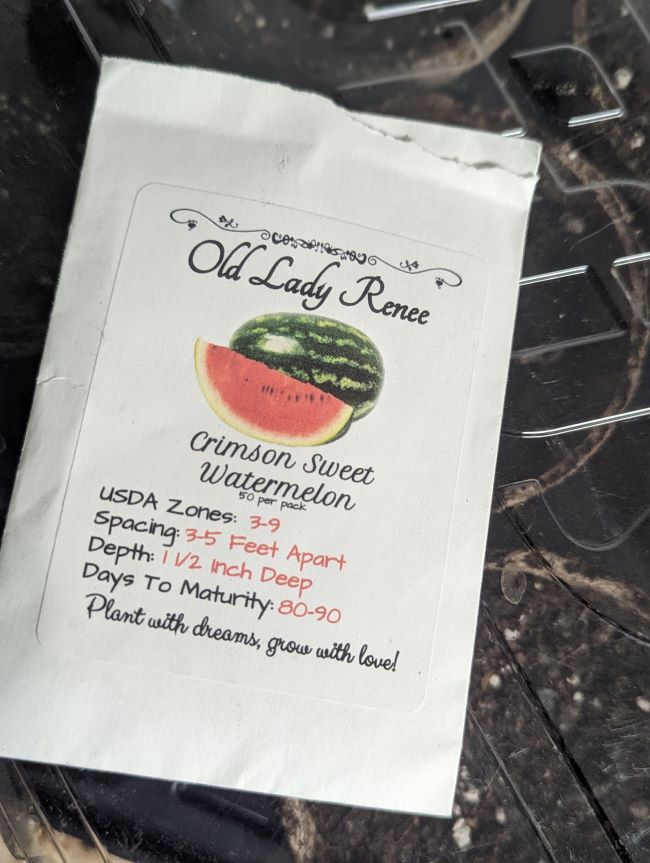
Early start for watermelon plants.
February 9, 2024 – Today I began the process of germinating watermelon seeds in peat pots. I had saved these seeds from the previous year, 2023, when I attempted to sow them directly in the outdoor garden, I discovered that the instructions recommend sowing them indoors four to six weeks before the last frost date. In northern New Jersey, watermelons must be started indoors, ideally four to six weeks before the last frost date. The last frost date for 2024 is estimated to be April 25. I will likely also start pumpkin seeds indoors soon.
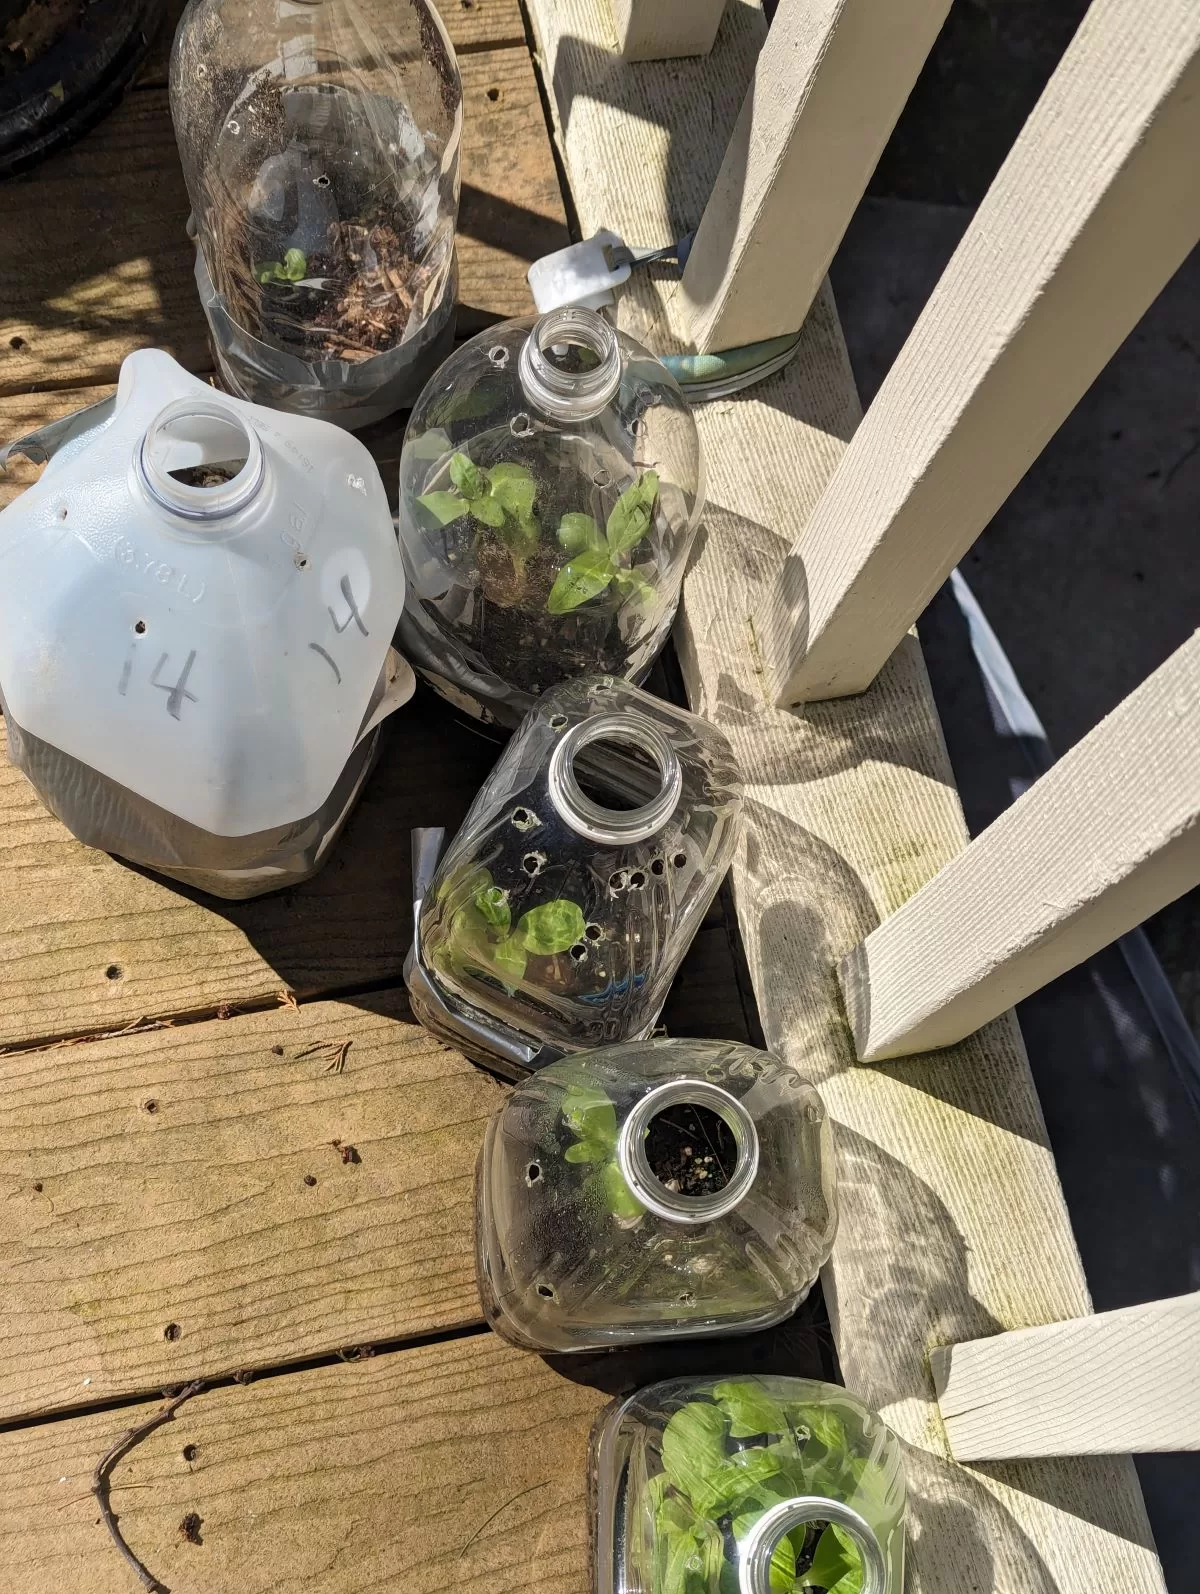
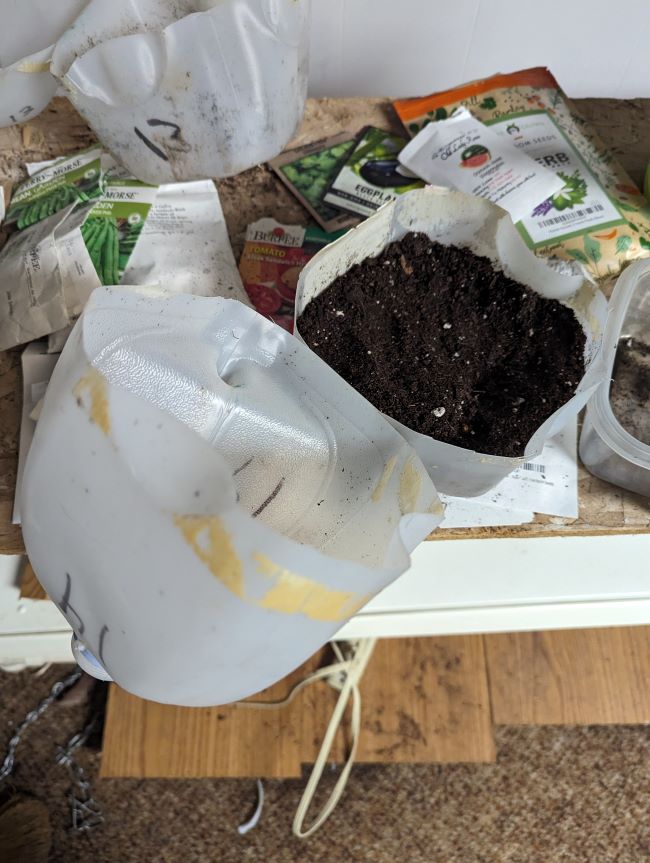
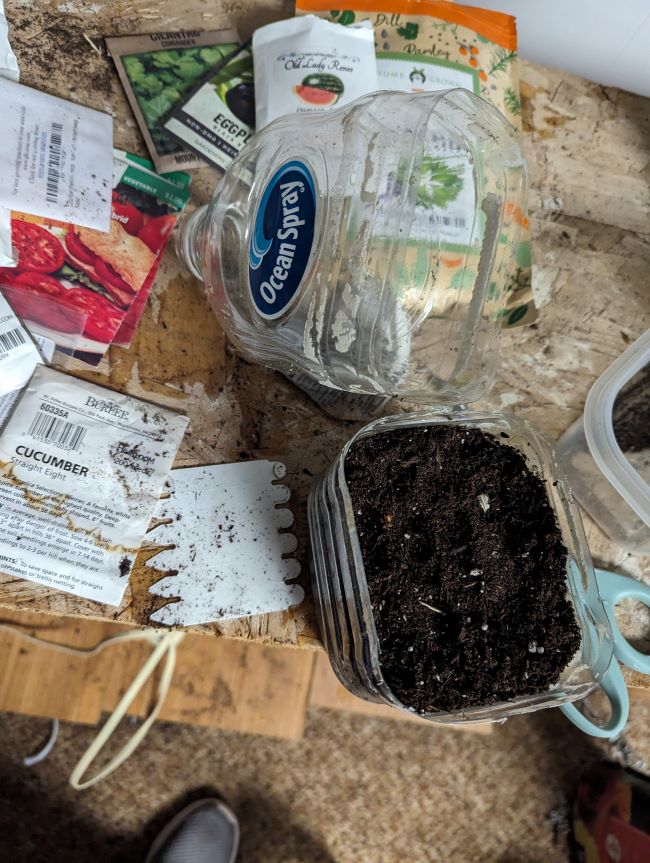
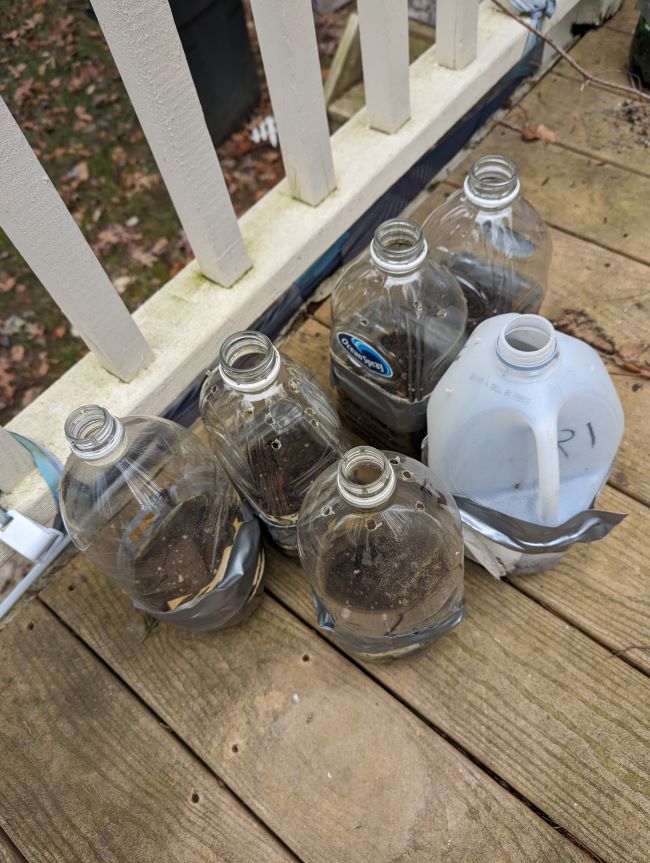
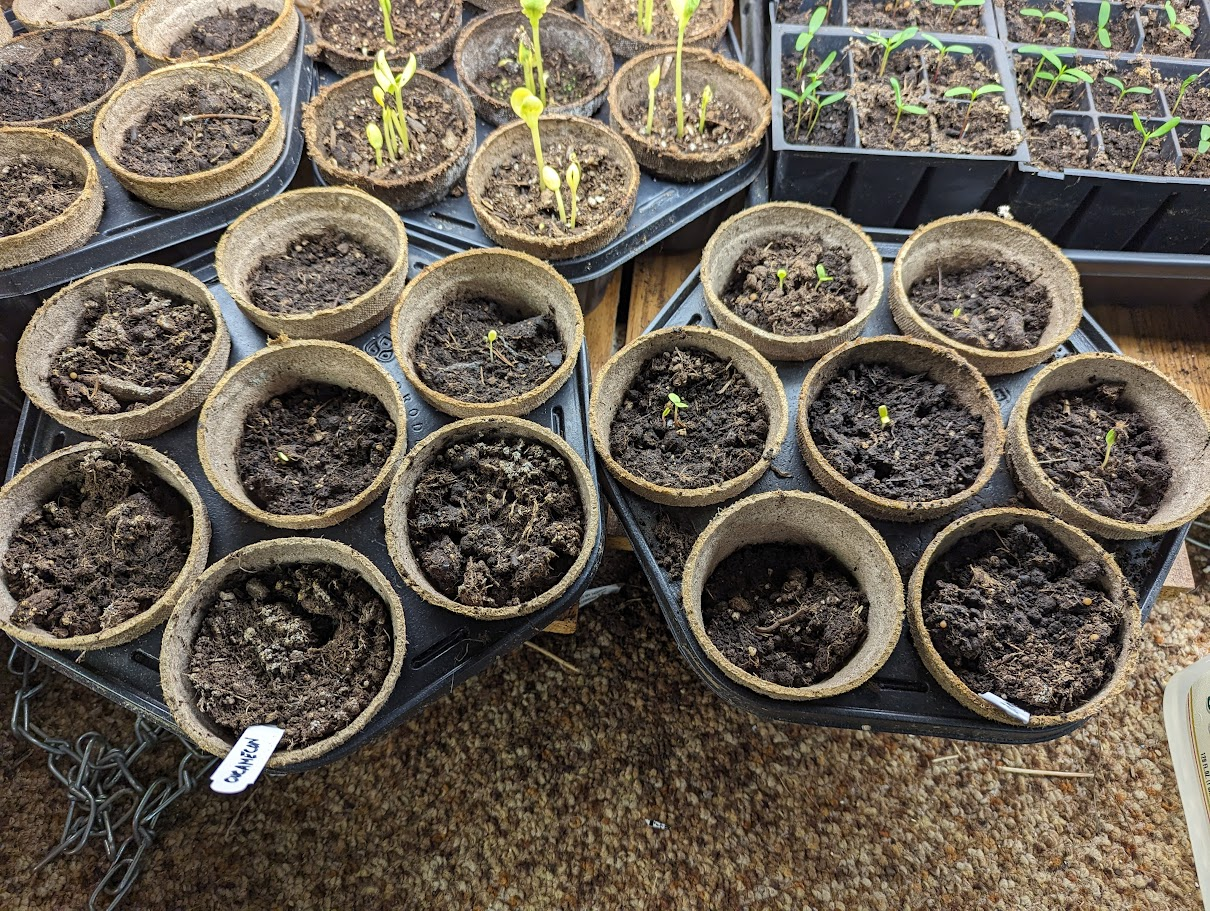
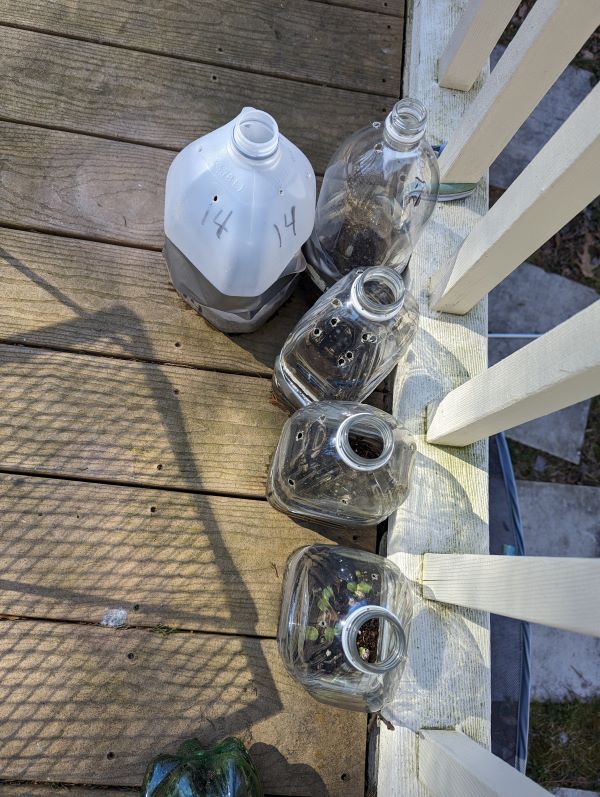
Winter sown sunflowers using a repurposed juice container
Winter-sown containers with Sunflower seeds.
I set a few containers out for winter sown Sunflowers. I reused a few containers from last year, I like the juice containers better than milk jugs as they are more rigid and easier to tape closed. I just leave these outside on my deck until they germinate and then plant in my garden. I use a variety of plastic containers for winter-sowing including juice bottles, soda bottles and milk jugs. I drill 1/4 inch holes in the tops and bottoms, and then cut the bottles in about 1/3 from the base. Then i fill the base with potting mix and add seeds, water and close with duct tape, then set outside and wait.
I have been winter-sowing for a few years.I tried vegetables such as broccoli, cauliflower and spinach which worked well using this method I tried various flowers including marigolds which turn out much hardier and fuller plants, but decided to just sow in the garden when the weather gets warmer as they are fast growing. I tried Mexican Sunflowers but I found they are cold sensitive and need hot weather to grow properly. I like starting Sunflowers this way because they bloom earlier.
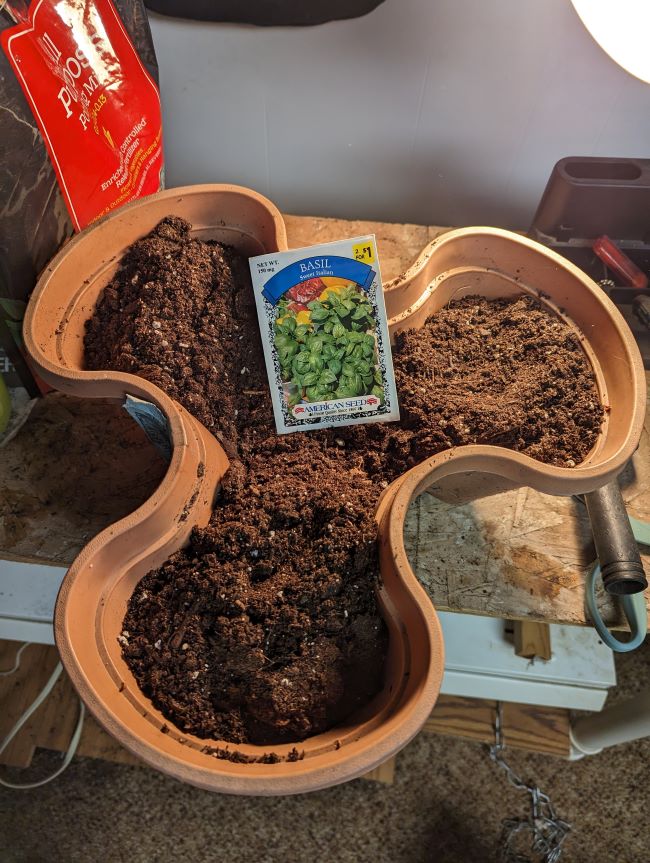
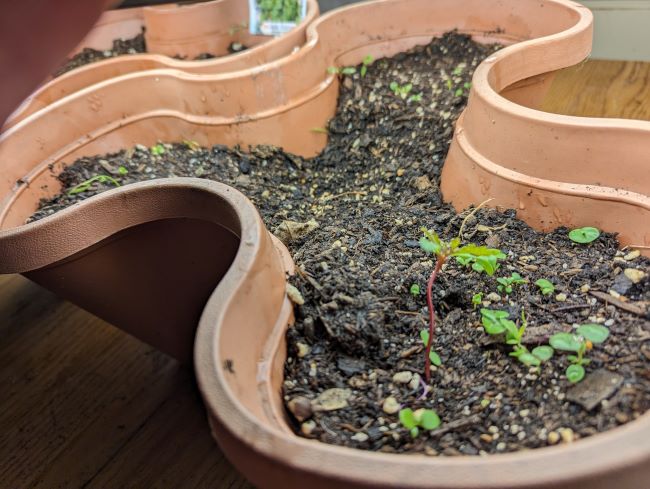
Herbs and spices are easily grown indoors. I was gifted a tiered nested planter that I use to grow Basil and other herbs. Before i need to use my light setup for vegetables, I try to get basil established in these containers.
Basil planted in nesting pots
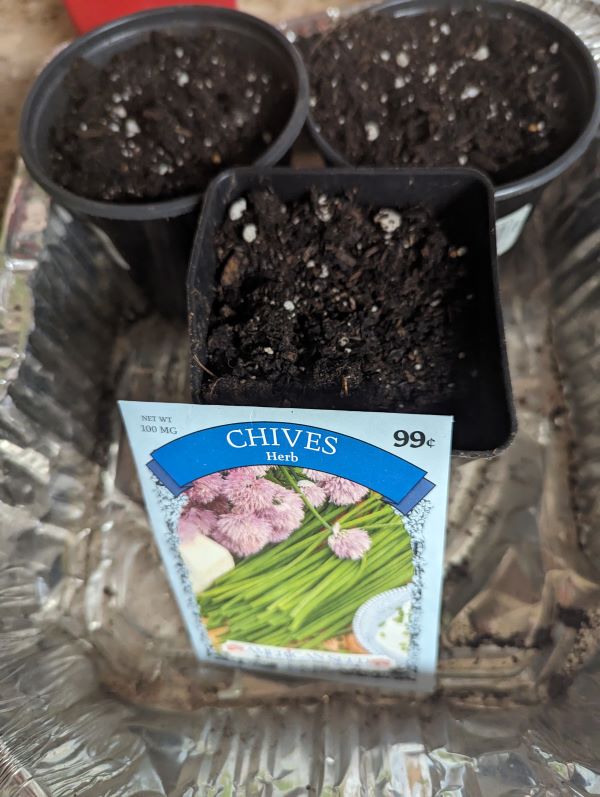
Chives
February 20, 2024 -Started Chives in some plastic containers.
Planting the Seeds
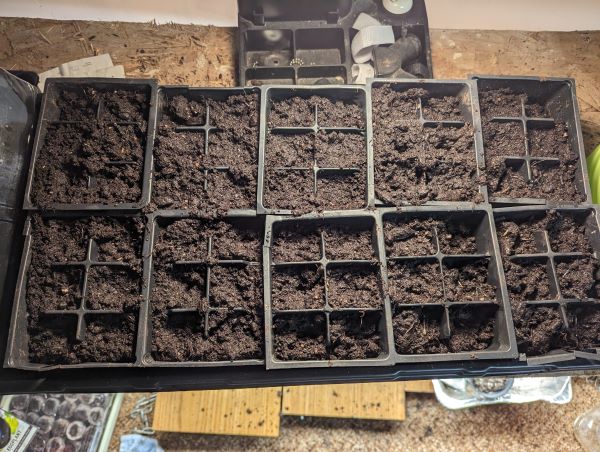
I use a few methods to start seeds. First and simplist is use a small flower pot with some potting soil mix from the supermarket. I save old nursery trays and containers to plant a “flat” of seedlings.
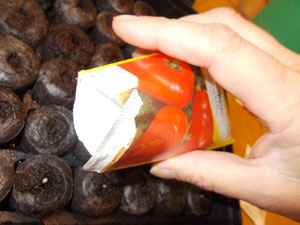
Do not touch seeds, wash hands to avoid contamination, sow seeds by carefully sprinkling directly from seed envelope
rt23 staff
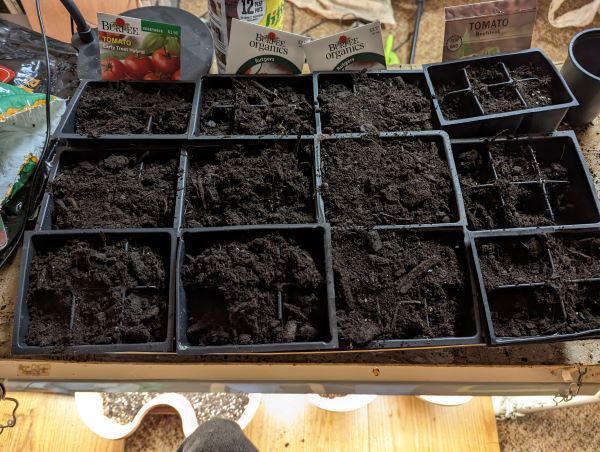
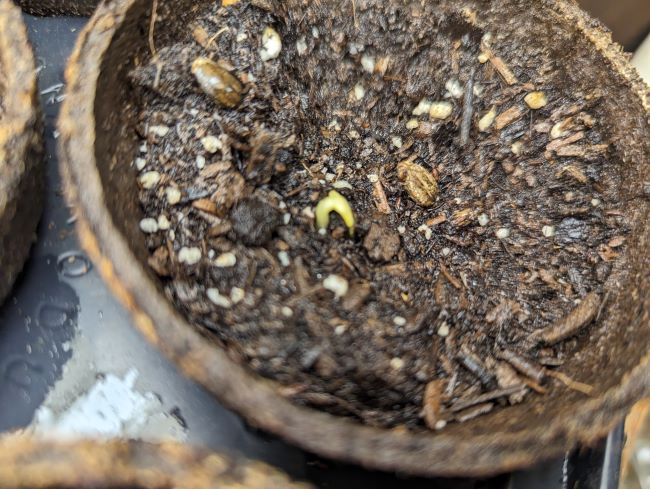
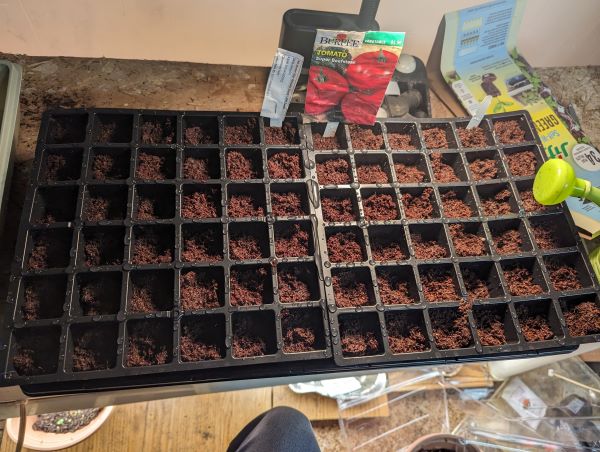
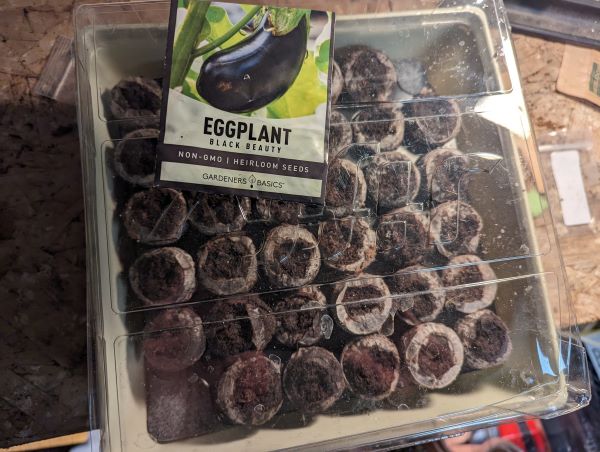
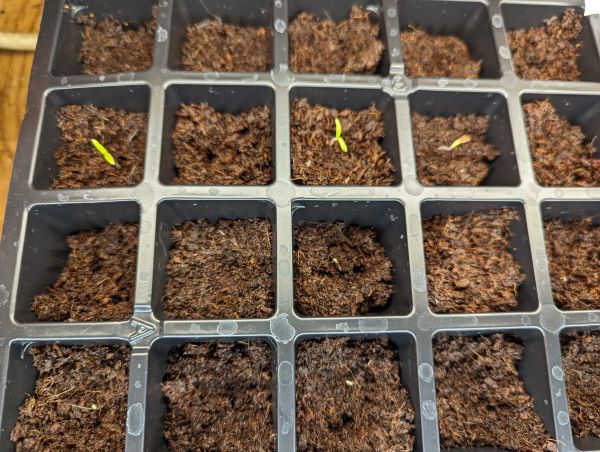
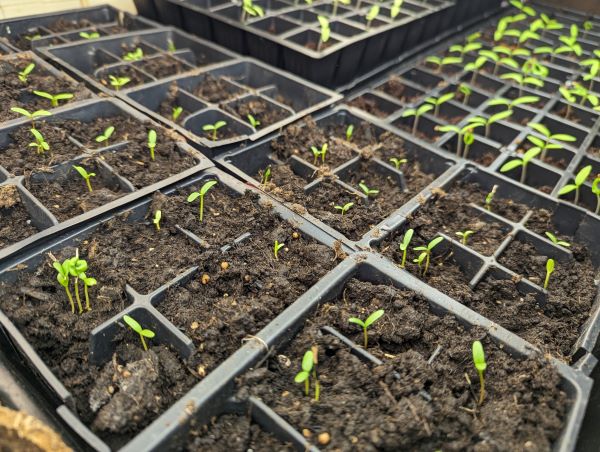
Another method is to use a tray/peat pellet system. These are plastic trays with transparent covers creating a small greenhouse. Inside the trays are small flat peat discs which are activated by adding water. The pellets absorb water and expand into small containers for the seed and seedlings.
Yes, I am impatient but finally my Basil is starting to grow. The seed pack says germination in 10-15 days and I have been watching this container everyday keeping the soil moist with water. In the past few days I have seen tiny basil leaves appearing, these are in the basement where the temperature is about 65° F, Maybe that temperature is on the cool side for fast germination. The basil germinated slightly longer than listed on the seed package.
Watermelon also sprouted, the seed pack gave no indication of germination period but I noticed this sprout today. Impatiently I reseeded the pots yesterday so I am hopeful that I will have plenty of watermelon to replant outside!
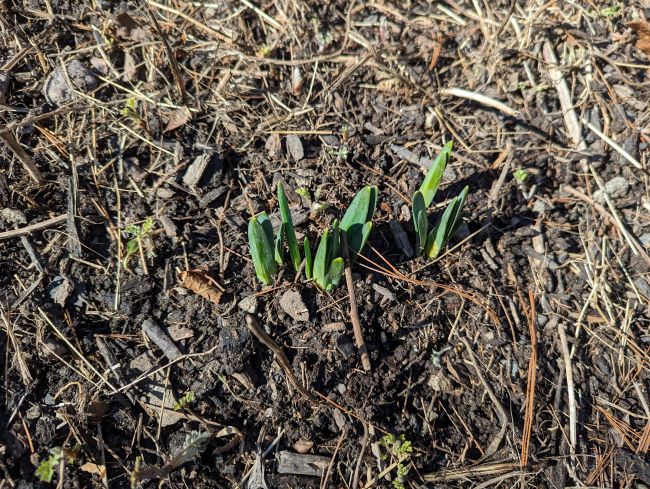
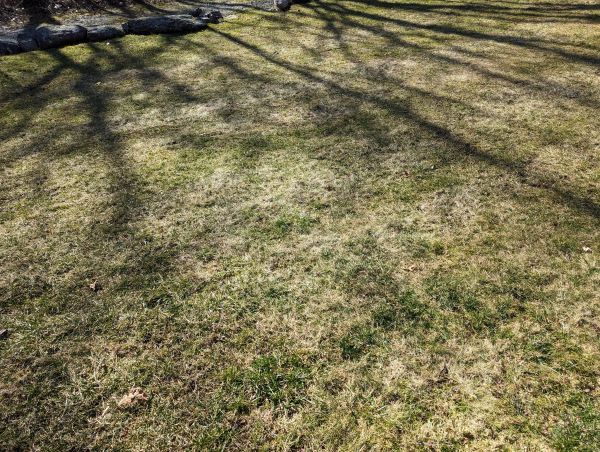
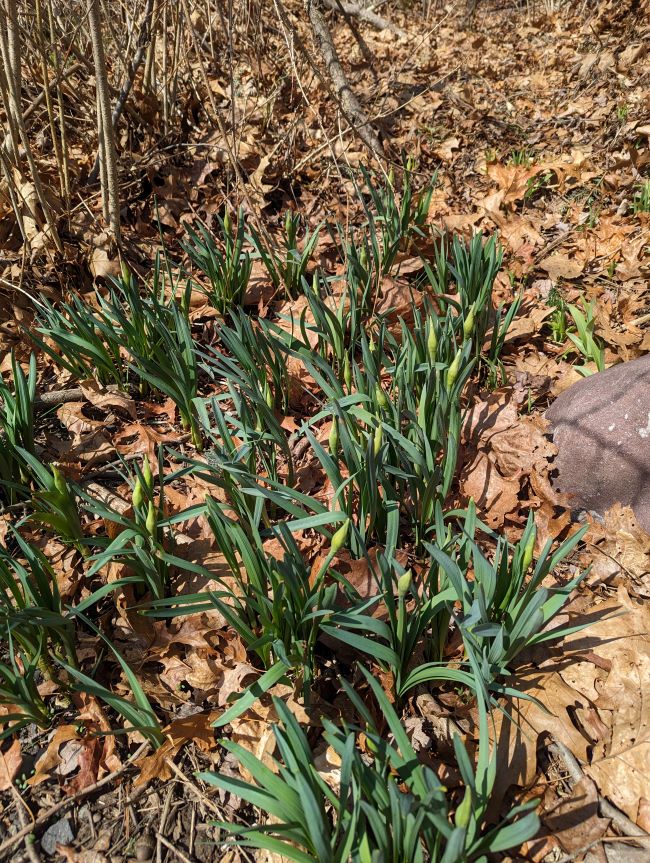
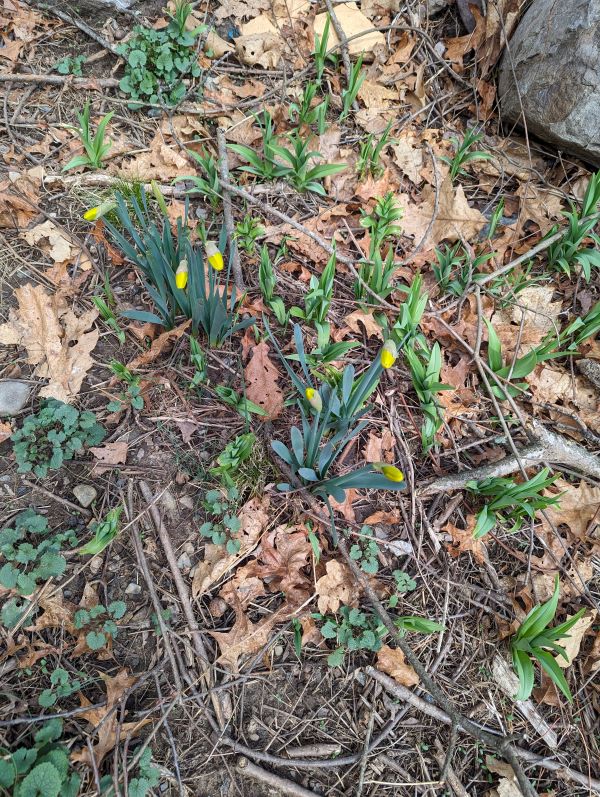
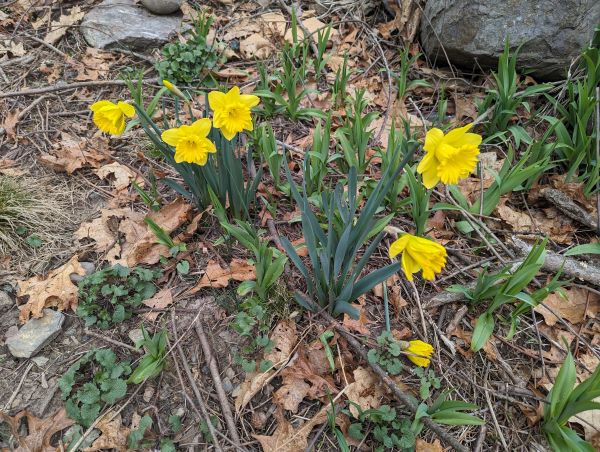
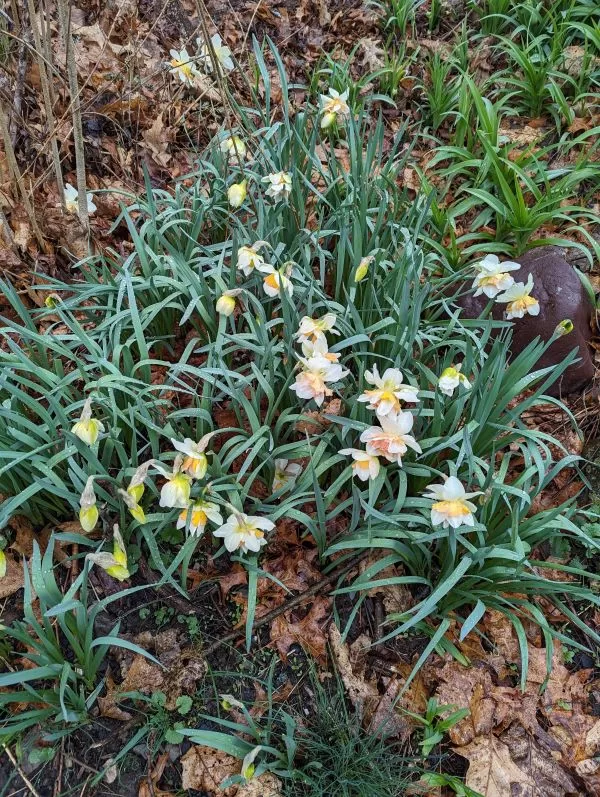
I was able to get outside today to check on my front yard flower garden. A Sunny day with temperatures in the higher 30s, I decided to rake out flower stems from last year. I uncovered daffodils sprouting! Early March is a great time to begin cleaning and raking the garden because of cool, comfortable temperatures without insects and before weeds start sprouting.
With the return of milder temperatures and longer days, our attention returns to our lawn and outdoor gardens.
Raking dead grass and thatch is the first step to a carpet-like, luxurious green lawn. Thatch is a mix of dead and living plant material that forms at the base of grass plants. Although a small amount of thatch is not necessarily a problem, buildup of 1/2 inch or more prevents air, nutrients and water from reaching grass plant roots and increases vulnerability to insects and diseases.
The good news is raking is a low-tech, inexpensive way to manage this problem. Starting early in the spring, divide the work into small areas and work through the lawn methodically is a good strategy.
On March 7, 2024, planted Sow Right Large Cherry Tomatoes in a 72 cell burpee seed tray. These cherry tomatoes are perfect for snacking in the garden 🙂
Seeded an old, used flat from last years nursery purchase with Marigolds. Marigolds grow quickly and should have flower buds in time for replanting outdoors.
Taking advantage of a sunny, mild day to clean up an area used for root vegetables. This area is used for radishes and carrots. Carrots take months to mature while radishes are ready to pick in as little as 28 days.
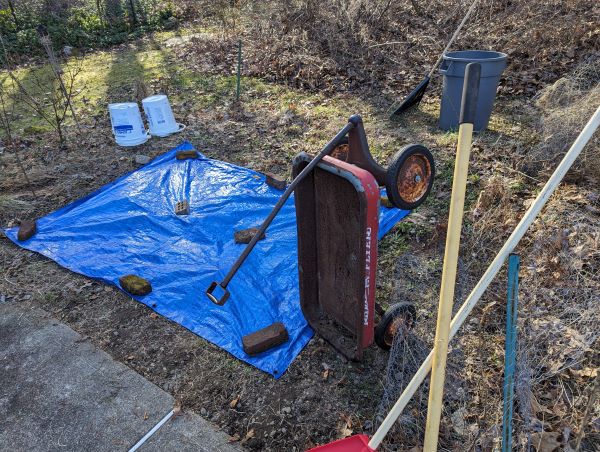
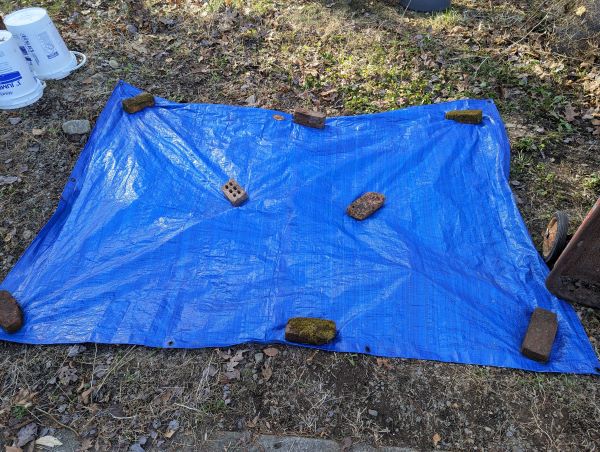
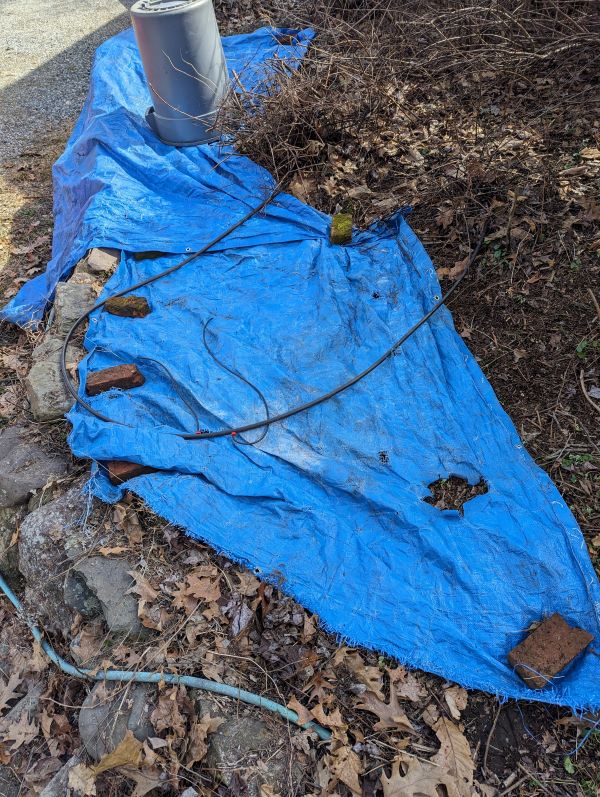
Using a tarp temprarily to curb werd growth until planting
After raking out loose material and leaves, cover the area with a tarp to stop weed growth.
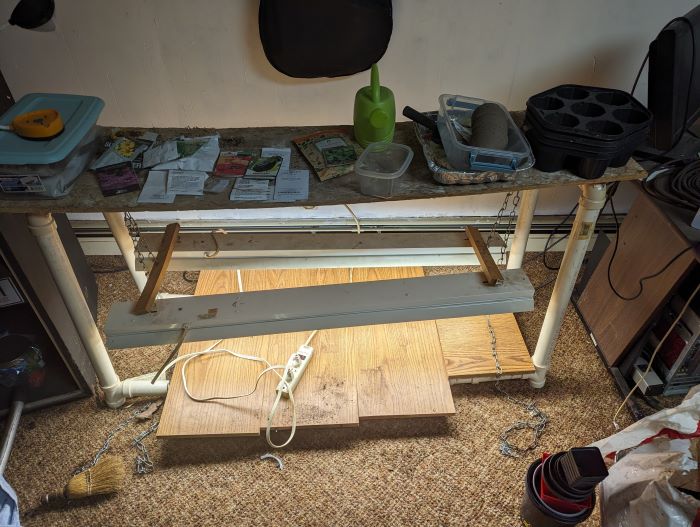
I expanded my artificial light system to accommodate the newly sprouted marigold, eggplant, and tomato seedlings. I employed a spare fluorescent fixture and an old keyboard stand to create additional space for plant trays. I am using the same artificial light system that I used last year, but this year I added a second set of fluorescent lights to increase the area for growing plants.
Today was a mix of rain and wet snow, which made for a dreary day. The good news is that the daffodils are blooming, and there are lots more coming! The colder weather in the last few days has put a damper on outdoor work, but indoors the pumpkins have started to sprout, and the veggies and flowers are coming along. Thoughts turn to spring planting, which is just around the corner.
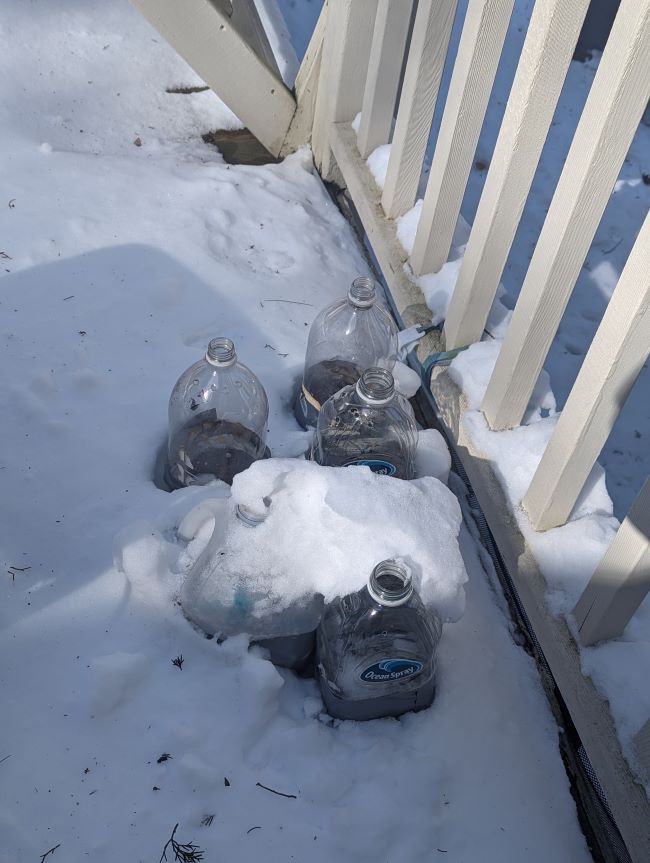
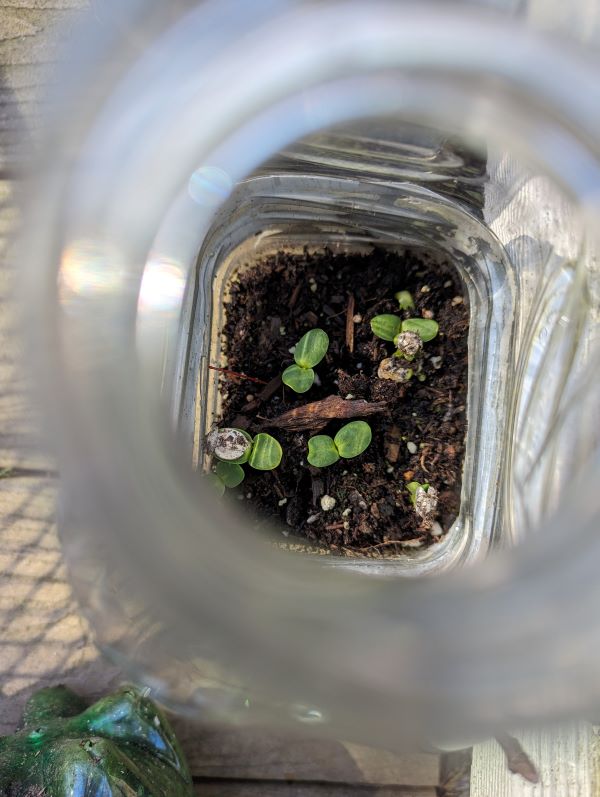
I inspected my “winter-sown” containers today and discovered that the sunflowers have sprouted. I placed these containers outdoors on February 10th, and since then freezing temperatures and several snow storms have not prevented the seeds from germinating.
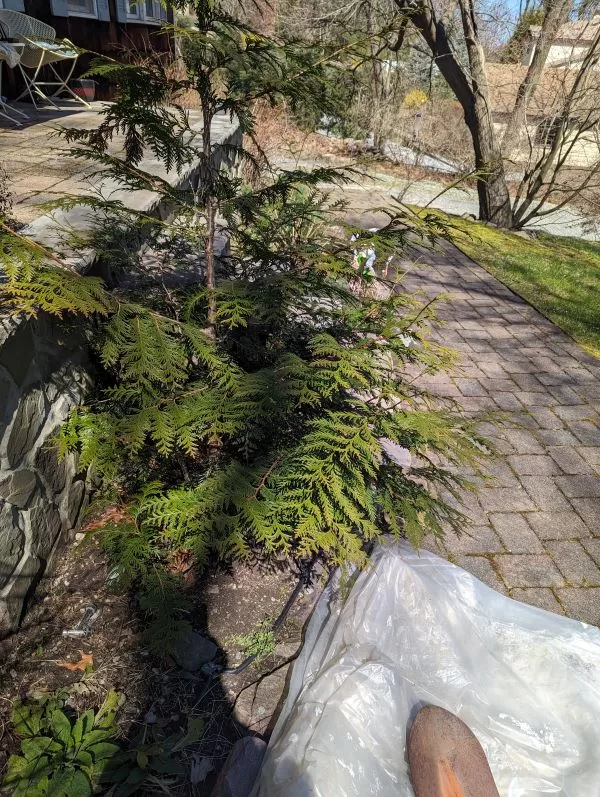
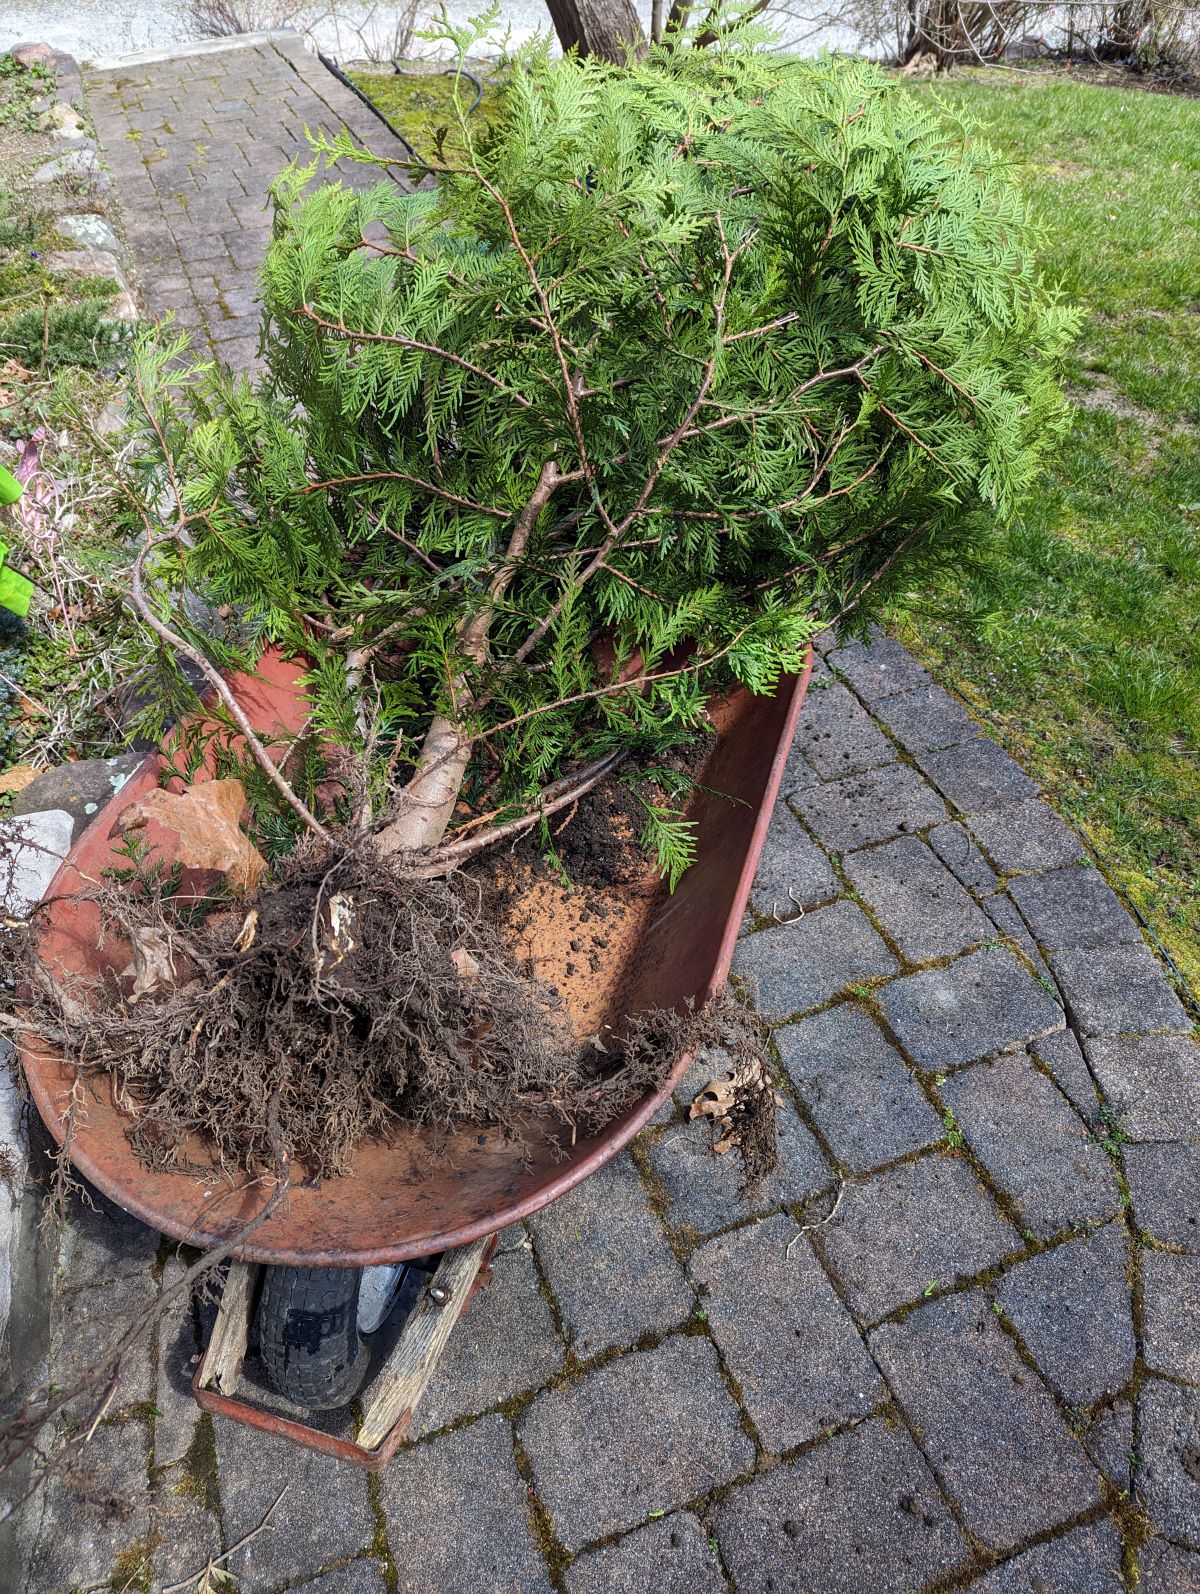
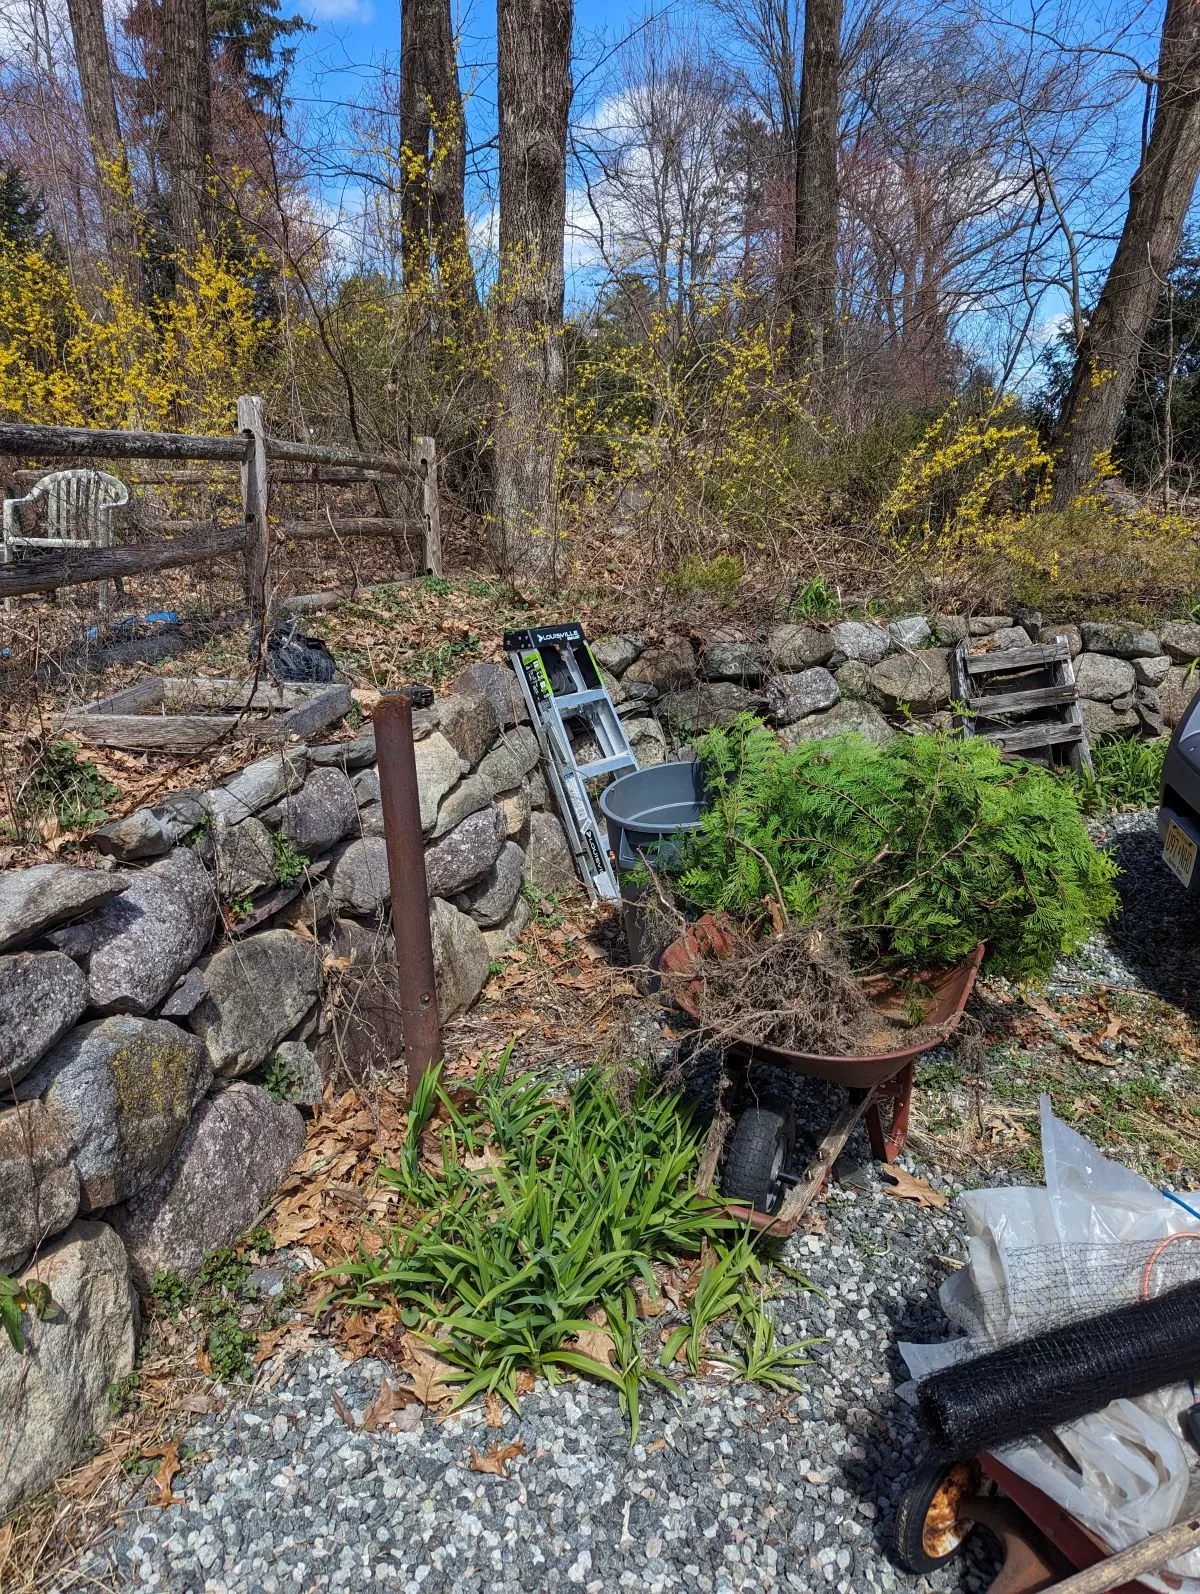
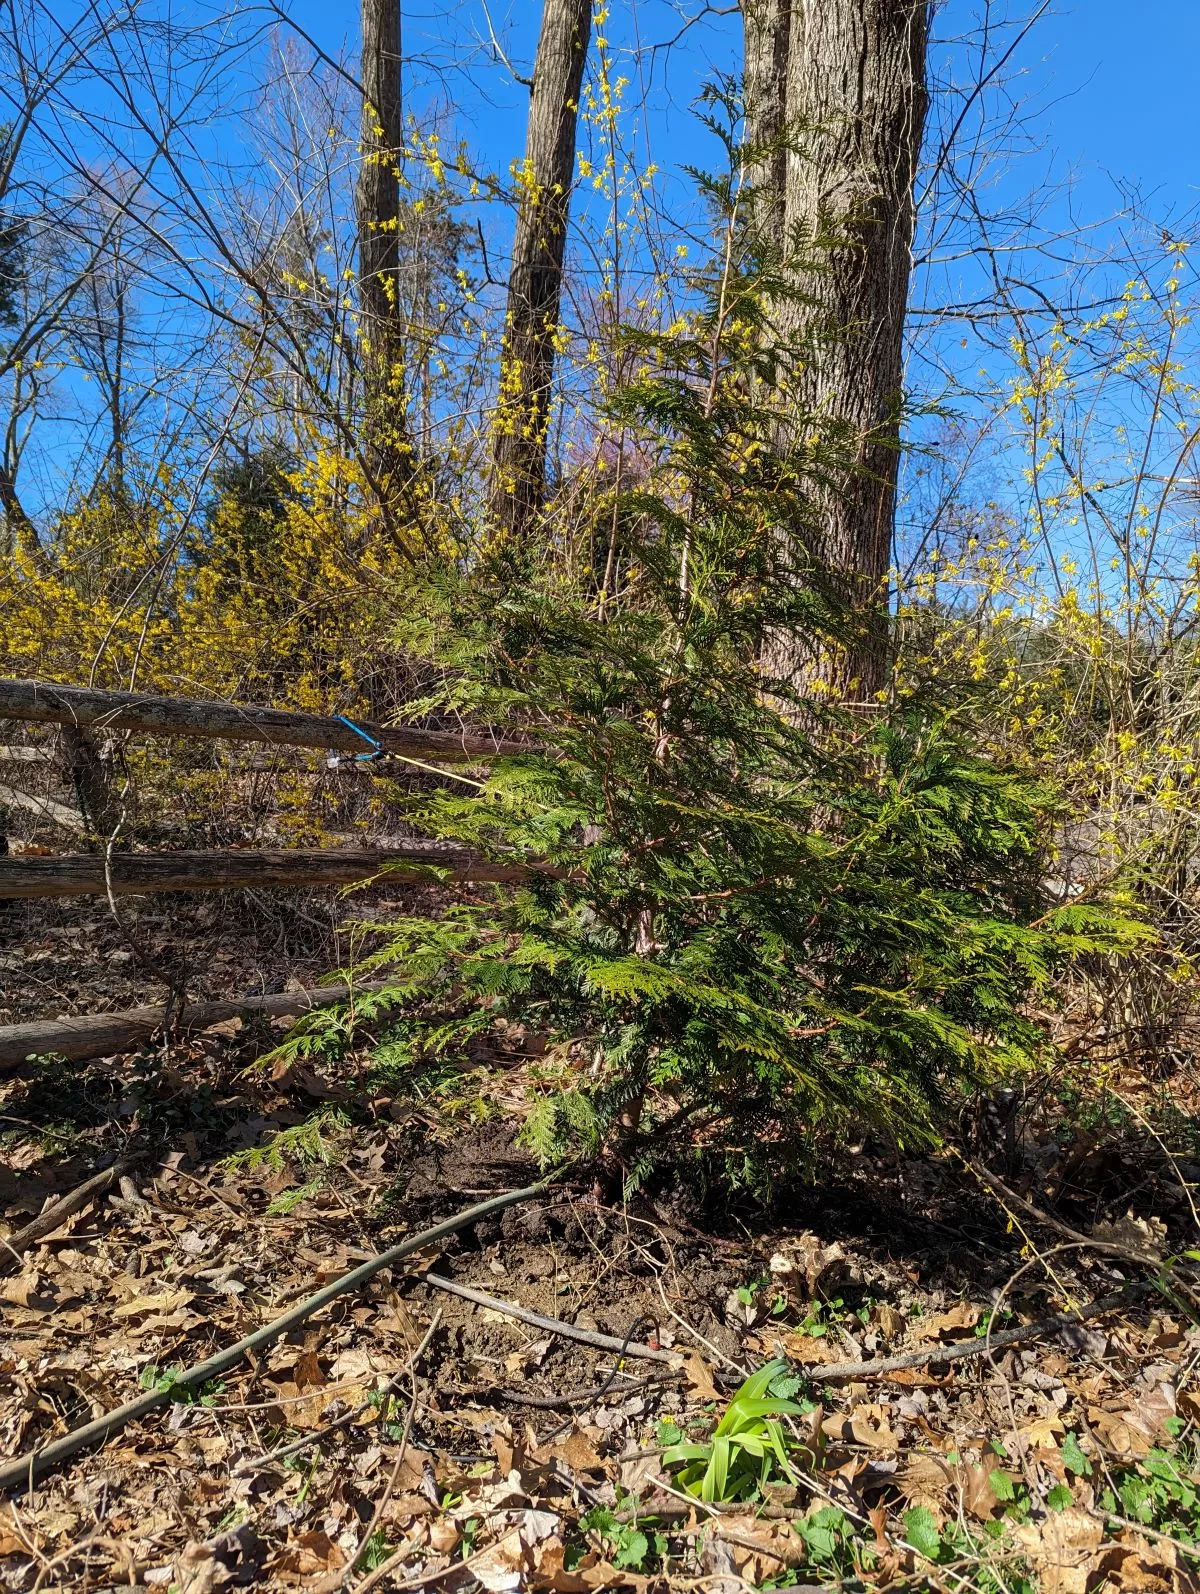
Filed under lessons learned: Do not plant saplings too close to stairs, patios, or walkways. I planted this a few years ago, and I did not expect it to survive. I was wrong. Not only did it survive, but it thrived next to my front steps! I thought it would be a nice addition to my garden, but unfortunately, it has since grown to an unwieldy size and must be removed. I intend to transplant it to a more suitable location where it can grow to its full potential.
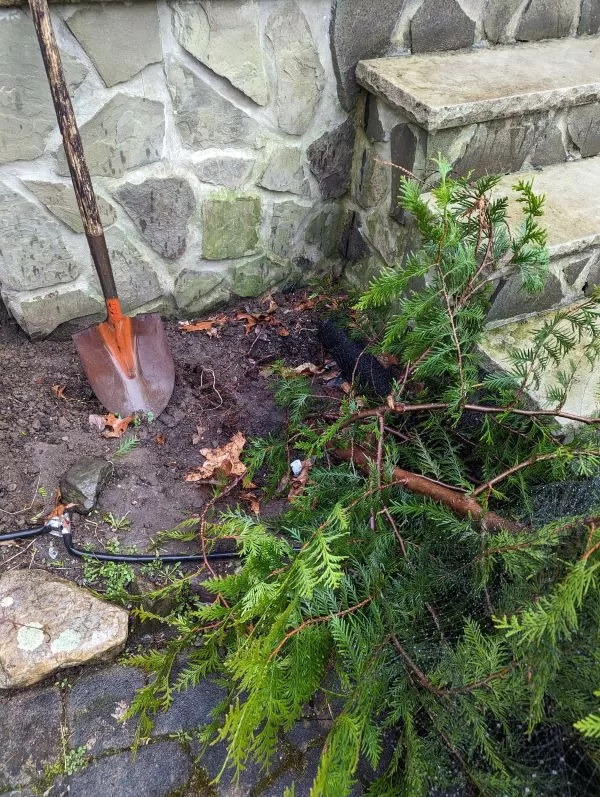
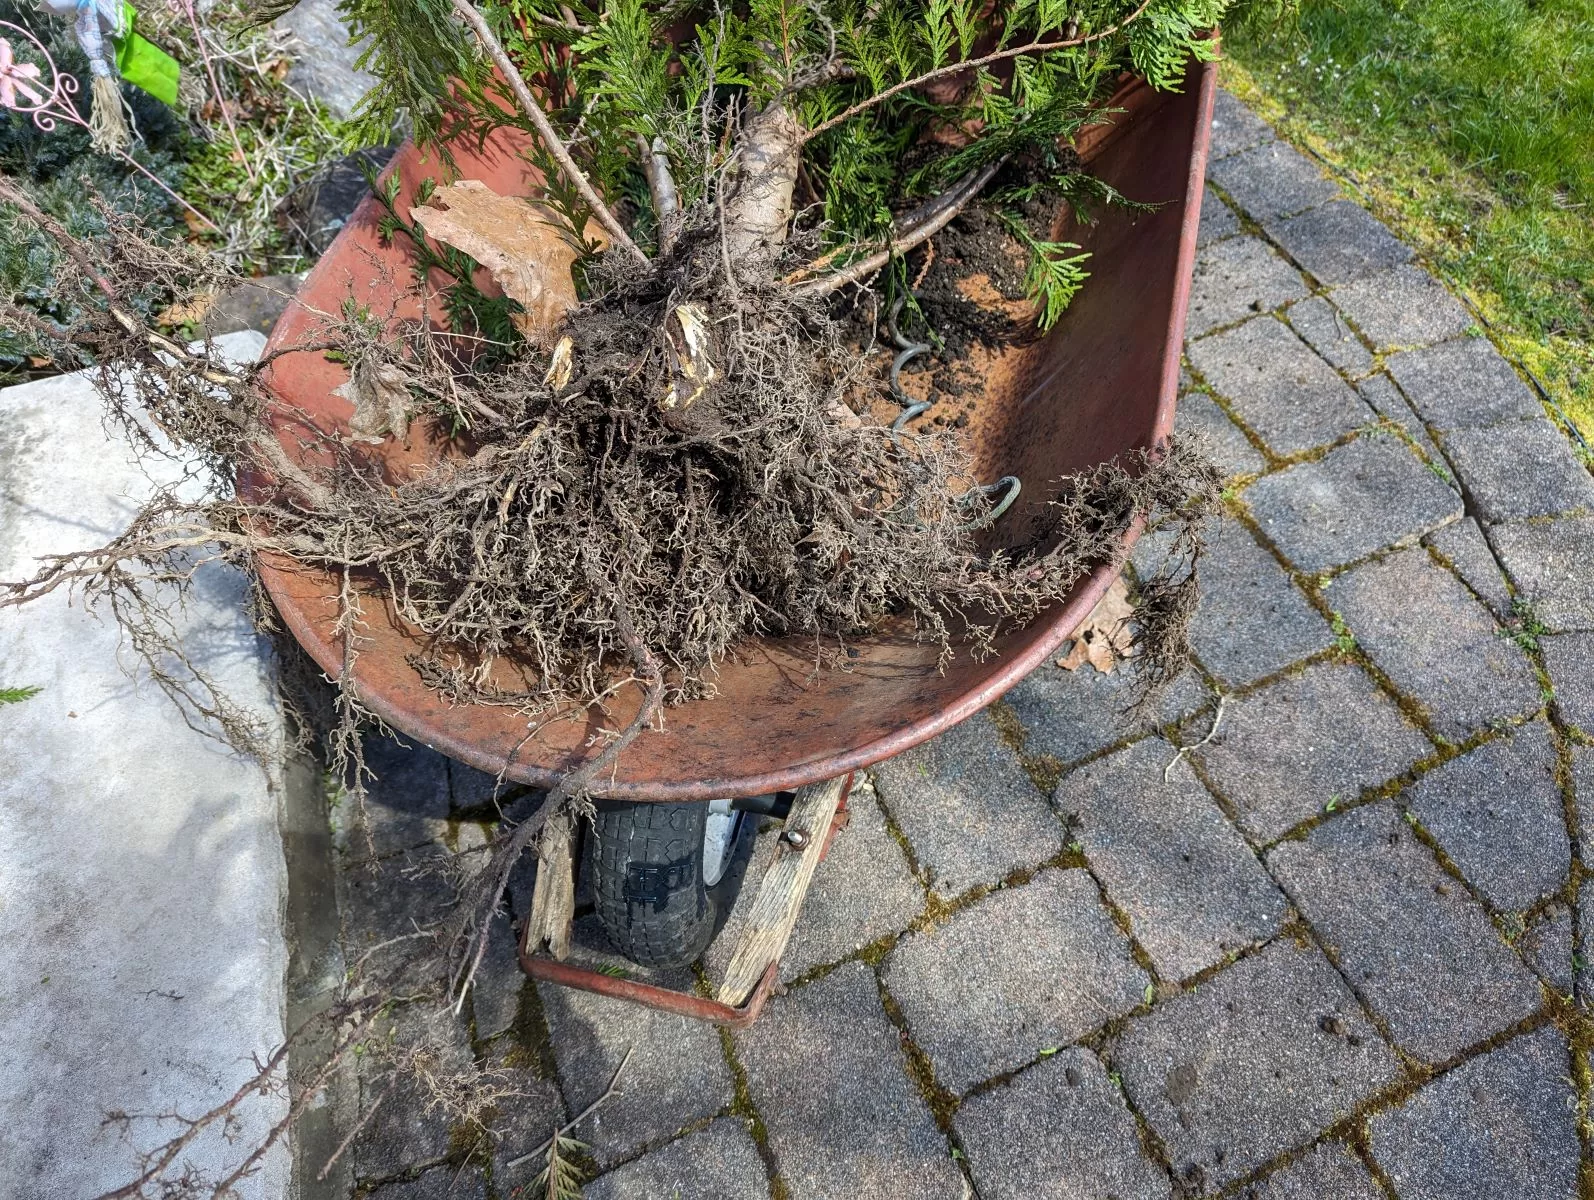
I am attempting to relocate this arborvitae to a more suitable location. I began by digging a trench around the trunk and then twisting the tree to loosen the roots. The next steps involve severing some of the larger roots. I am concerned about damaging the tree, so I will proceed with caution.
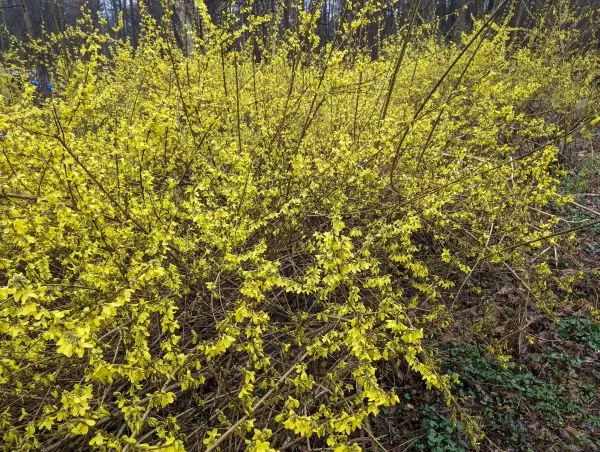
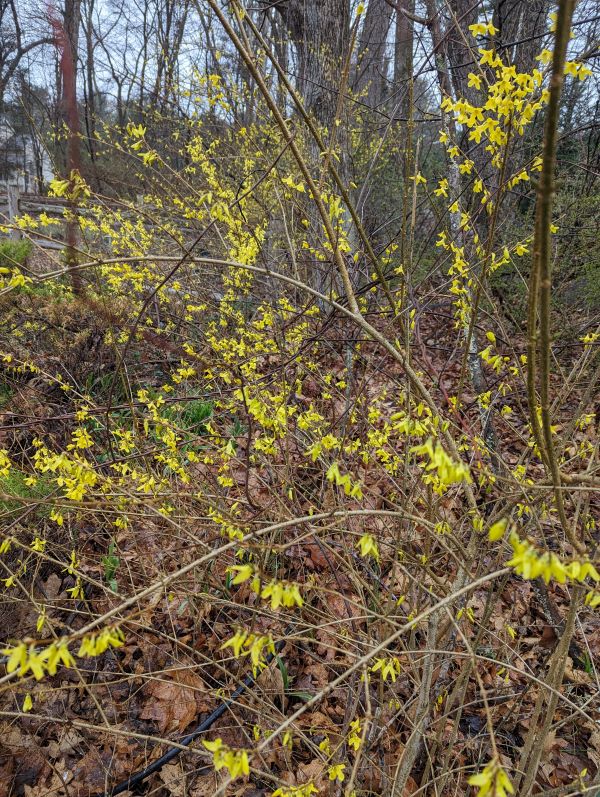
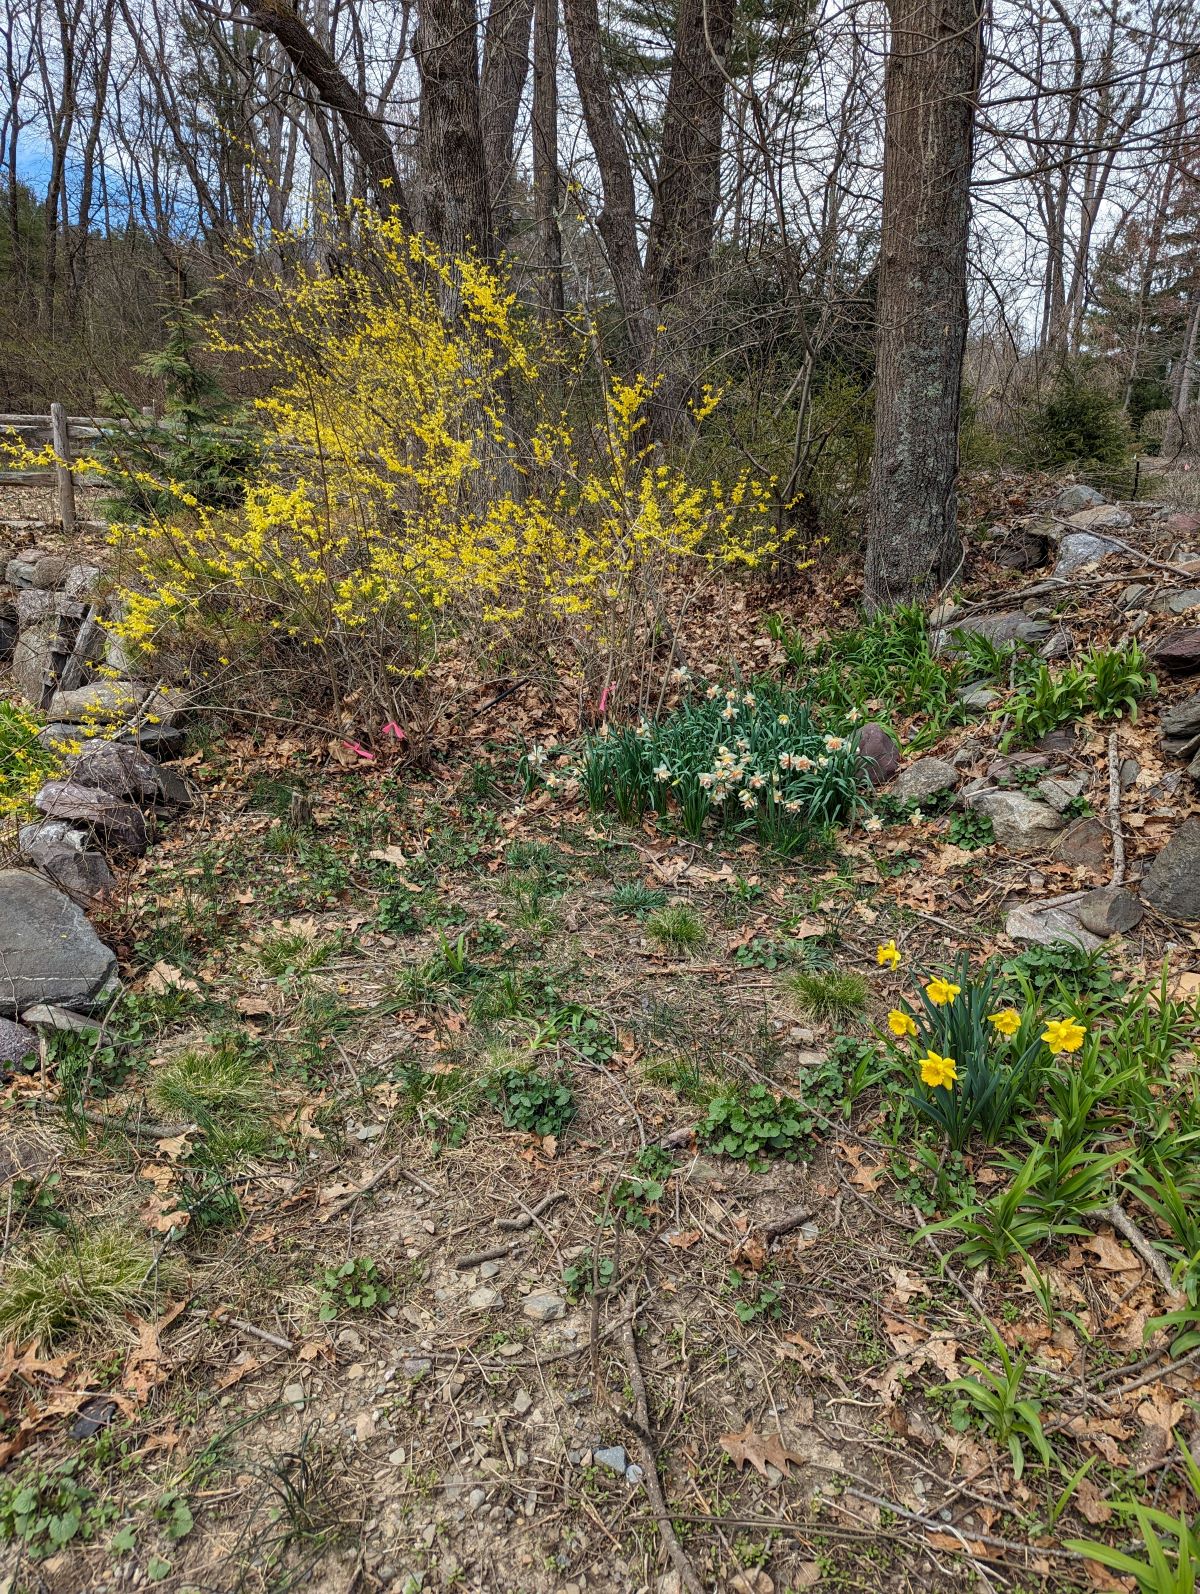
Forsythia blooms alongside roadway in northern New Jersey.
Rainy weather is greeted by forsythia blossoms. Forsythia are shrubs which bloom early in the spring. Forsythia was “discovered” by Europeans in China in the 19th century. The shrub is named after William Forsyth (1737–1804), a Scottish botanist who was a royal head gardener and a founding member of the Royal Horticultural Society.
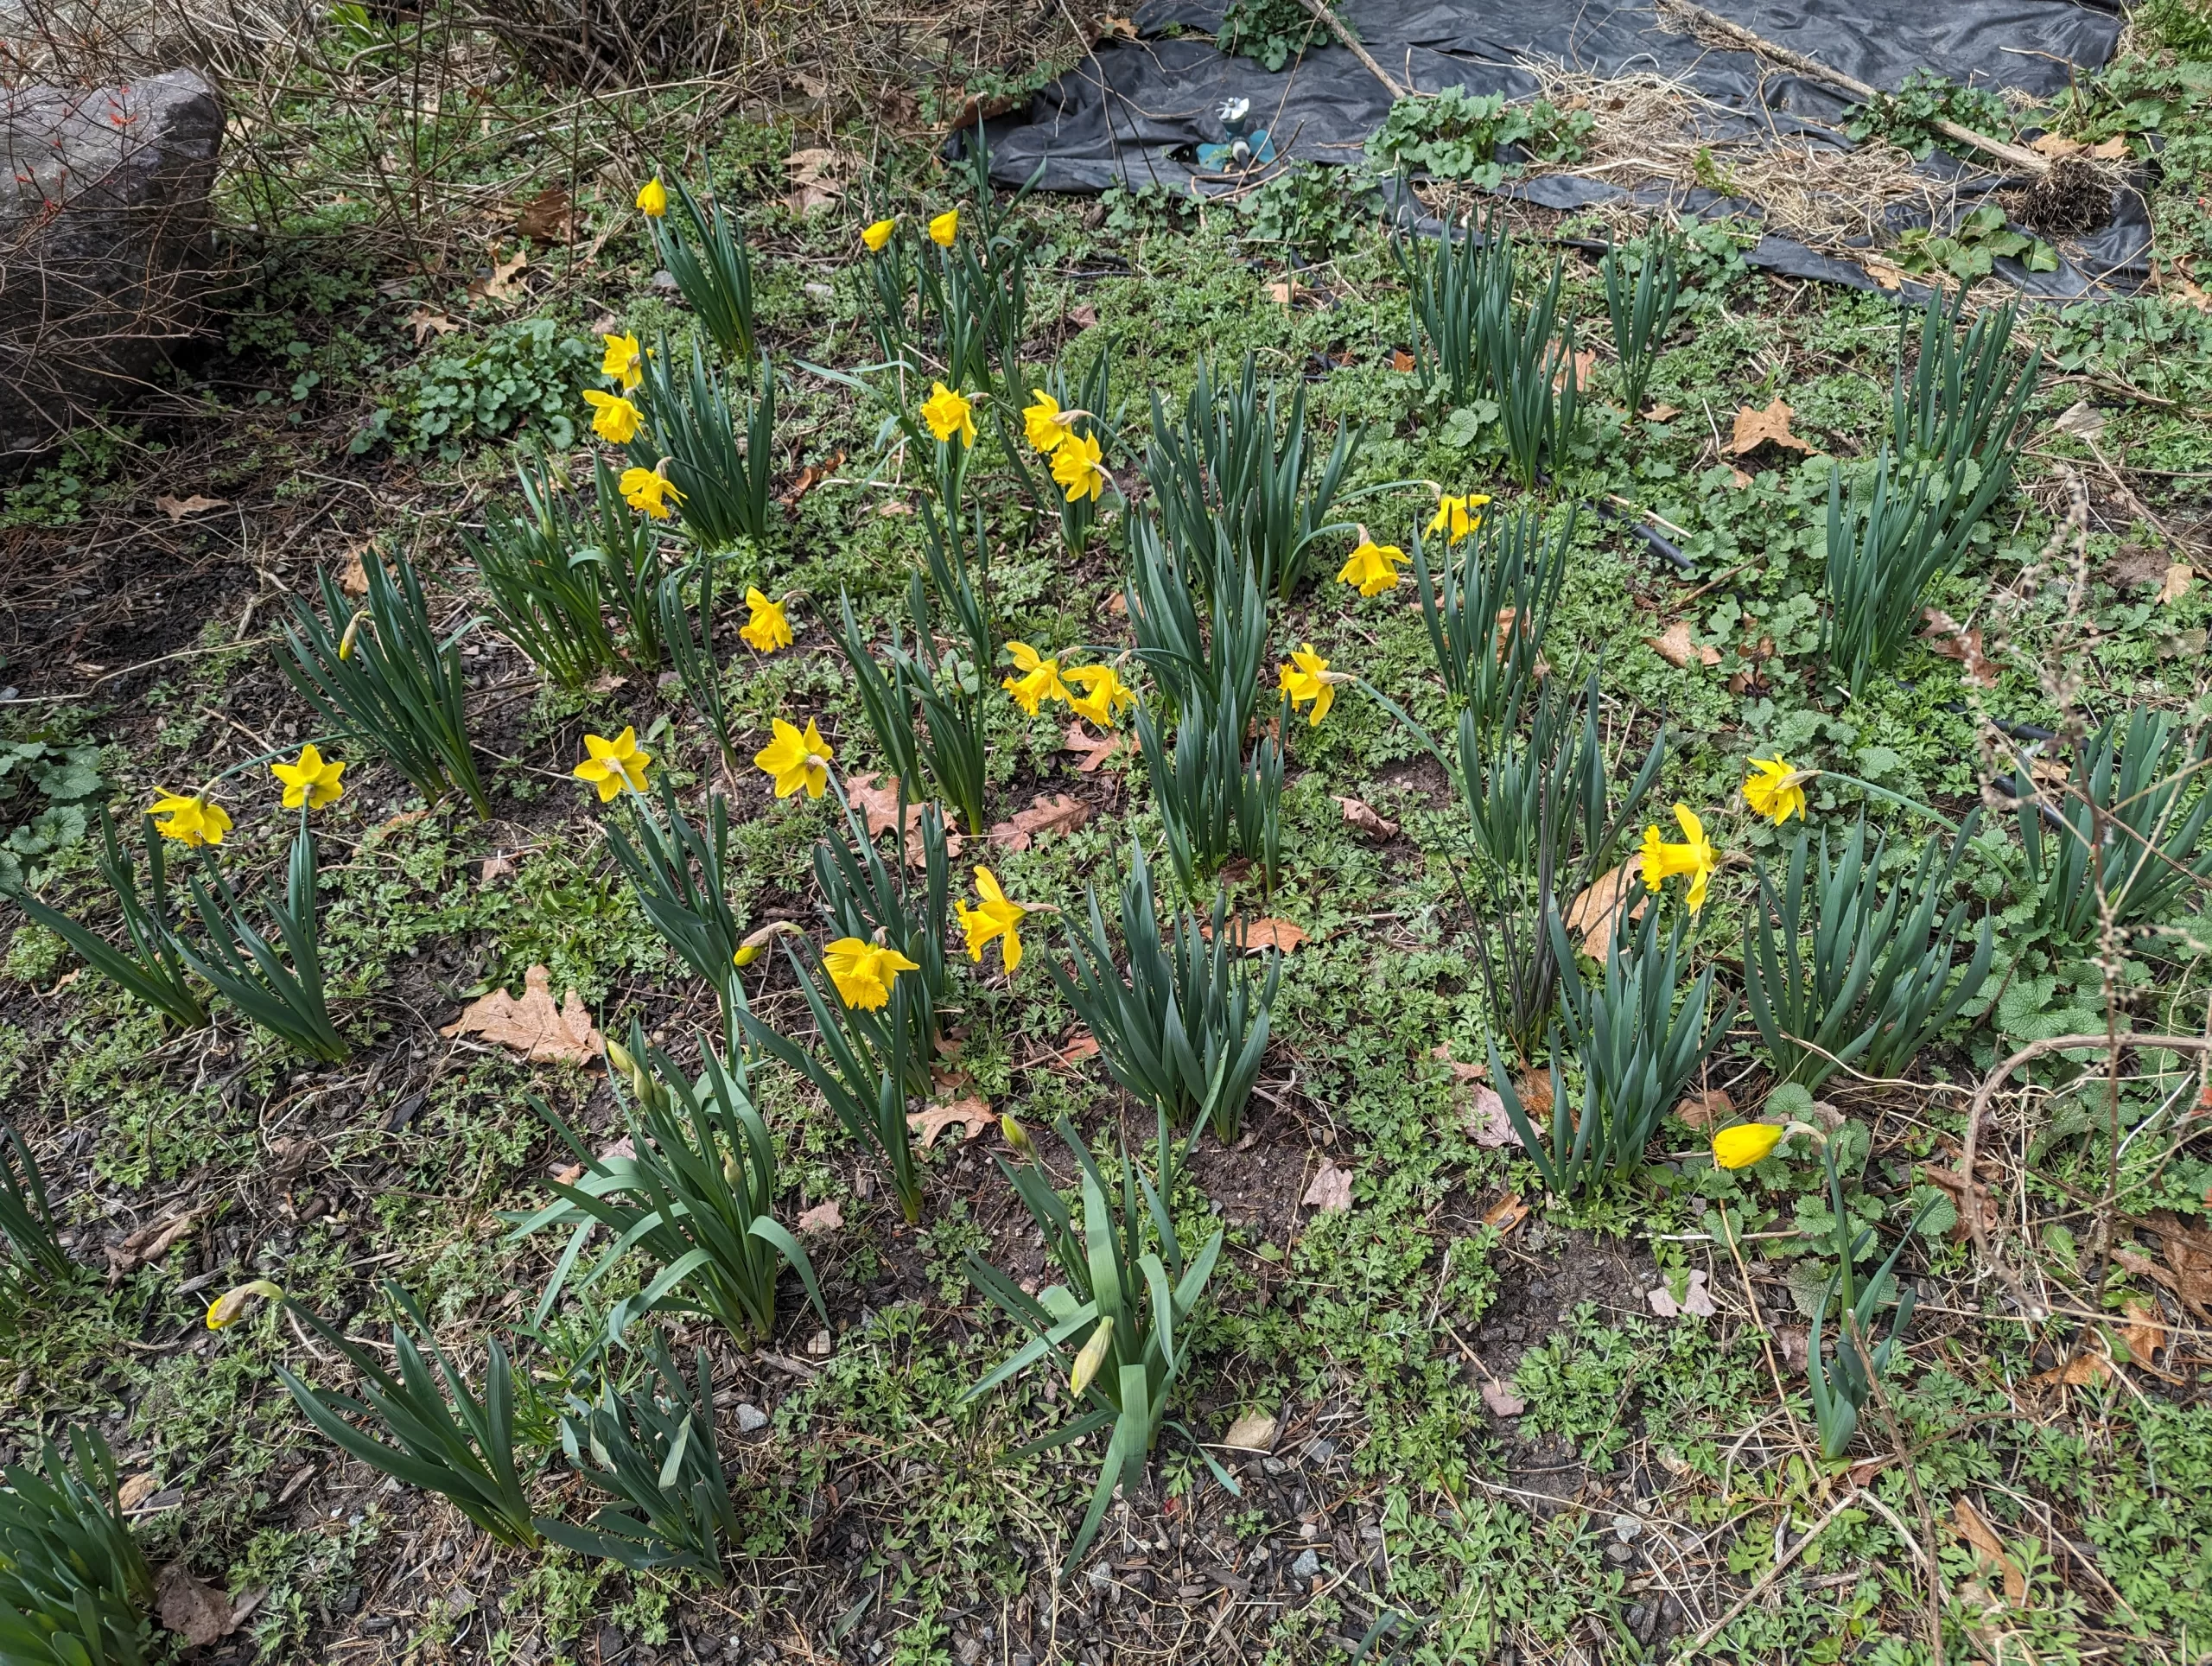
These daffodils were a discount purchase from Walmart years ago. I planted them in the garden and they still bloom every year! They are a cheerful reminder of spring and a bright spot in the garden!
The last few days have been stormy including some light snow cover and a magnitude 4.7 earthquake. Despite the storms, the tulips are doing fine, and indoors, the tomato plants and other seedlings have secondary leaves and are growing well.
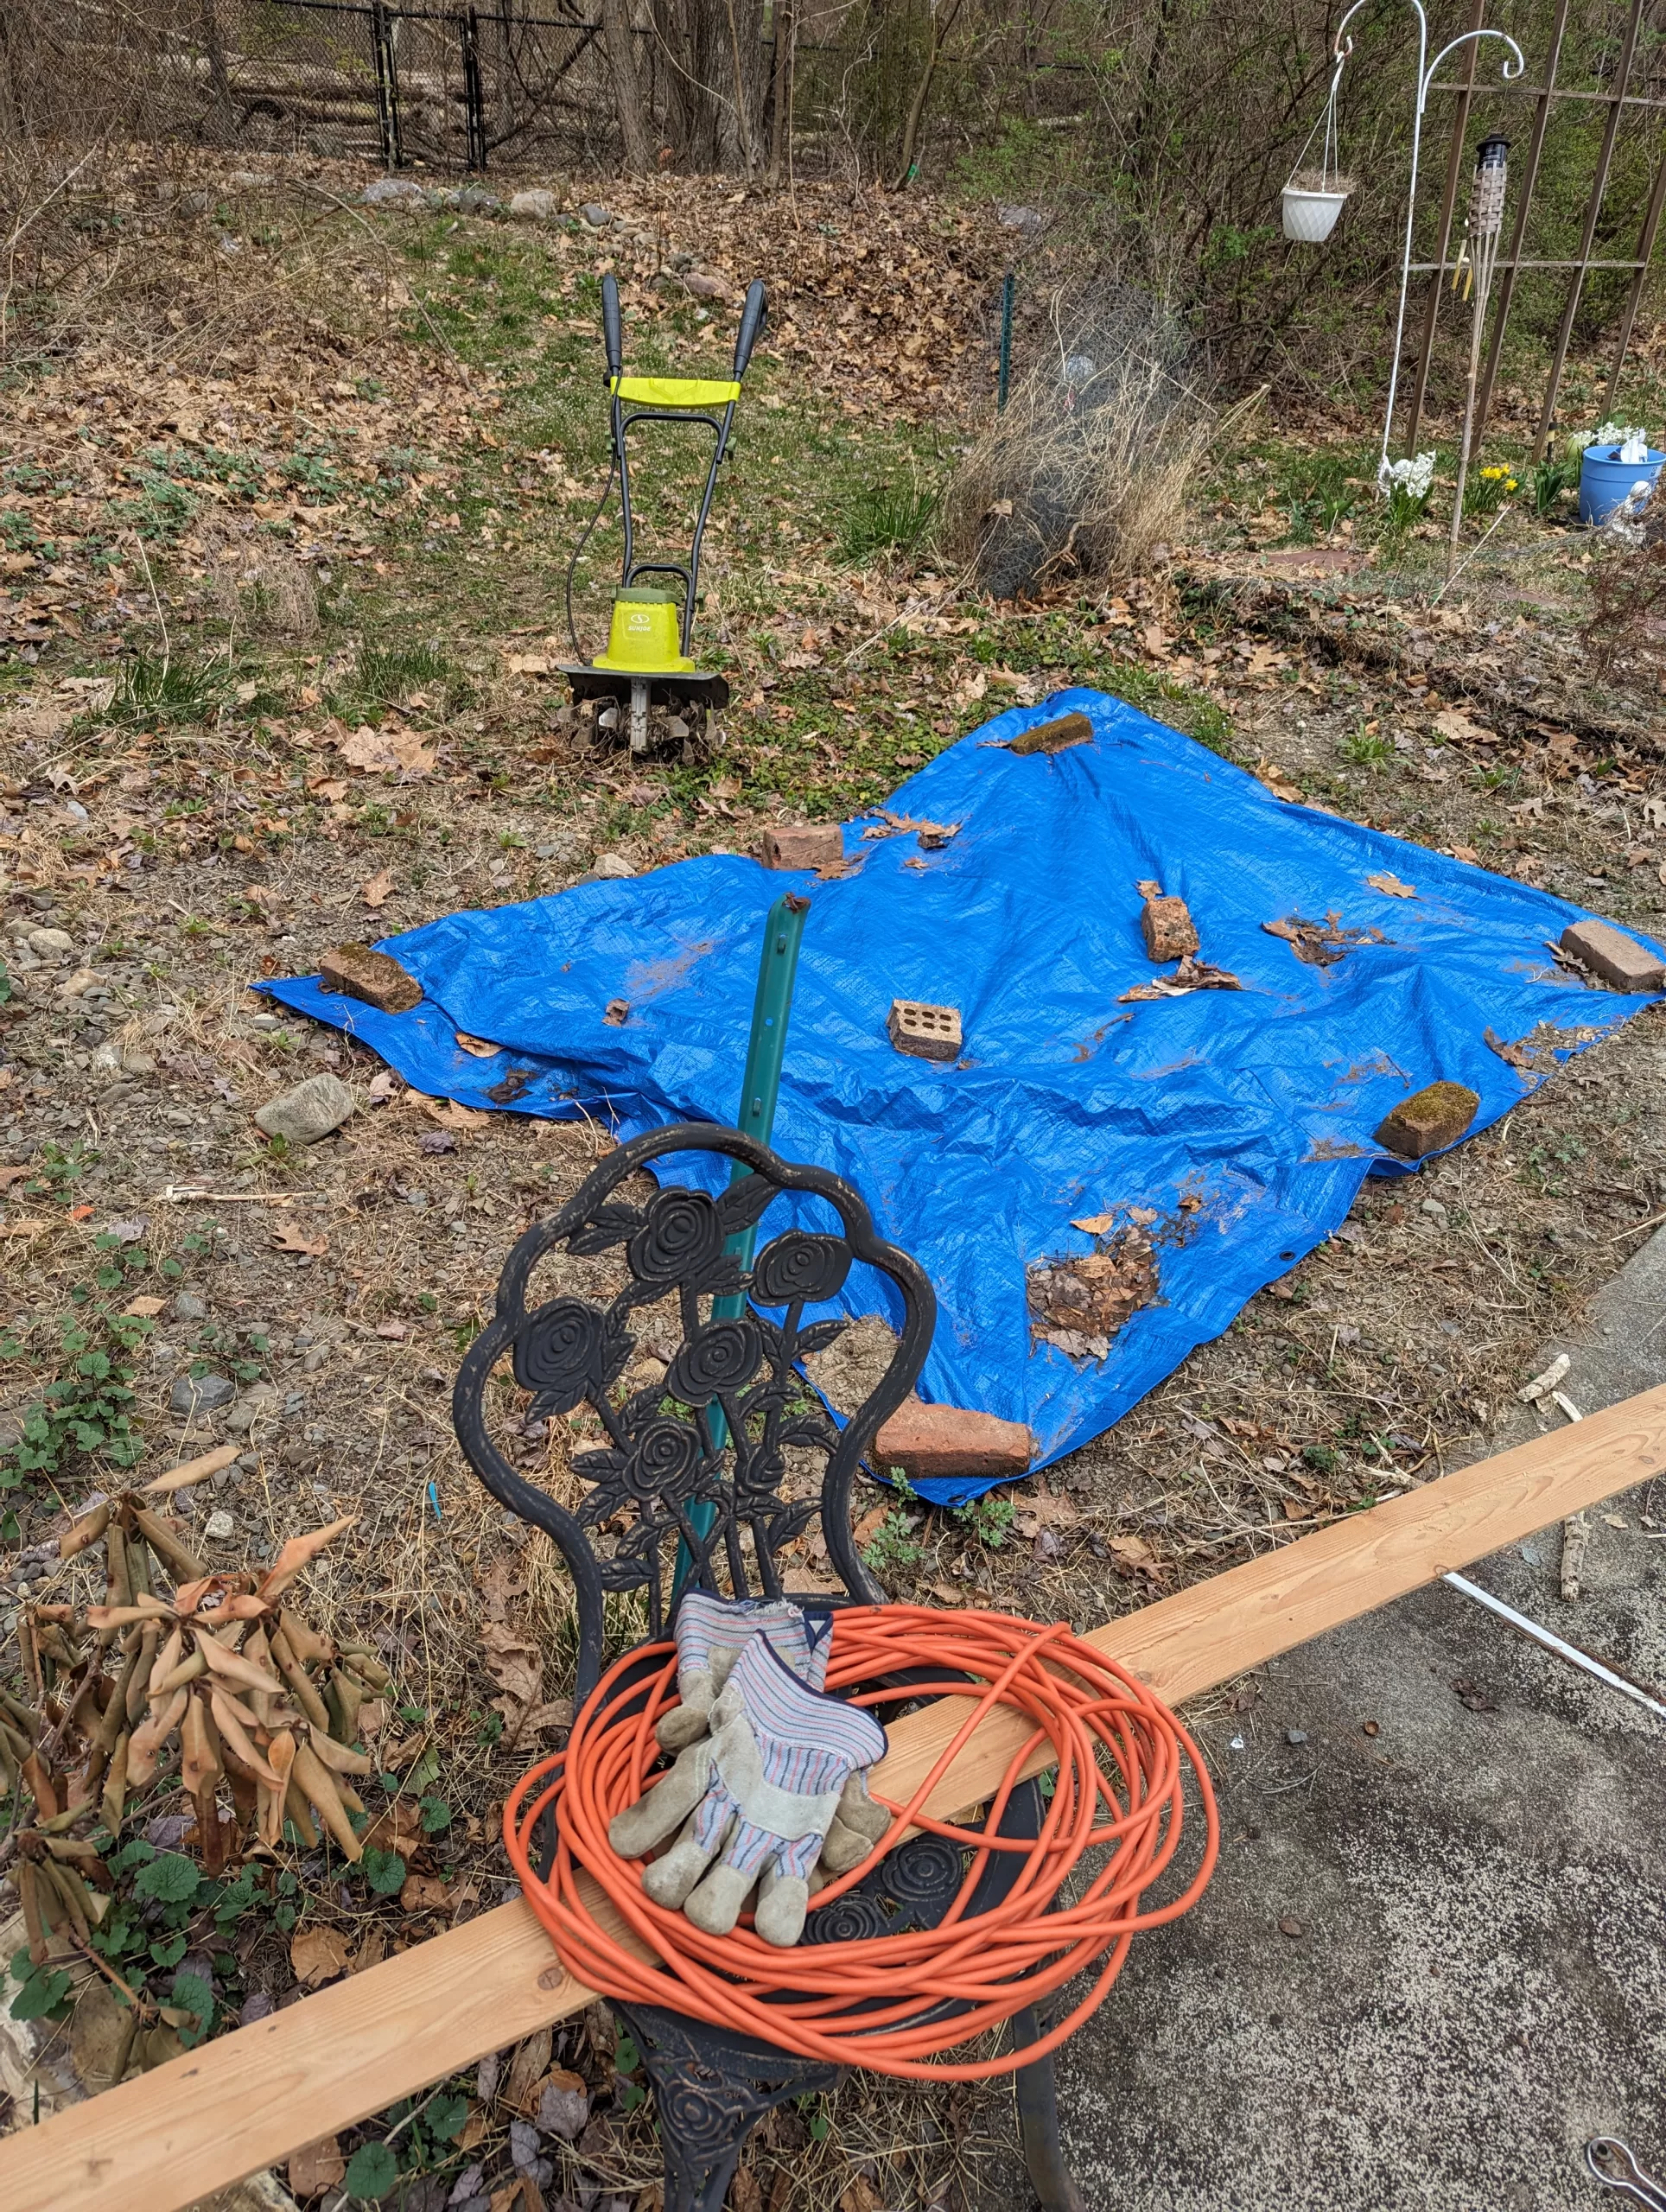
I’m taking advantage of the cool weather to get this strip alongside the driveway ready for planting vine plants like pumpkins and watermelon. I’m hoping the soil will be warm enough to plant the seeds by late April, and the plants will be ready to harvest by the end of July. If the weather cooperates, I’ll be able to enjoy fresh pumpkins and watermelon all summer long.
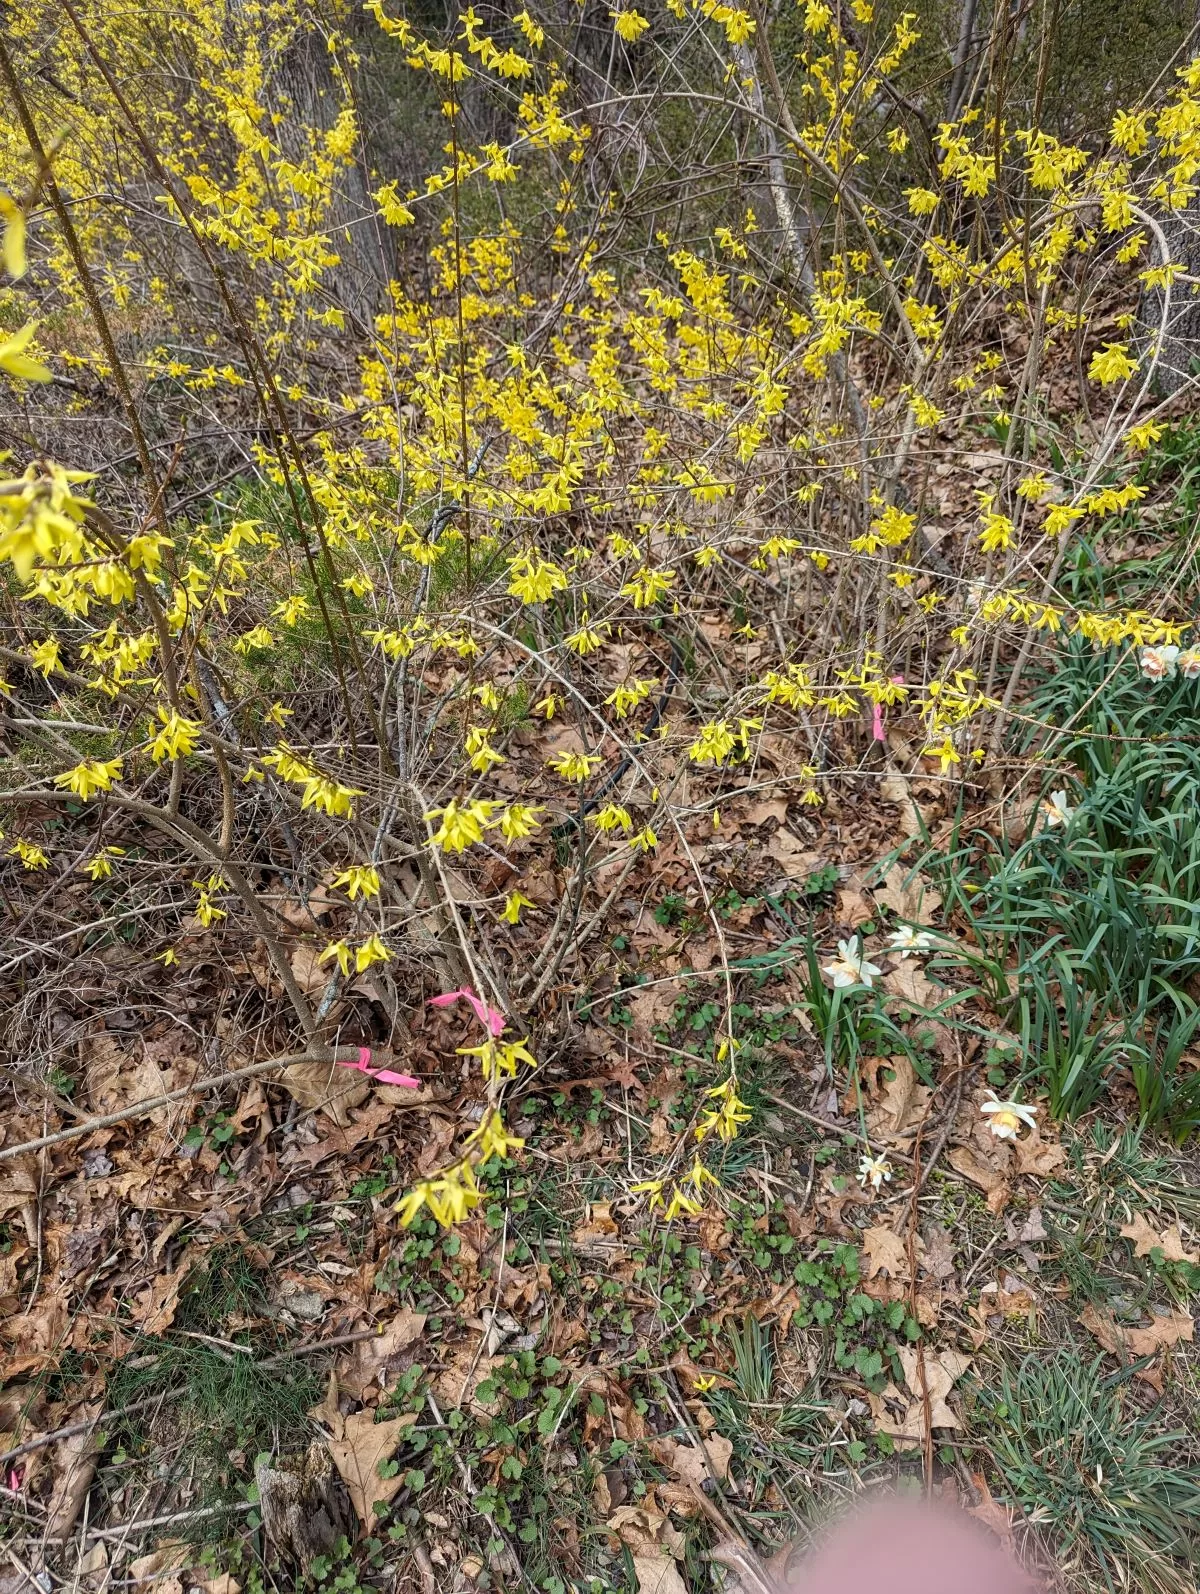
I’m marking the forsythia because the flowers are pretty, but when they die, the plants look like weeds. I want to remember where they are so I don’t cut them down by mistake. I’m also marking where I planted my daffodil bulbs so I don’t dig them up by accident when I’m planting the pumpkins and watermelons. It’s a good idea to mark your bulbs, especially if you plant them in a container. If you don’t, you might not remember where they are when they start to grow.
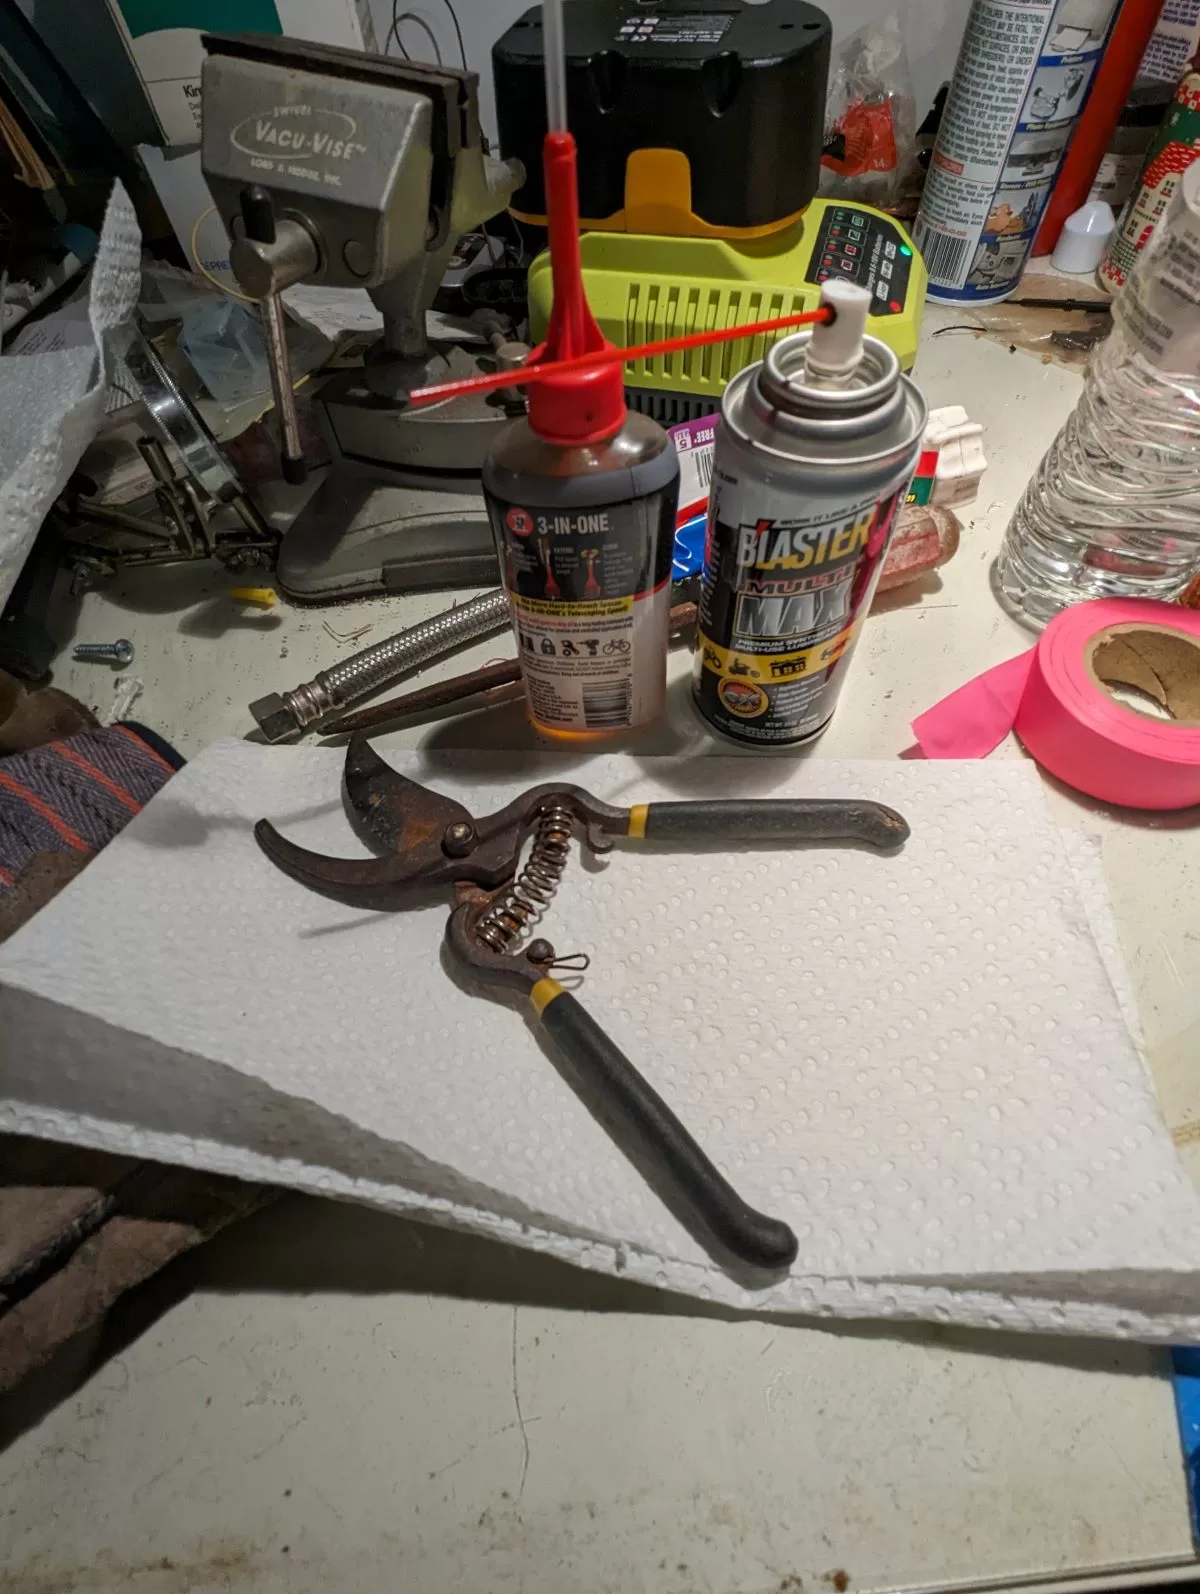
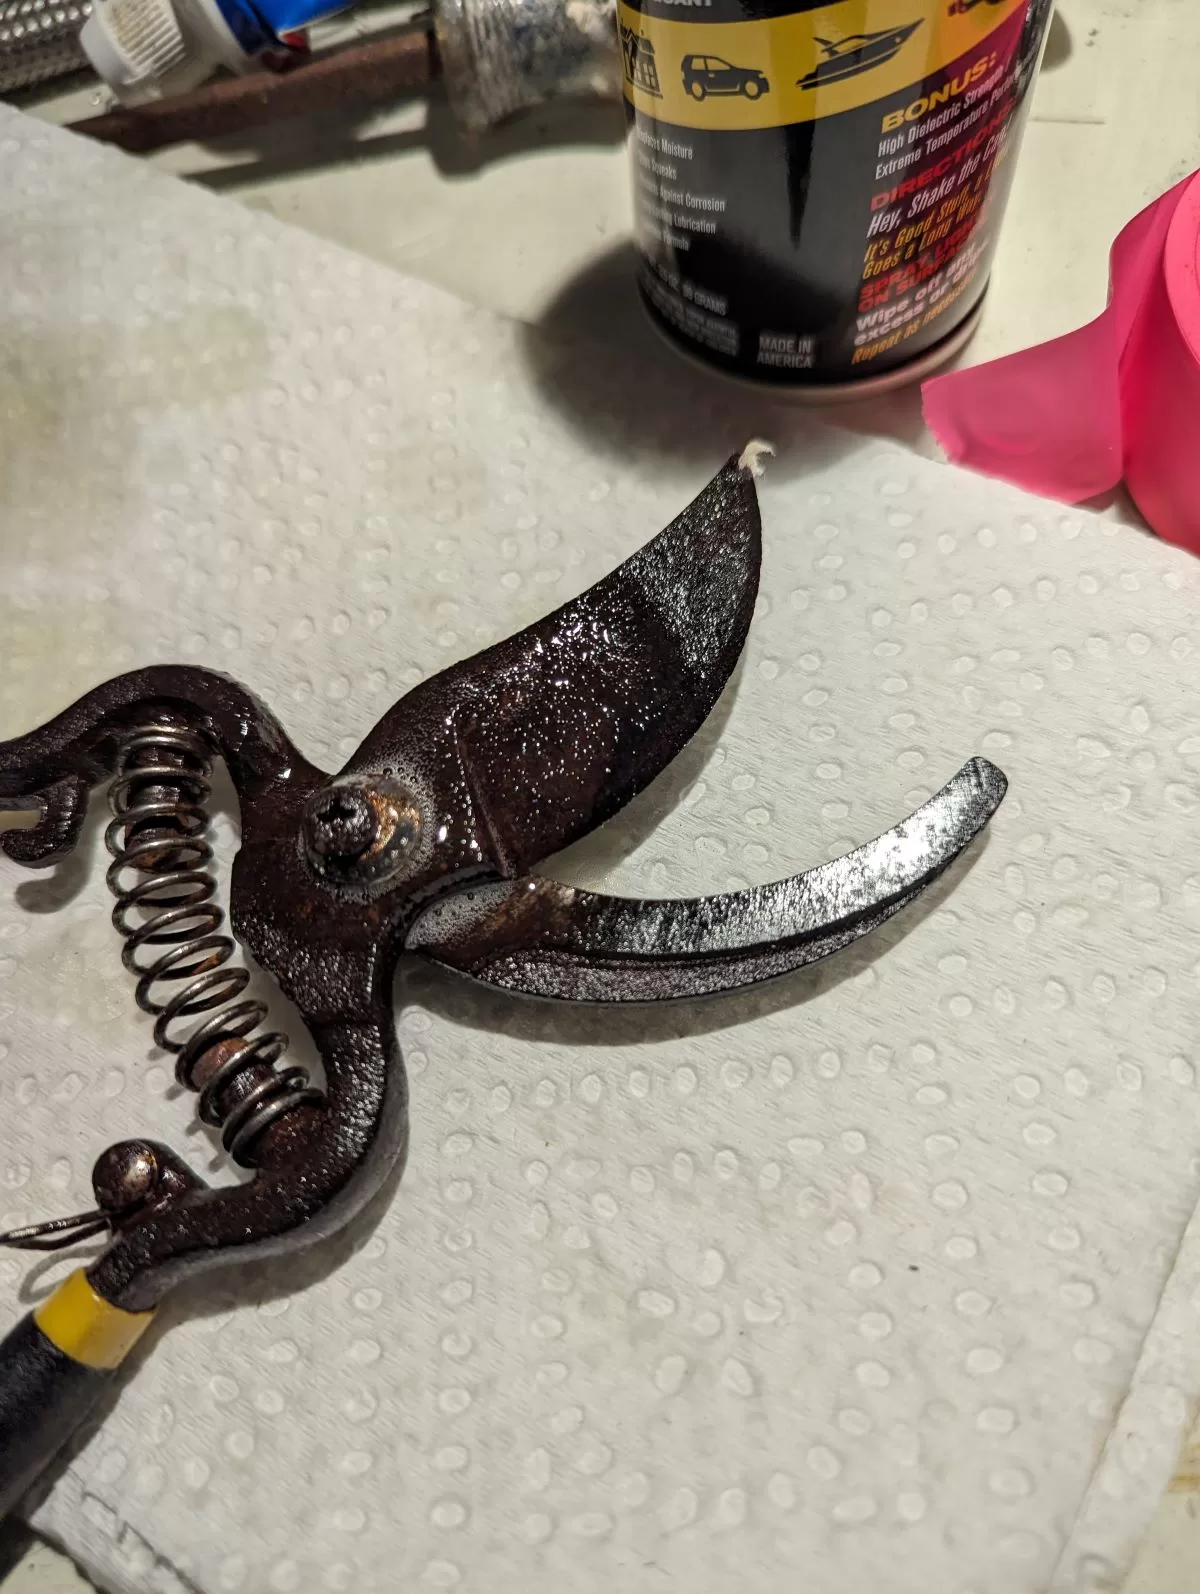
My pruning shears were not moving freely and showed signs of rust. I applied a lubricant, namely 3-in-1 oil, and a penetrating oil spray. The 3-in-1 oil will create a moisture barrier to prevent rust, and the penetrating oil will lubricate the mechanism. I chose these products because they are non-toxic and biodegradable.
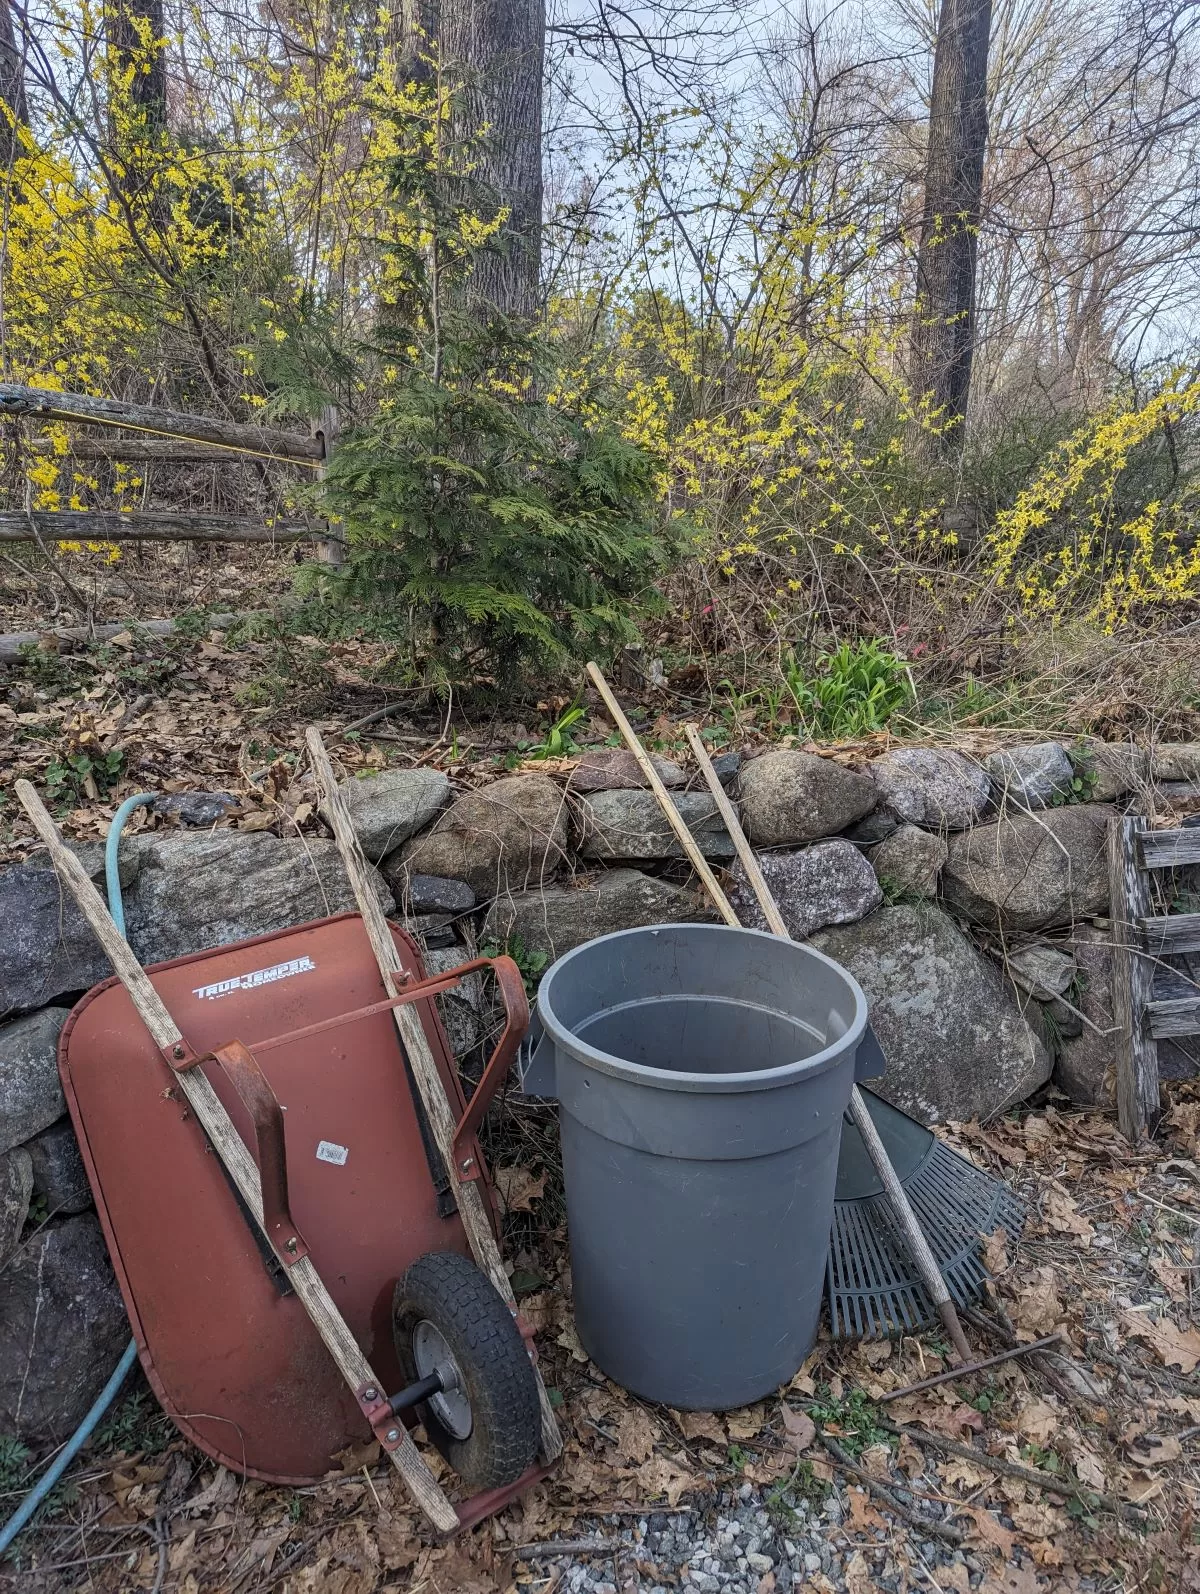
I am cleaning up the area around my recently replanted tree. I am raking leaves, cutting vines, and gathering dead branches. My goal is to create a productive area for growing vine vegetables. I am excited to see how this project turns out.
I have some dead shrubs in this area that I am cutting down with a reciprocating saw equipped with a wood-cutting blade. I will now have to excavate the stumps, which is a task I’m not looking forward to.
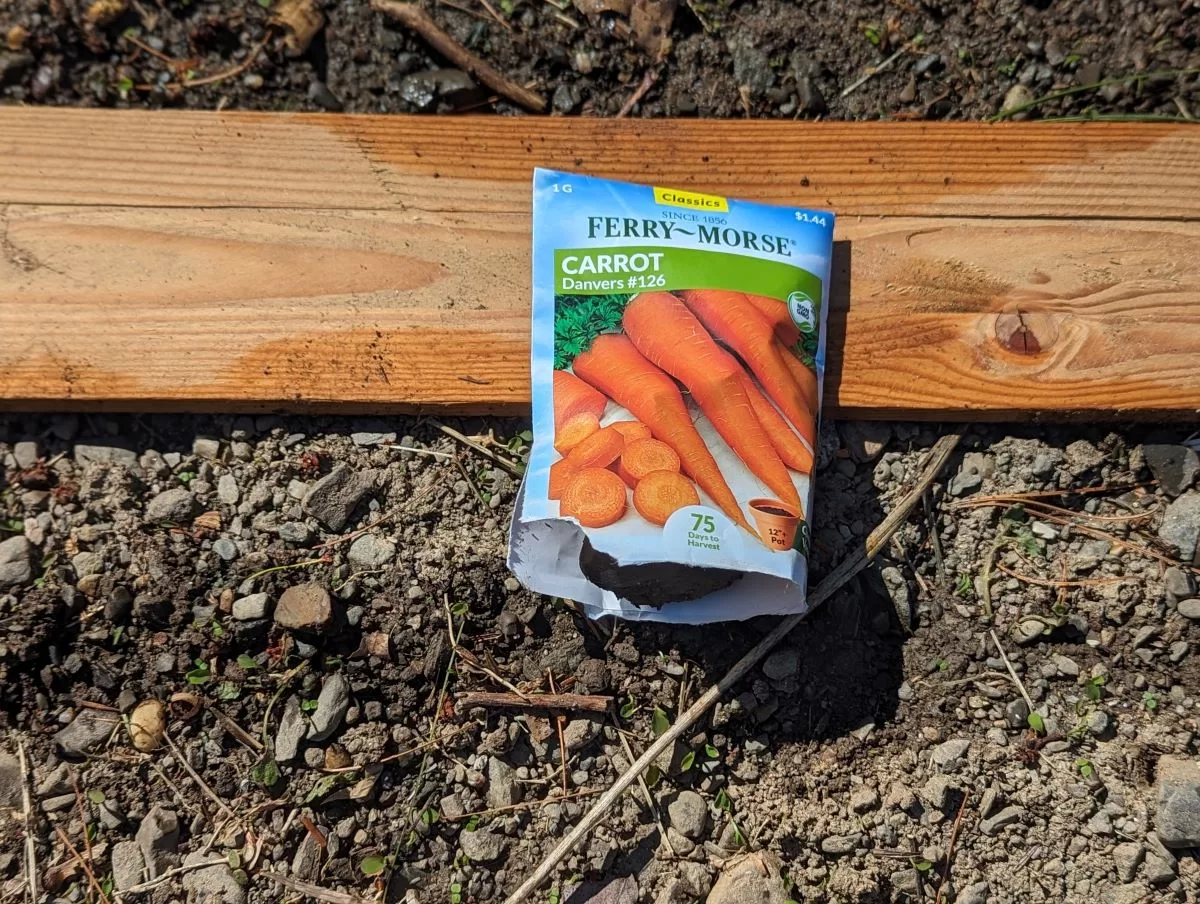
Today I tilled my bean garden. It is too early to plant bush beans, but I use this garden for carrots and radishes also which I planted today. I will harvest the radishes in about 30 days and the carrots at the end of the summer. In between, I will be harvesting the garden beans.
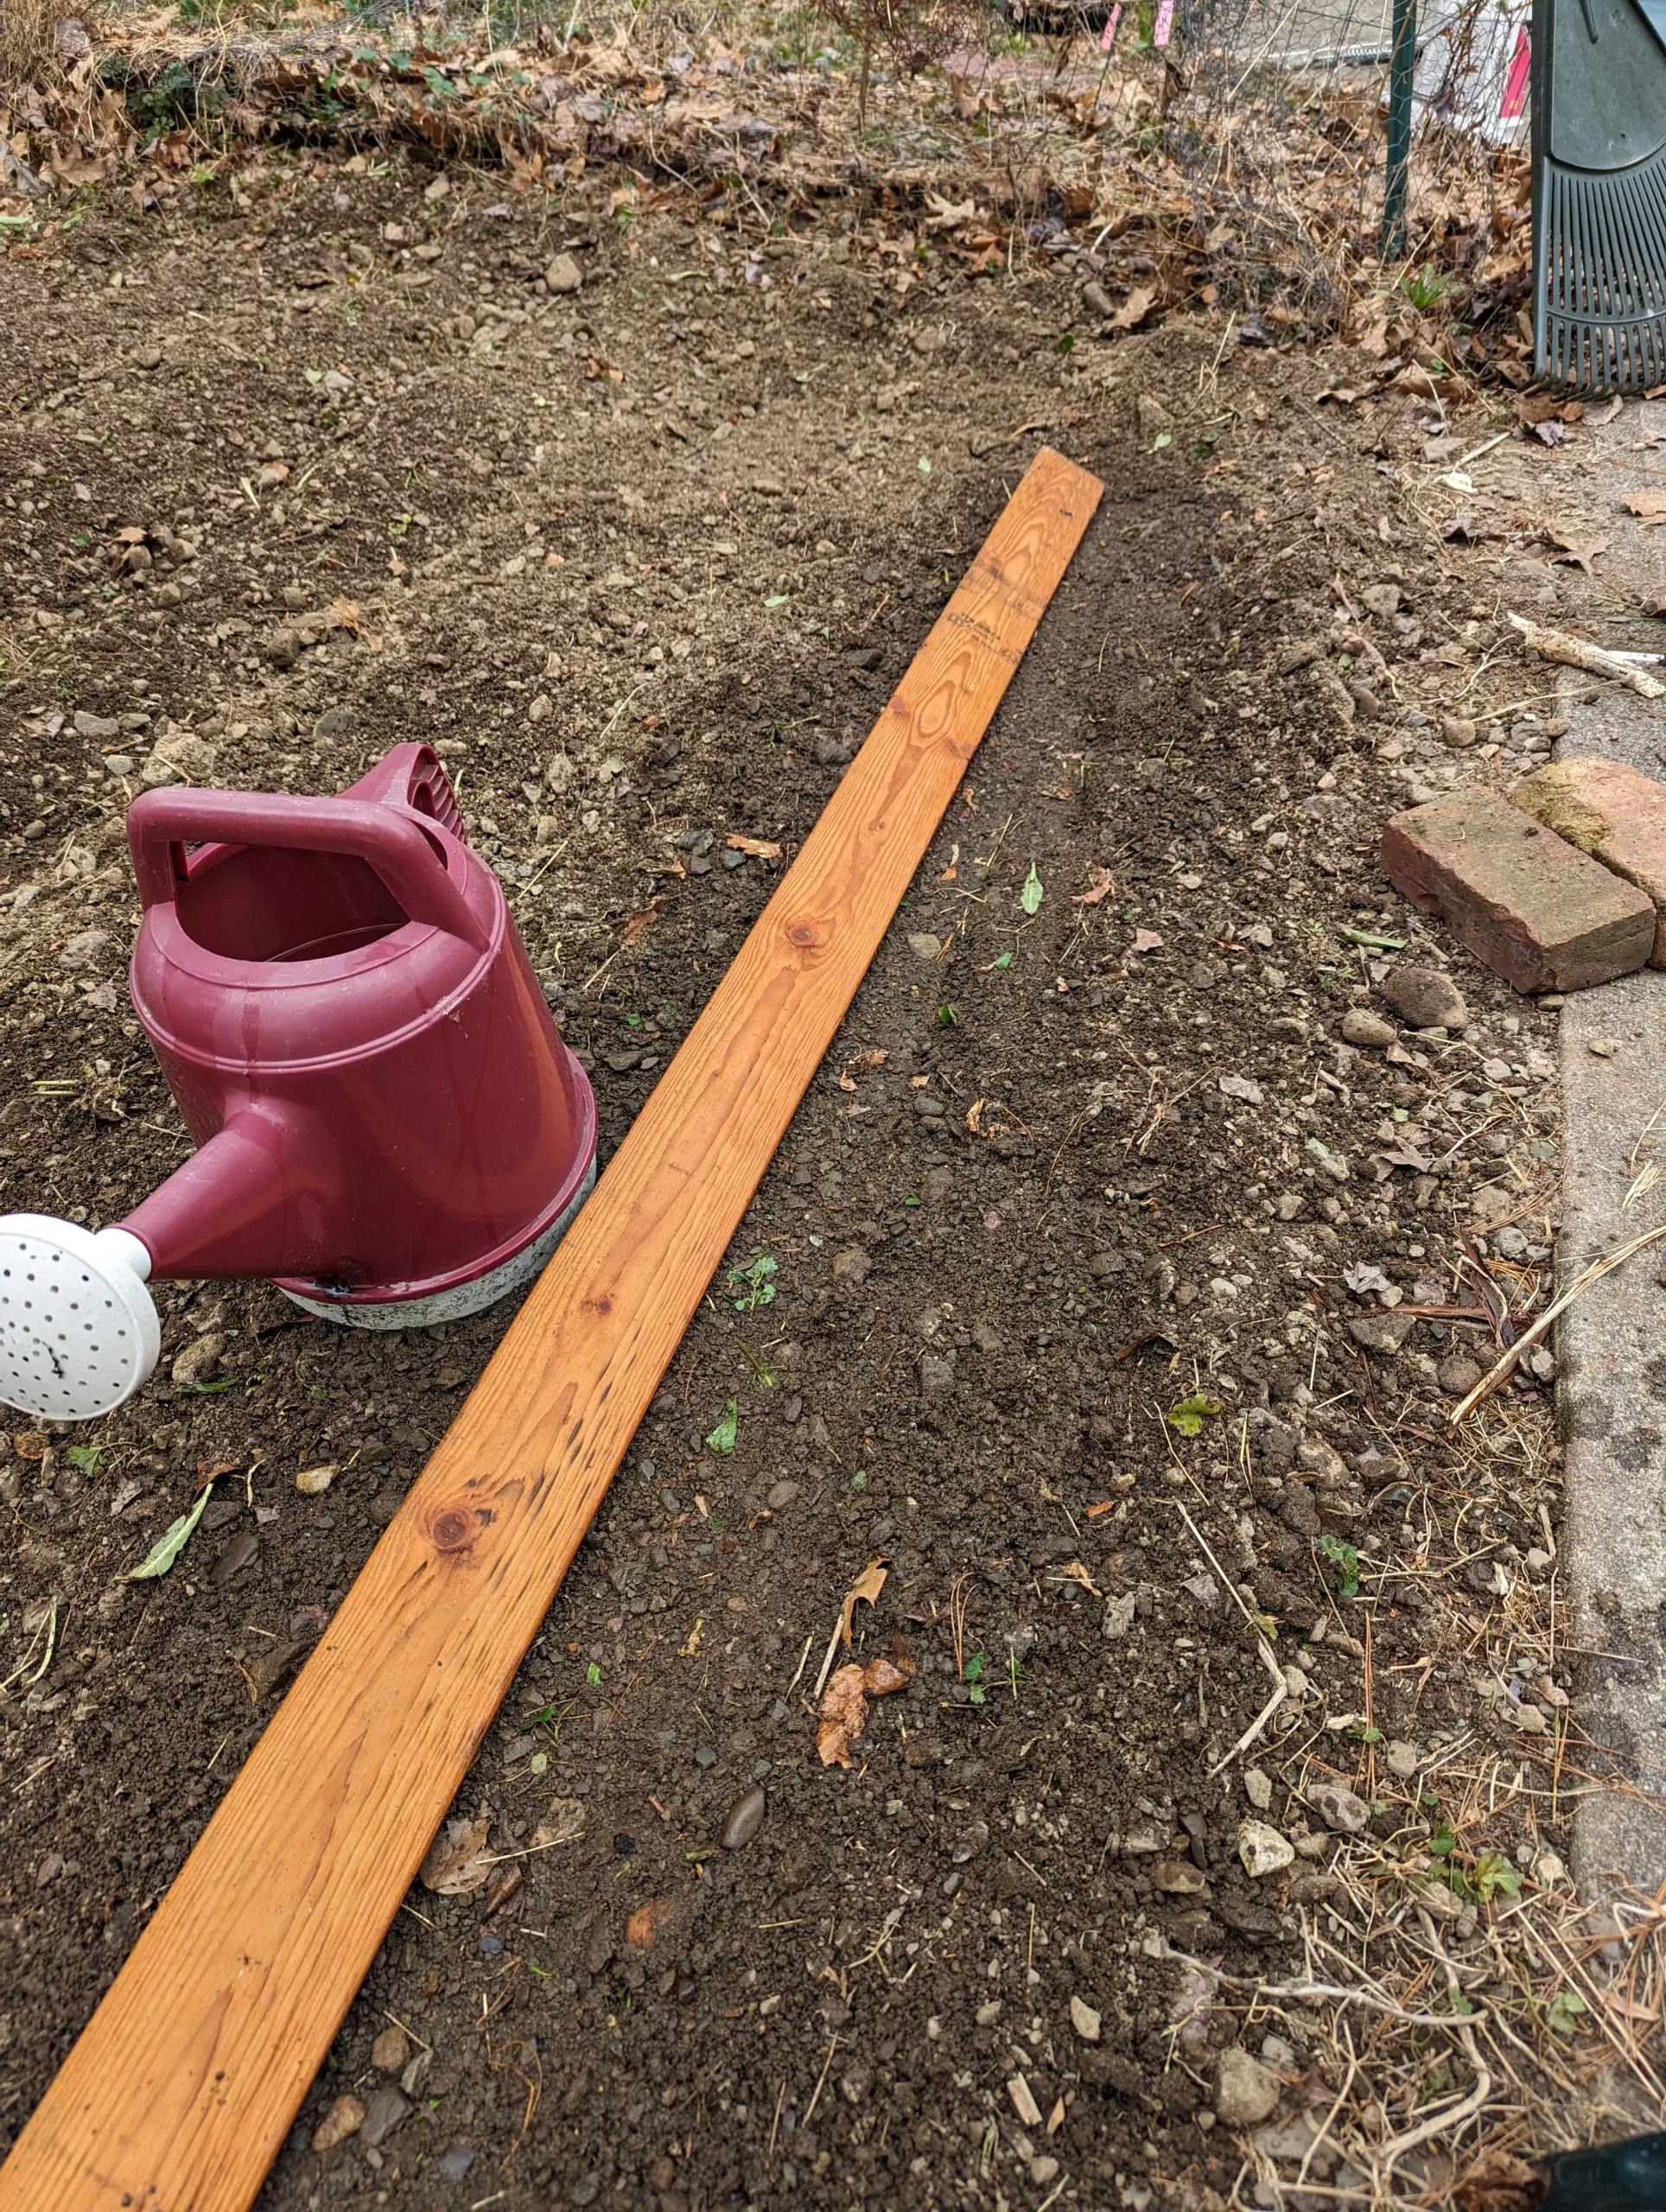
I am using a wooden plank to plant carrots. I press the plank into the soil, tilt it back, and water the depression that is created. Then I sprinkle carrot seeds into the depression and replace the plank. This method secures the tiny carrot seeds in place until they germinate, at which time the plank is removed. The plank helps to keep the seeds in place, and the water helps the seeds to germinate.
Using a hoe, I created two furrows adjacent to the carrot row. I sowed radish seeds in each furrow, covered them with soil, and watered them. I covered the remainder of the garden with a tarp and will wait for warmer weather to plant bush beans in this plot.
April 12, 2024
aclimating indoor-sown marigolds and tomatoes
Today I moved the tomato and marigold trays outside for acclimating. The temperature is 60° F with a light rain. I will probably bring these trays inside before sunset. My winter-sown sunflowers are also doing well.
I upgraded my indoor lighting today by adding a metal shelf and two 36-inch shop lights to my existing setup. I chose the shelf because it doesn’t take up a lot of floor space, and the lights because they provide the right amount of light for my needs. While the shelf is not large enough to hold all my plants, it does provide enough space for my immediate needs. Overall, I’m happy with this upgrade.
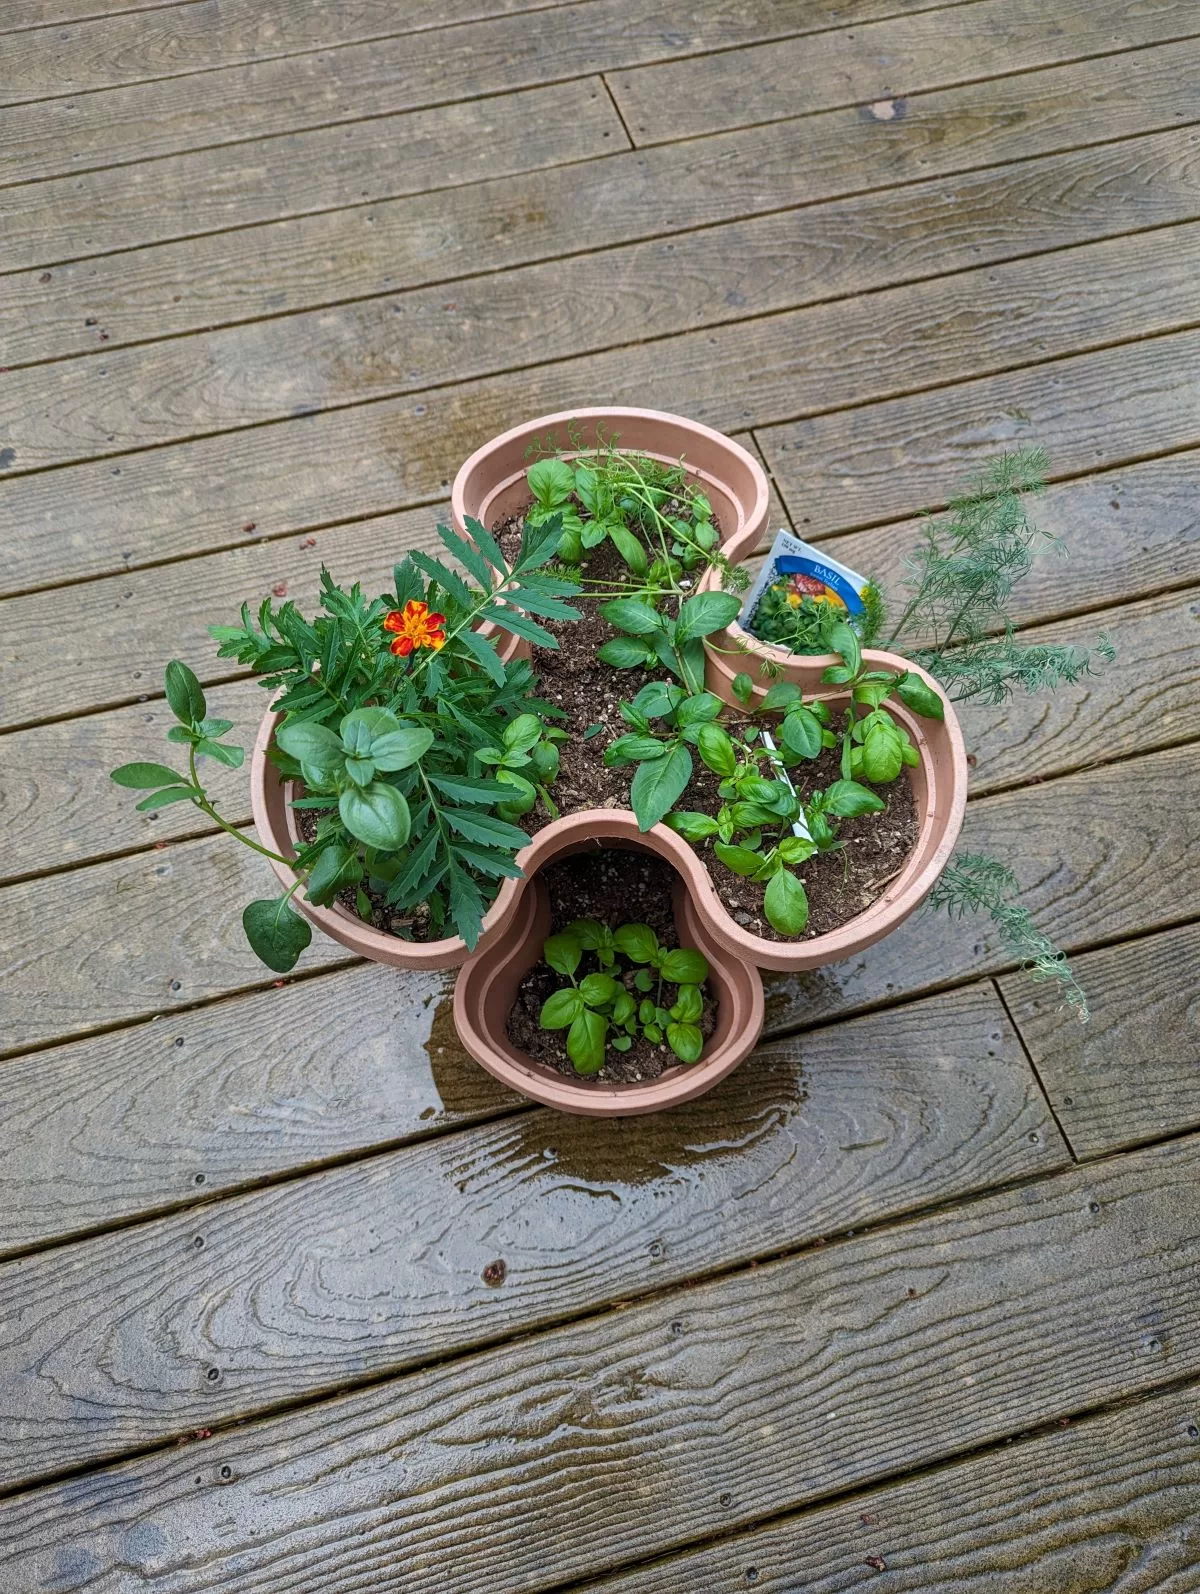
I relocated my stackable herb garden outdoors today. I am concerned that it may be too early in the season to do this, and I may have to move it indoors at night. The herbs are getting quite large, and I don’t want to risk damaging them by leaving them out overnight. I think I will need to monitor the temperature closely for the next few weeks and be prepared to move the garden back indoors if necessary.
April 21, 2024
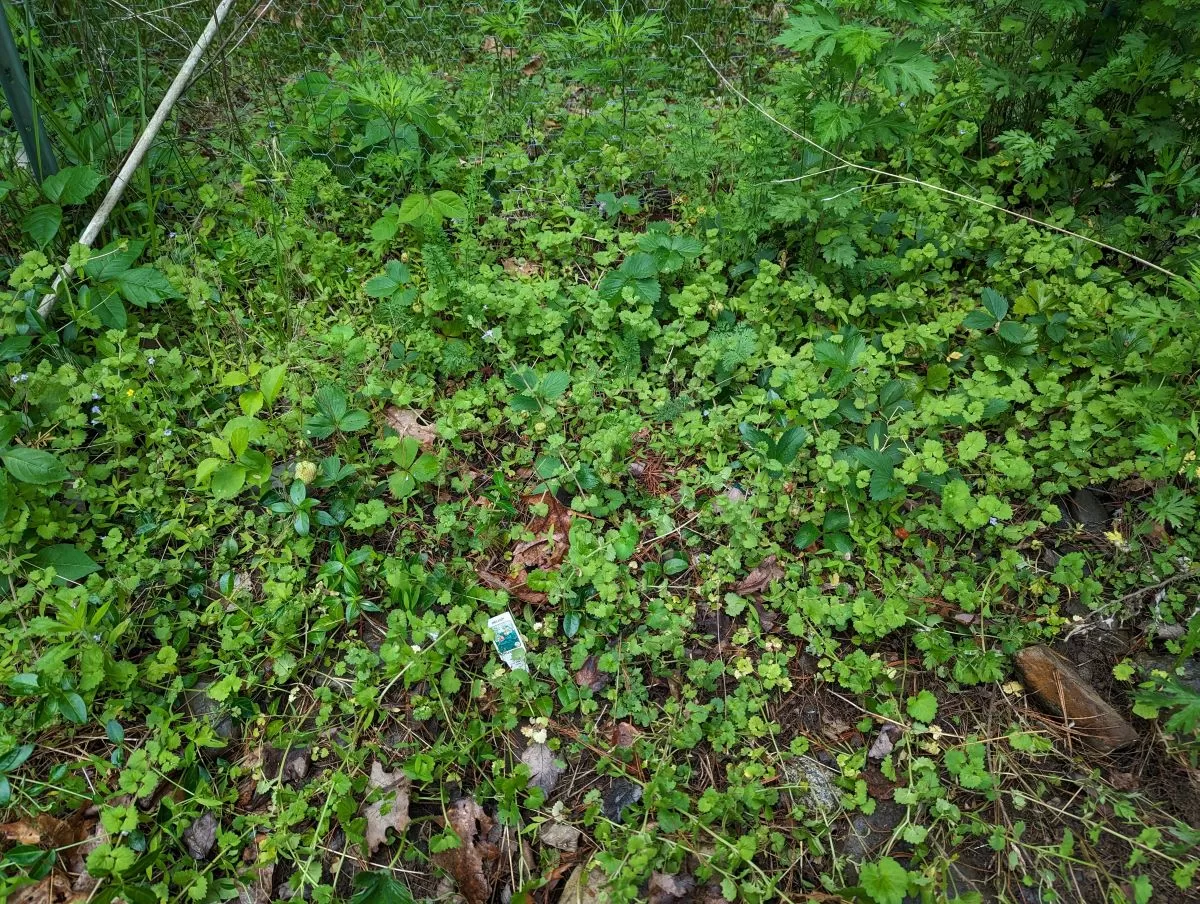
Strawberries flowering!
It’s been rainy and cold the last few days, so I haven’t been outside much. But things are happening in the garden! The colder weather in the last few days has put a damper on outdoor work, but indoors the pumpkins and cucamelons are growing, and the tomatoes and mexican sunflowers are coming along. Soon I will start my spring planting and move into phase 2 with teh outdoor garden.
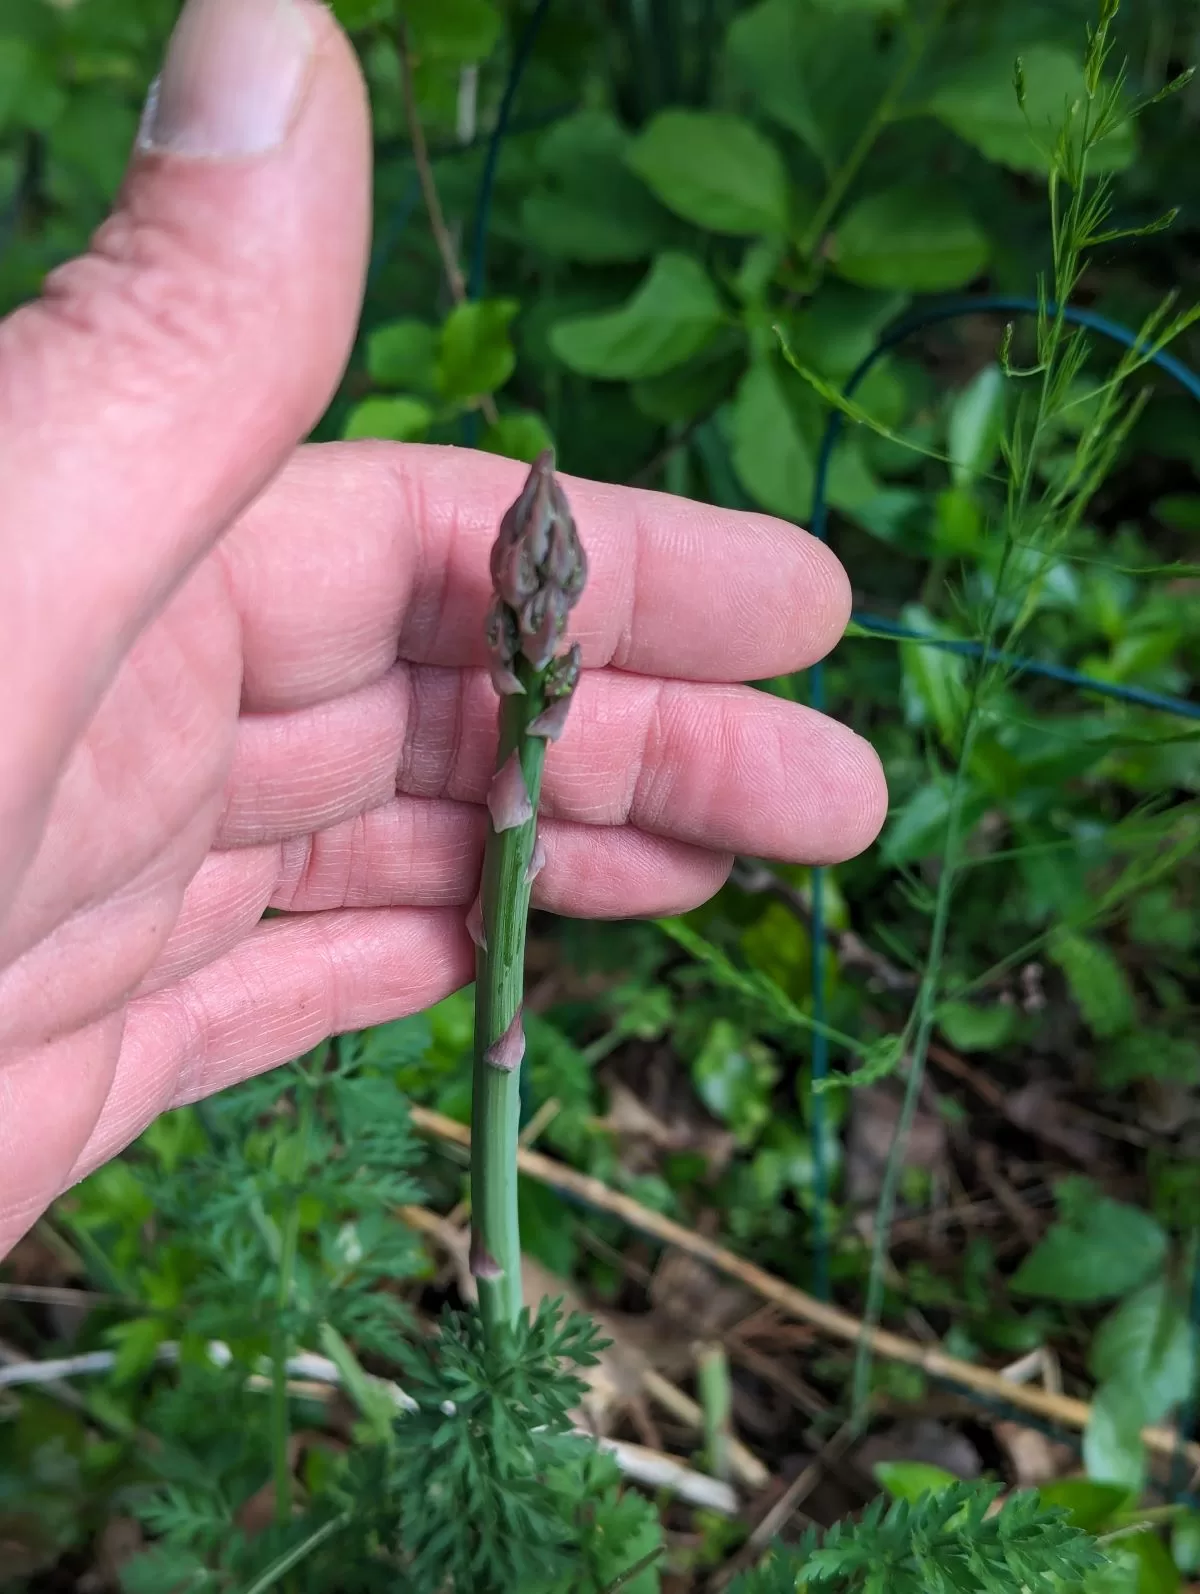
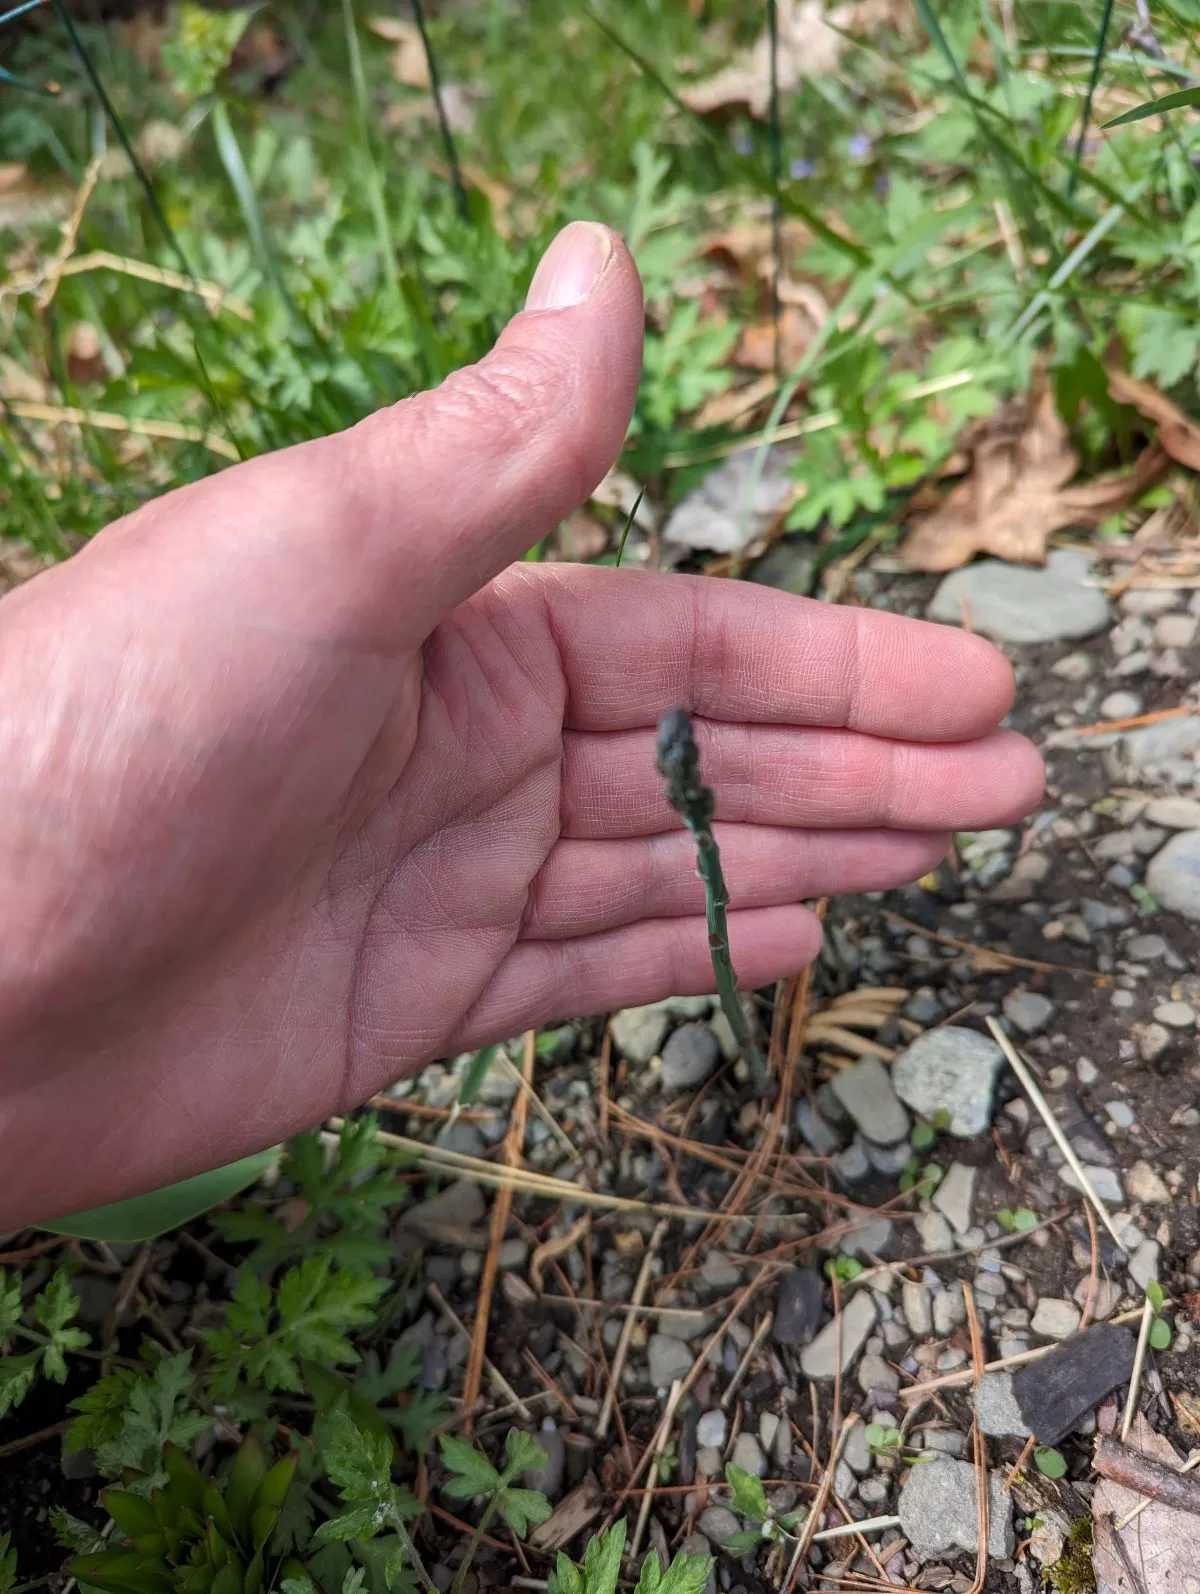
Although the asparagus is growing, it is quite small. Therefore, I will not harvest it this year and instead allow it to grow to strengthen the crown and roots.
I am cleaning the tomato garden in preparation for spring. I have already started some tomato plants indoors, and I will soon be setting them out in the garden. I am also planning to expand this garden soon, so I am making room for more plants.
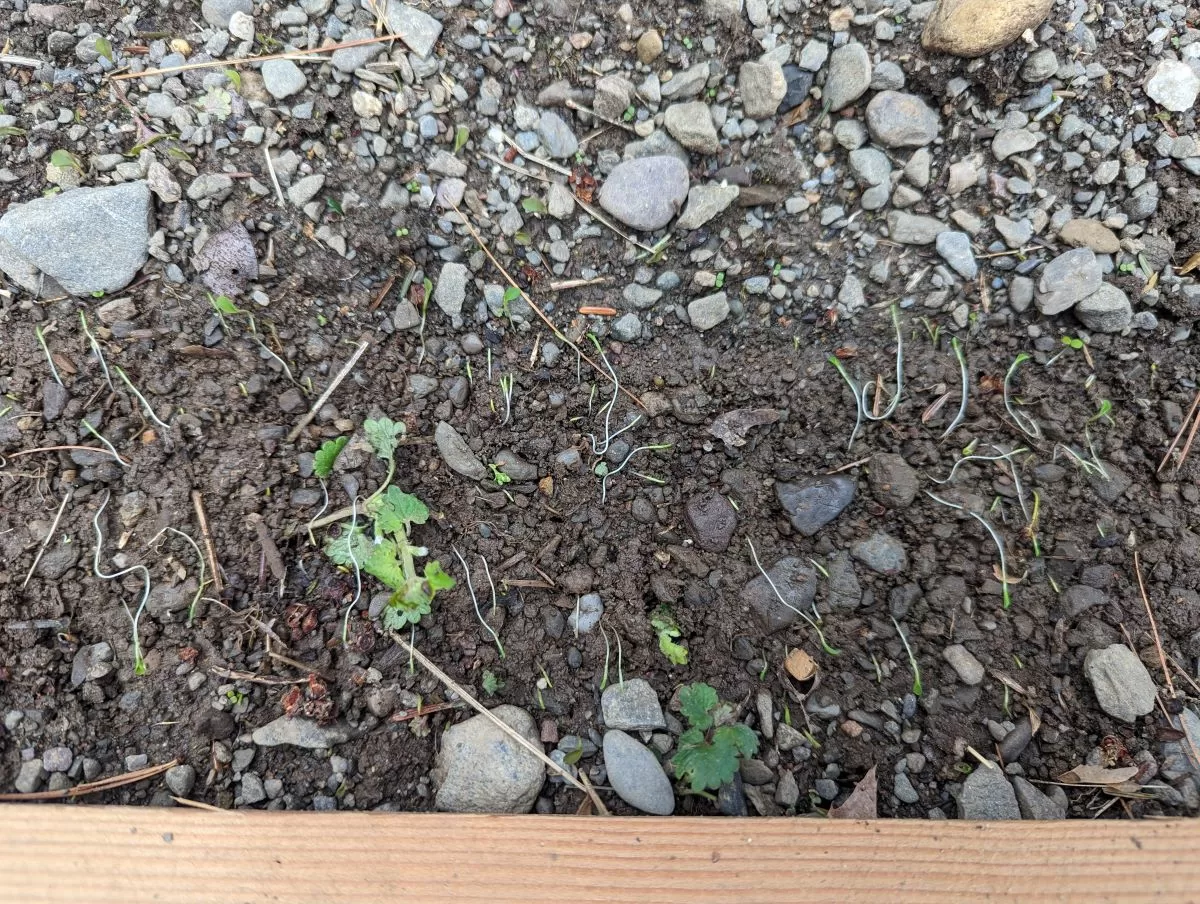
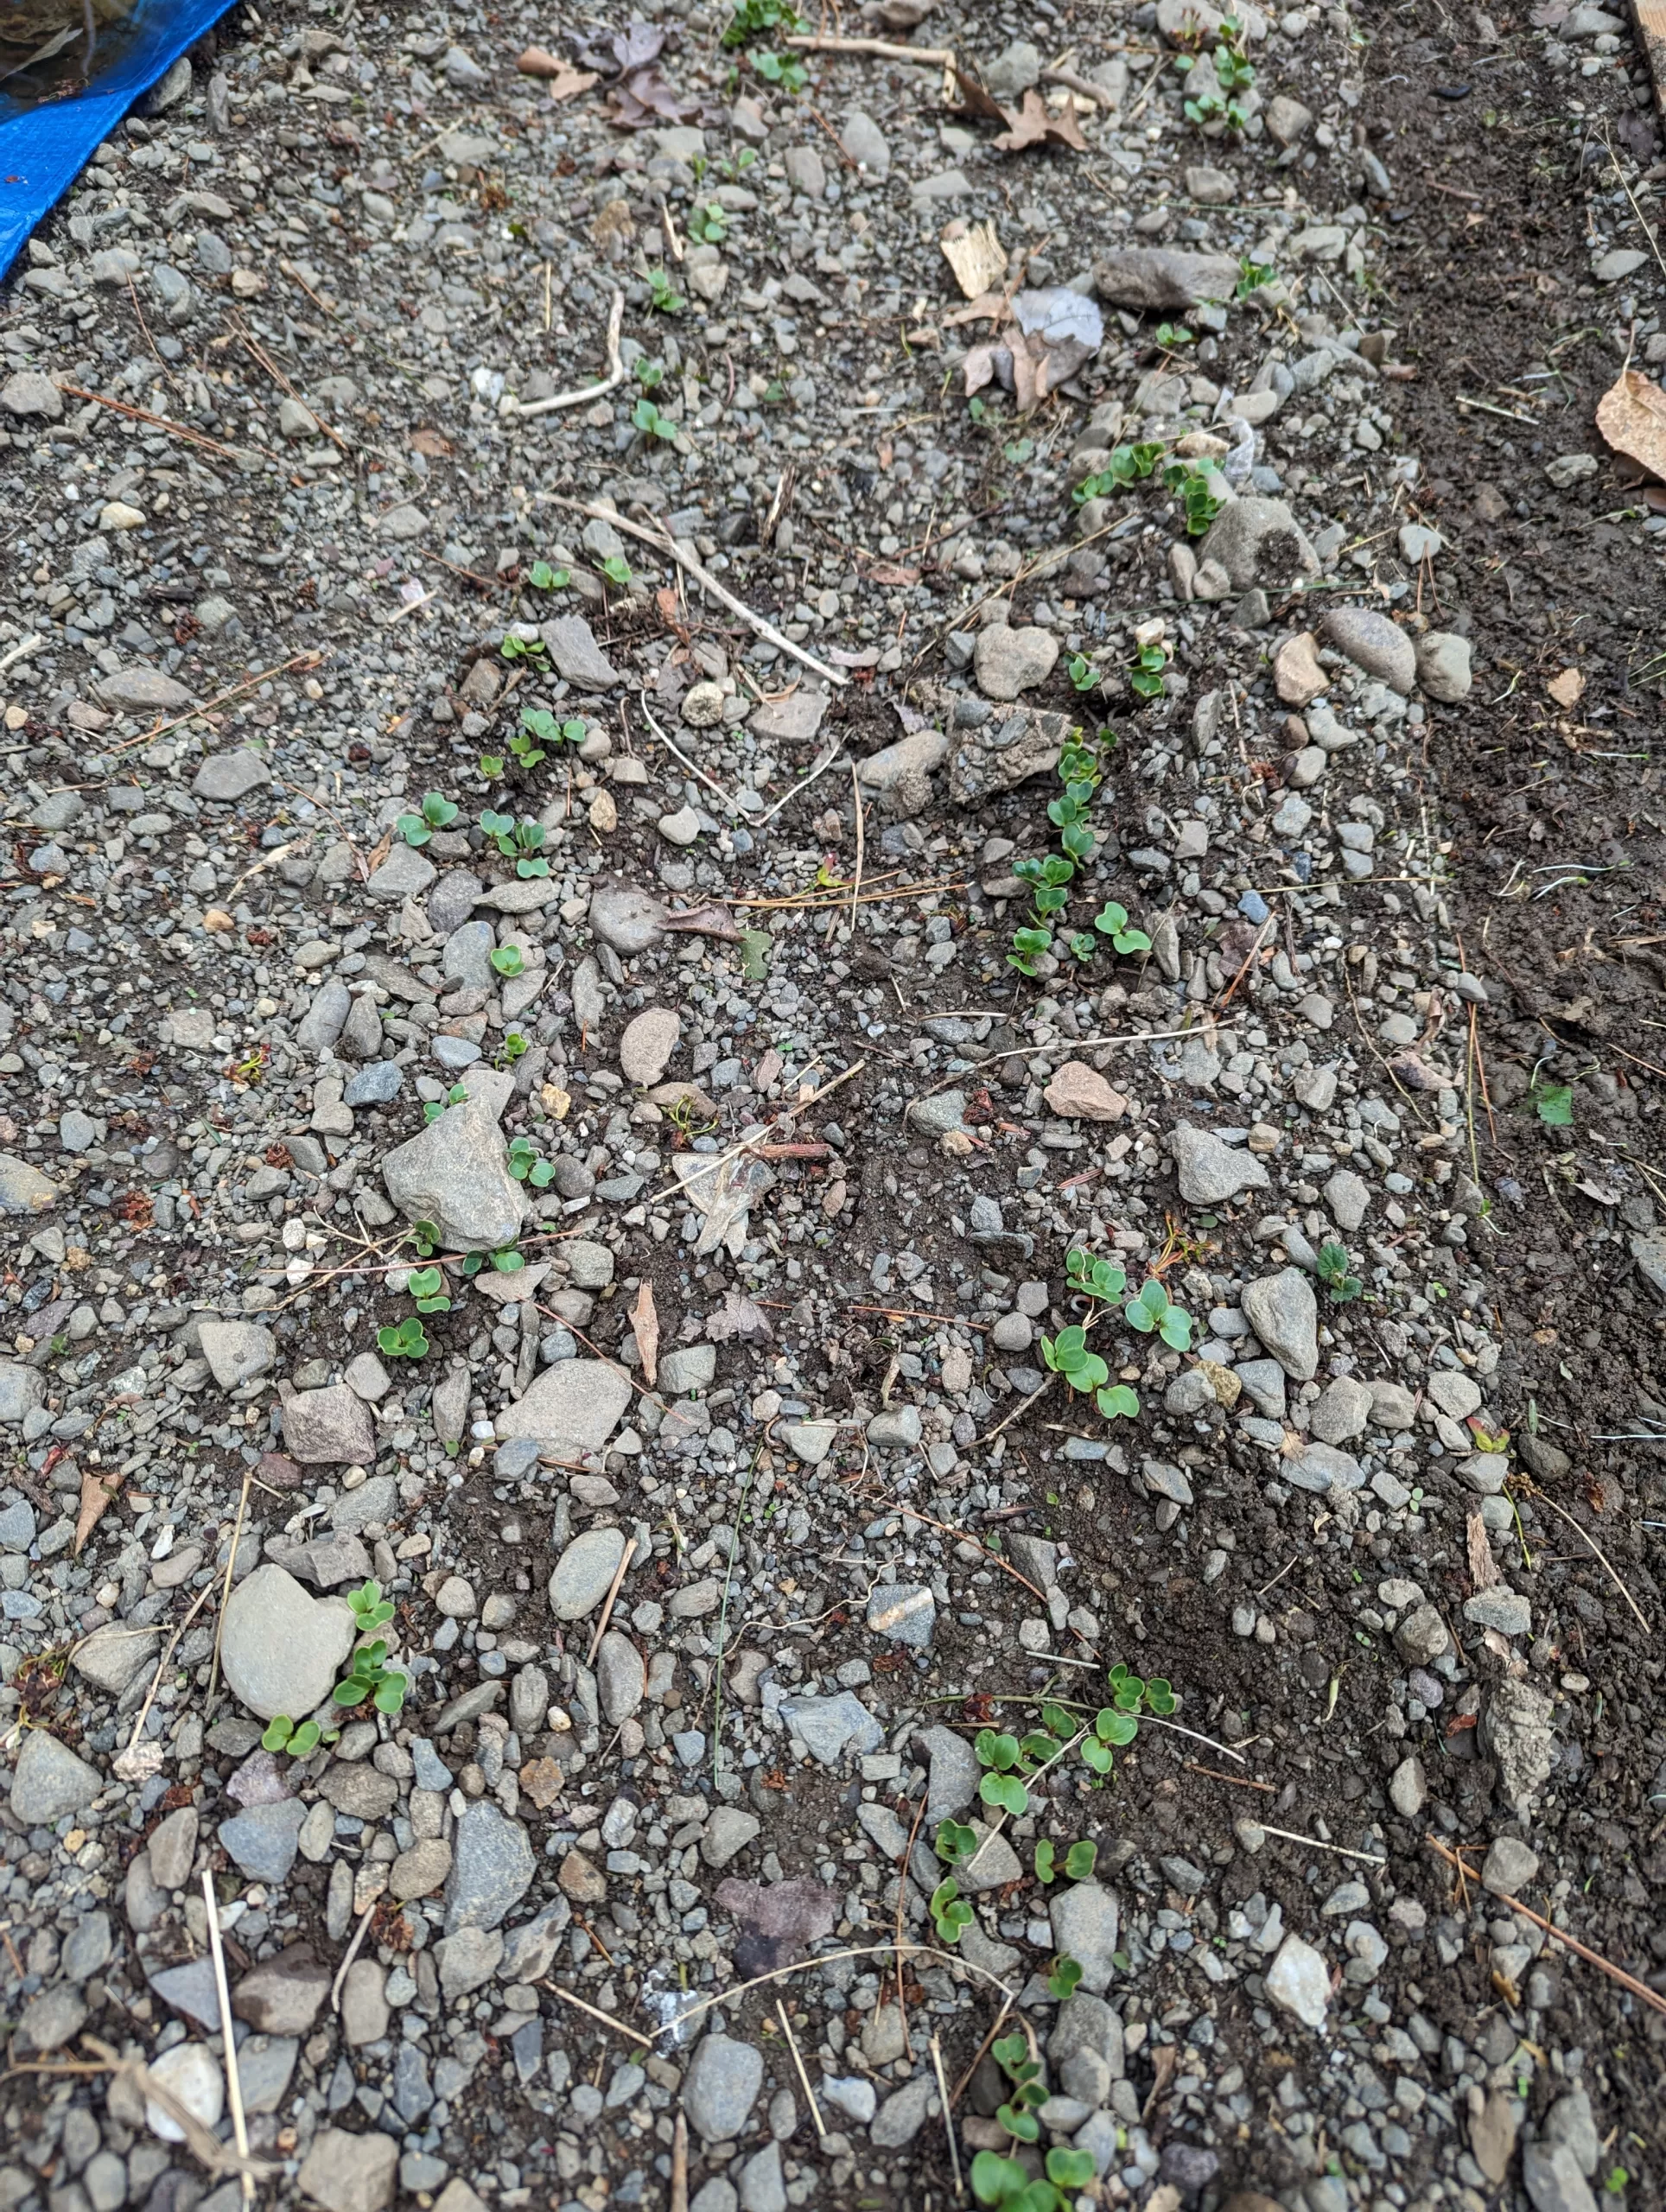
carrot seedlings!
My radishes have sprouted, and I can see them poking through the soil. I also removed the plank from the carrots, as they too are starting to grow.
radishes!
>>>PHASE 2 – OUTDOOR The last frost date for northern New Jersey is April 25. I am getting ready to transplant my tomato plants into the garden beds. I started the plants indoors in March, and they are ready to go out. I am also getting ready to plant other warm-season crops such as cucumbers, peppers, eggplant, and squash.
Black Bear crossing Union Valley Road in West Milford, NJ
American Black Bears (Ursus americanus) are becoming common sights in towns and on roadways in New Jersey. I have seen black bears in other states that are small almost dog-like, but in northern New Jersey, Black Bears are huge up to 700 or 800 pounds! In 2011, a record-sized American Black Bear was shot in Morris County, New Jersey weighing 830 lbs.
Living in Passaic county for many years, I had never seen a bear. Within days of moving into my new home in West Milford, my dog had a standoff with a huge bear, and my wife called the police. The police responded, “Lady, you live in West Milford, we have bears!” So we learned to live with these large American Black Bears.
American Black Bears are the largest mammals in New Jersey. Since the 1980s, black bears have been seen in all 21 New Jersey counties, expanding their range from the northwest corner of the state to the south and east. New Jersey has a Comprehensive Black Bear Management Policy (CBBMP) which includes a regulated black bear hunt. The hunt was suspended in 2018 to evaluate exclusively nonlethal control measures. Yet, their population and range are growing every year!
“Black bears are part of New Jersey’s natural heritage, and a sustainable population contributes to the health of our larger ecosystem. Overpopulation and dispersal of bears to areas with less supportive natural habitat is a concern for public safety as well as the overall health and sustainability of the species. Given the black bear population and dispersion circumstances affecting New Jersey, a regulated hunt with humane limitations is necessary and appropriate.”
Shawn M. LaTourette, Commissioner of Environmental Protection
In 2022 The bear population in Morris, Passaic, Sussex, and Warren counties is estimated to be 3000 animals. In 2022, bear incidents include: 62 aggressive encounters with humans, 1 human attack, 12 dog attacks, 12 home entries, 15 attempted home entries, 84 instances of property damage exceeding $1,000, and 52 attacks on protected livestock.
Black Bear Safety Tips
Avoiding Black Bears is the safest strategy, first and foremost, make your property unattractive to bears by securing garbage and other potential food sources. The most common problem is bears feeding on garbage. Properly securing your garbage is one of the best ways to prevent bears from looking at your property as a food source.”
“A black bear seen in a residential area should not be considered a problem, as long as it is behaving normally and not posing a threat, However, bears that learn to associate food with people can become habituated to easy sources of food and become a nuisance as they forage for more. So the best thing to do is to not give bears the opportunity to equate you or your property with food.”
NJDEP Commissioner Martin
DO NOT FEED BEARS!! It is illegal in New Jersey to feed bears with a penalty of up to $1000.
Secure garbage cans and food refuse. Store all garbage in tightly closed containers where they are unlikely to be seen or smelt.
Put out garbage on collection day, not the night before.
Wash garbage containers frequently with a disinfectant solution to remove odors. Put out garbage on collection day, not the night before.
f you feed pets outside, do so during daylight hours only. Pick up any leftover food and remove bowls after they have finished.
Clean outdoor grills and utensils thoroughly after each use. Dispose of grease properly.
Only use bird feeders during daylight hours between December 1st and April 1st. Suspend feeders from a free-hanging wire at least 10 ft off the ground and 10 ft from other branches. Bring feeder indoors at night. Clean up spilled seeds and shells.
Consider installing electric fencing to protect crops, beehives, and small livestock.
If you encounter a bear remain calm and do not run. Make sure the bear has an escape route. Avoid direct eye contact, back up slowly and speak with a low, assertive voice.
Under no circumstances approach a bear with cubs or position yourself between a mother and cubs
Wash garbage containers frequently with a disinfectant solution to remove odors. Put out garbage on collection day, not the night before.
Avoid feeding birds when bears are active. If you choose to feed birds, do so during daylight hours only and bring feeders indoors at night. Suspend birdfeeders from a free-hanging wire, making sure they are at least 10 feet off the ground. Clean up spilled seeds and shells daily.


Leave a Reply
You must be logged in to post a comment.